The wedding of Nick and Chelsea was one that I will remember and love forever. From the moment I first started talking to Nick & Chelsea about their wedding day, I could instantly tell that this couple had grand plans for their special day.
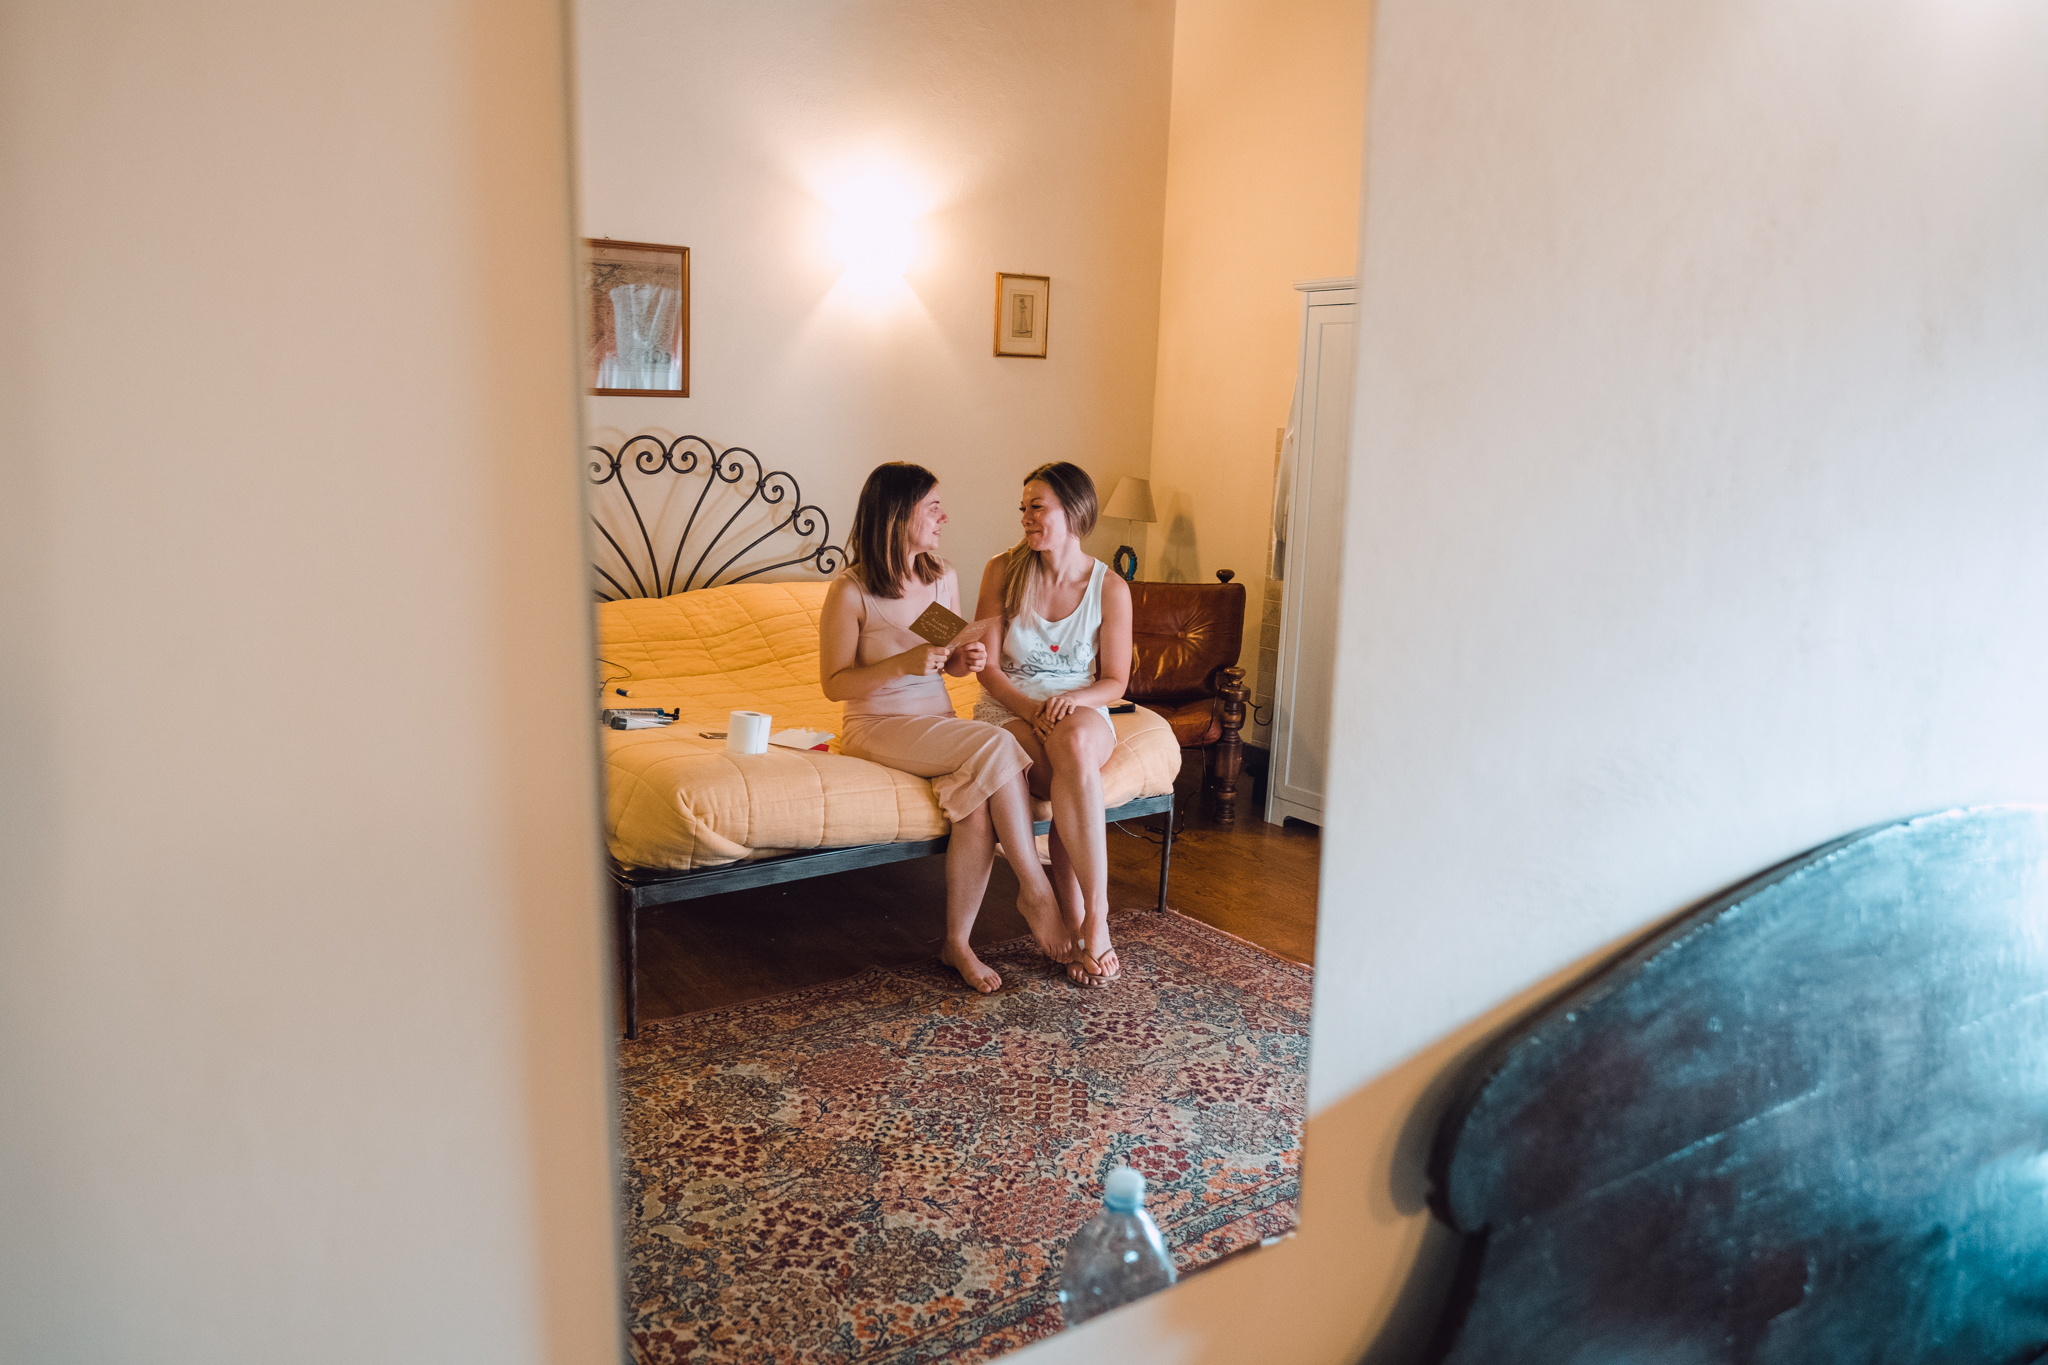
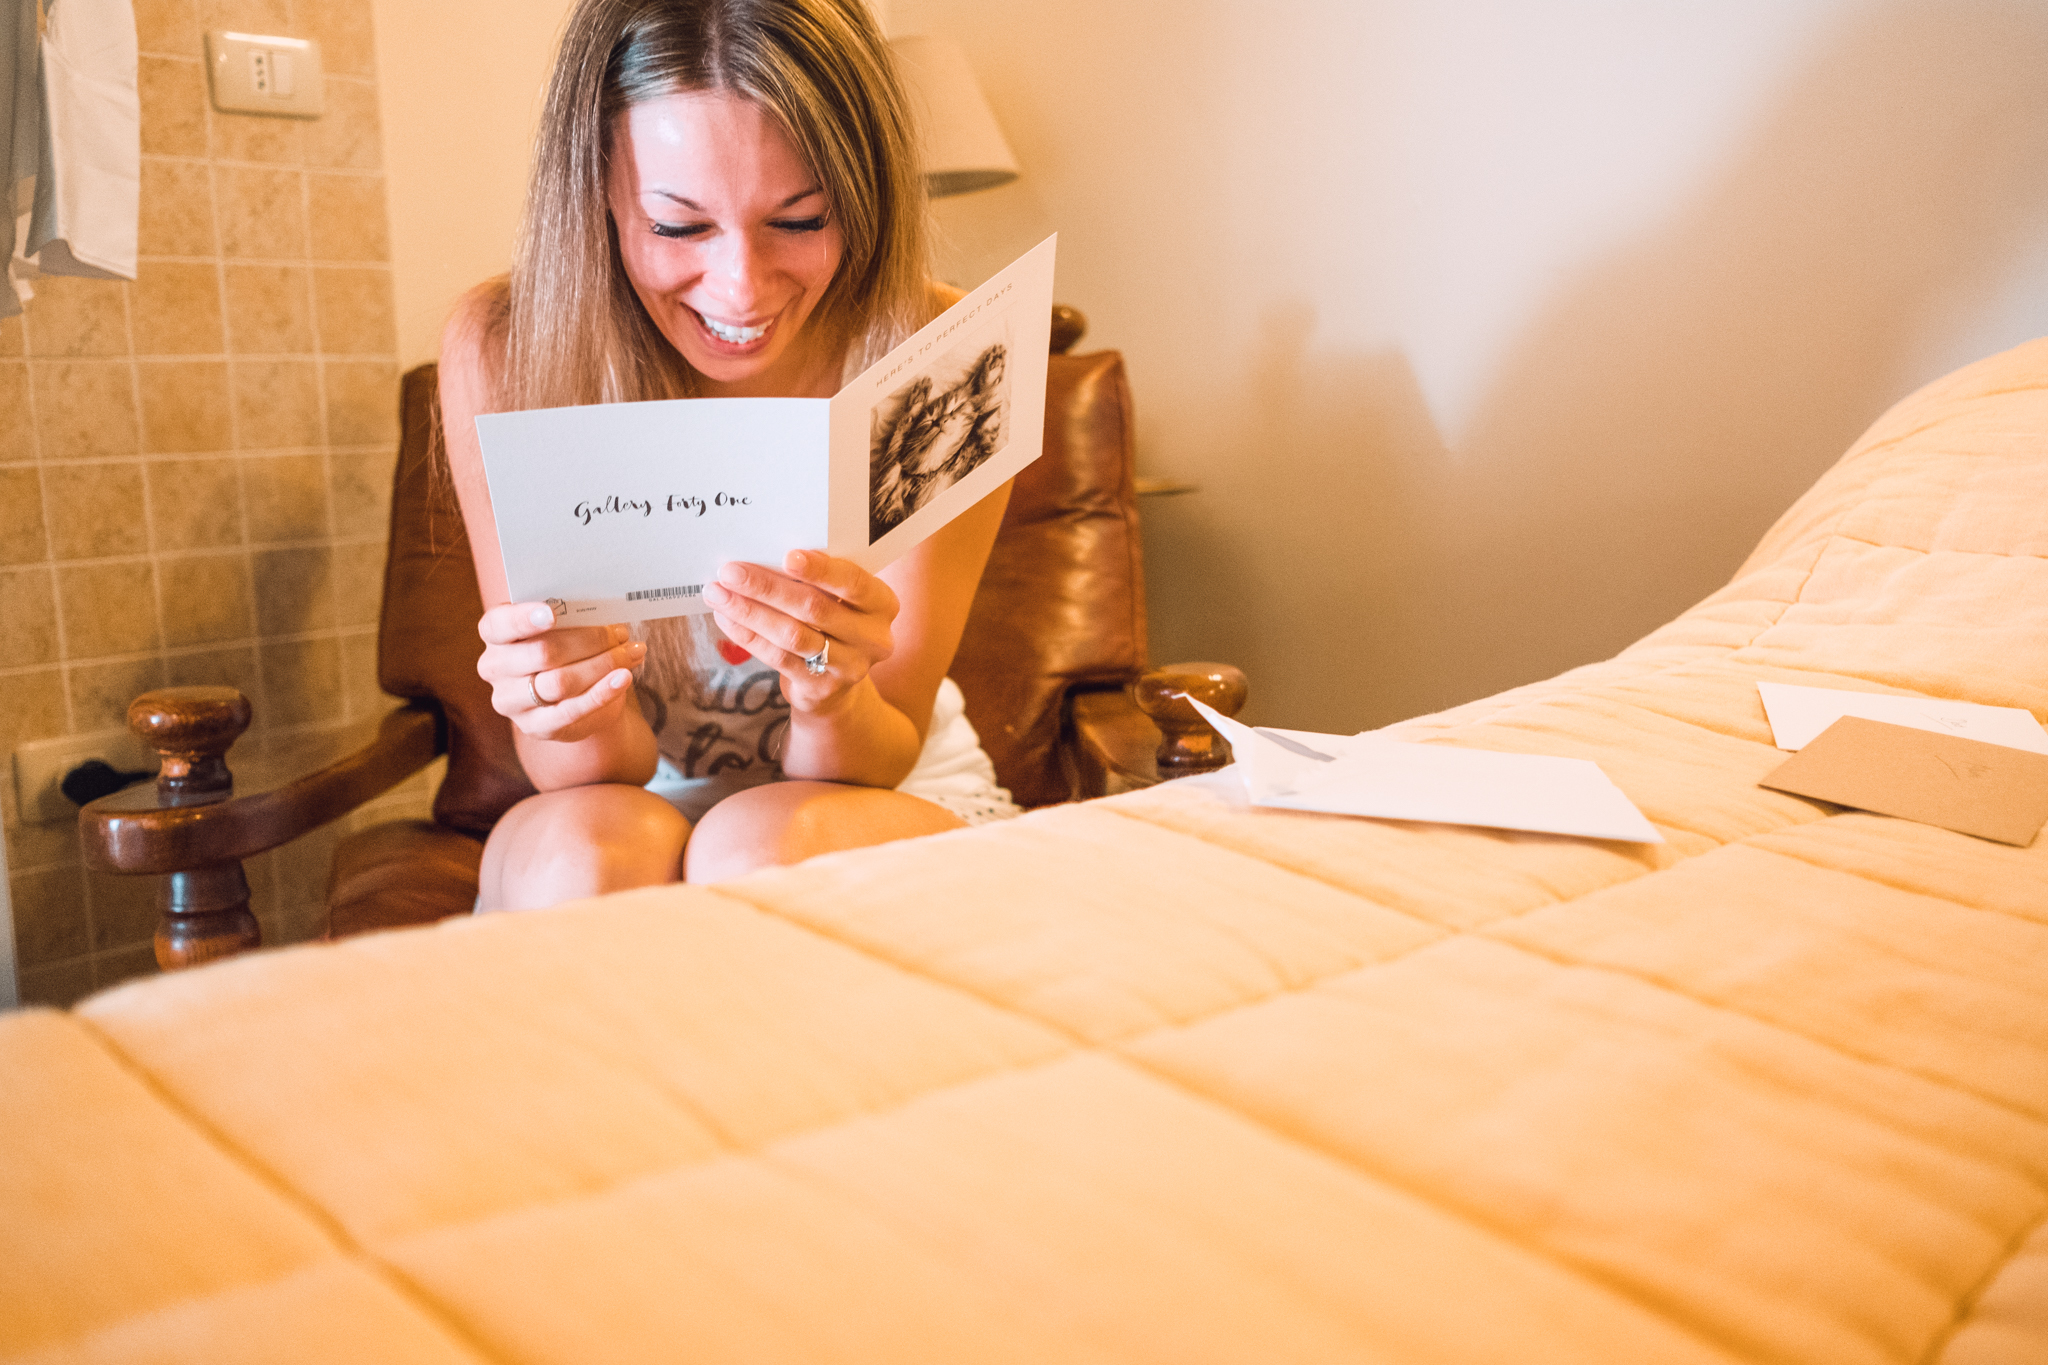
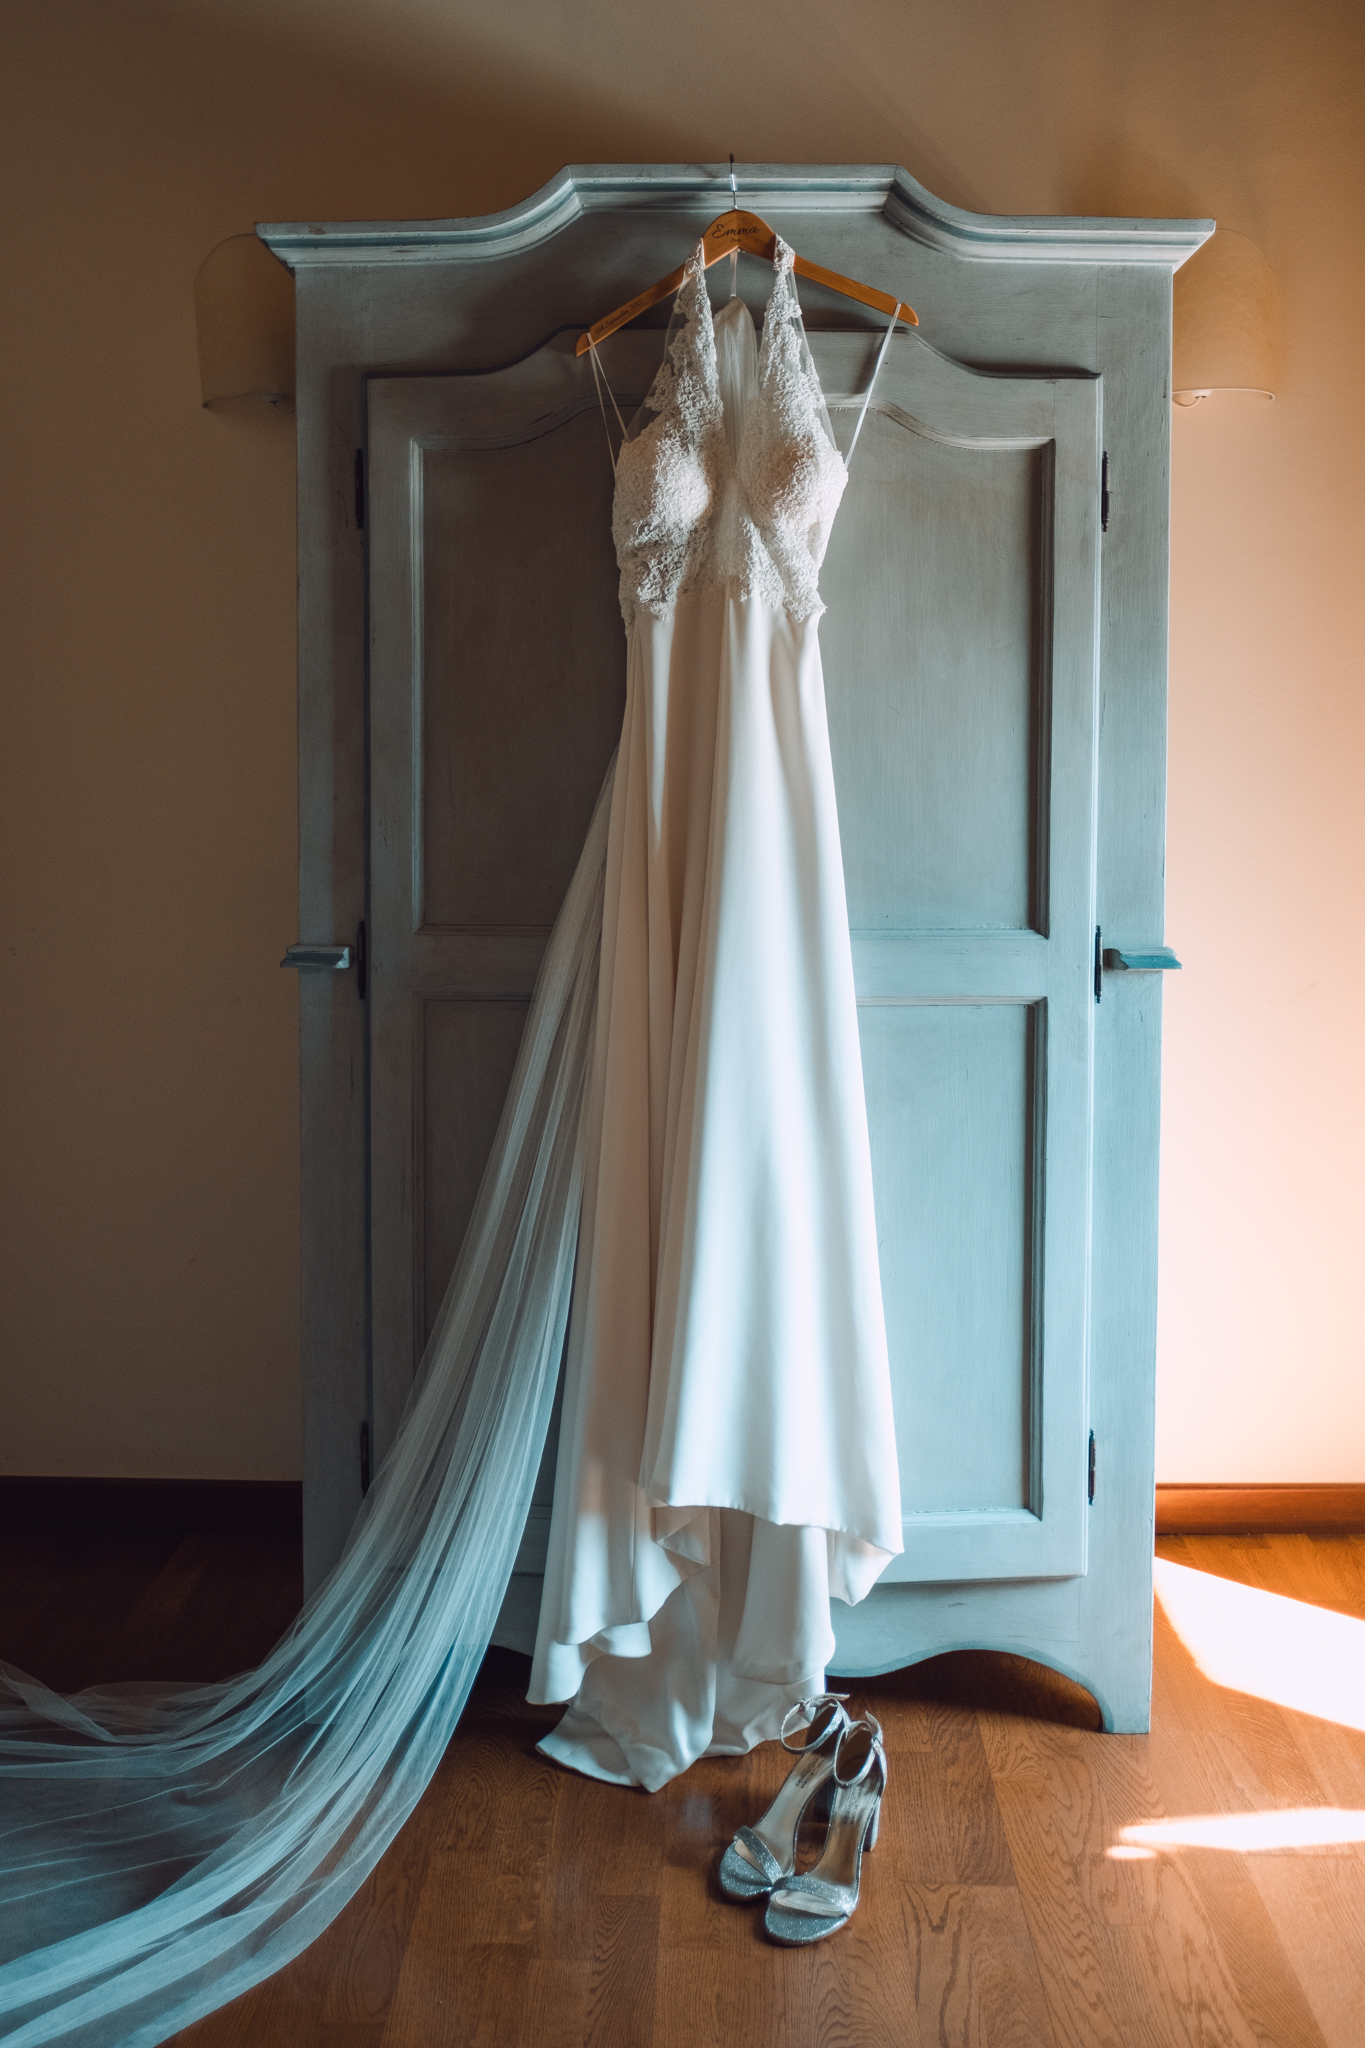
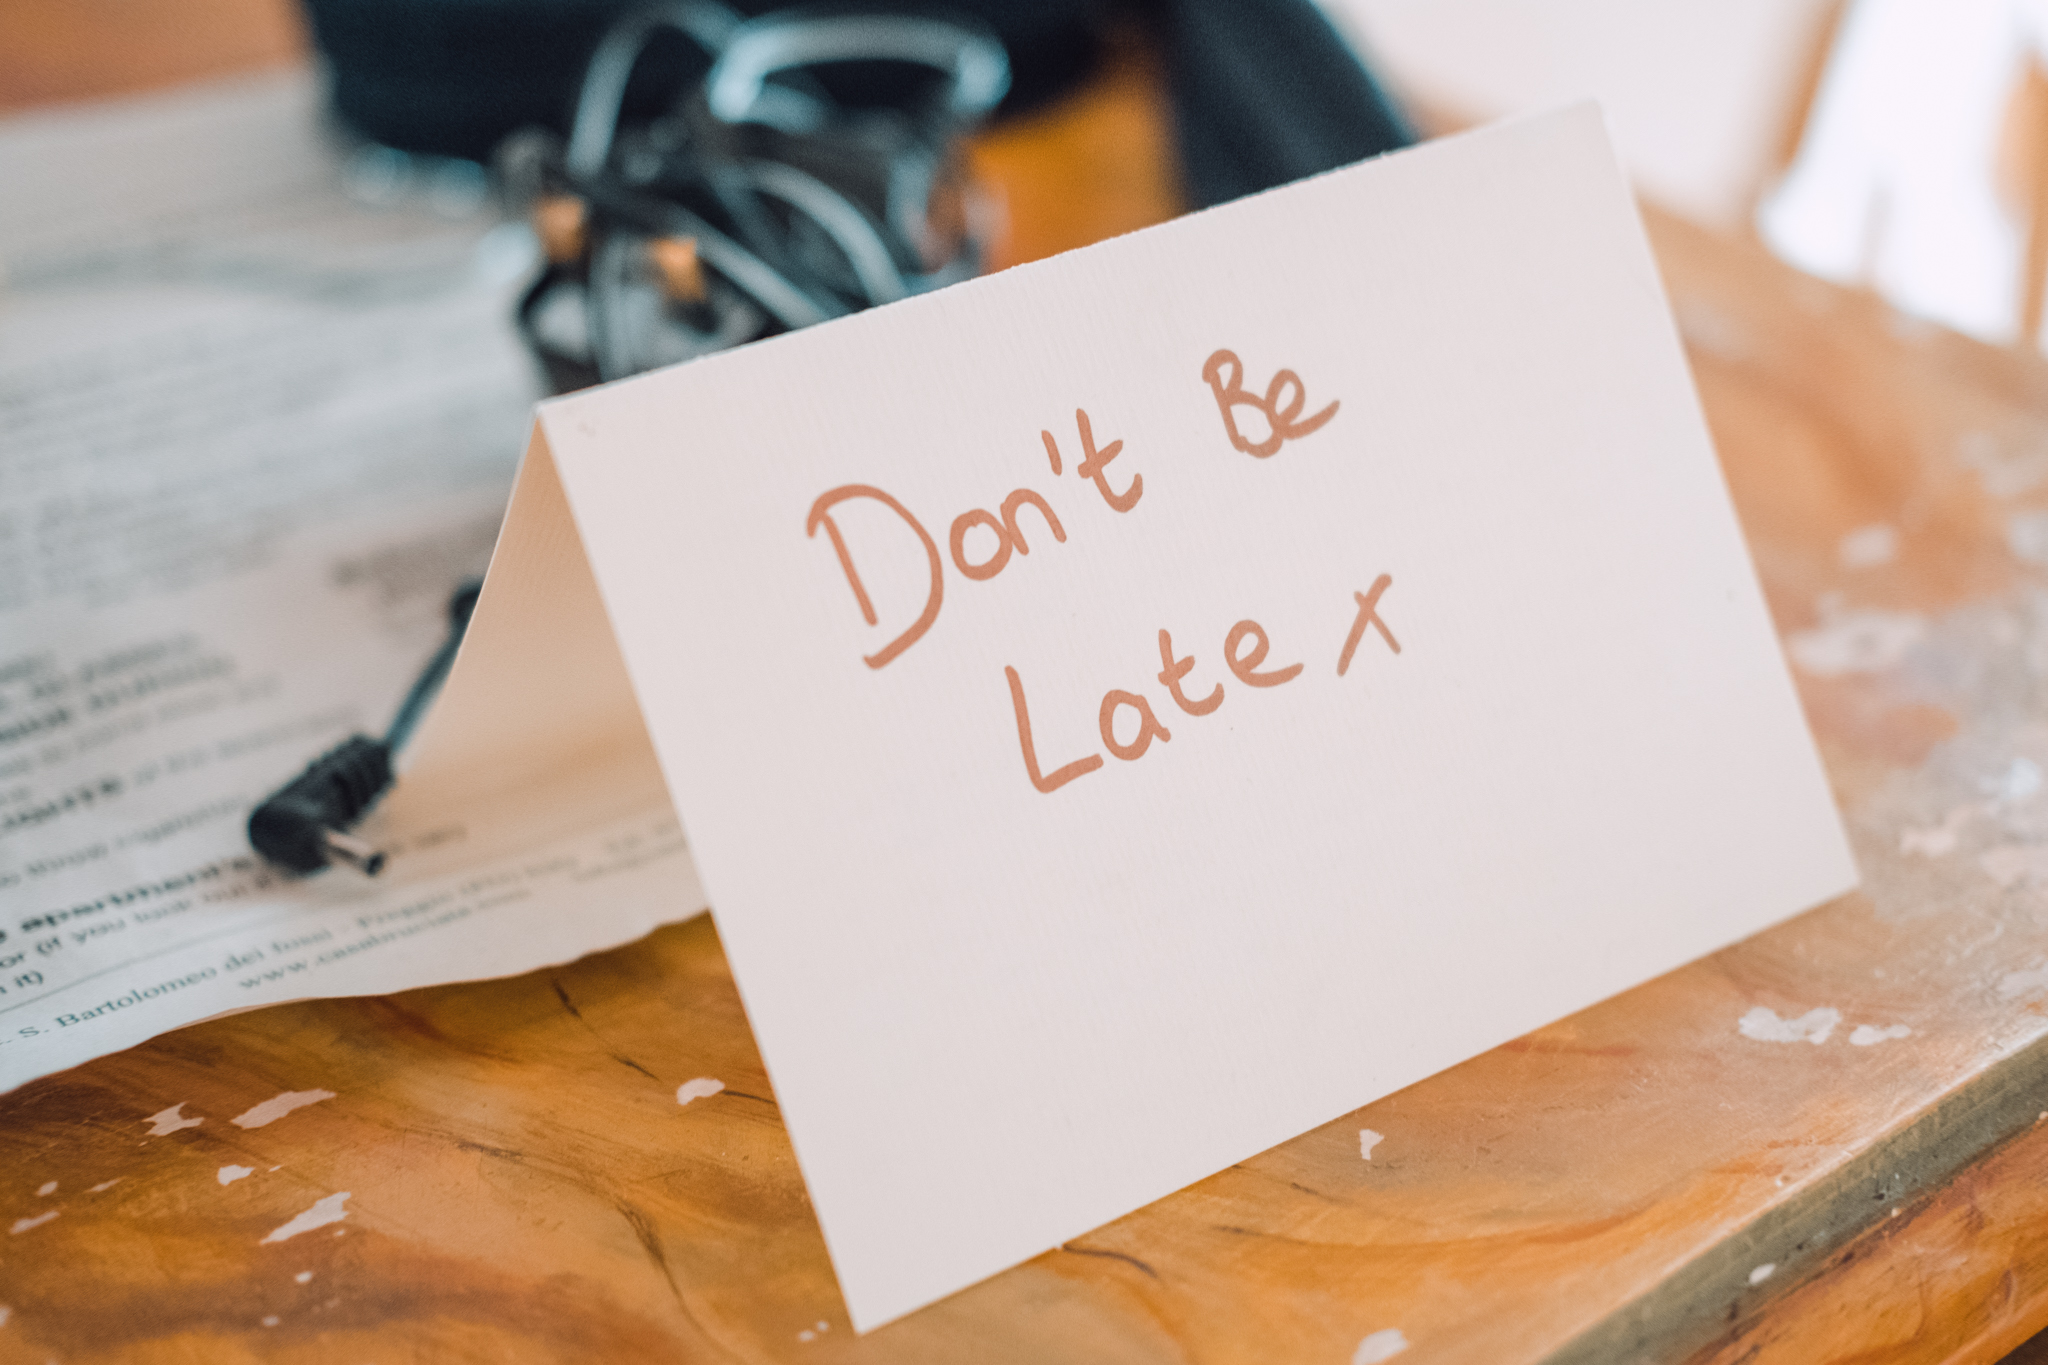
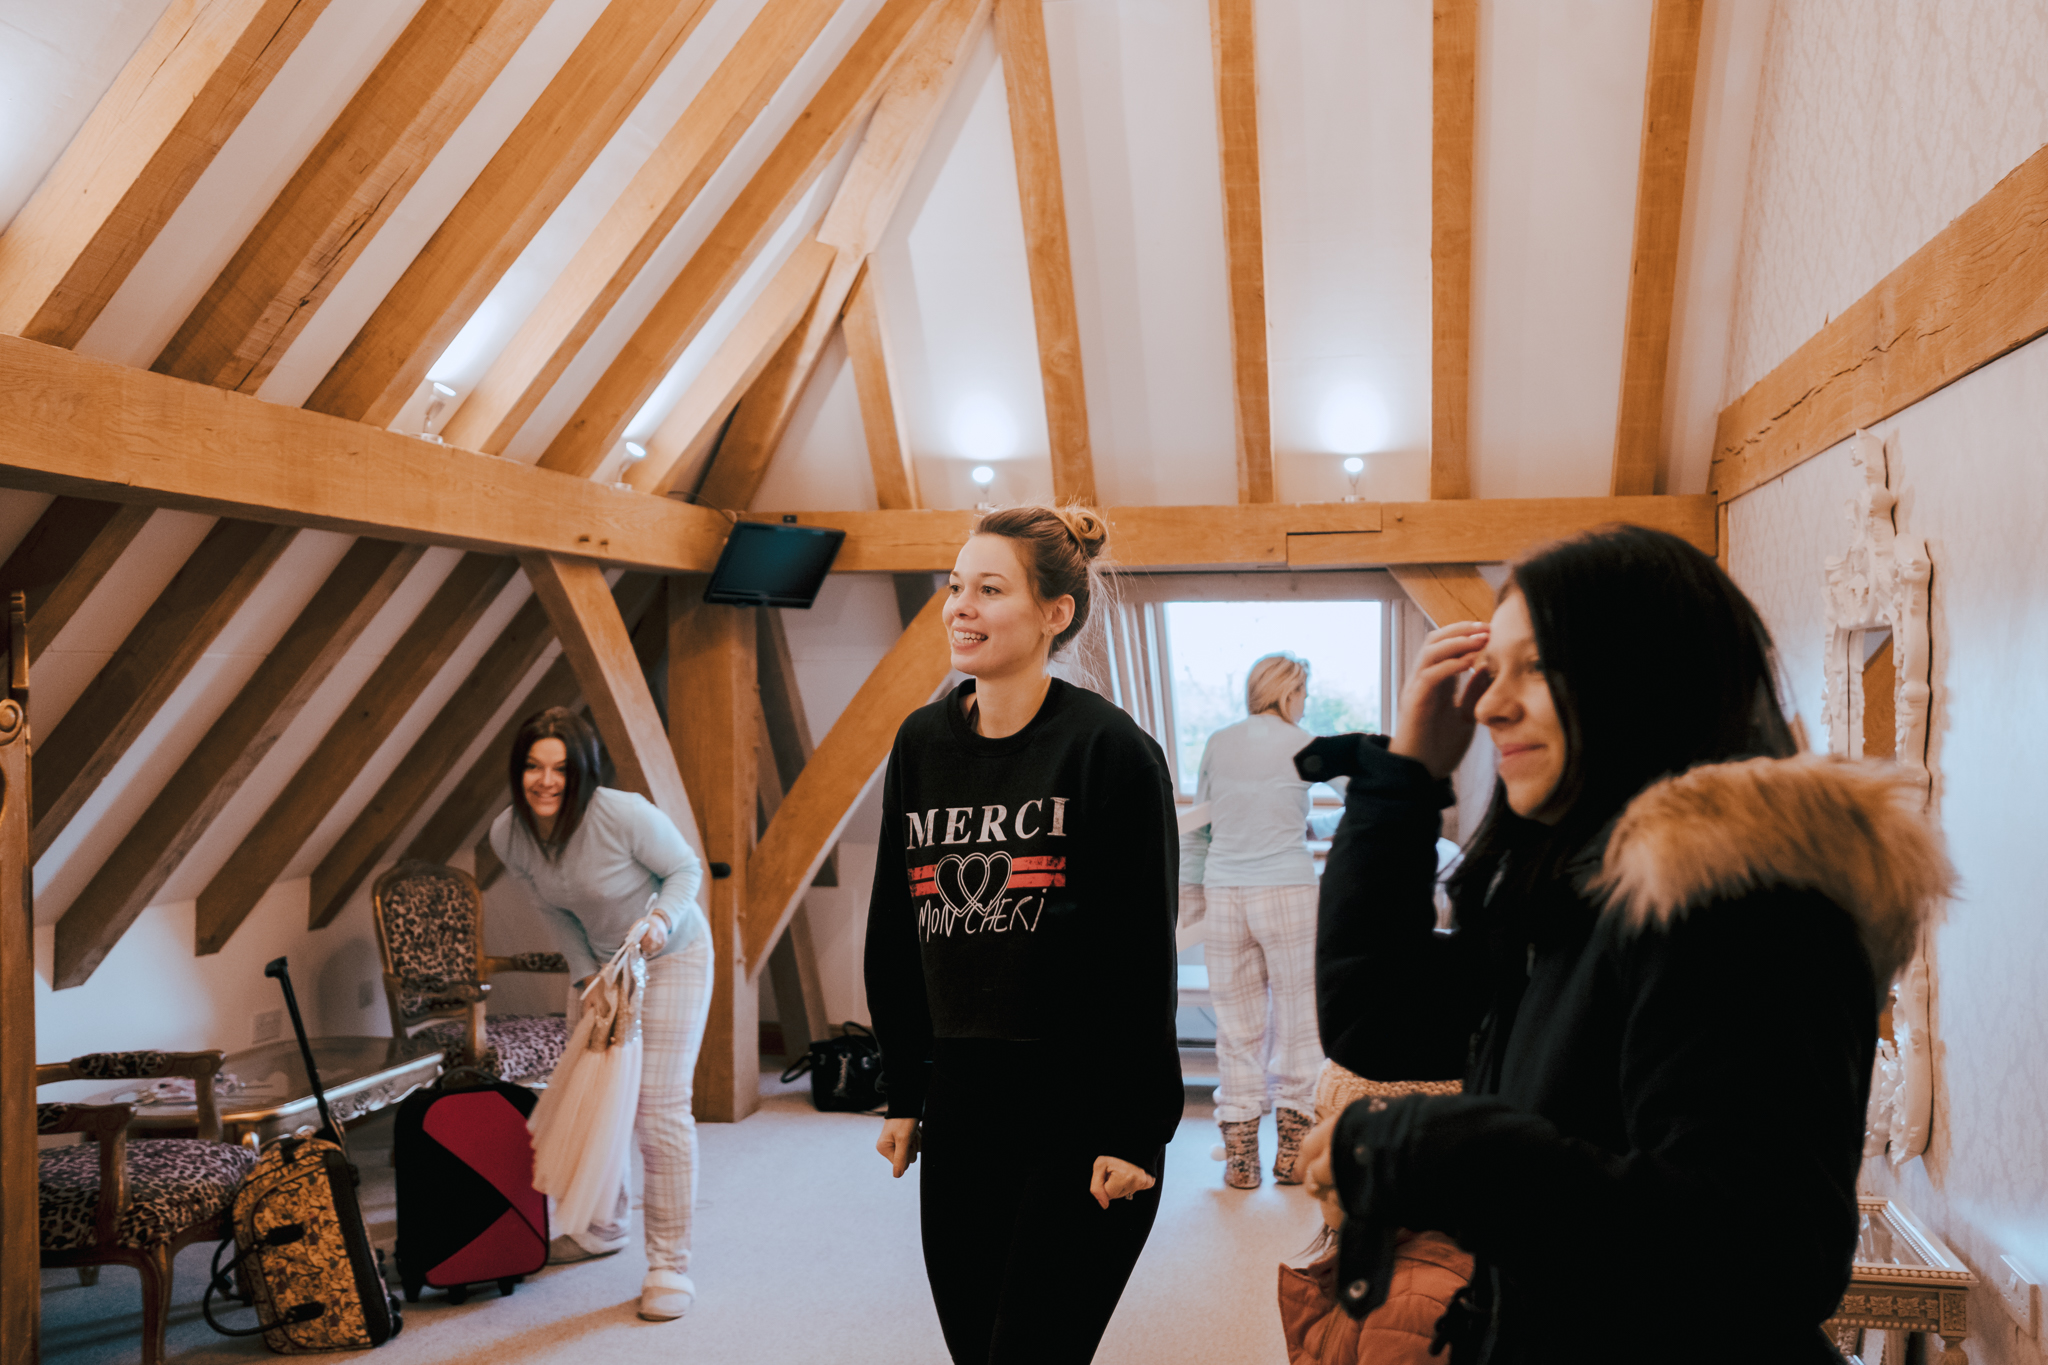
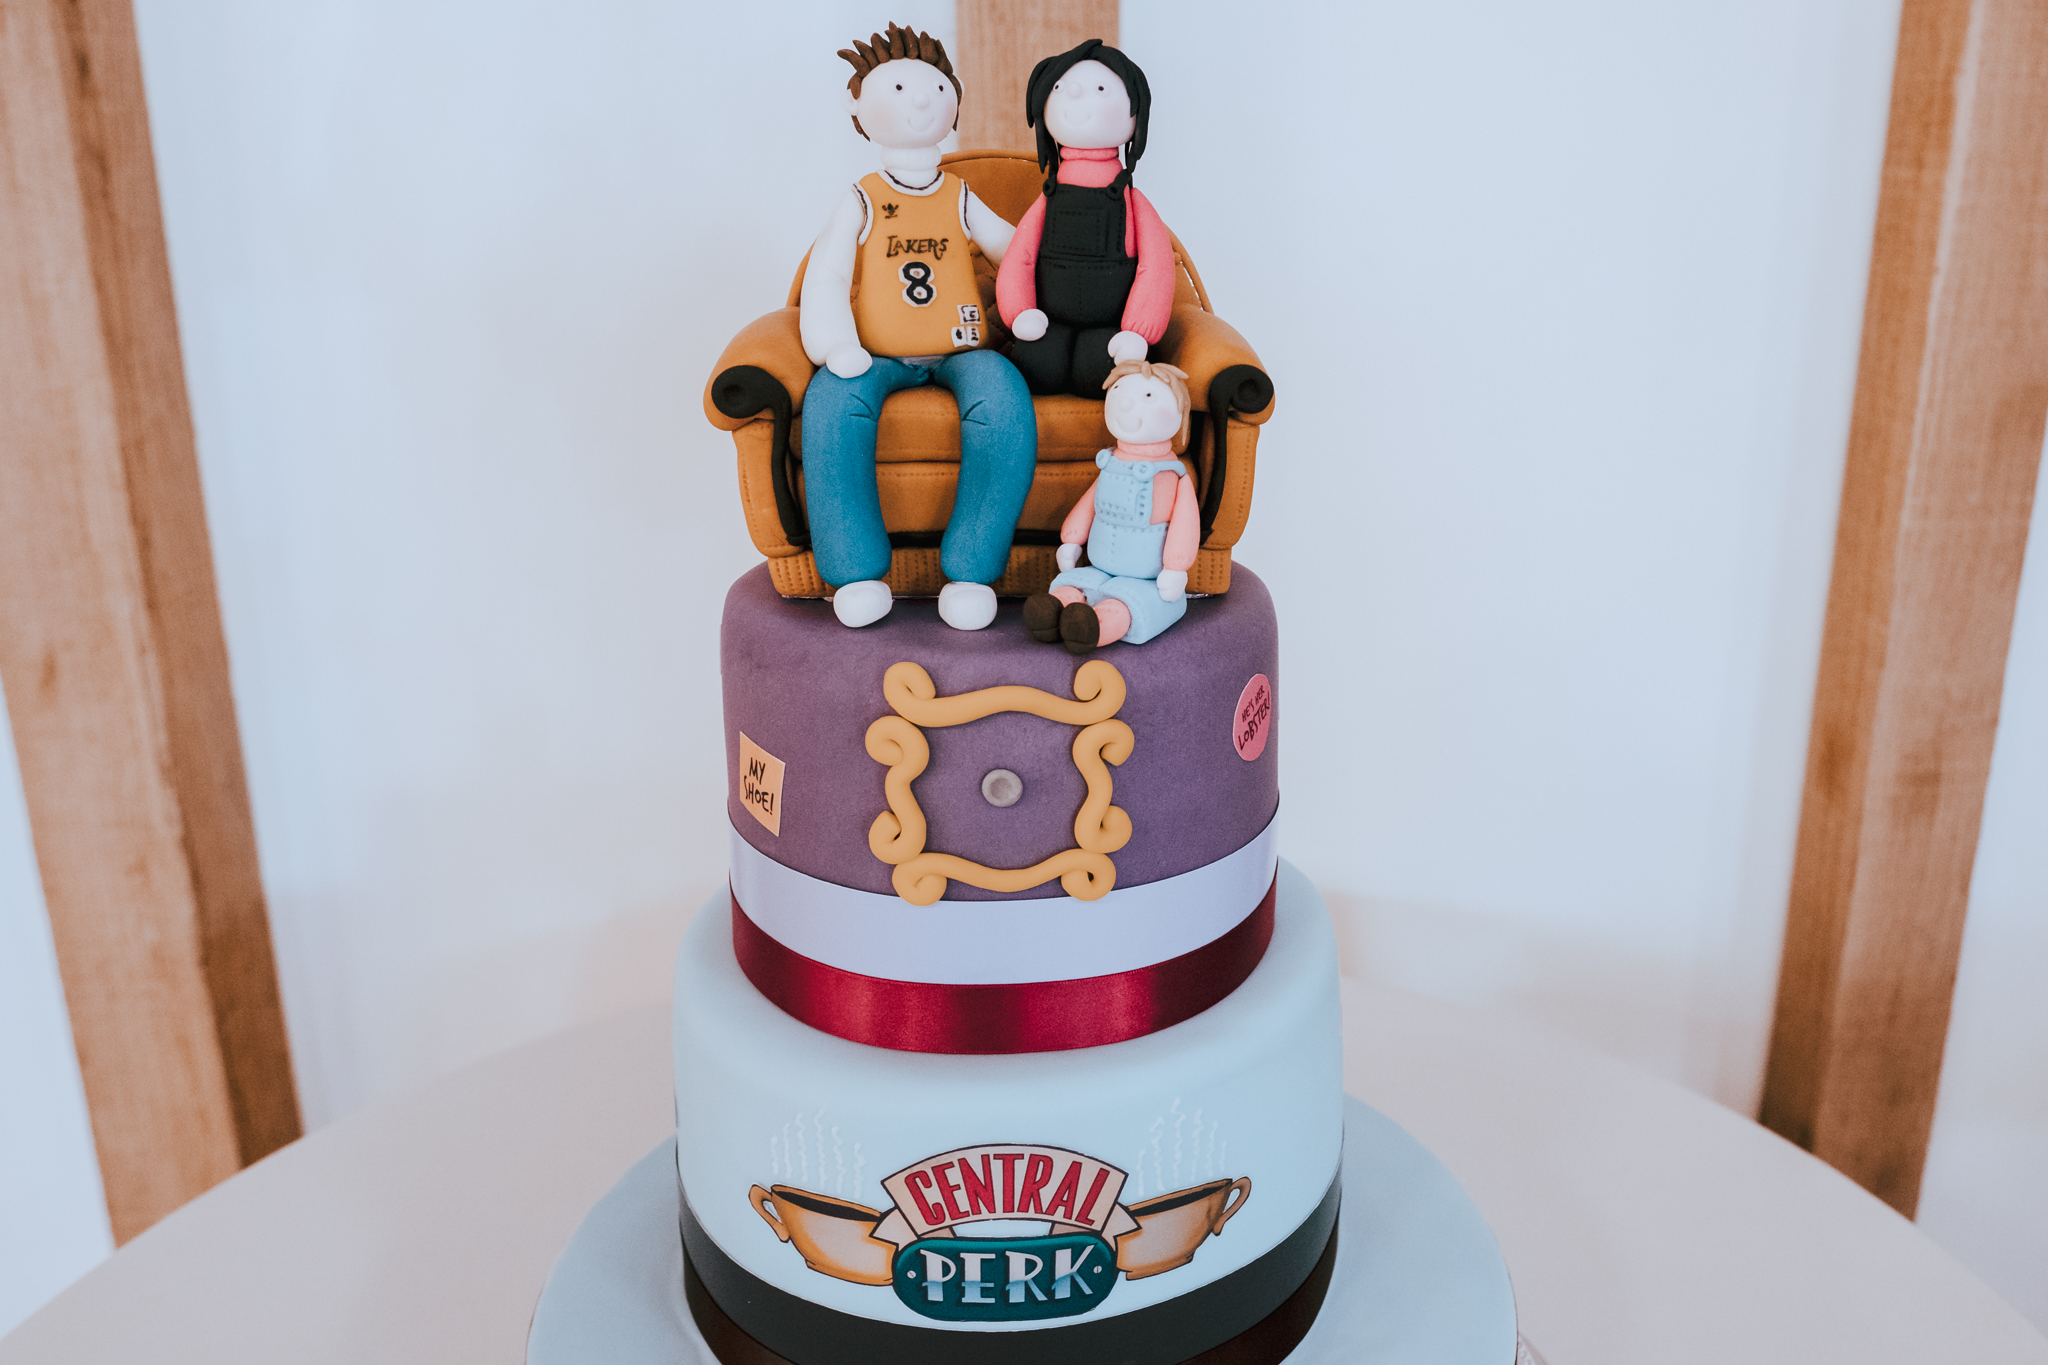
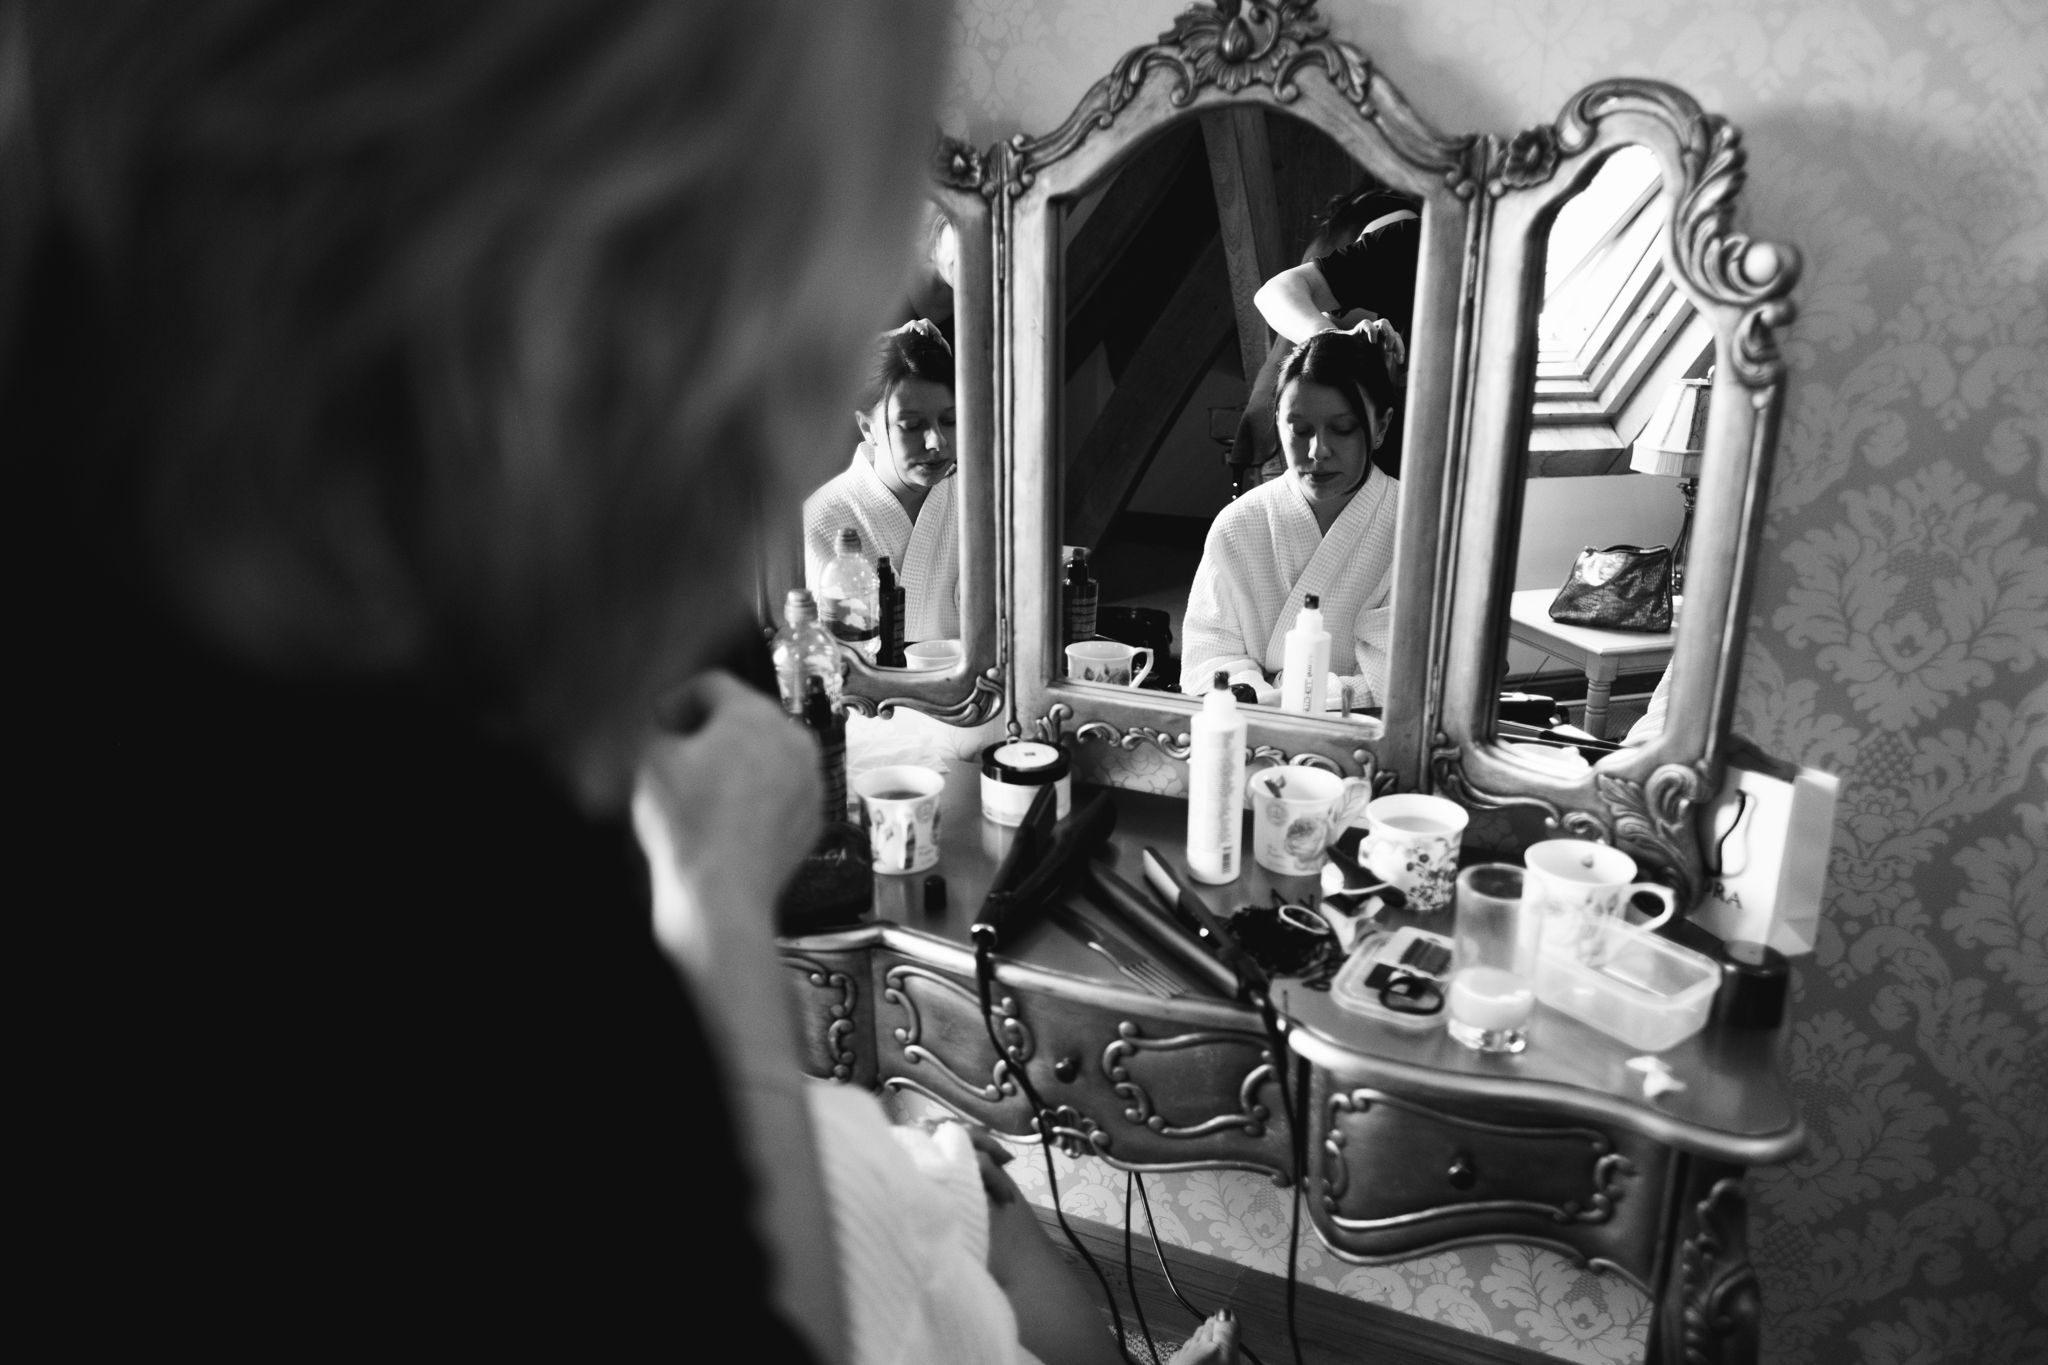
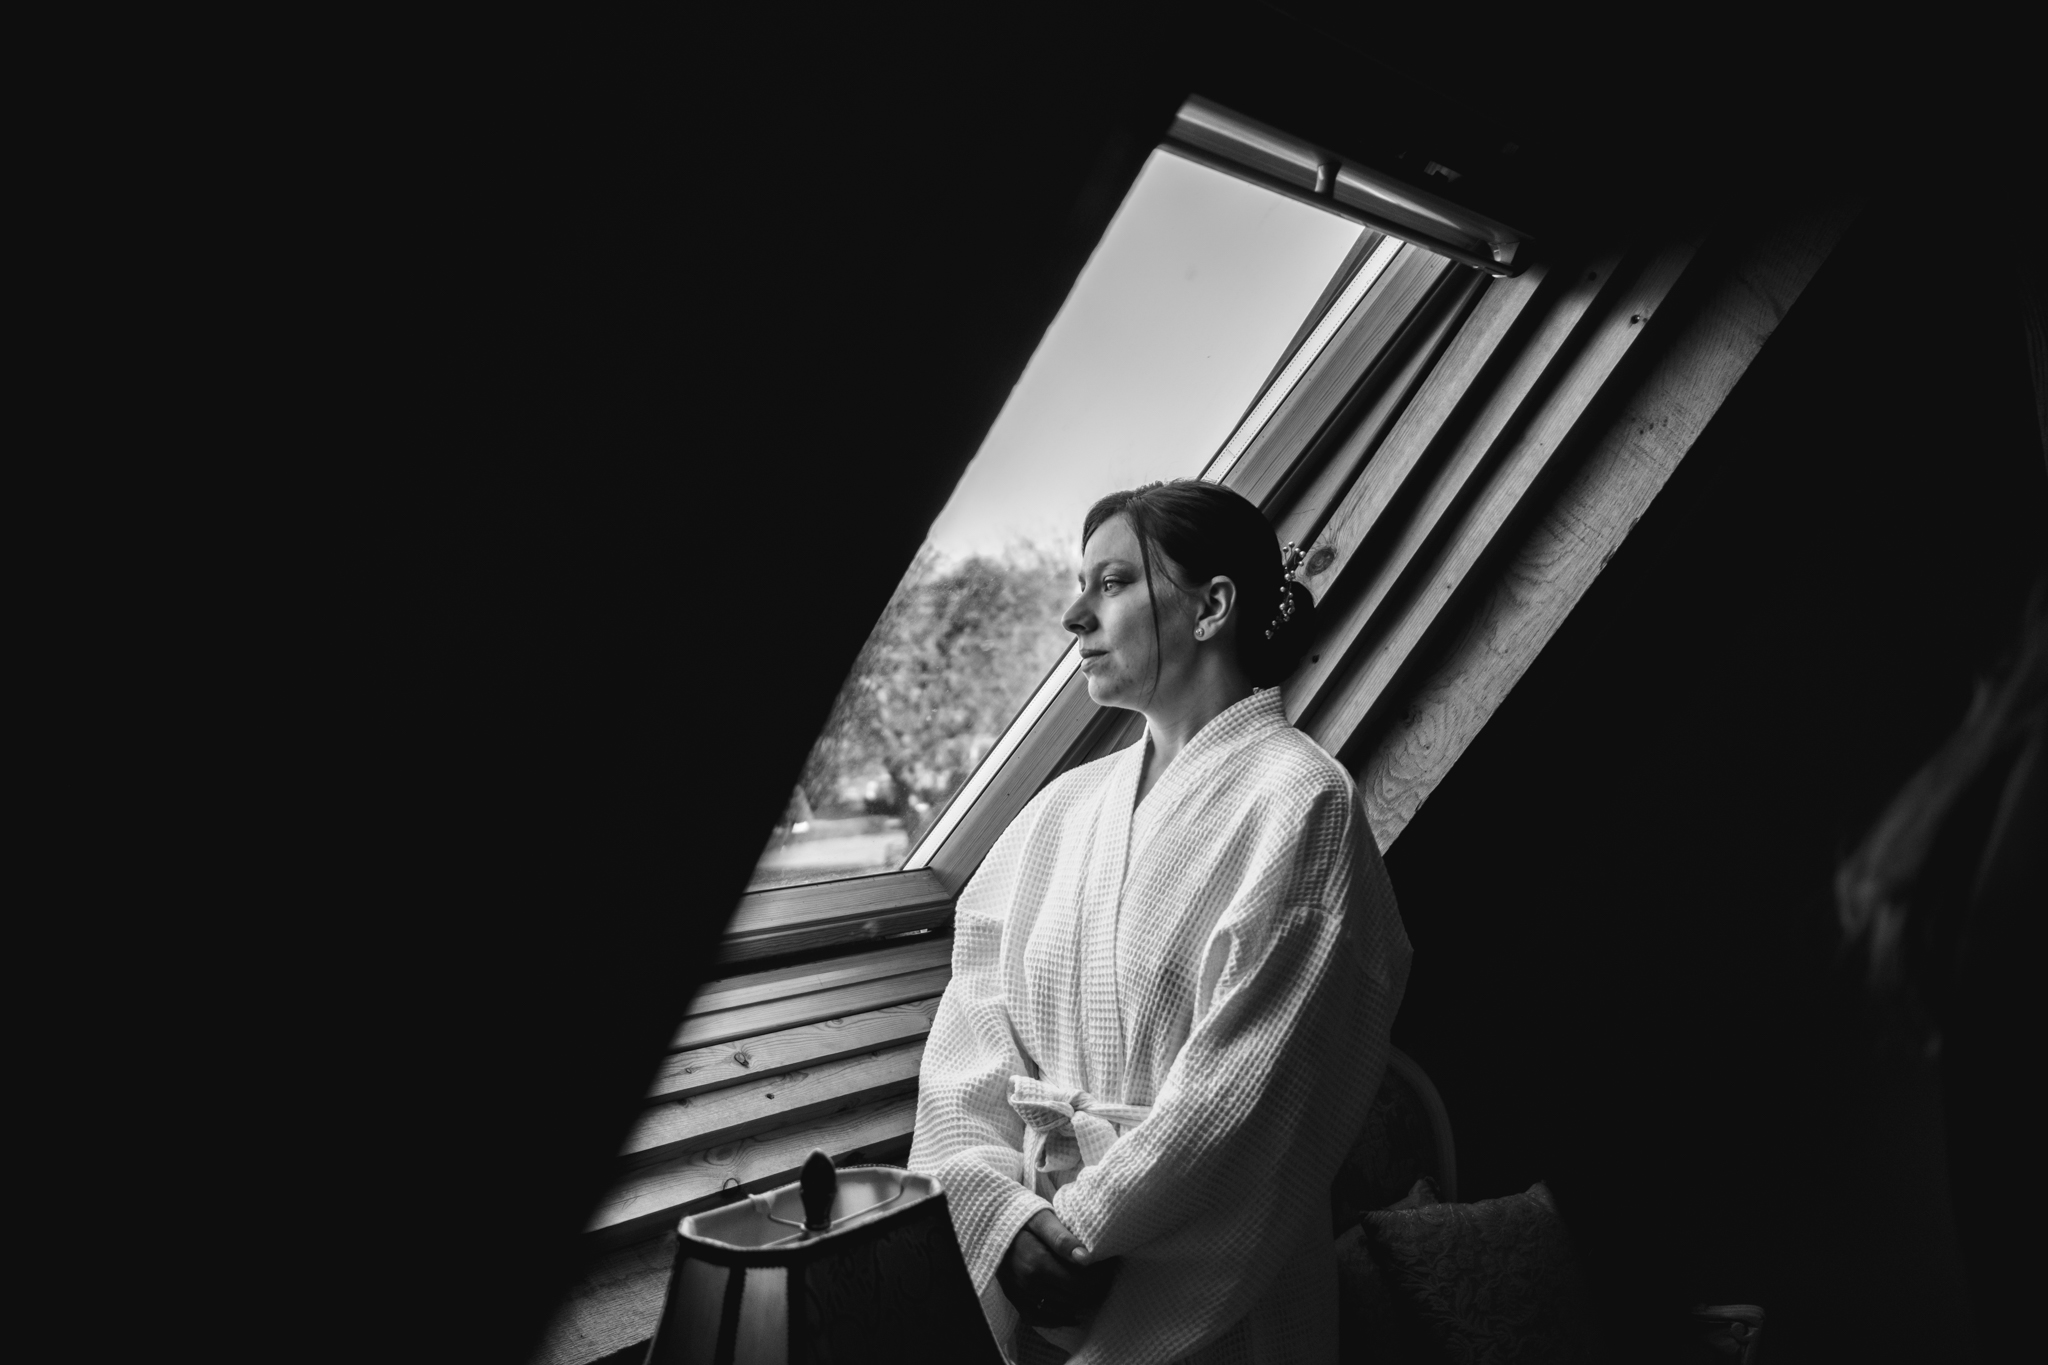
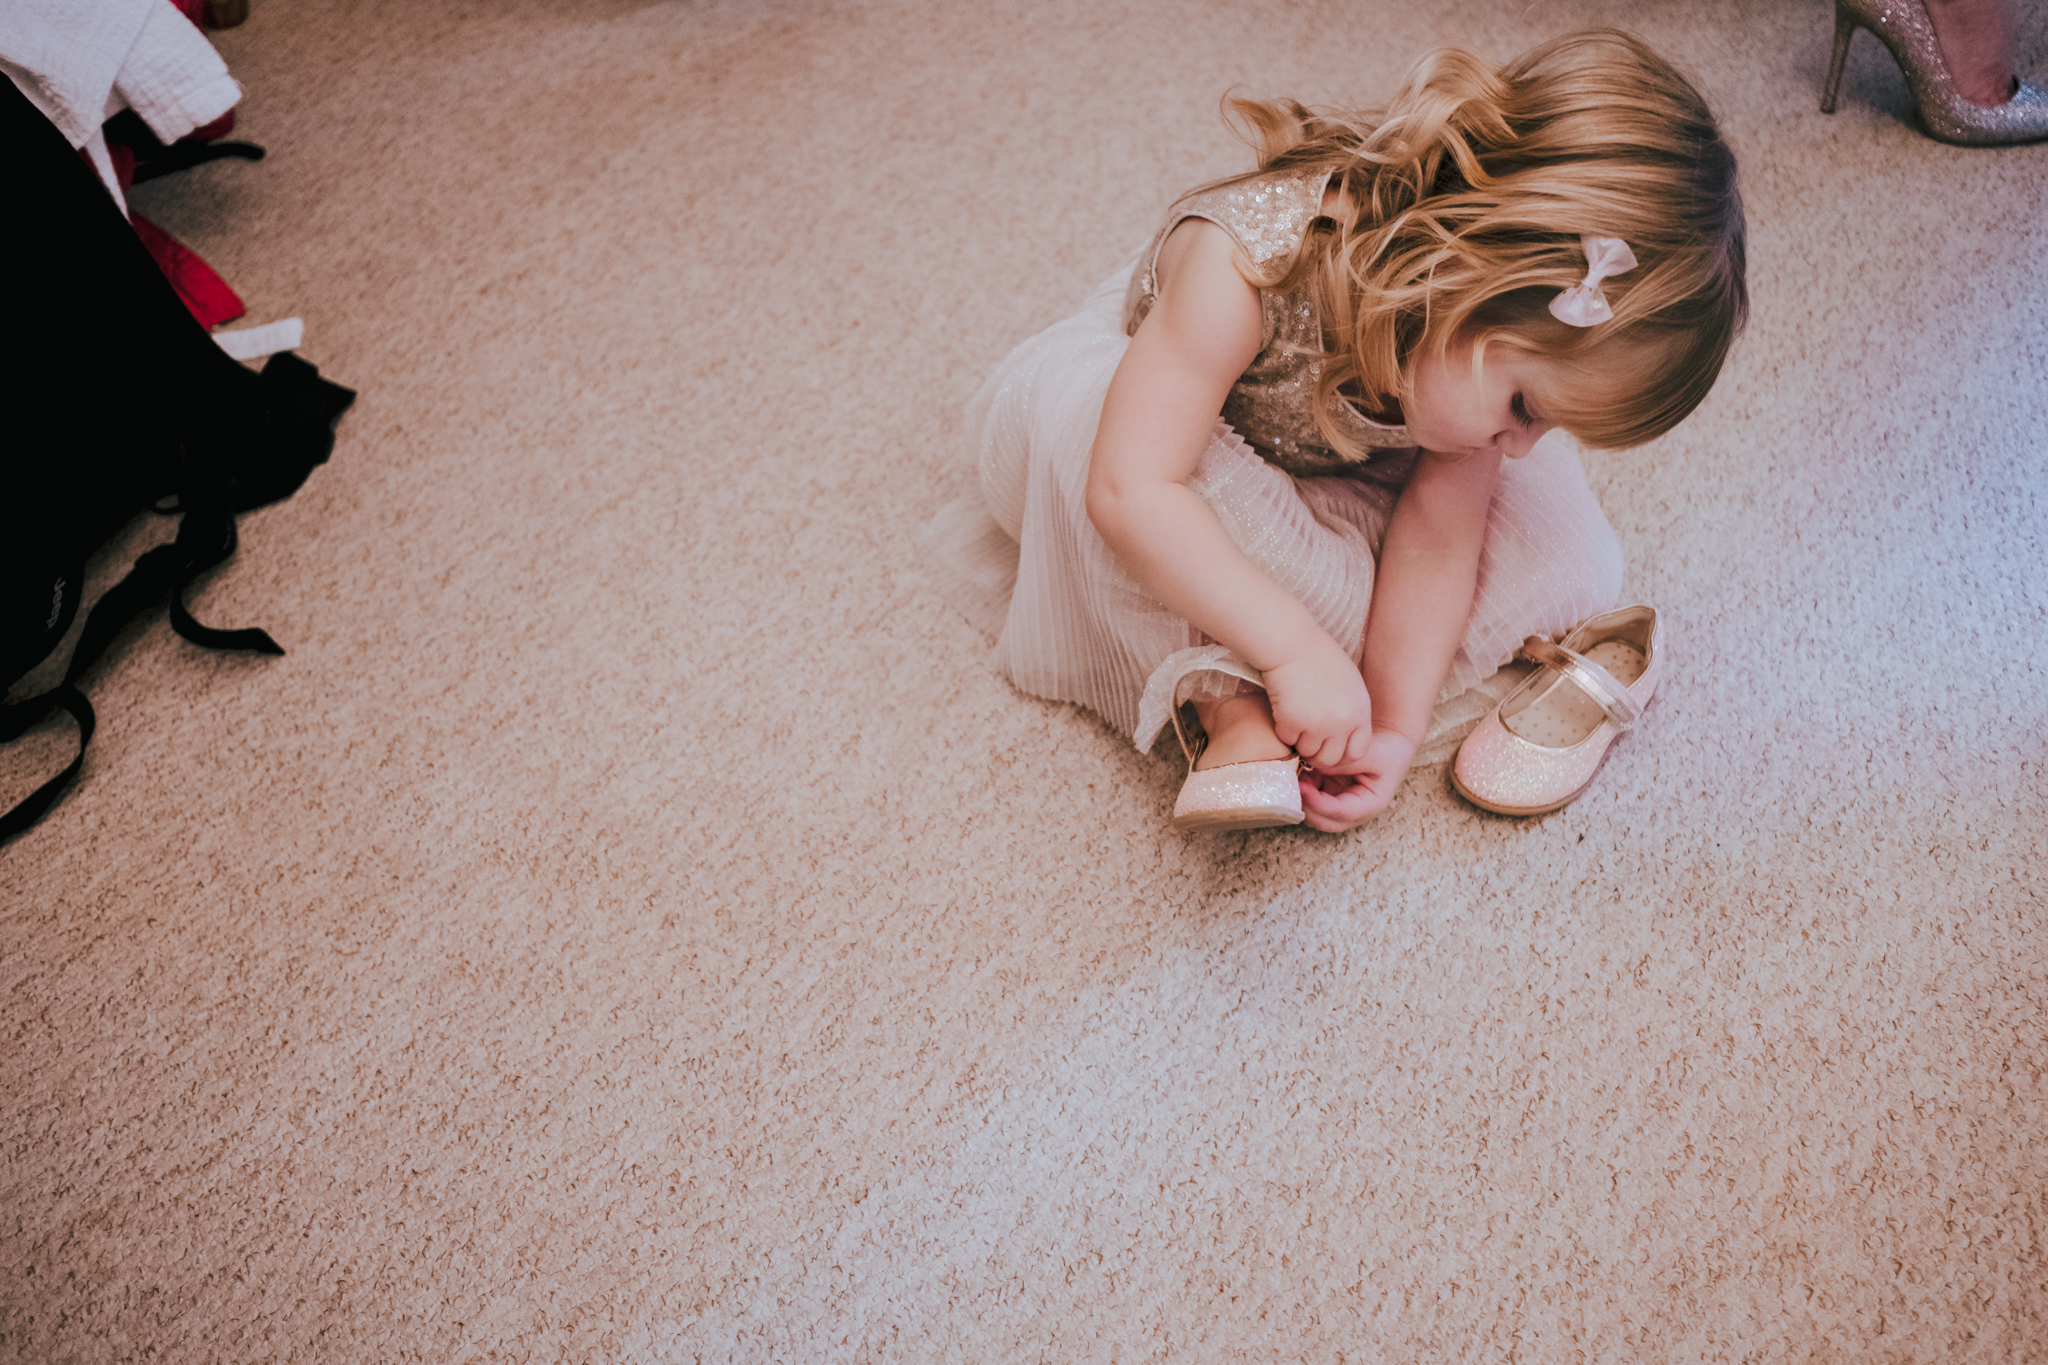
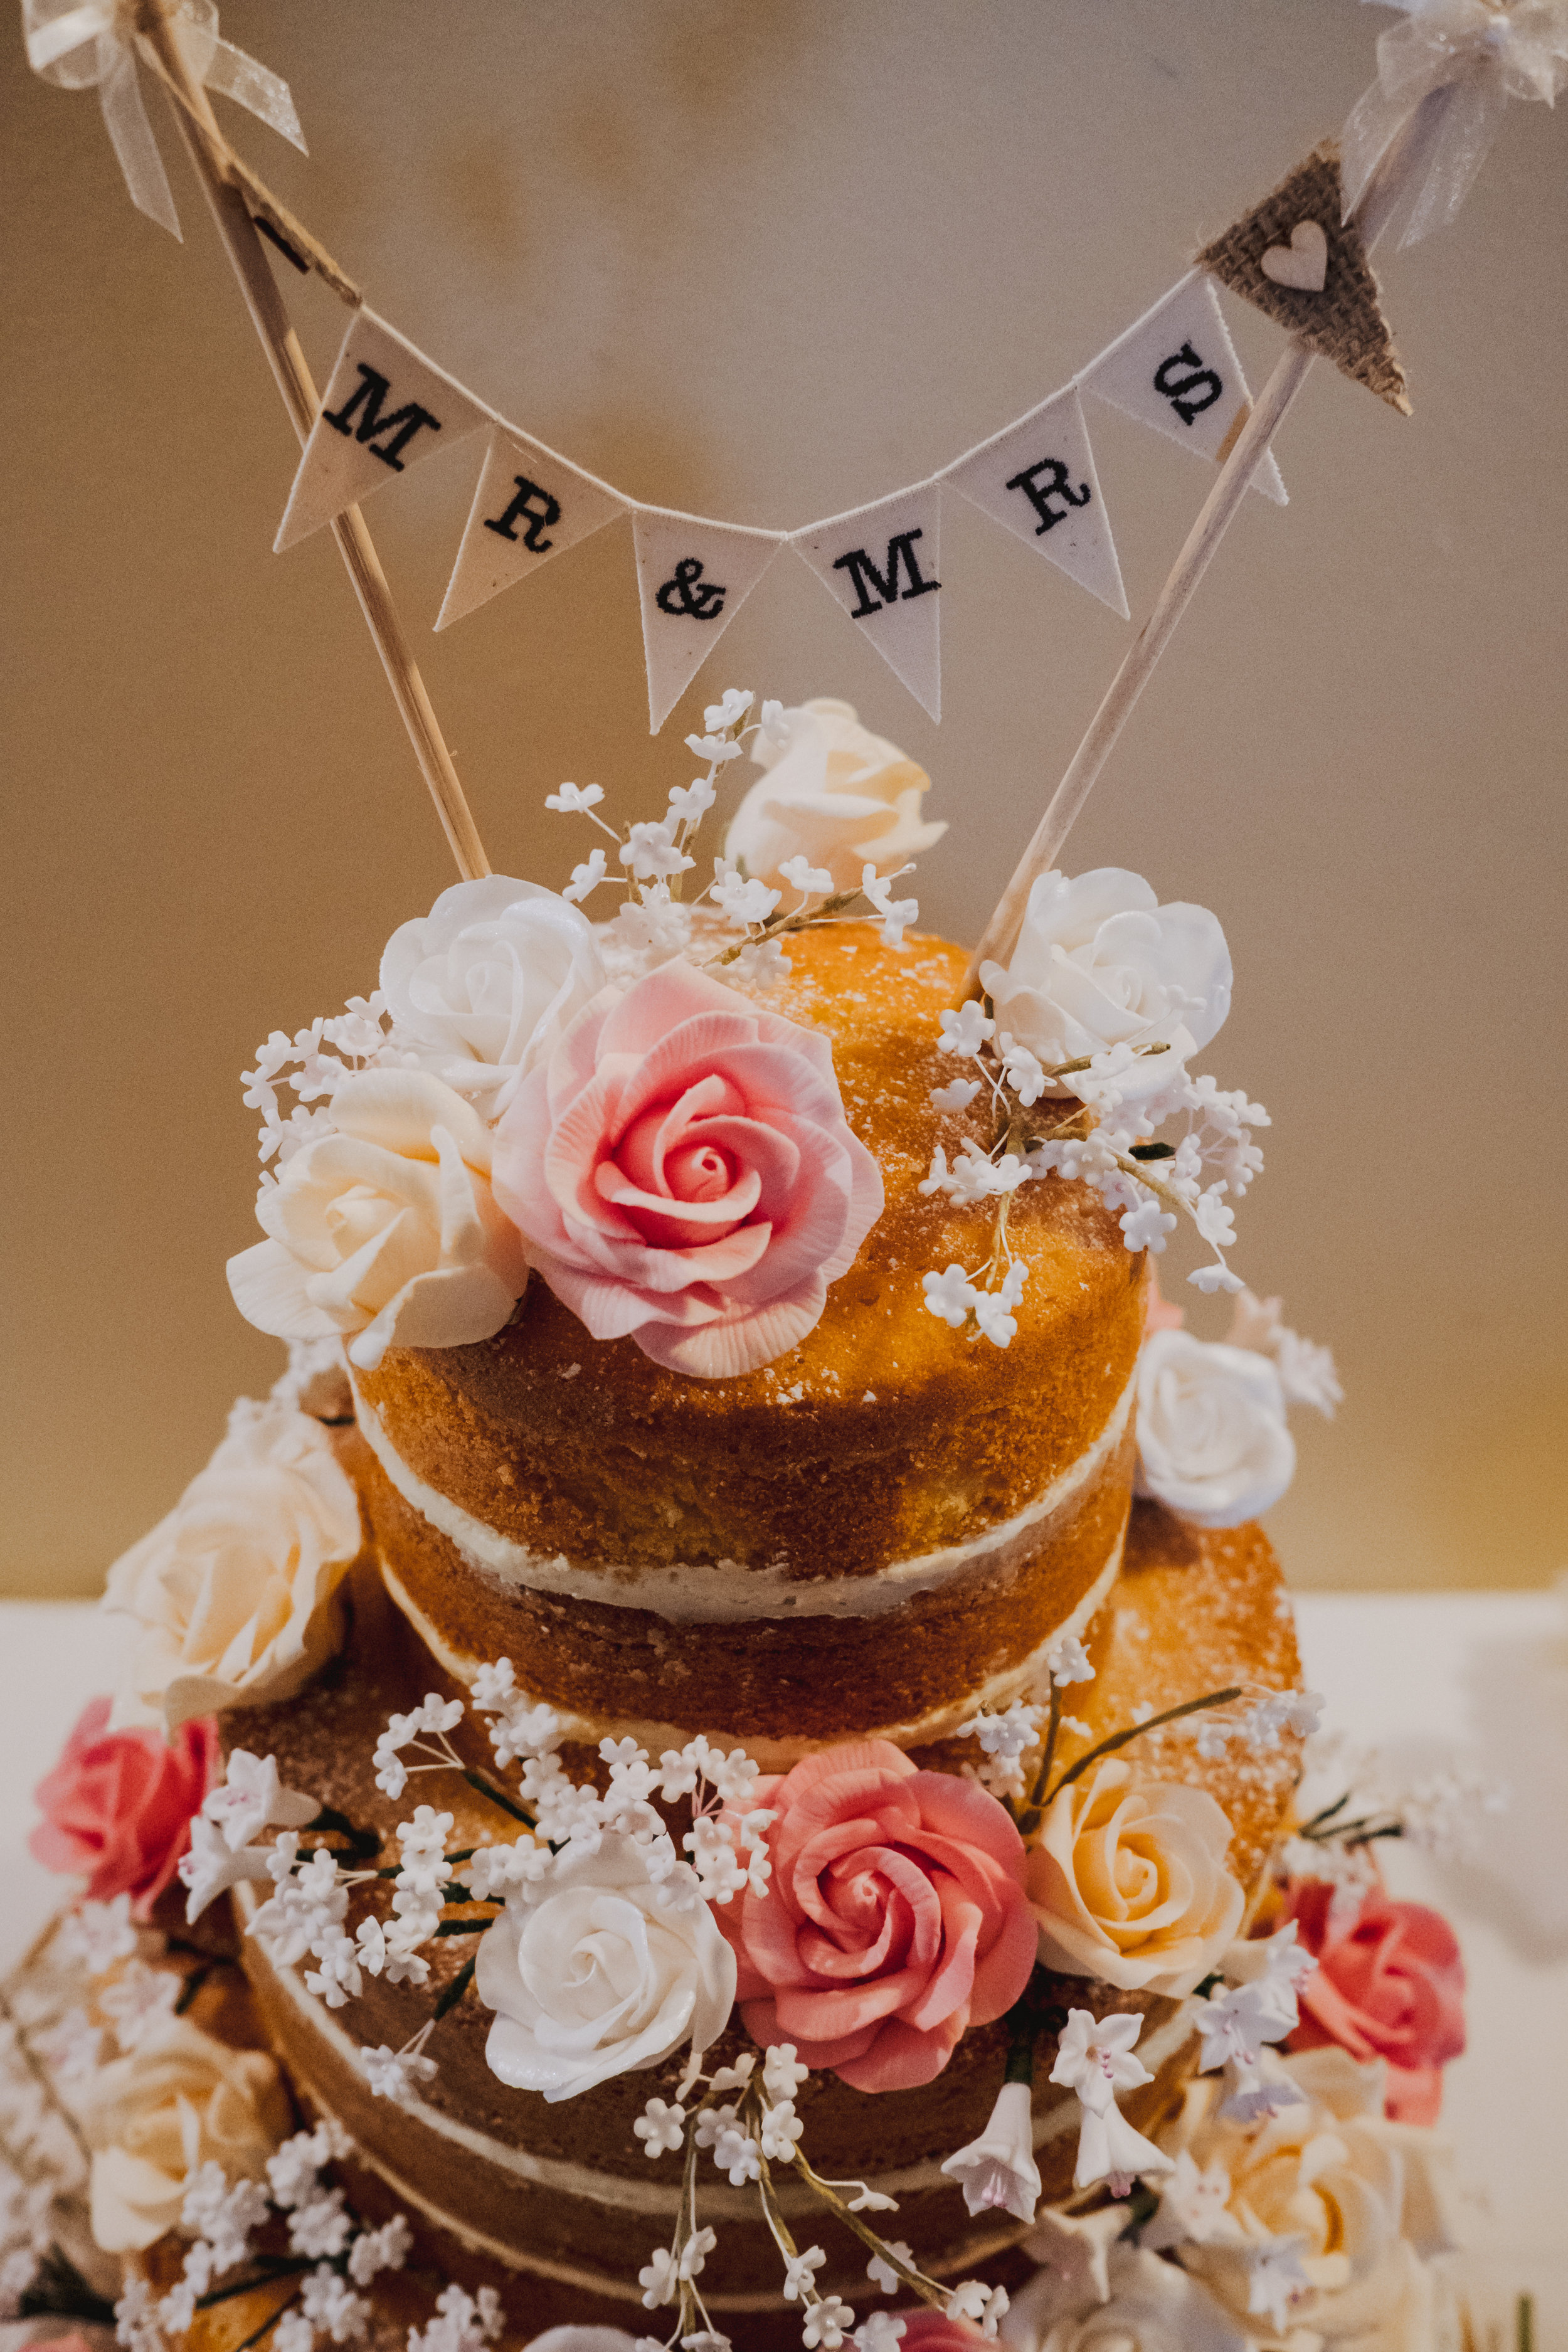
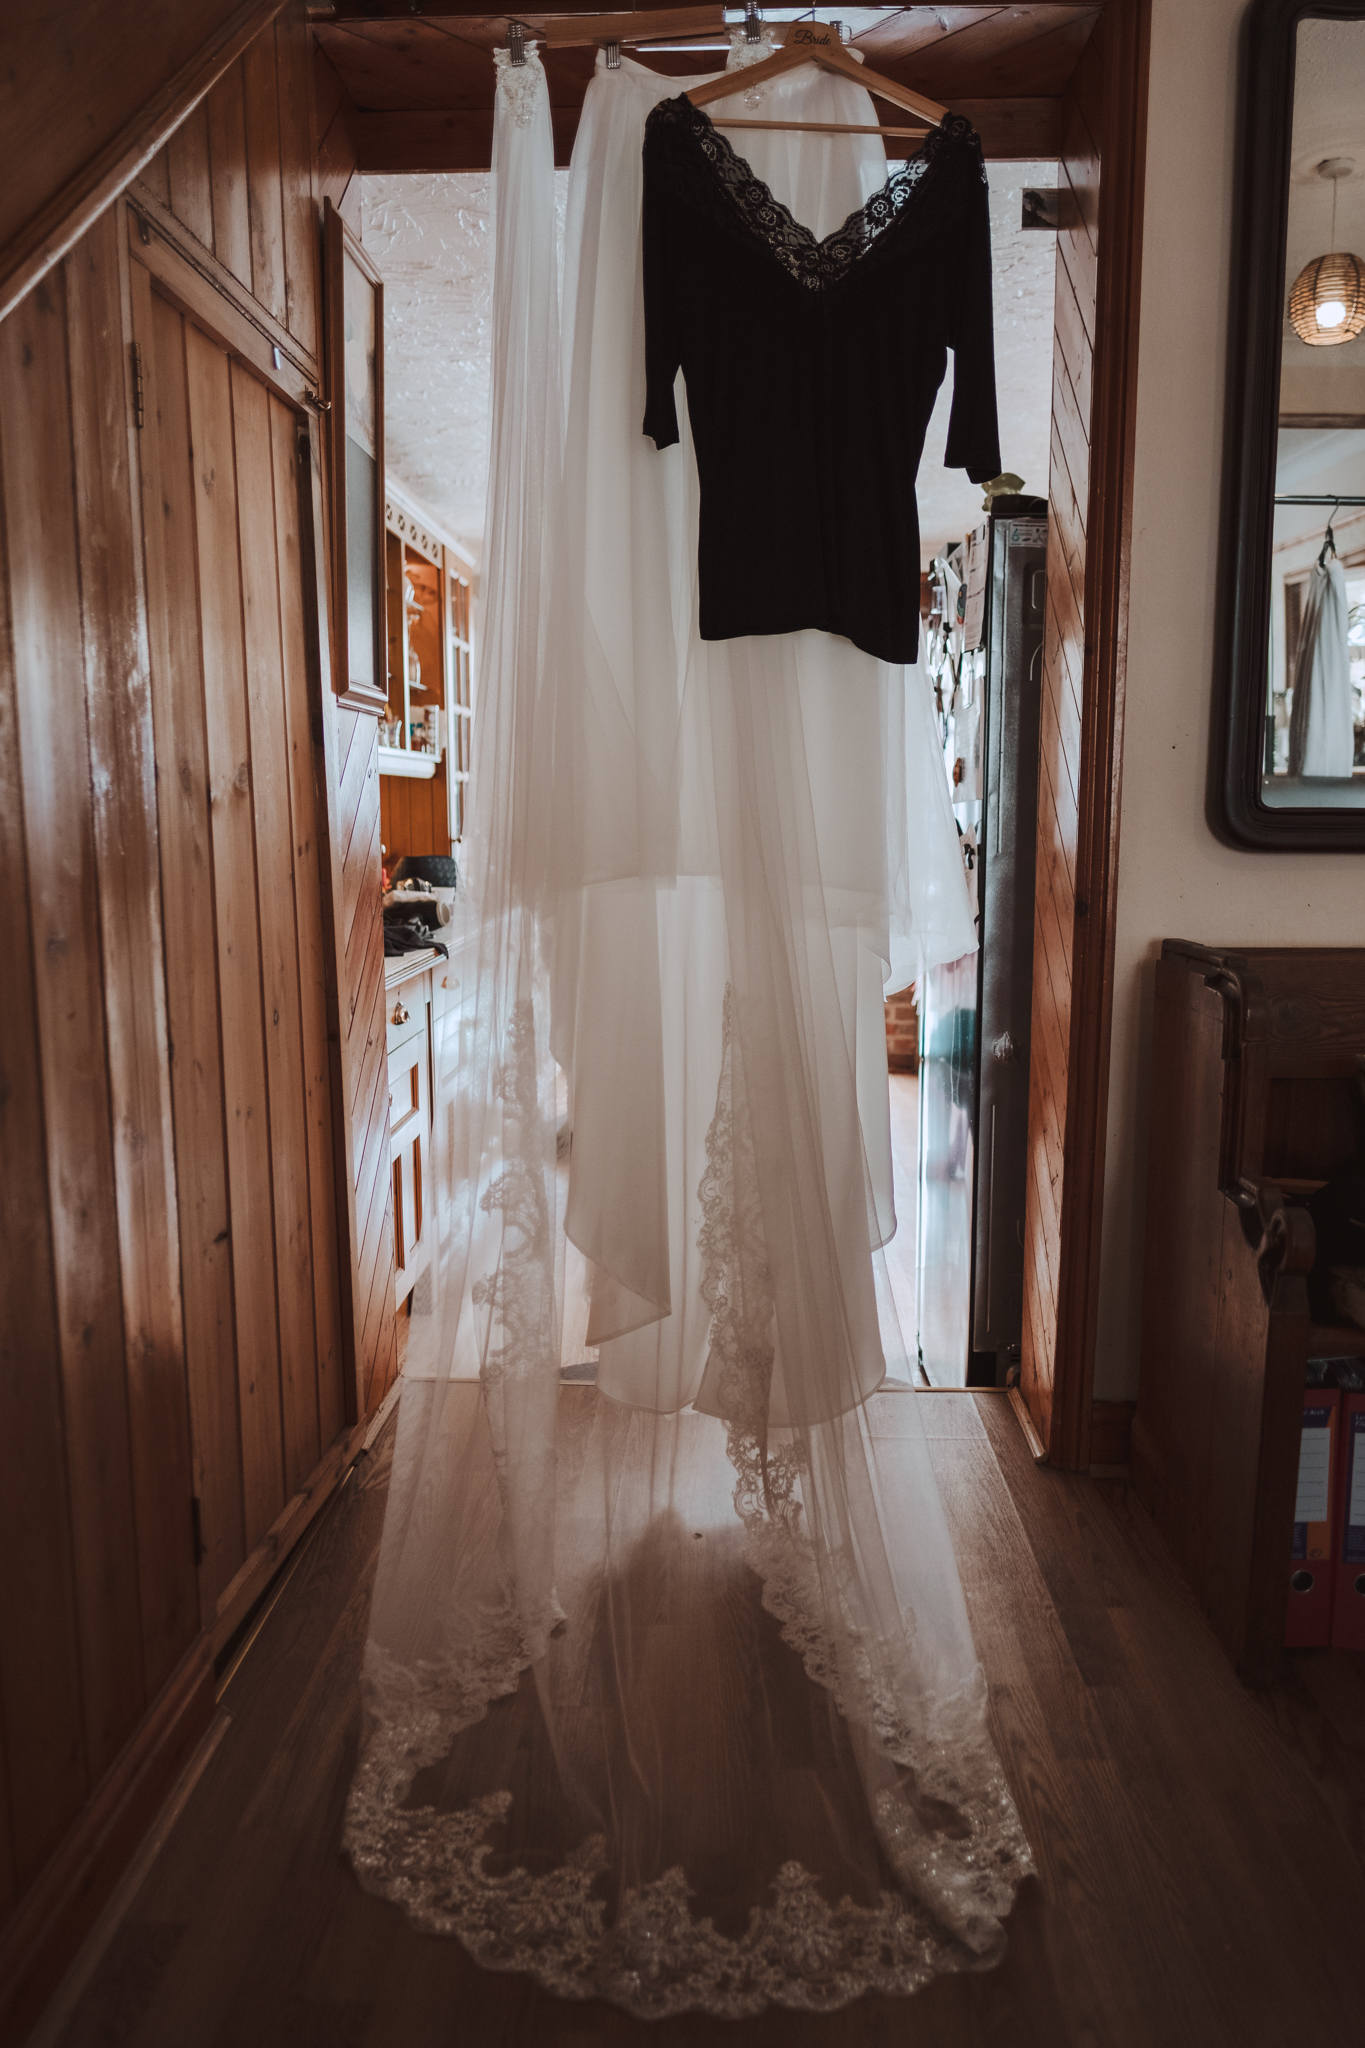
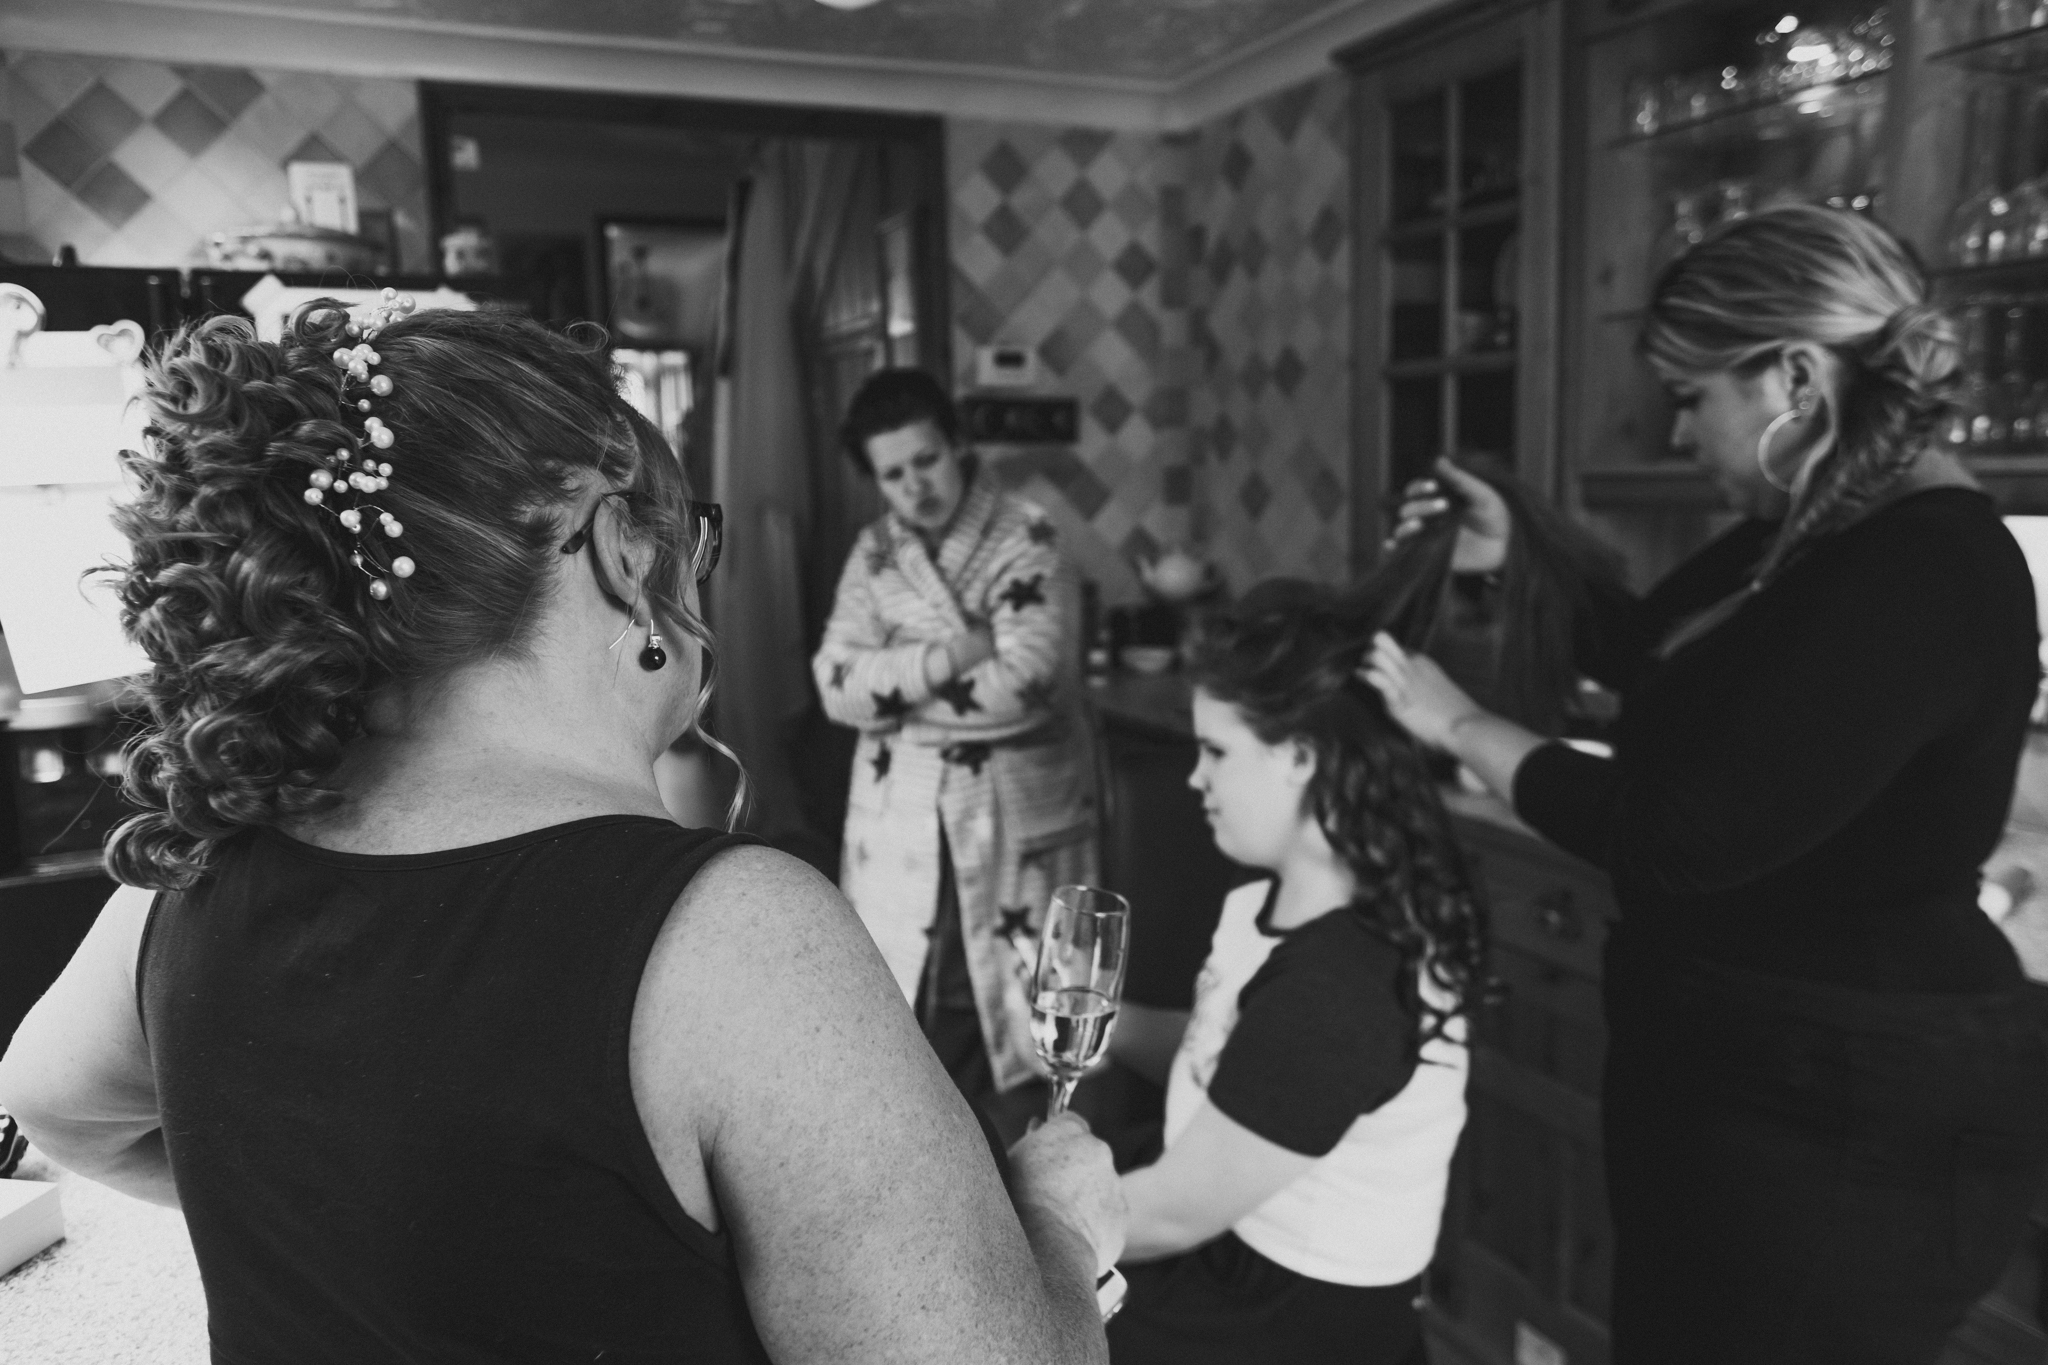
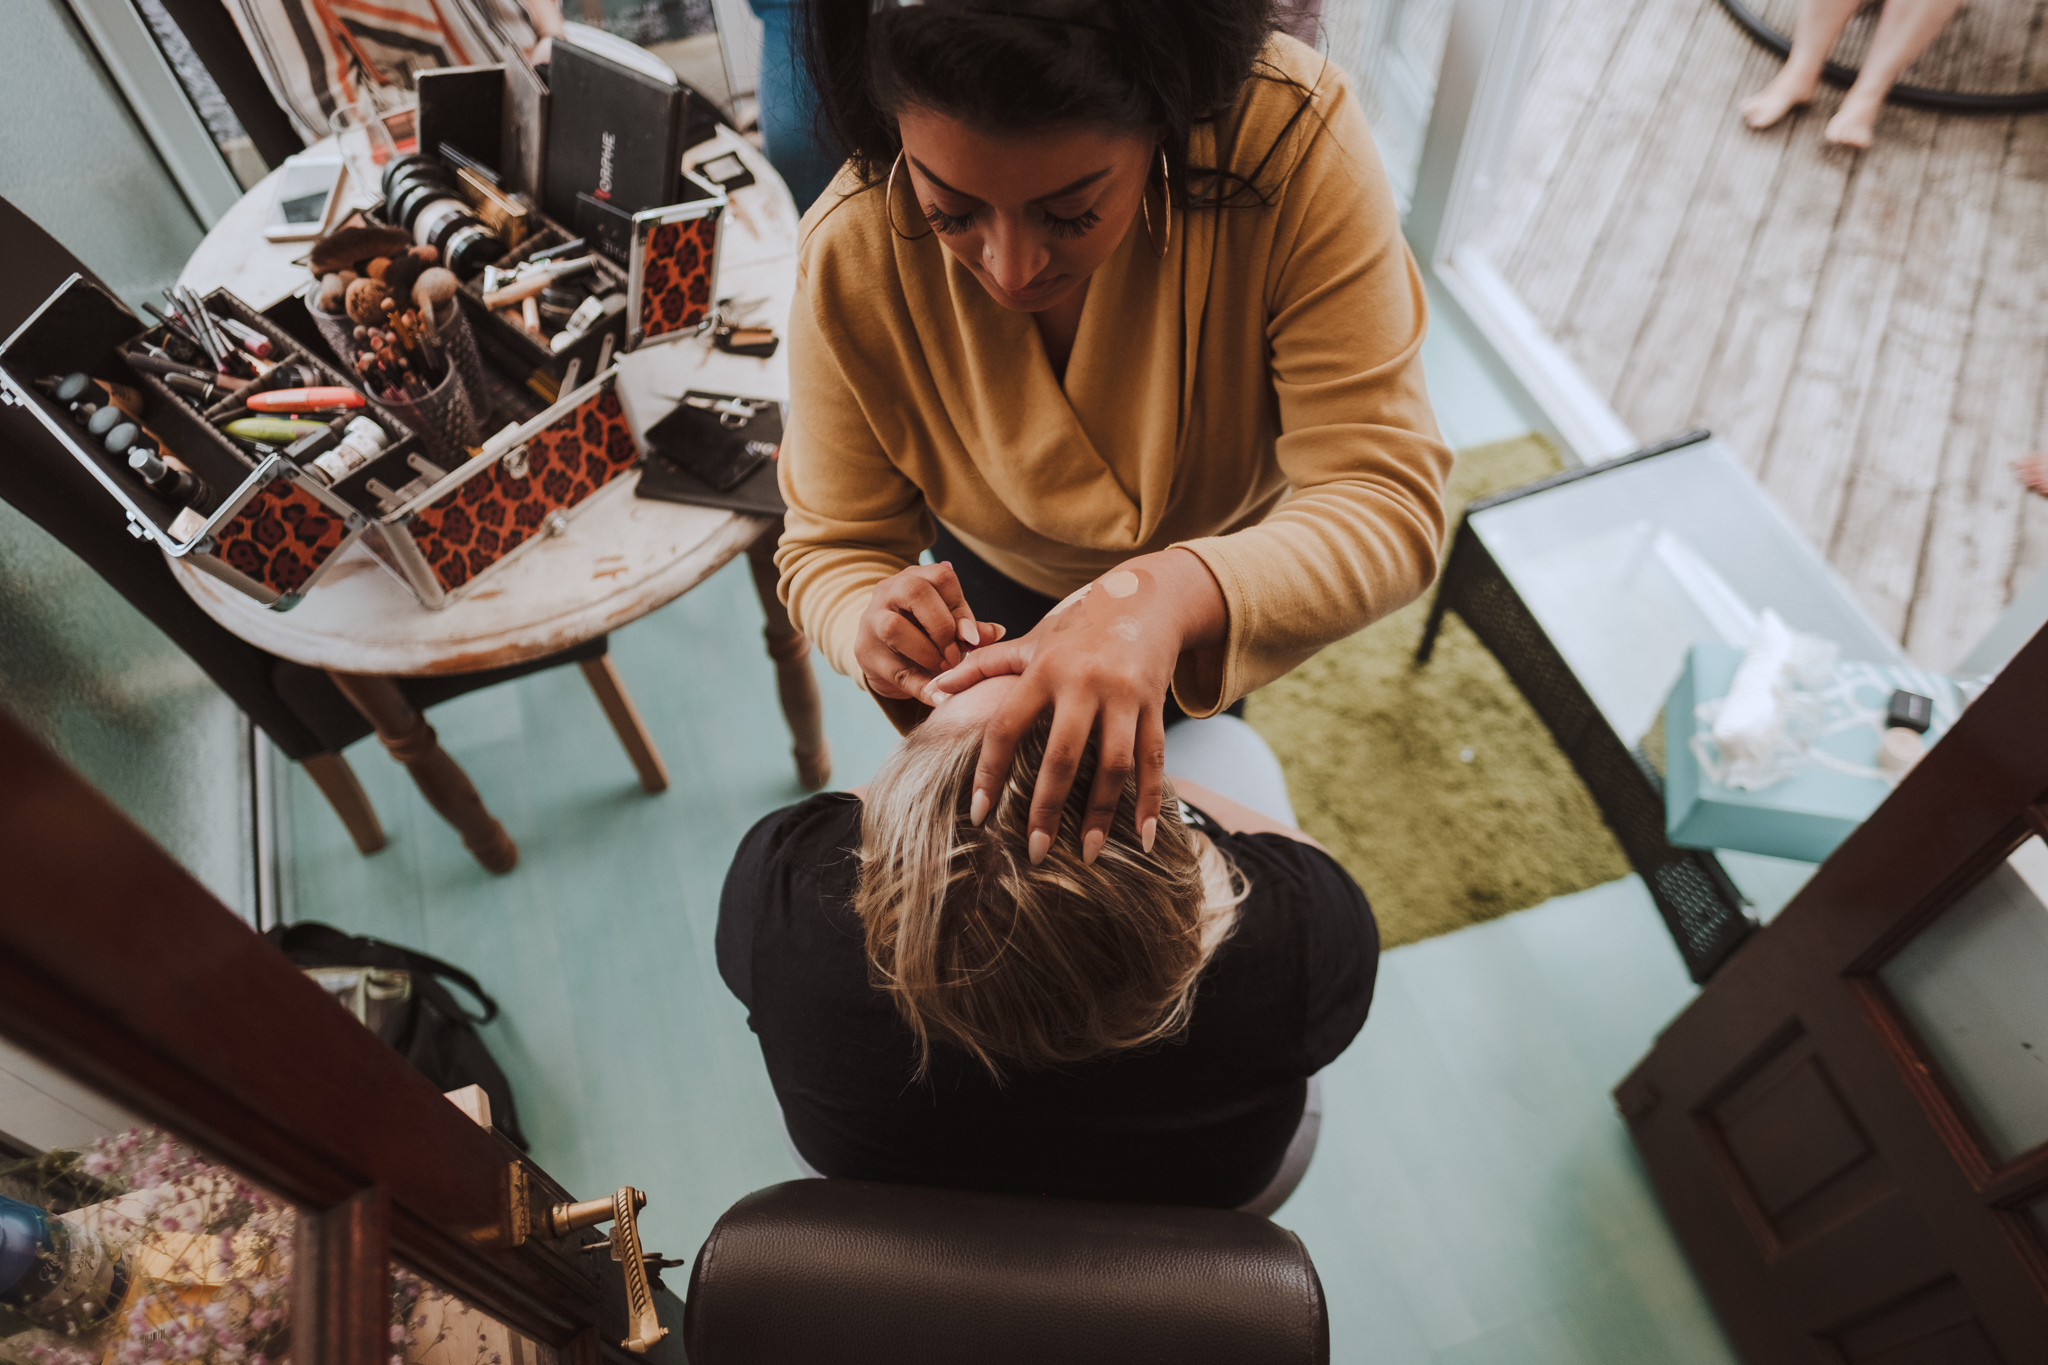
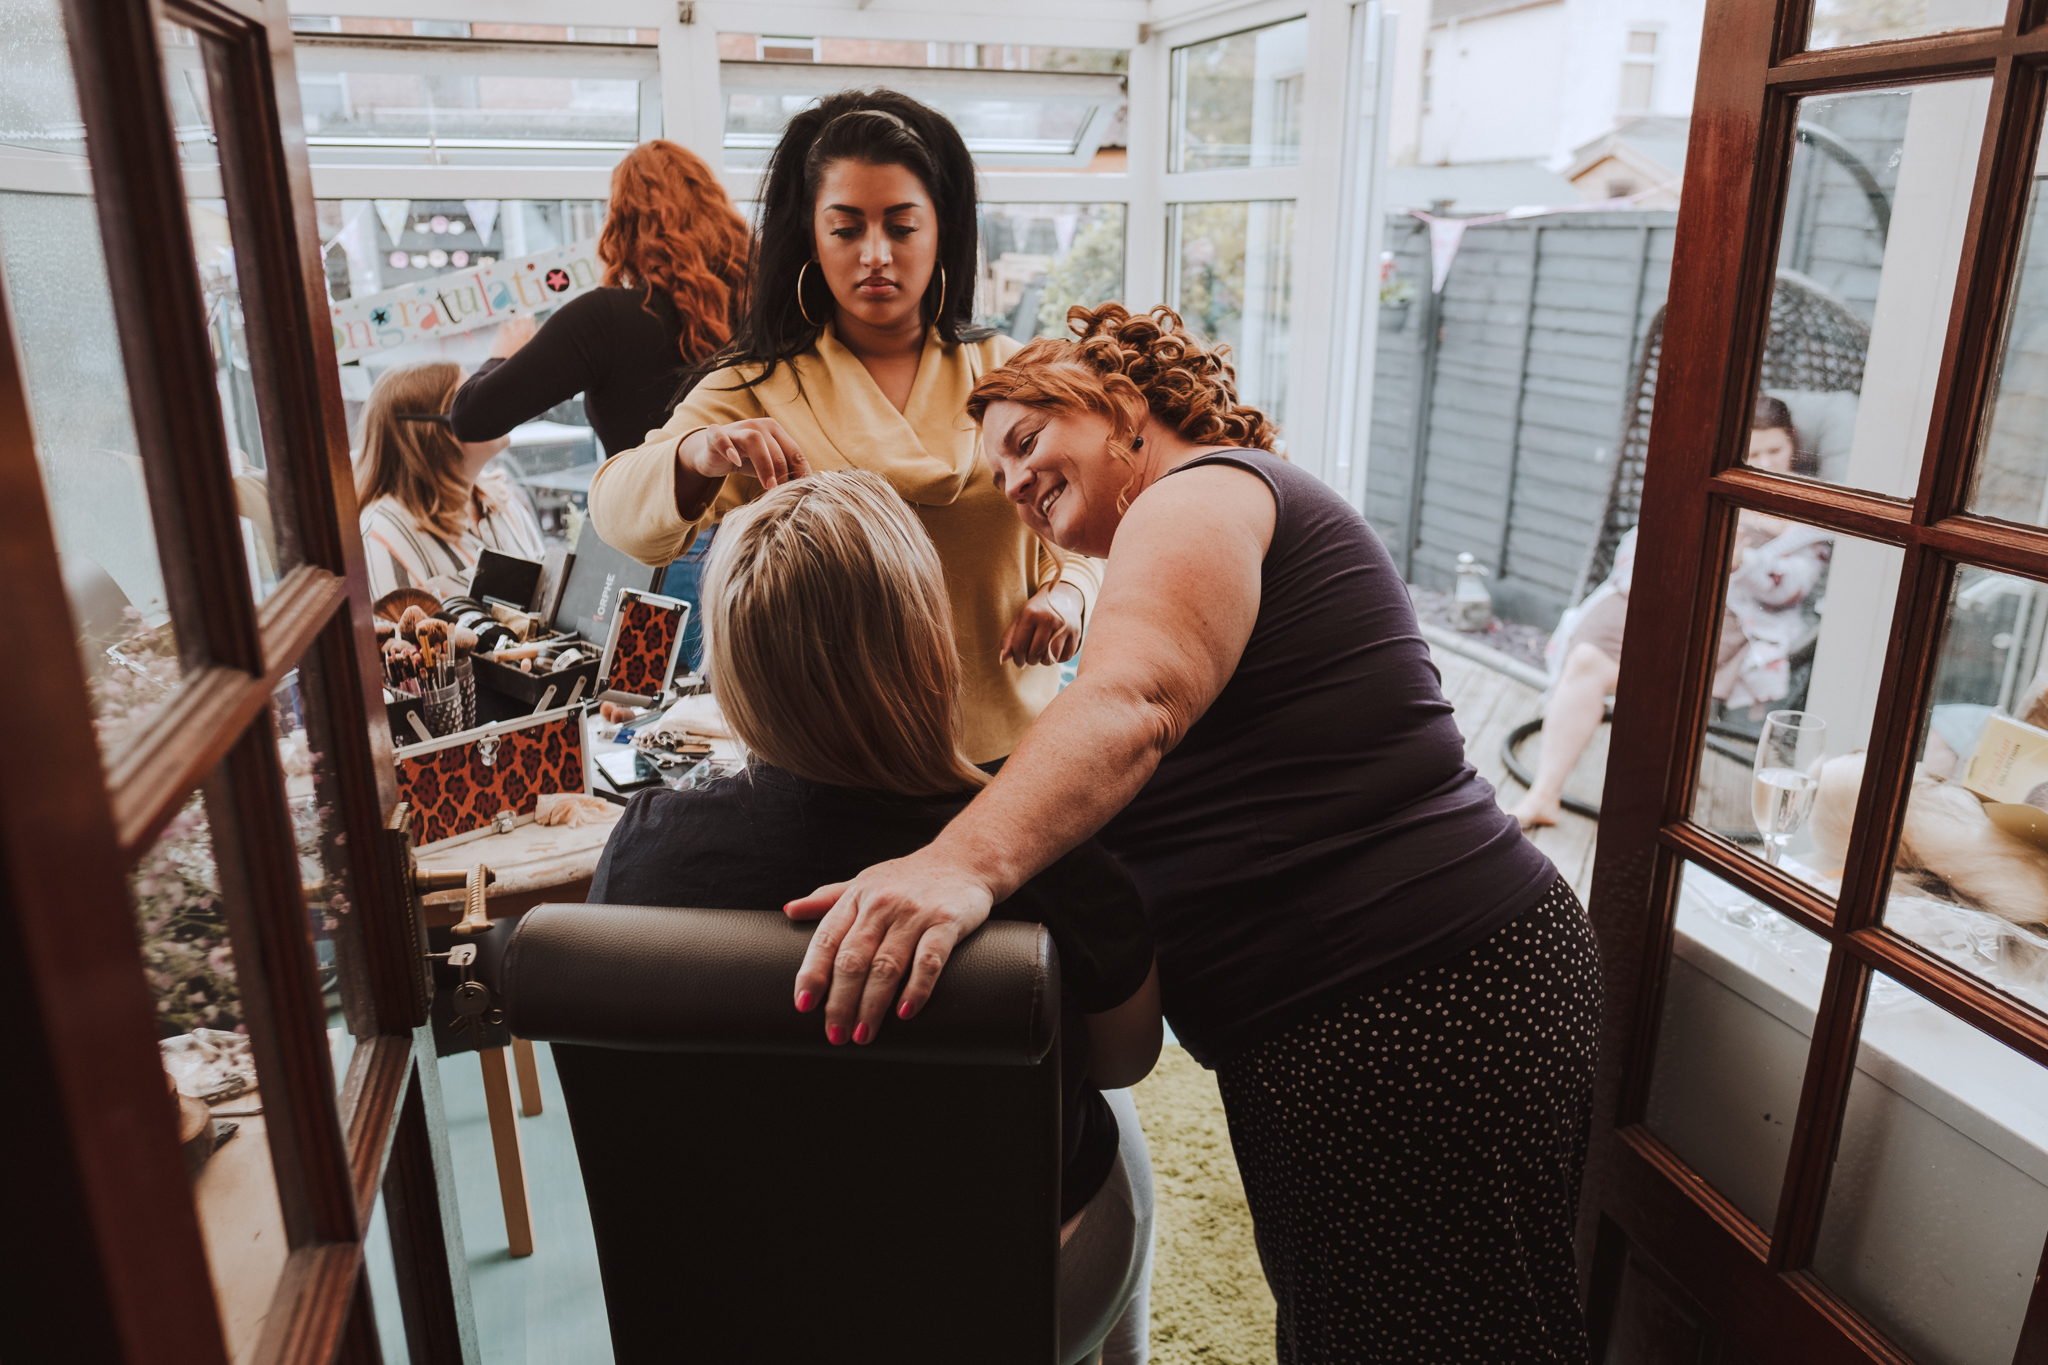
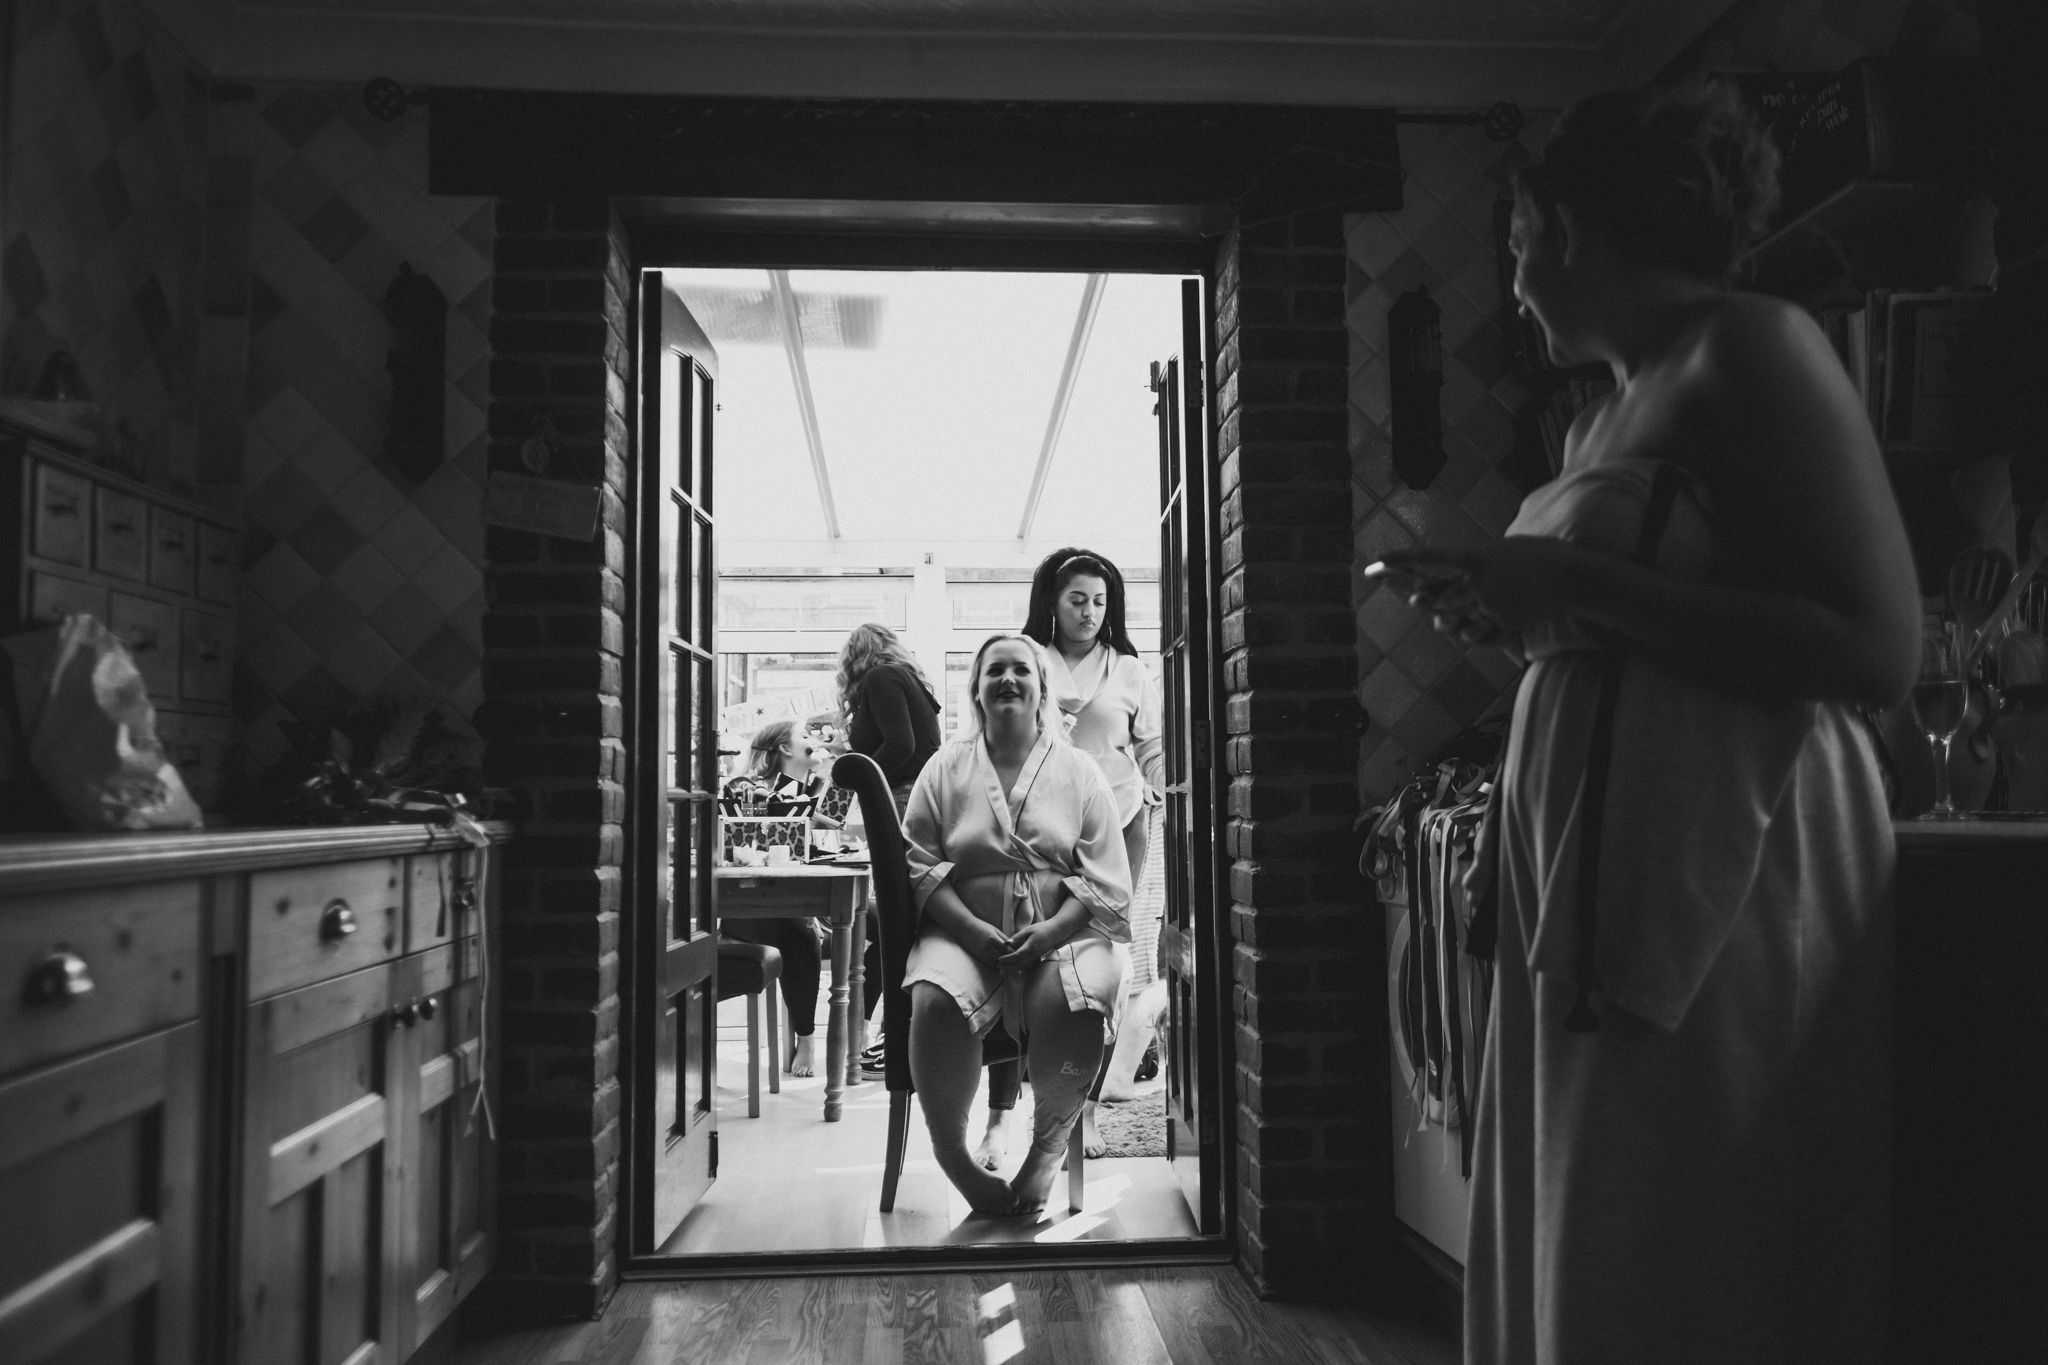
I arrived early in the morning as the bridal party was just waiting around for the make up artist and hair stylist to arrive. The atmosphere was relaxed and jovial. No manic running around or stressed out family members. I loved the fact there was an iPod playing in the background which was filled with and playing classic rock tunes that I loved myself. It always helps make a better environment with music playing. Capturing the goings on of the preparations was a enjoyable and laid back affair, I took the time to capture all the little details that Chelsea and nick had put into a lot of time and effort into. Things like the pendants for flower decorations. Everything had a reason as it was building up a story for the day.
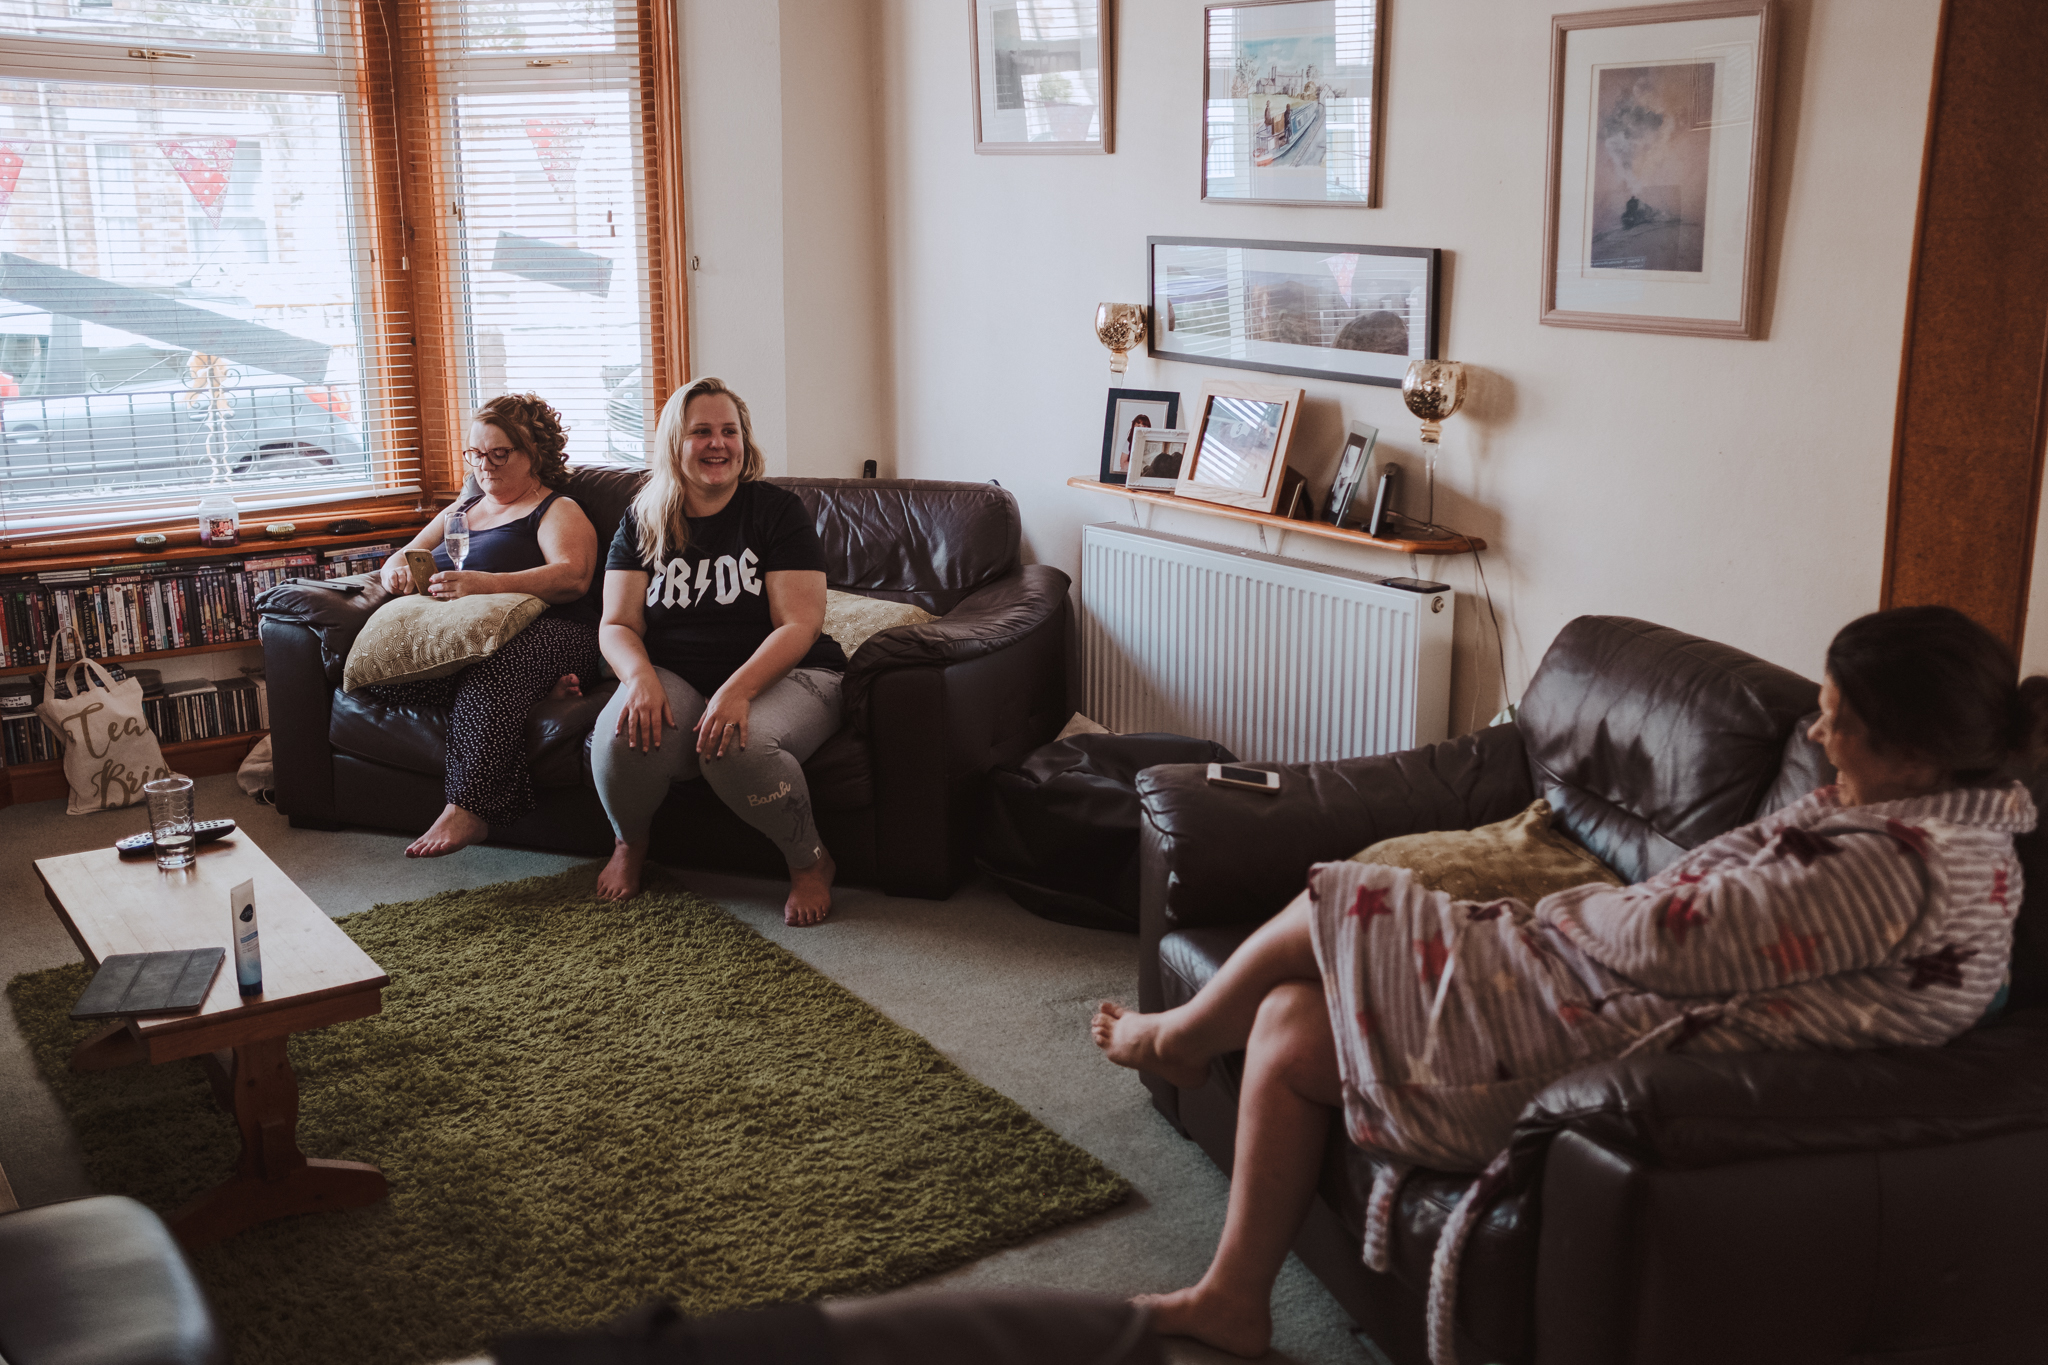

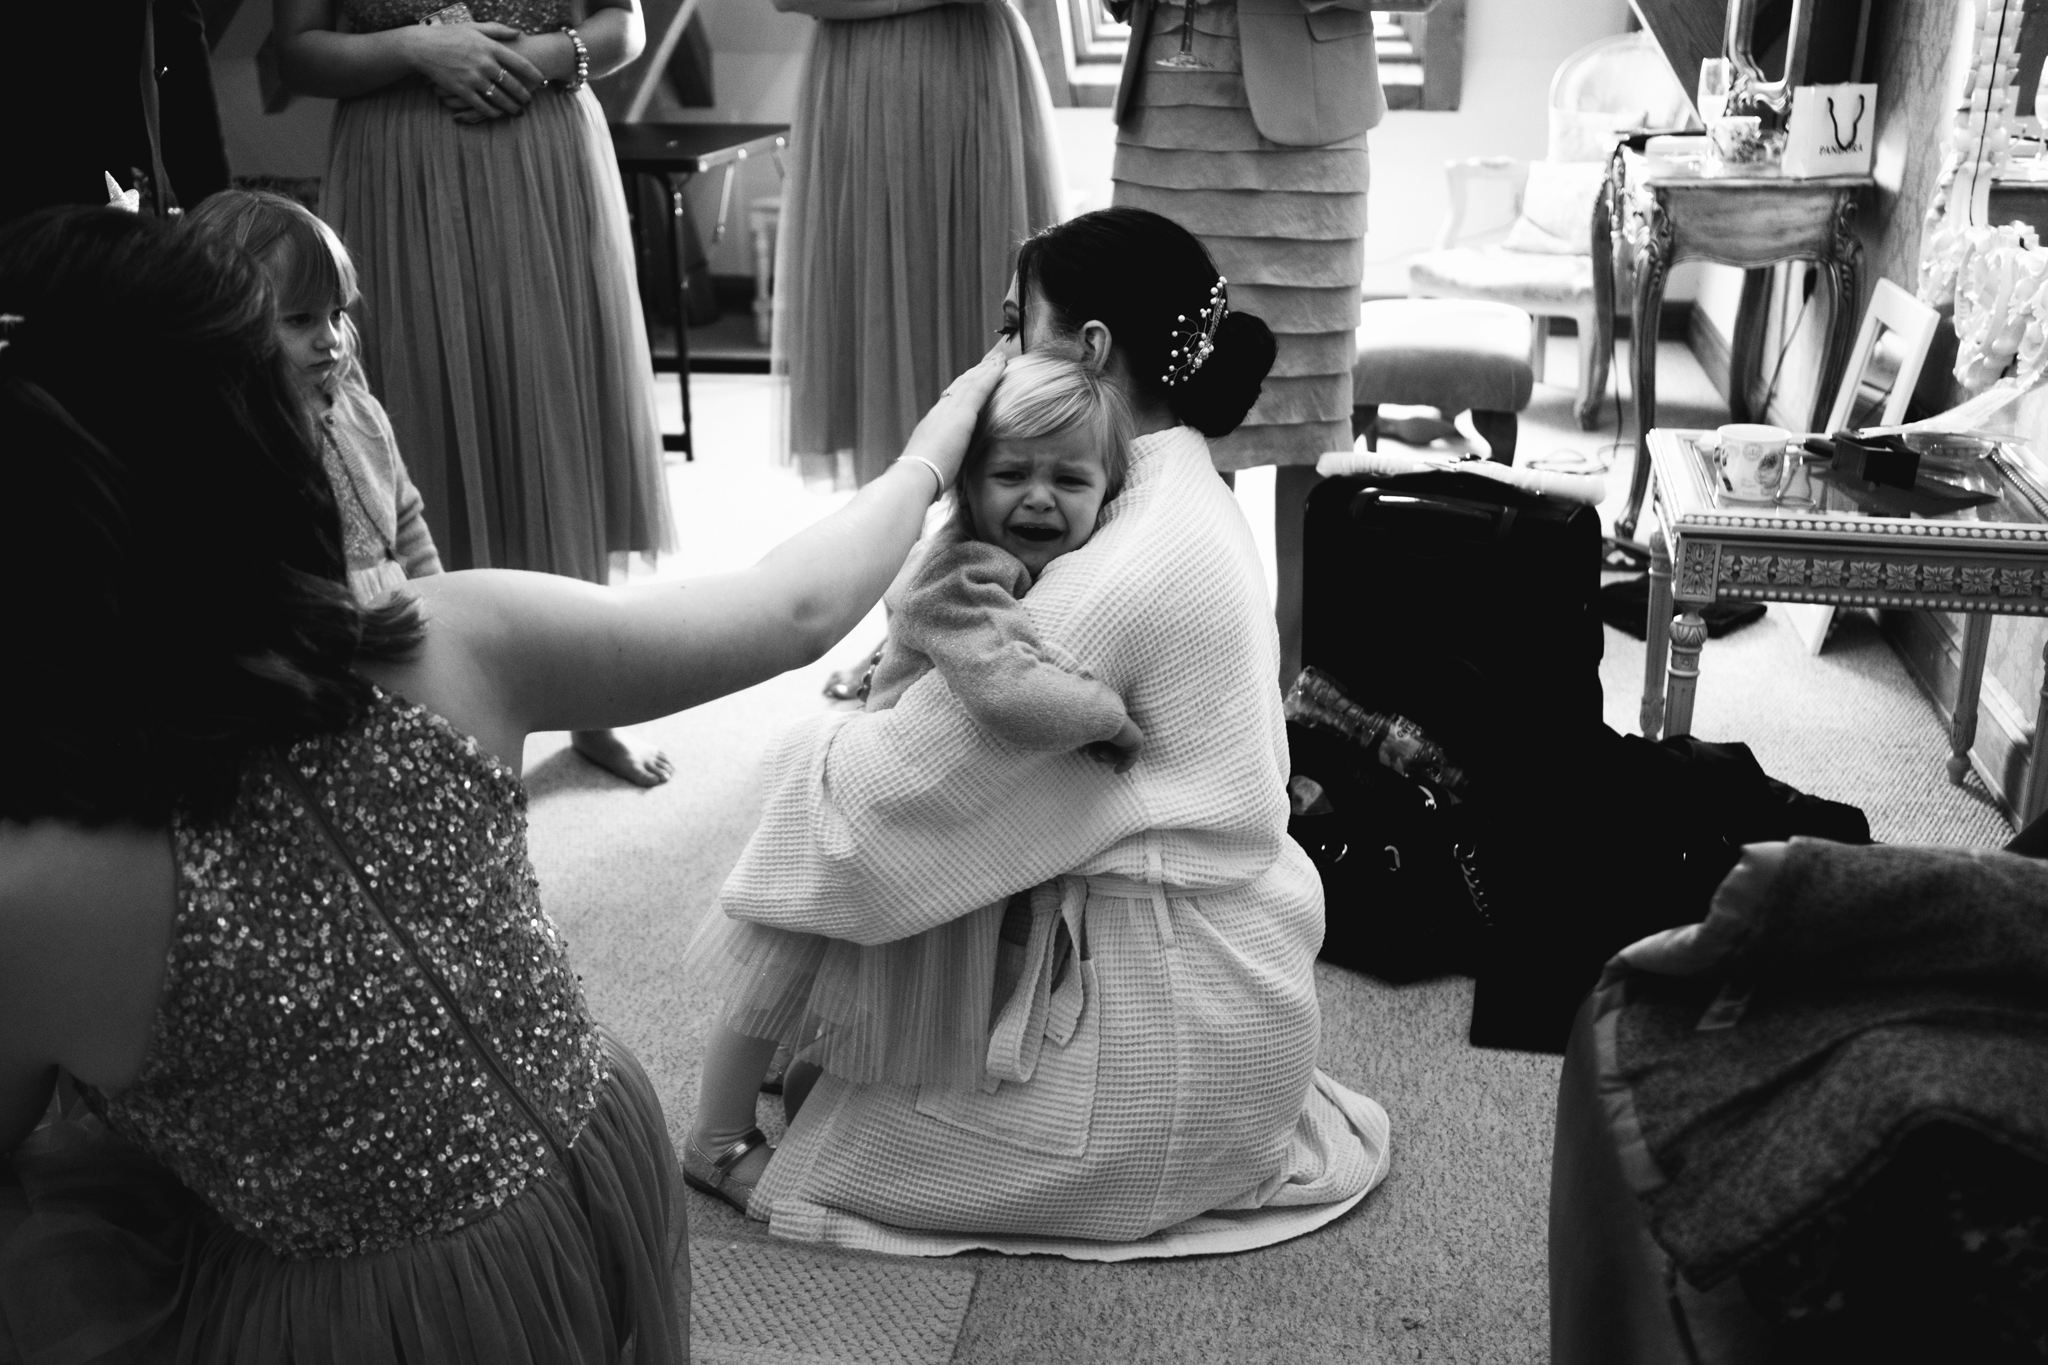
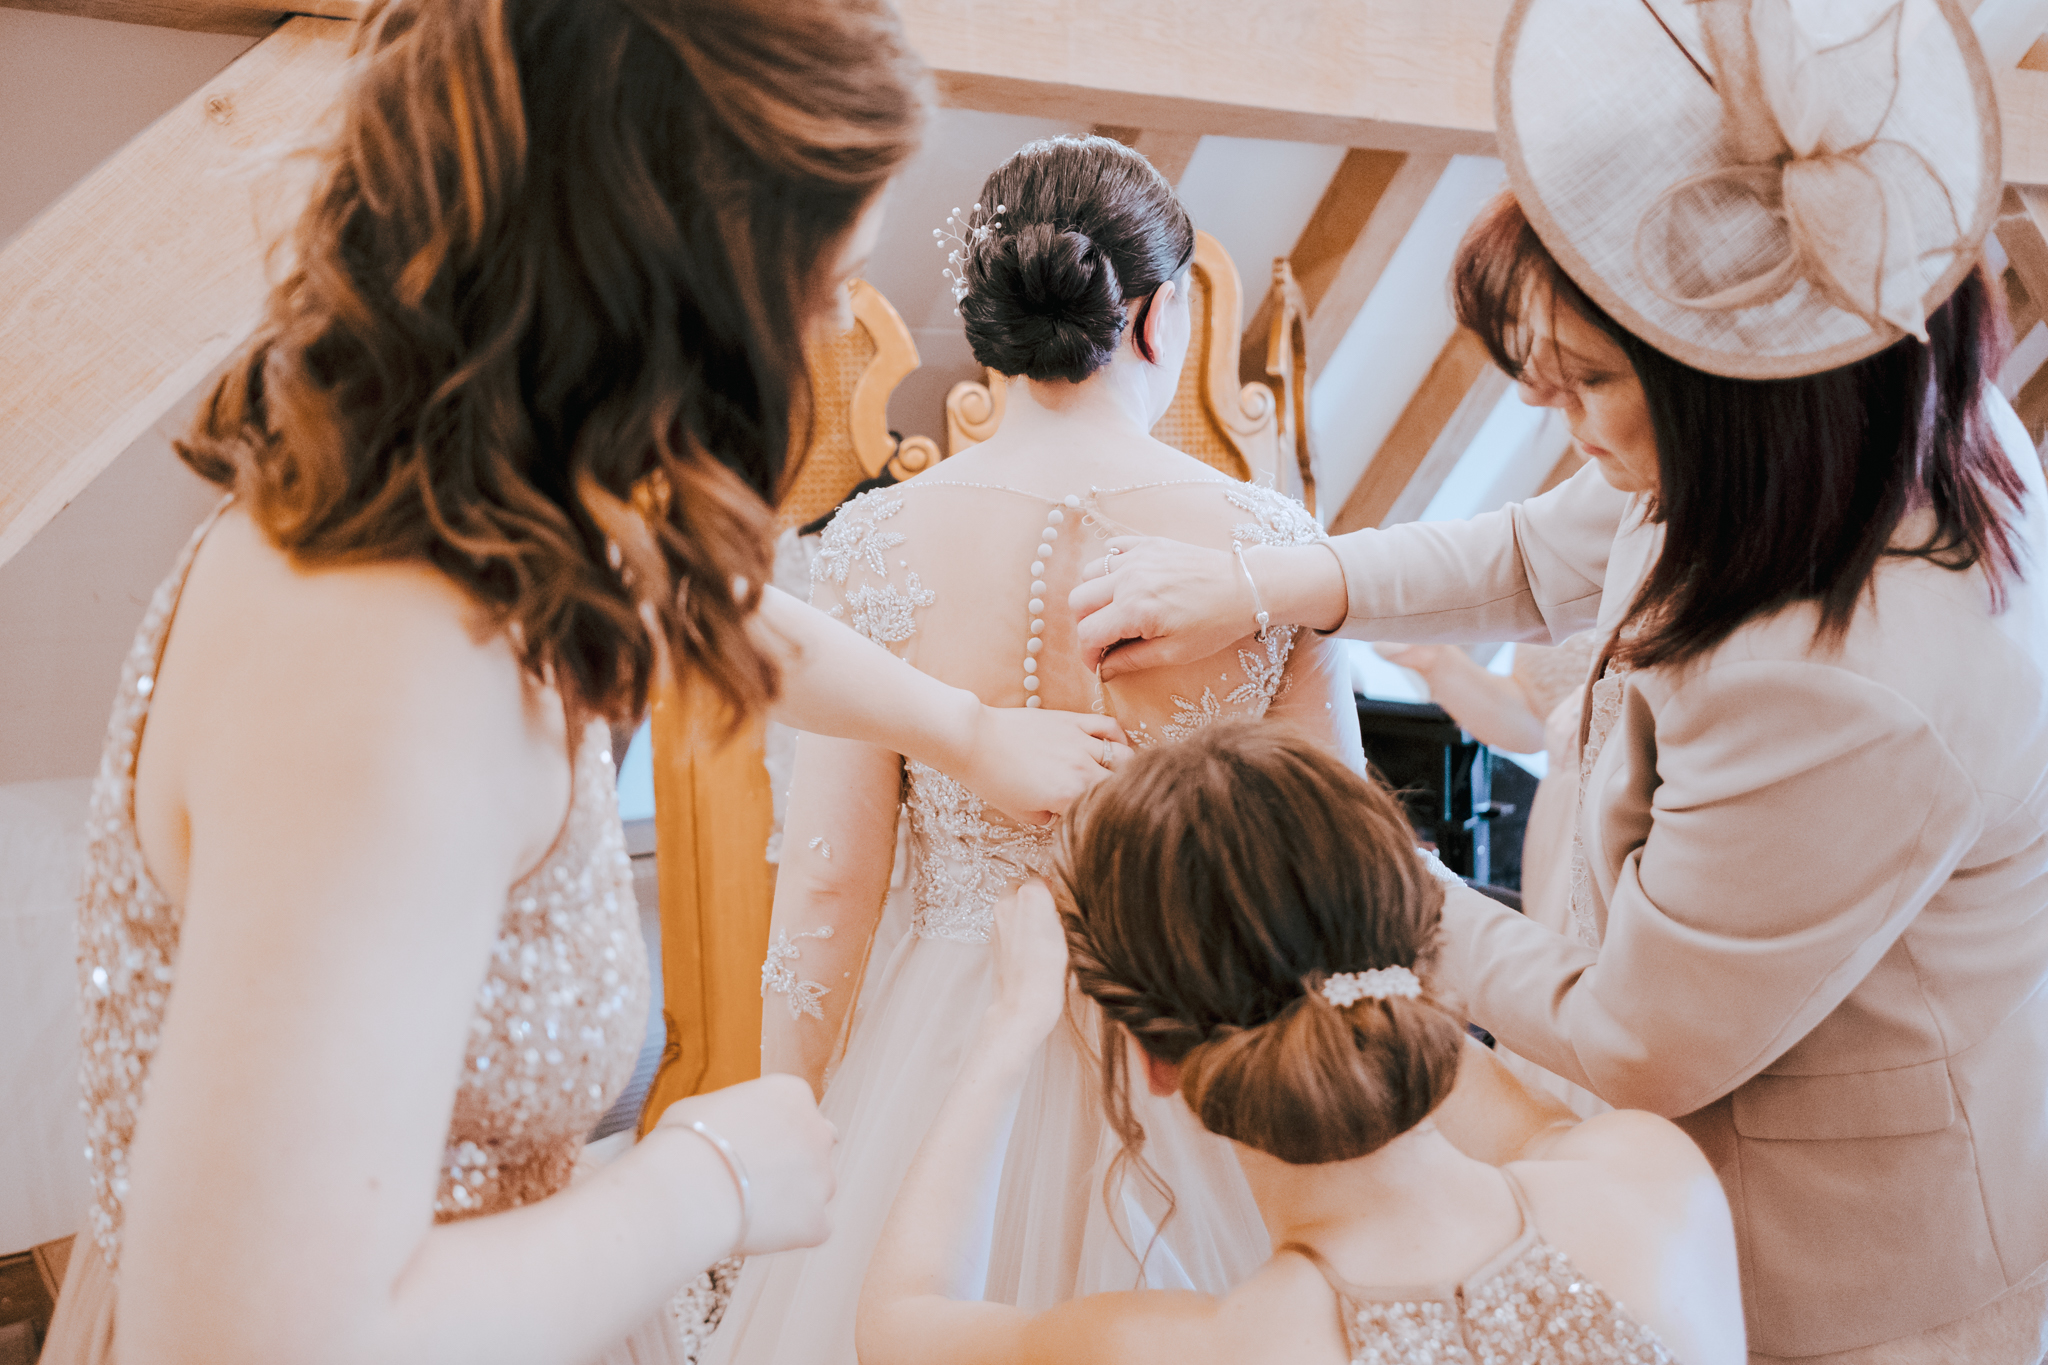
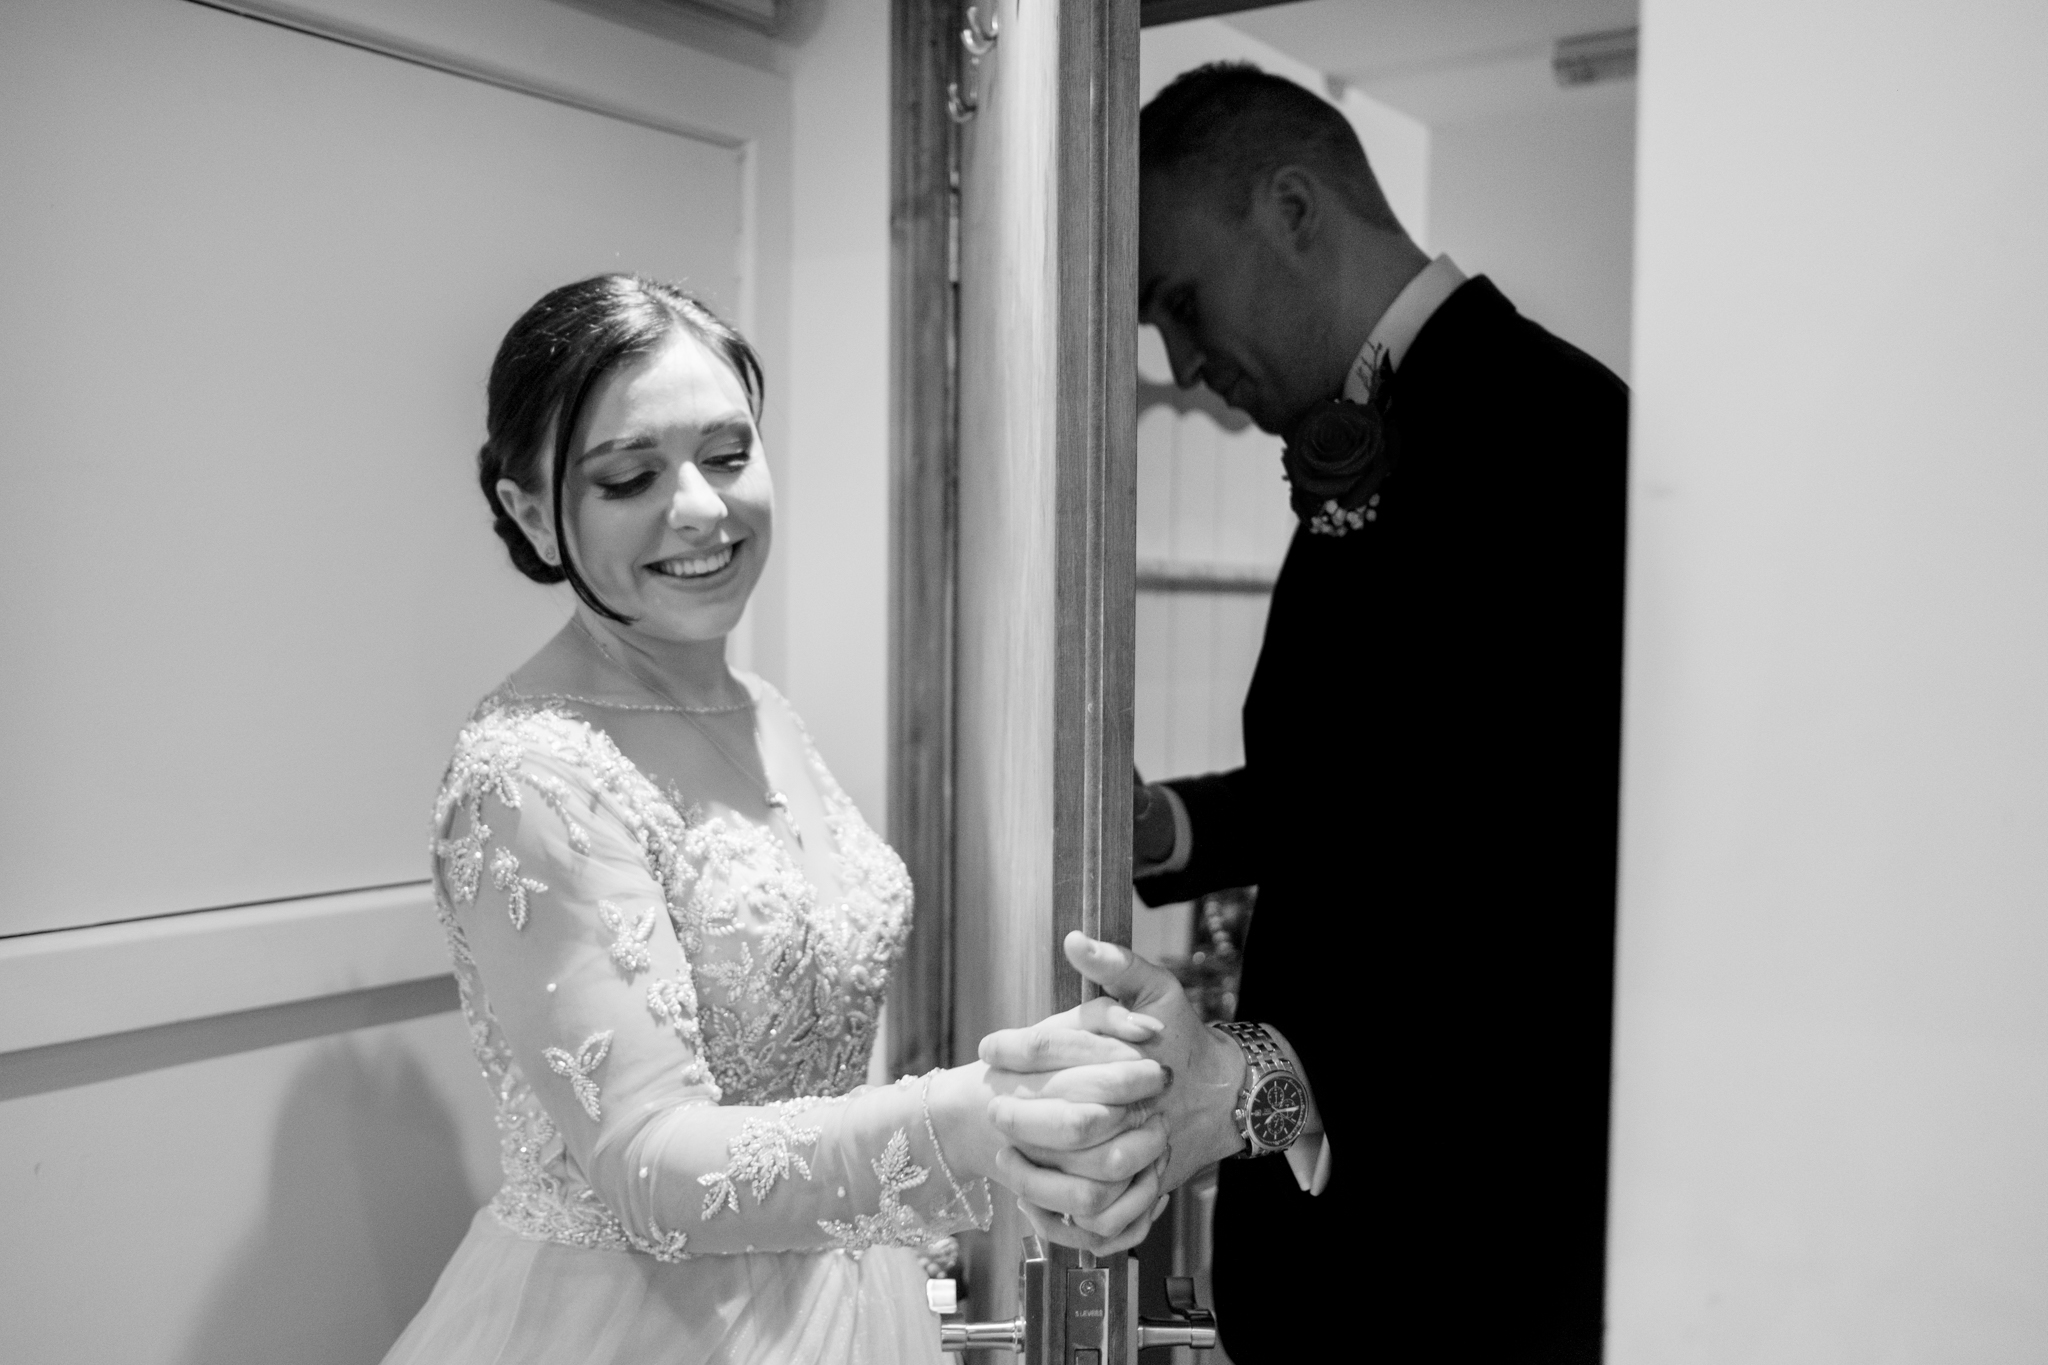
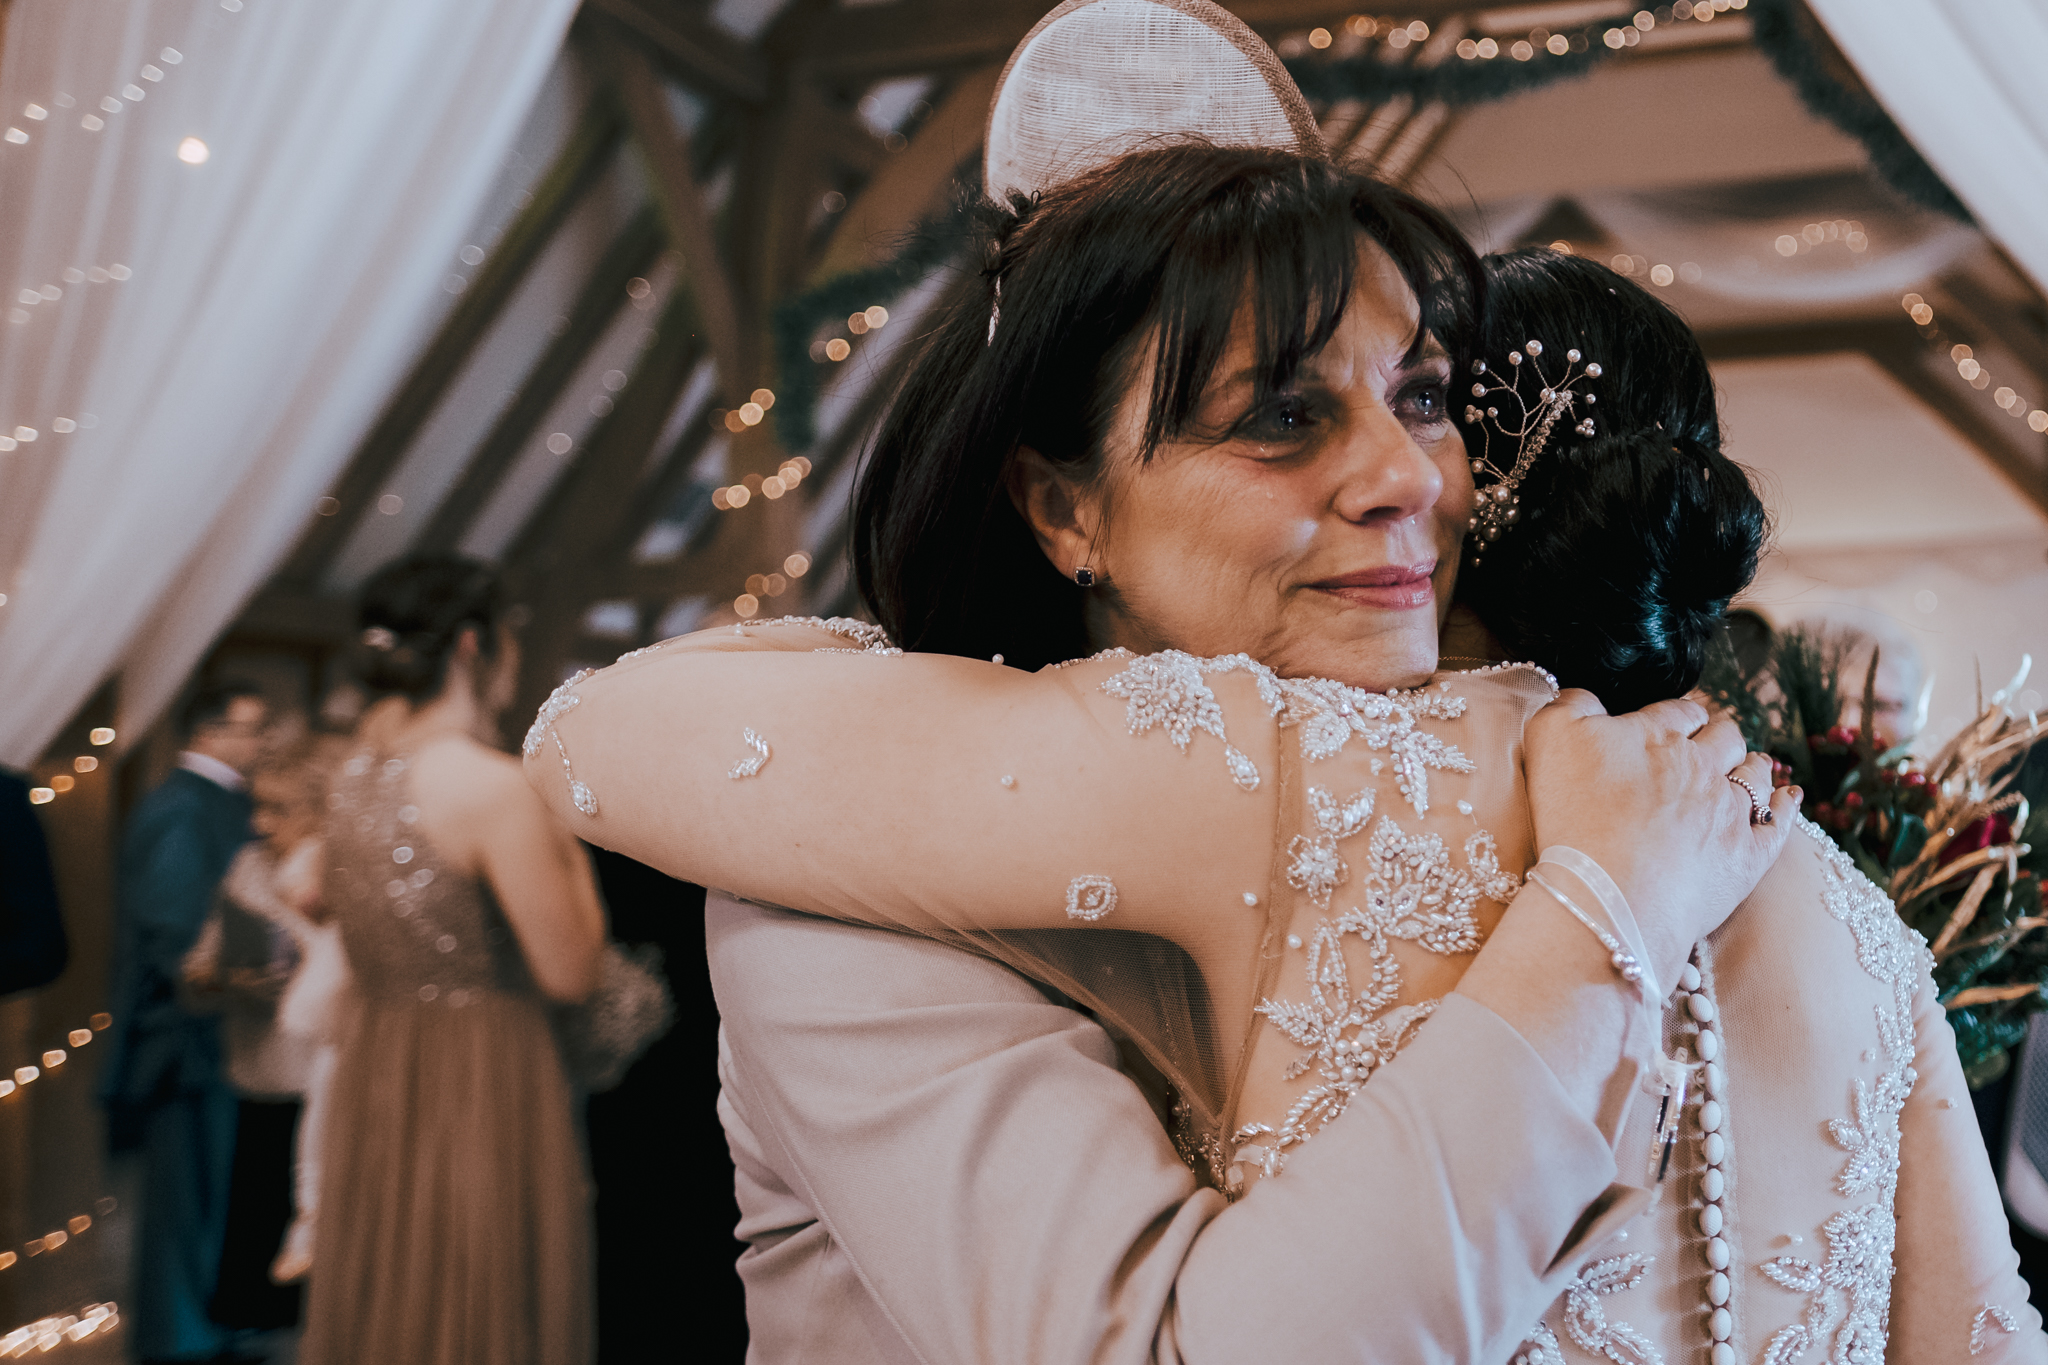
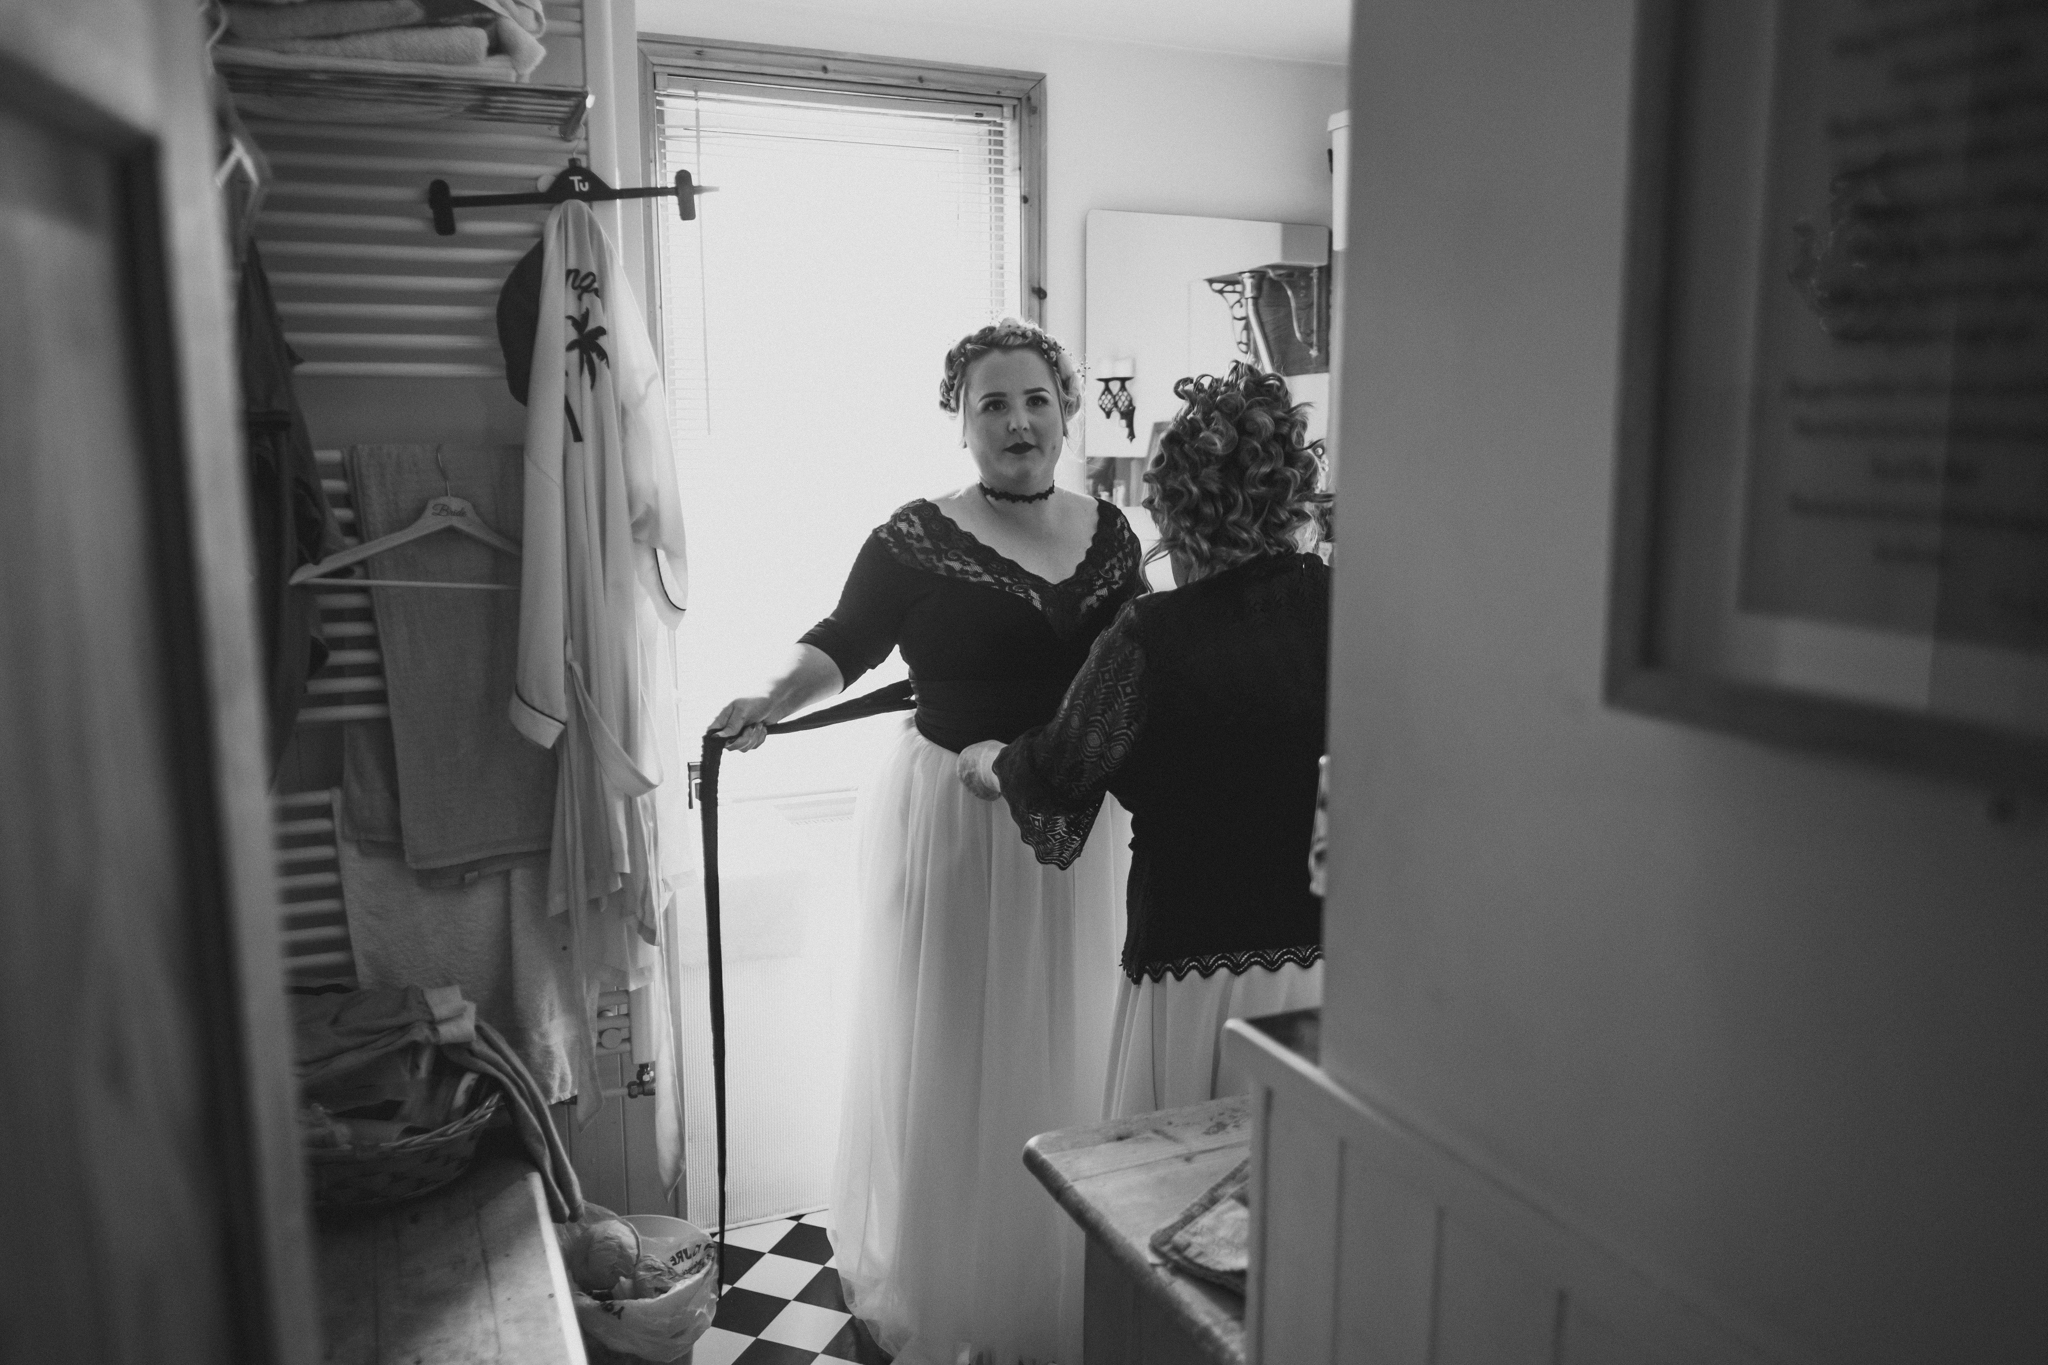
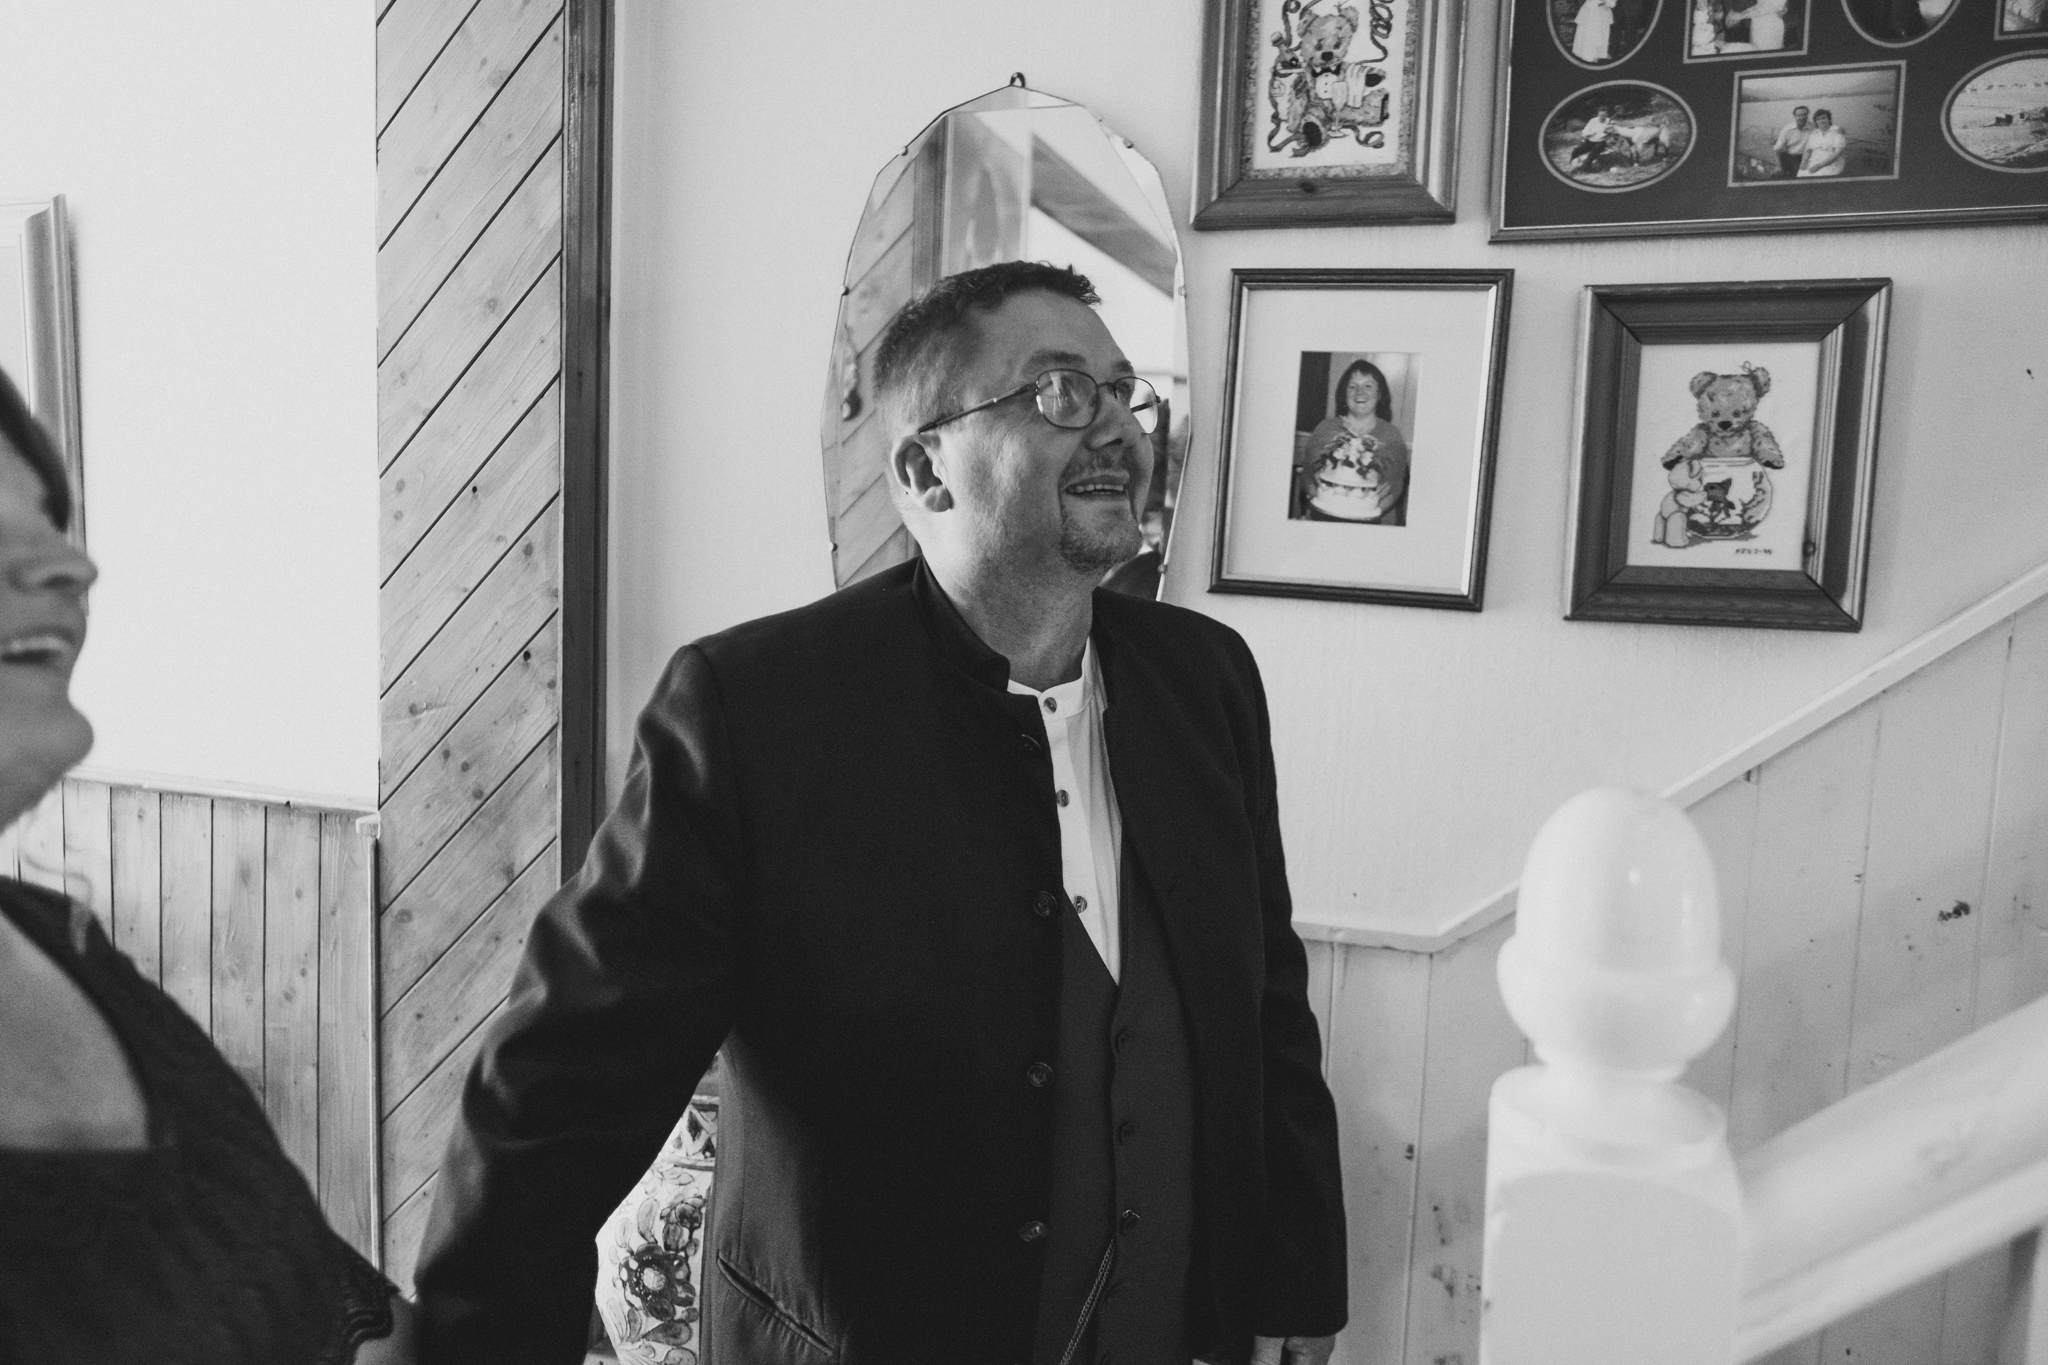
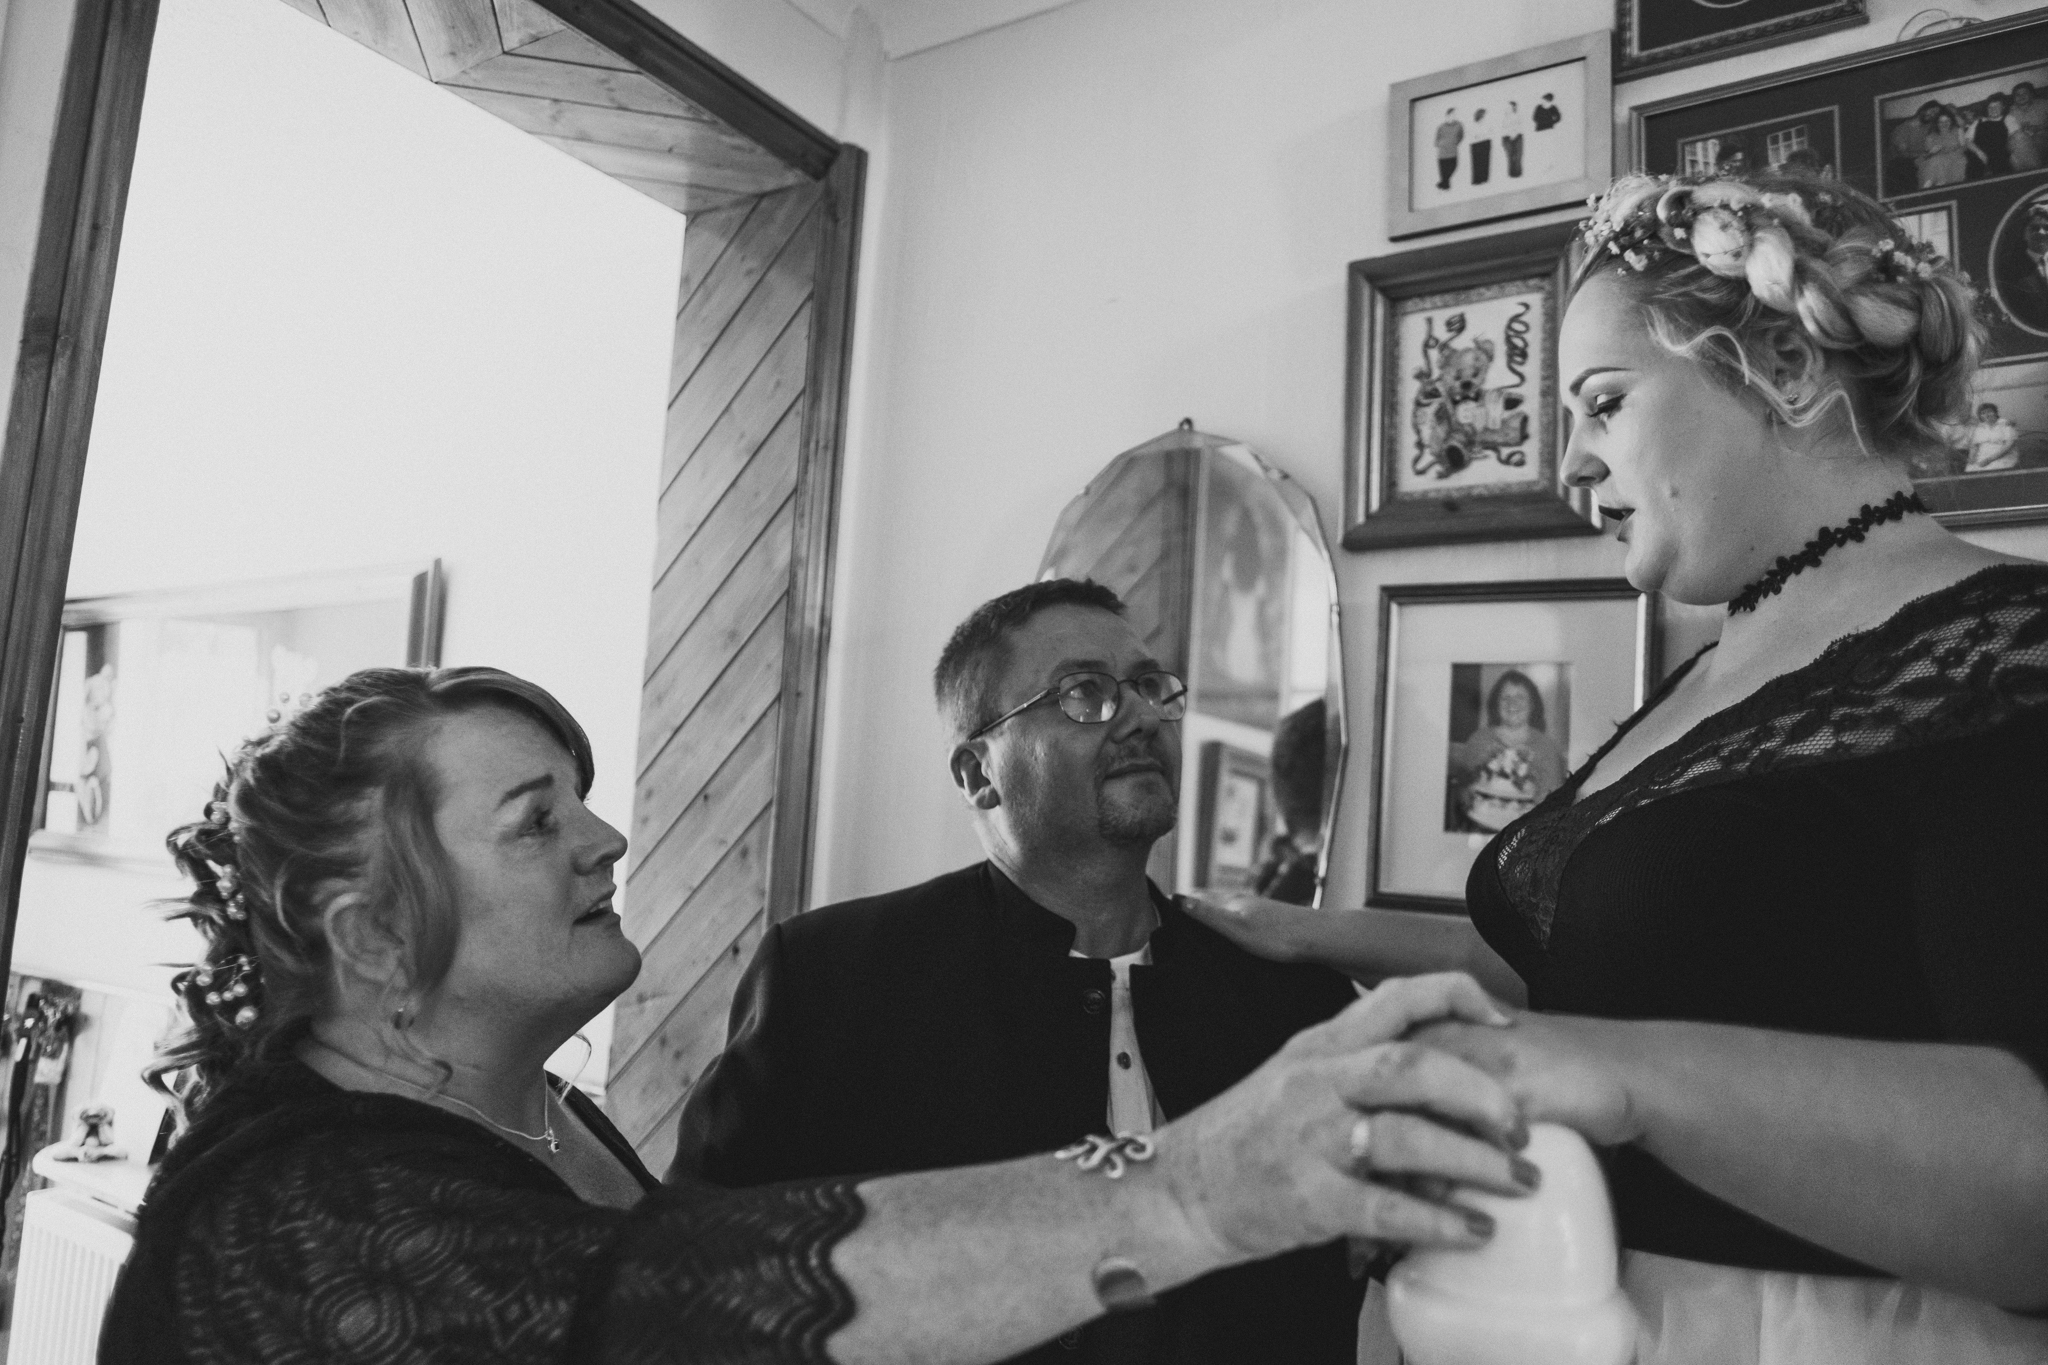
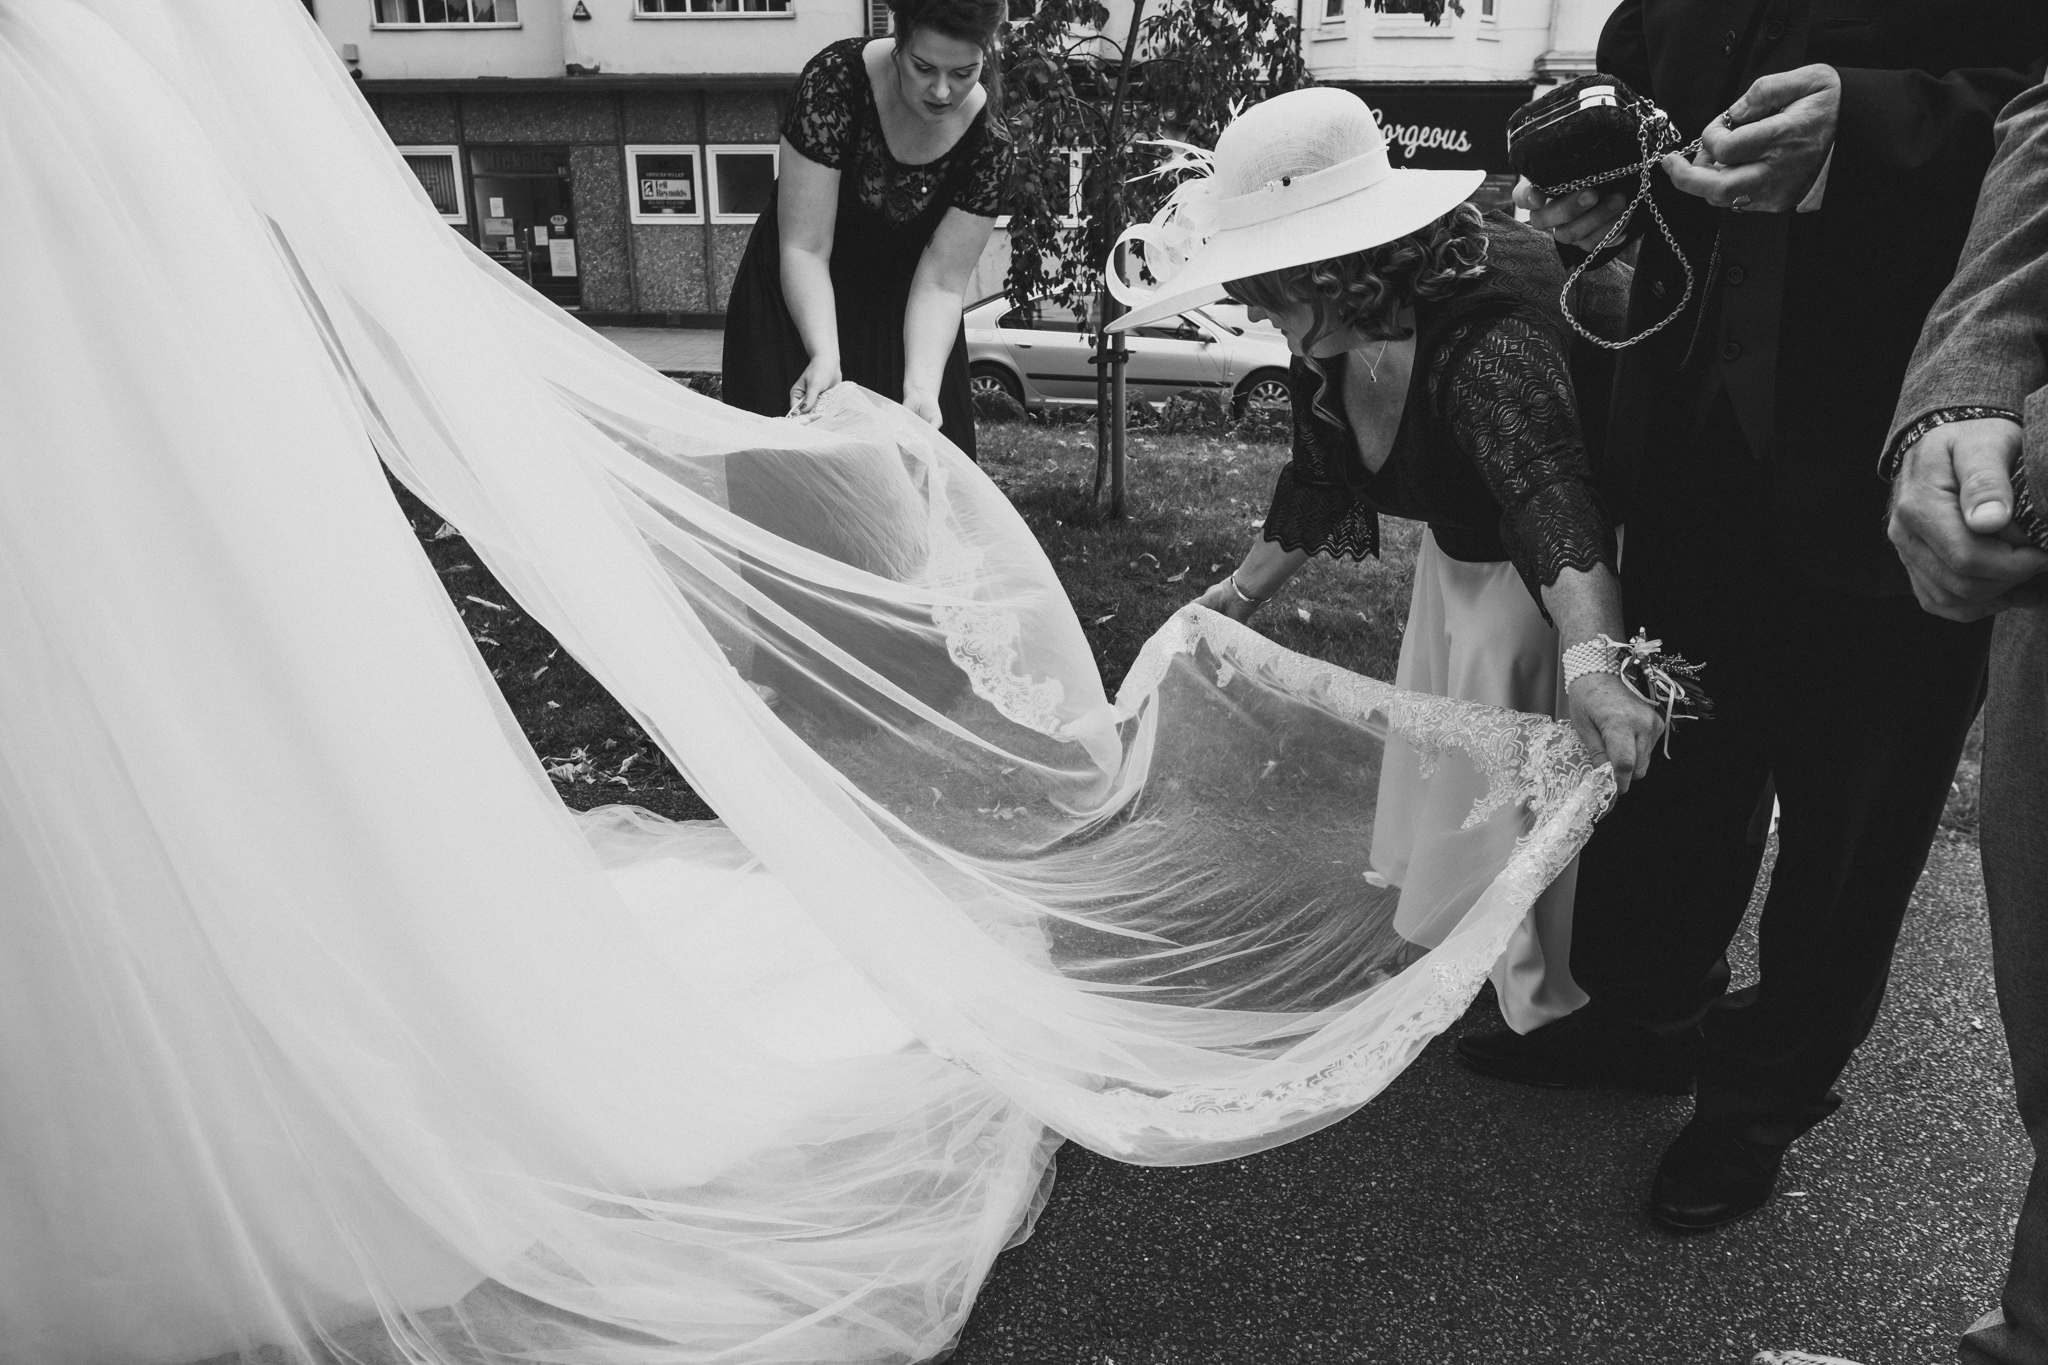
There were unmissable moments between Chelsea and her mum, as well as her dad Paul, as he saw his soon to be married daughter for the first time.
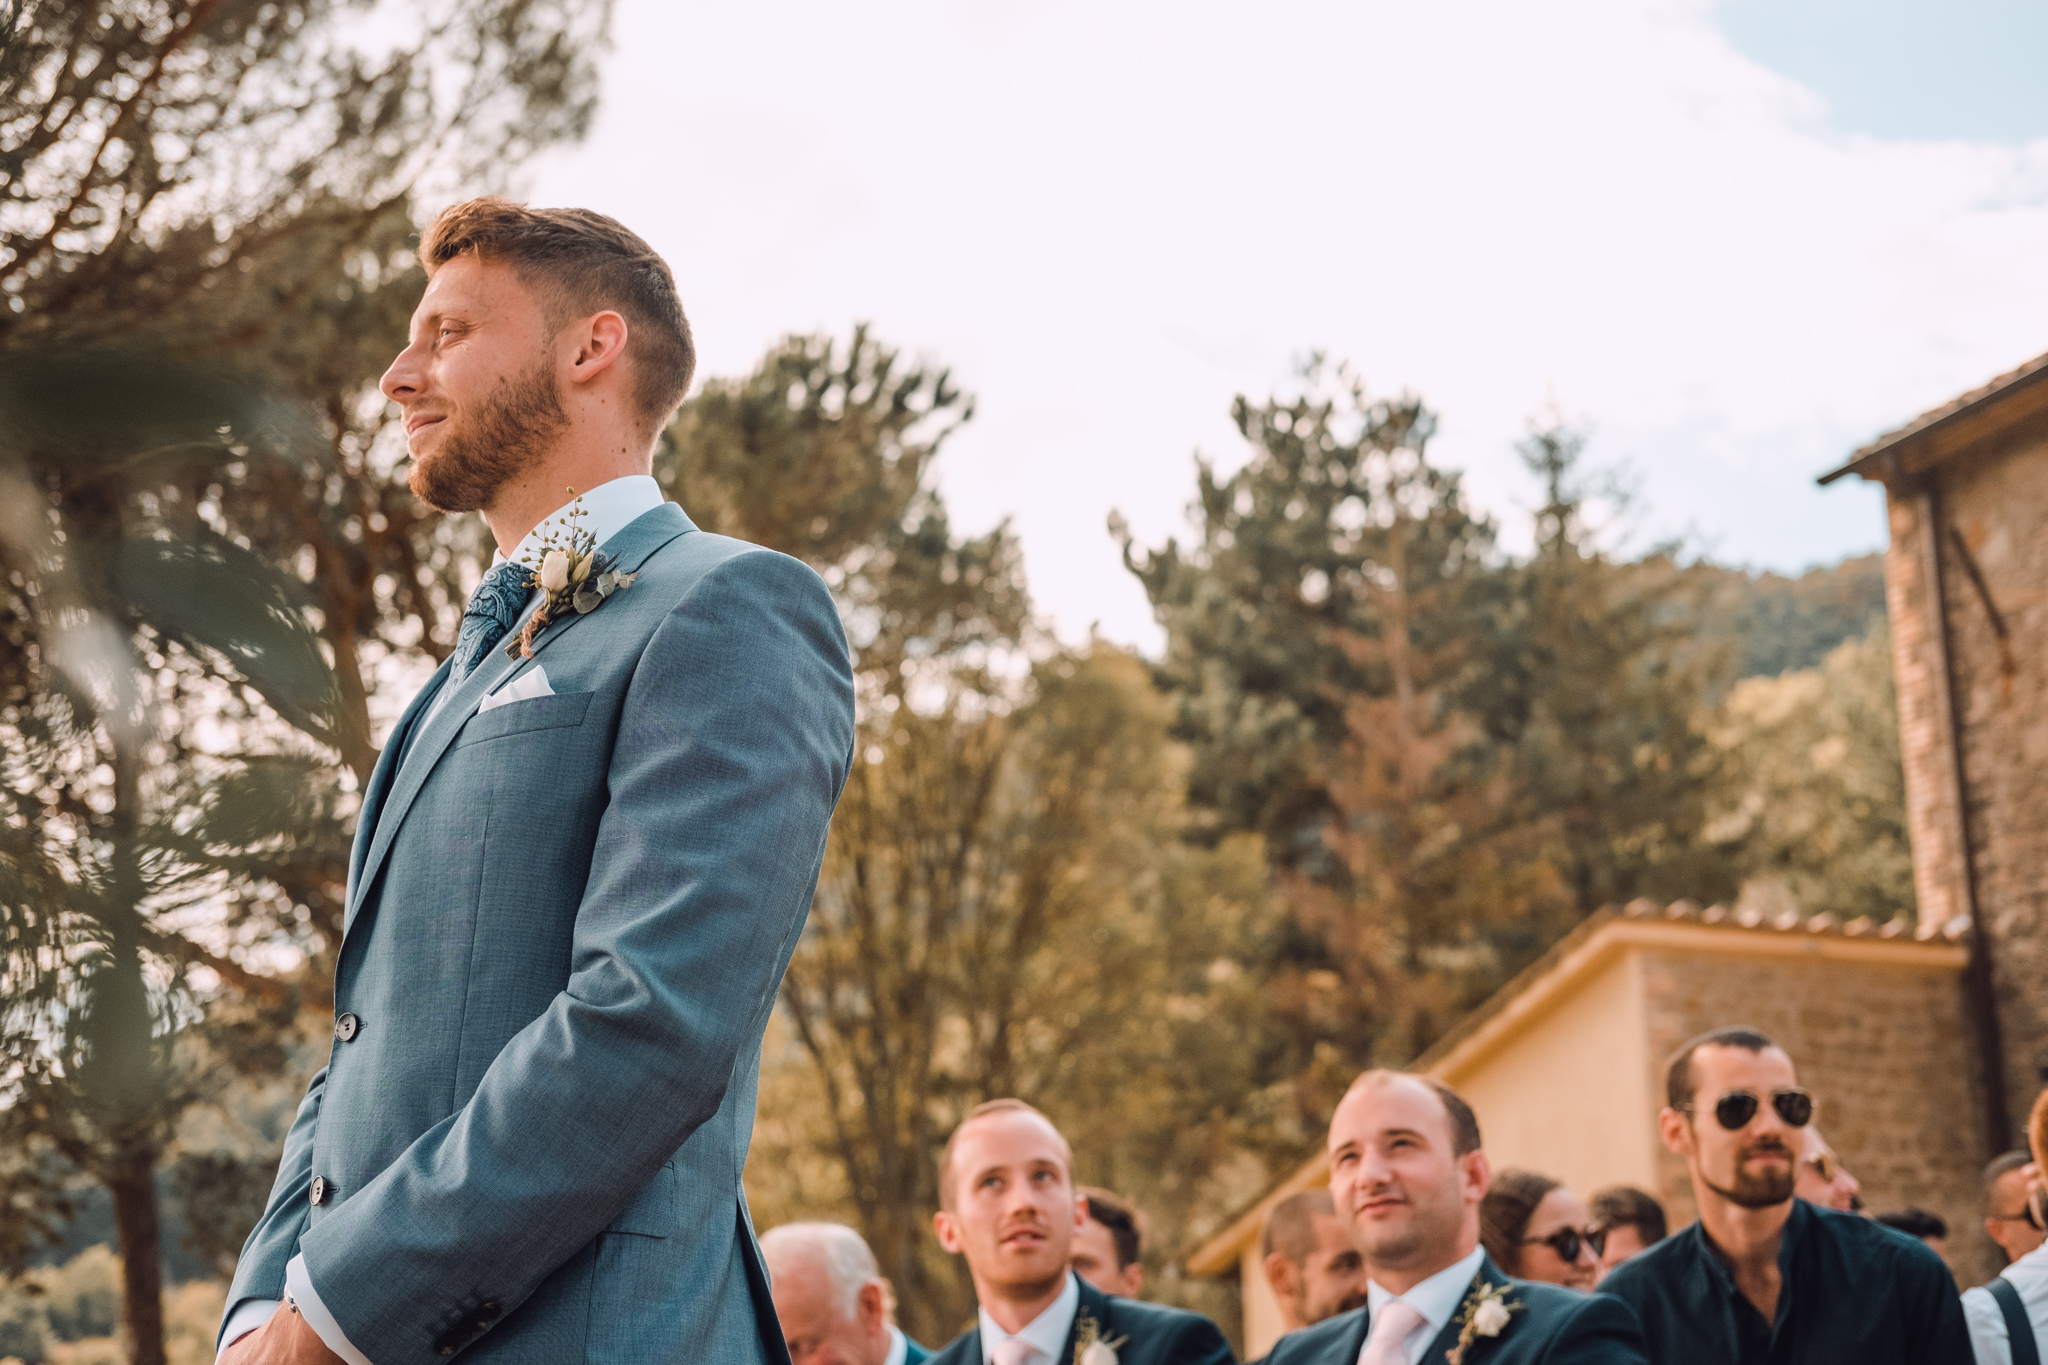
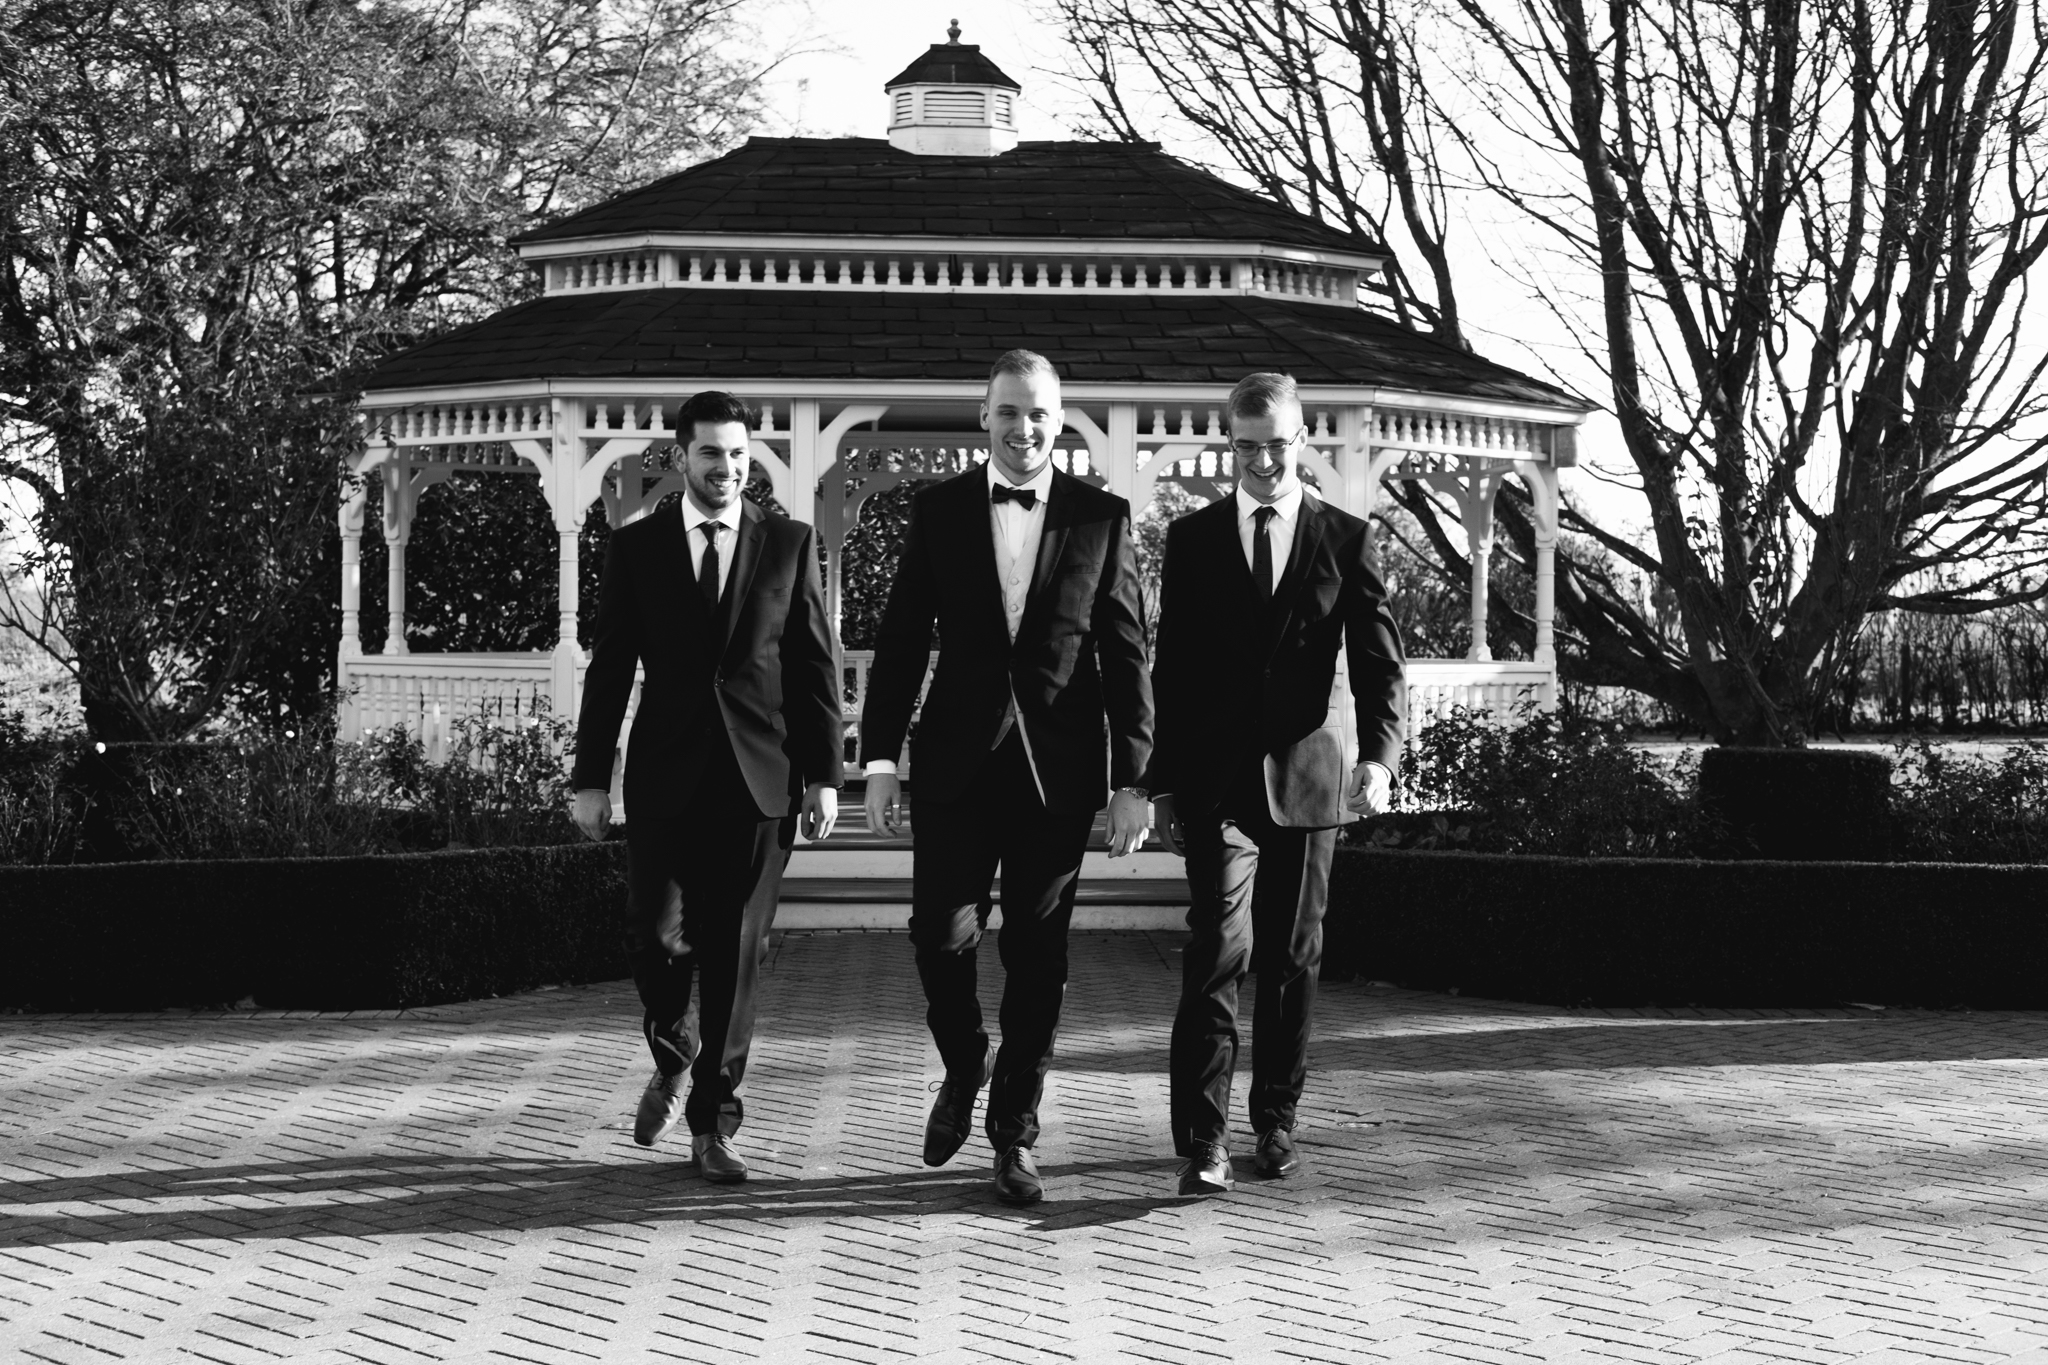
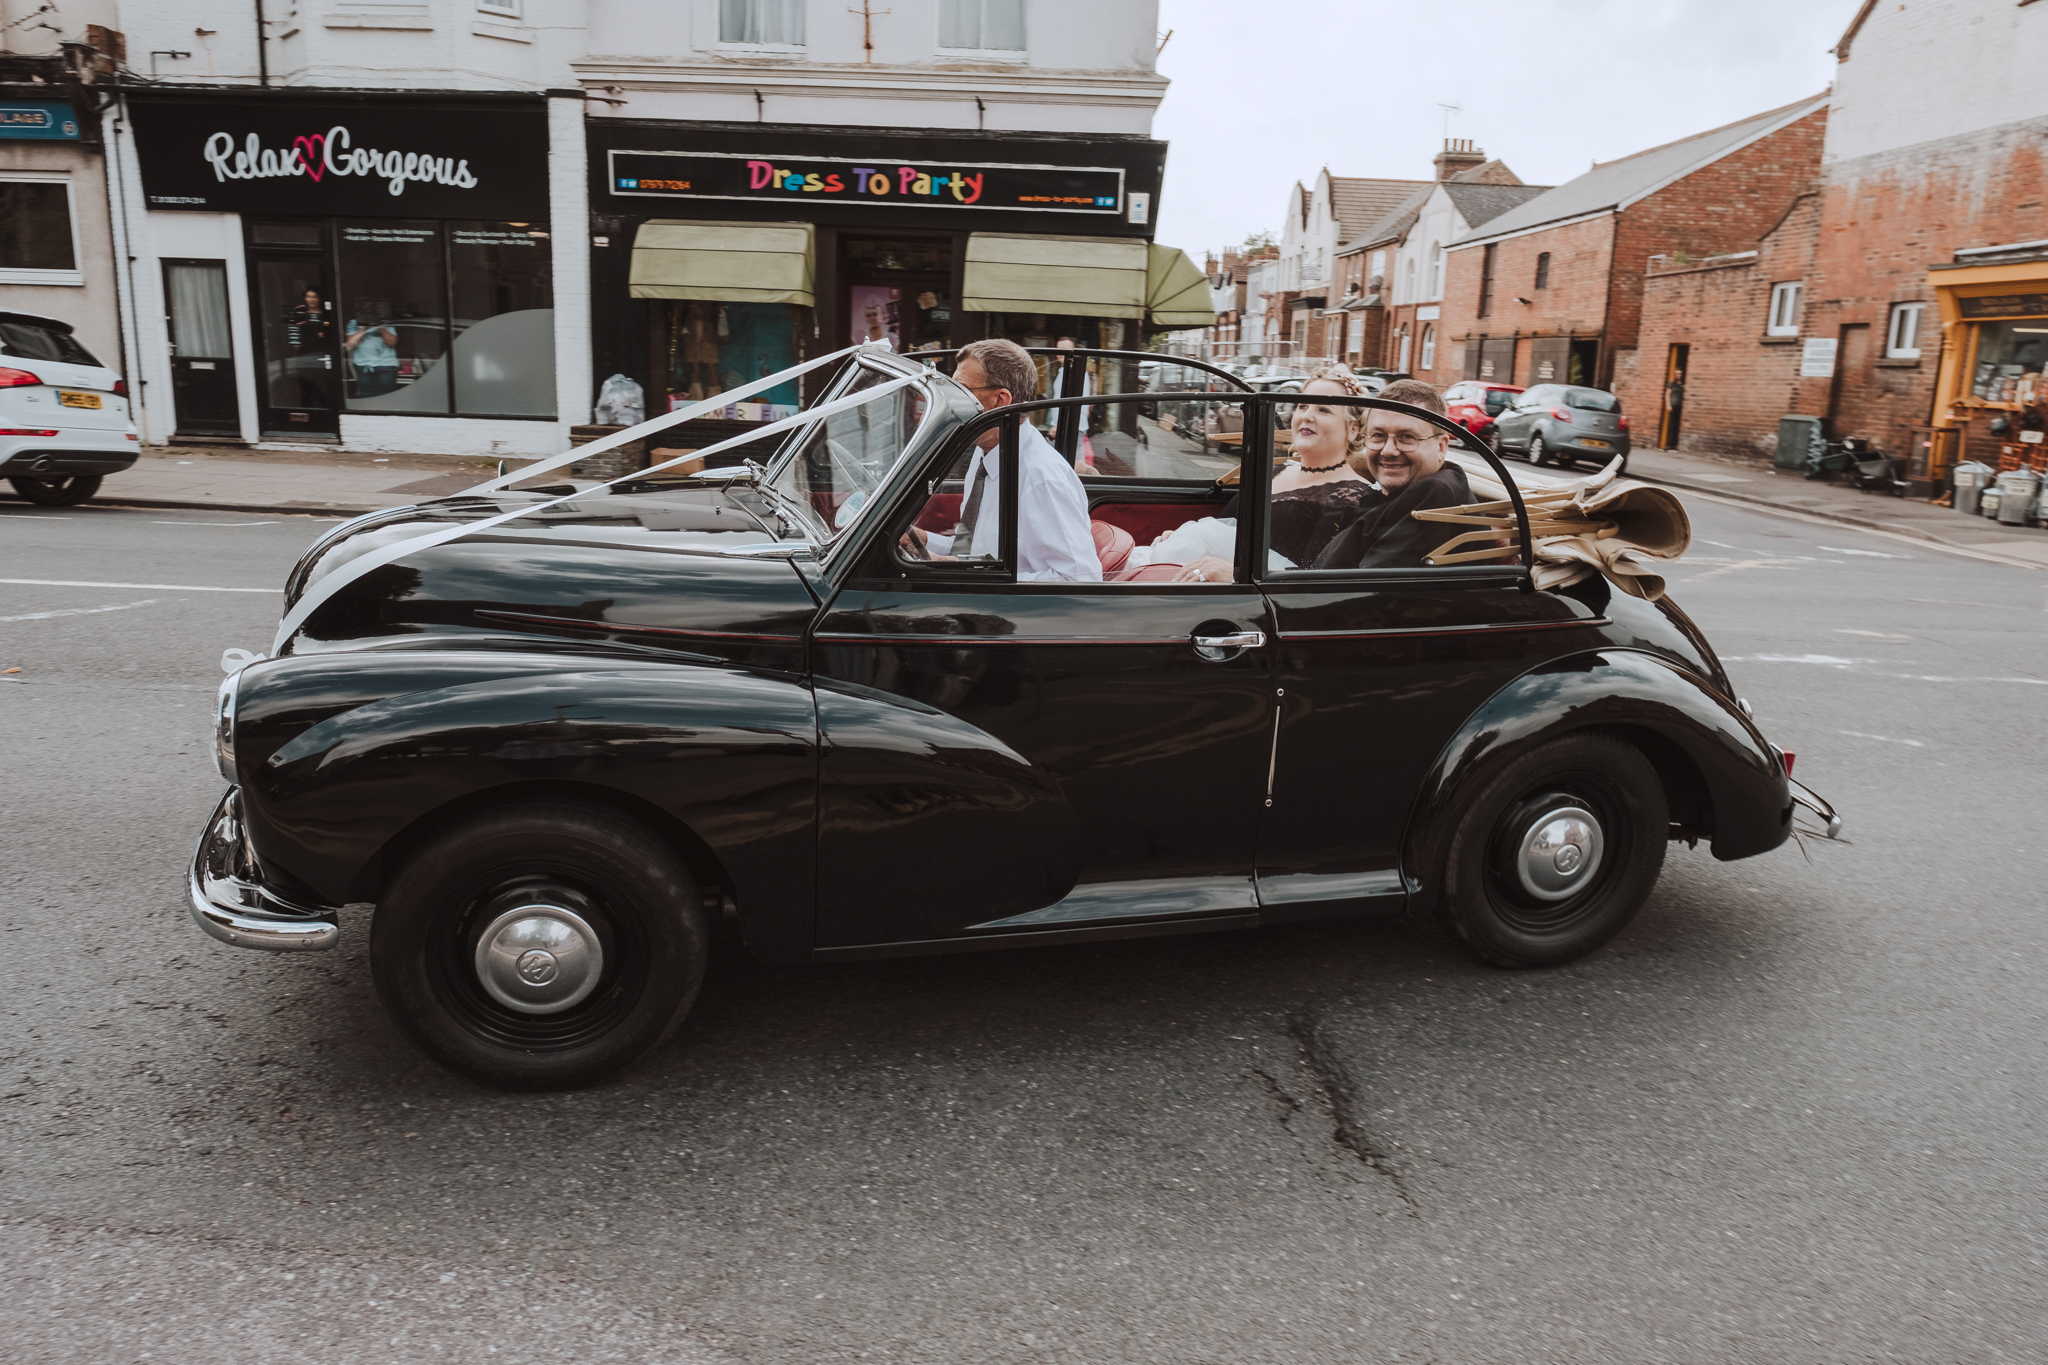
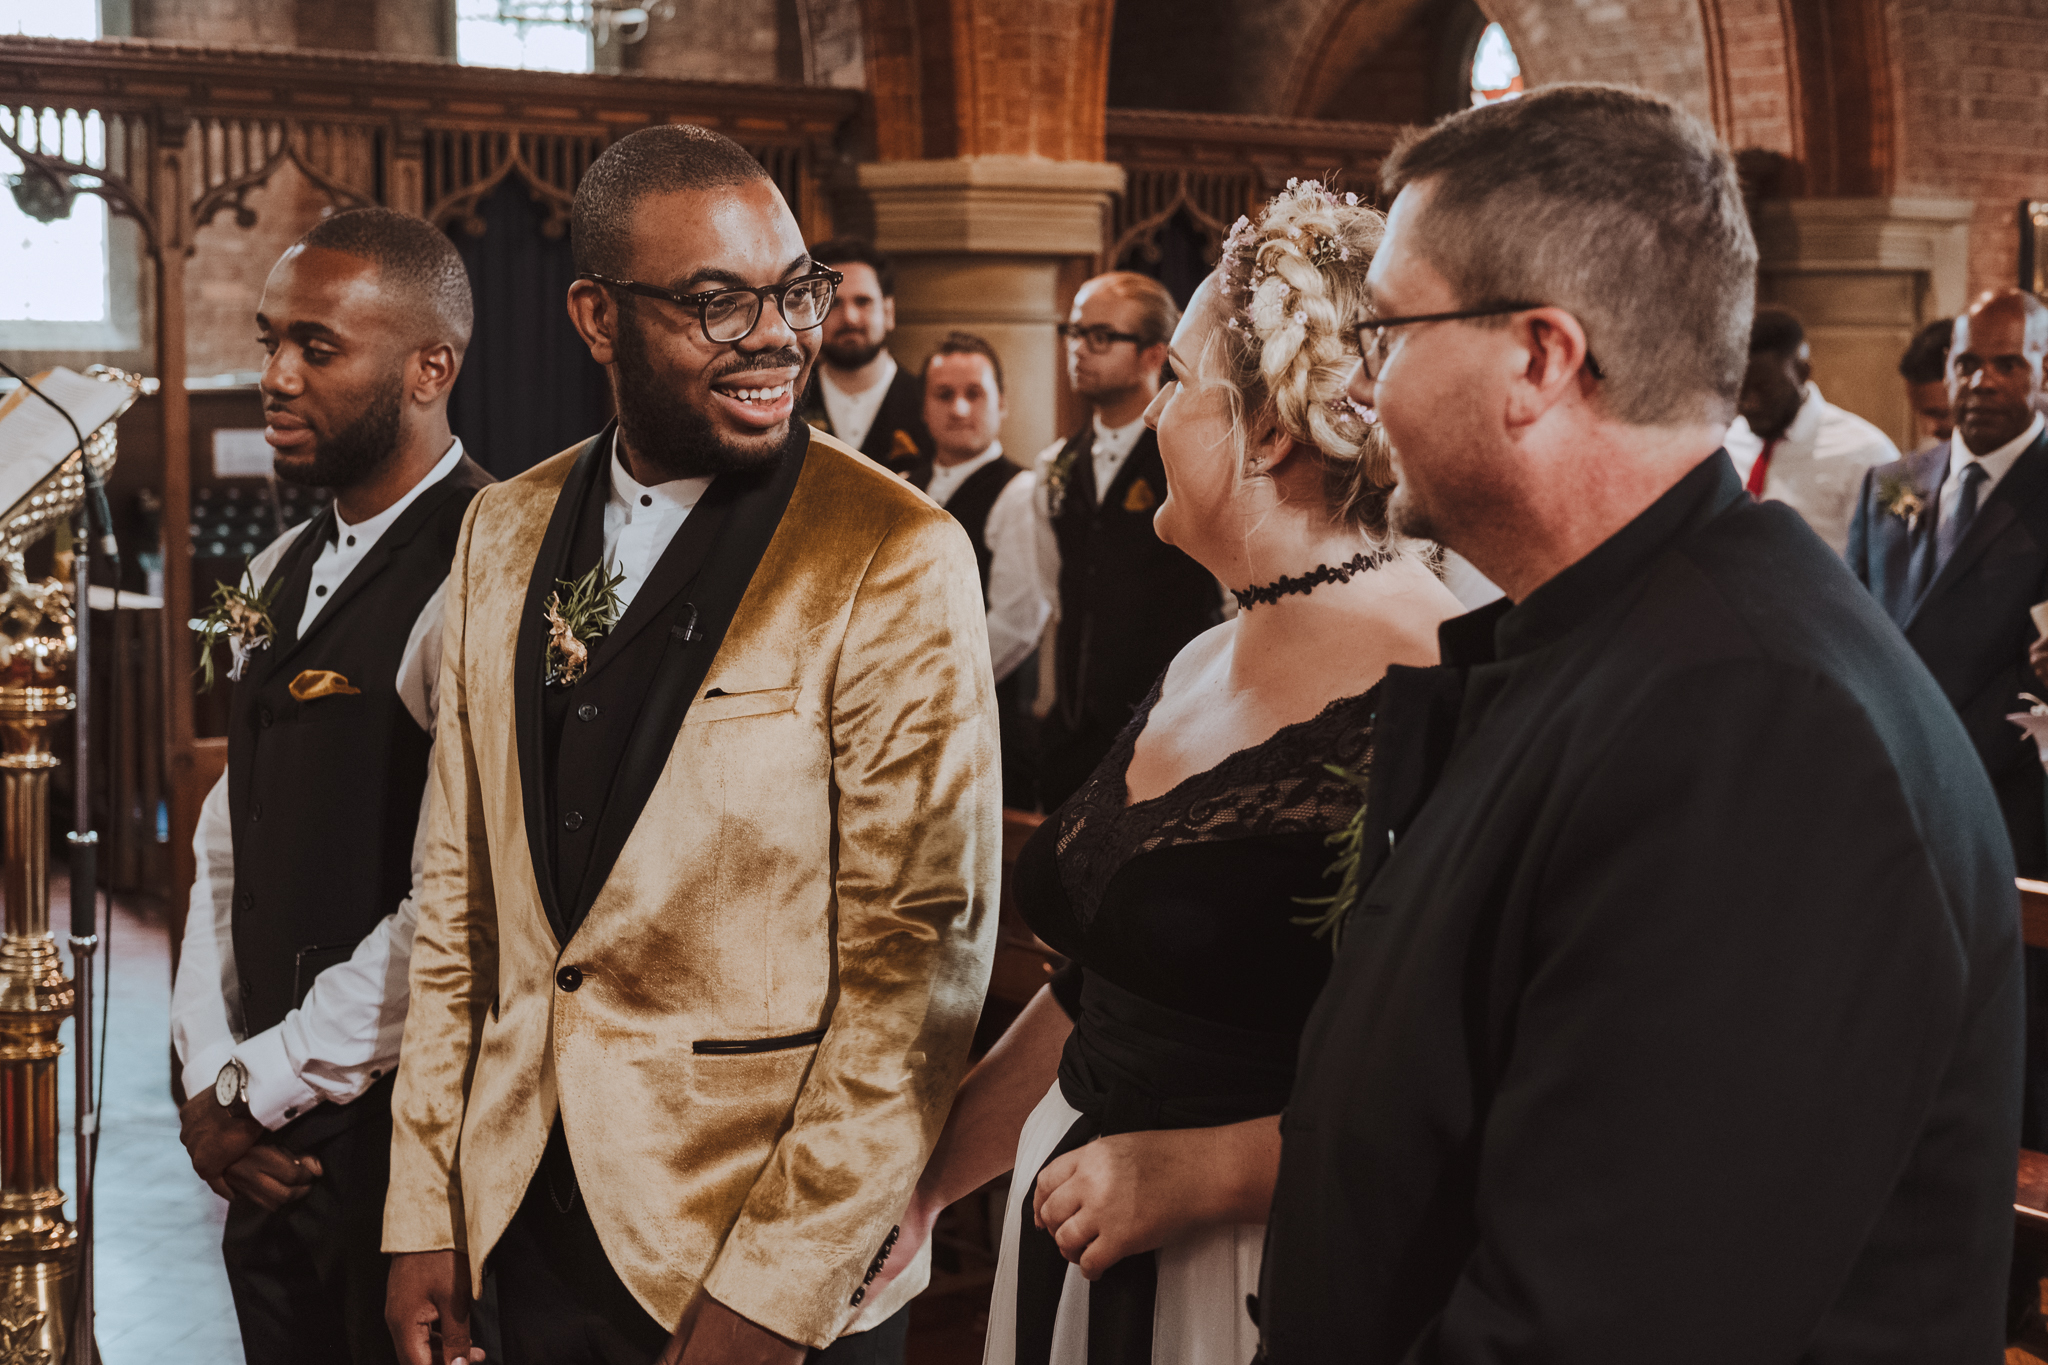
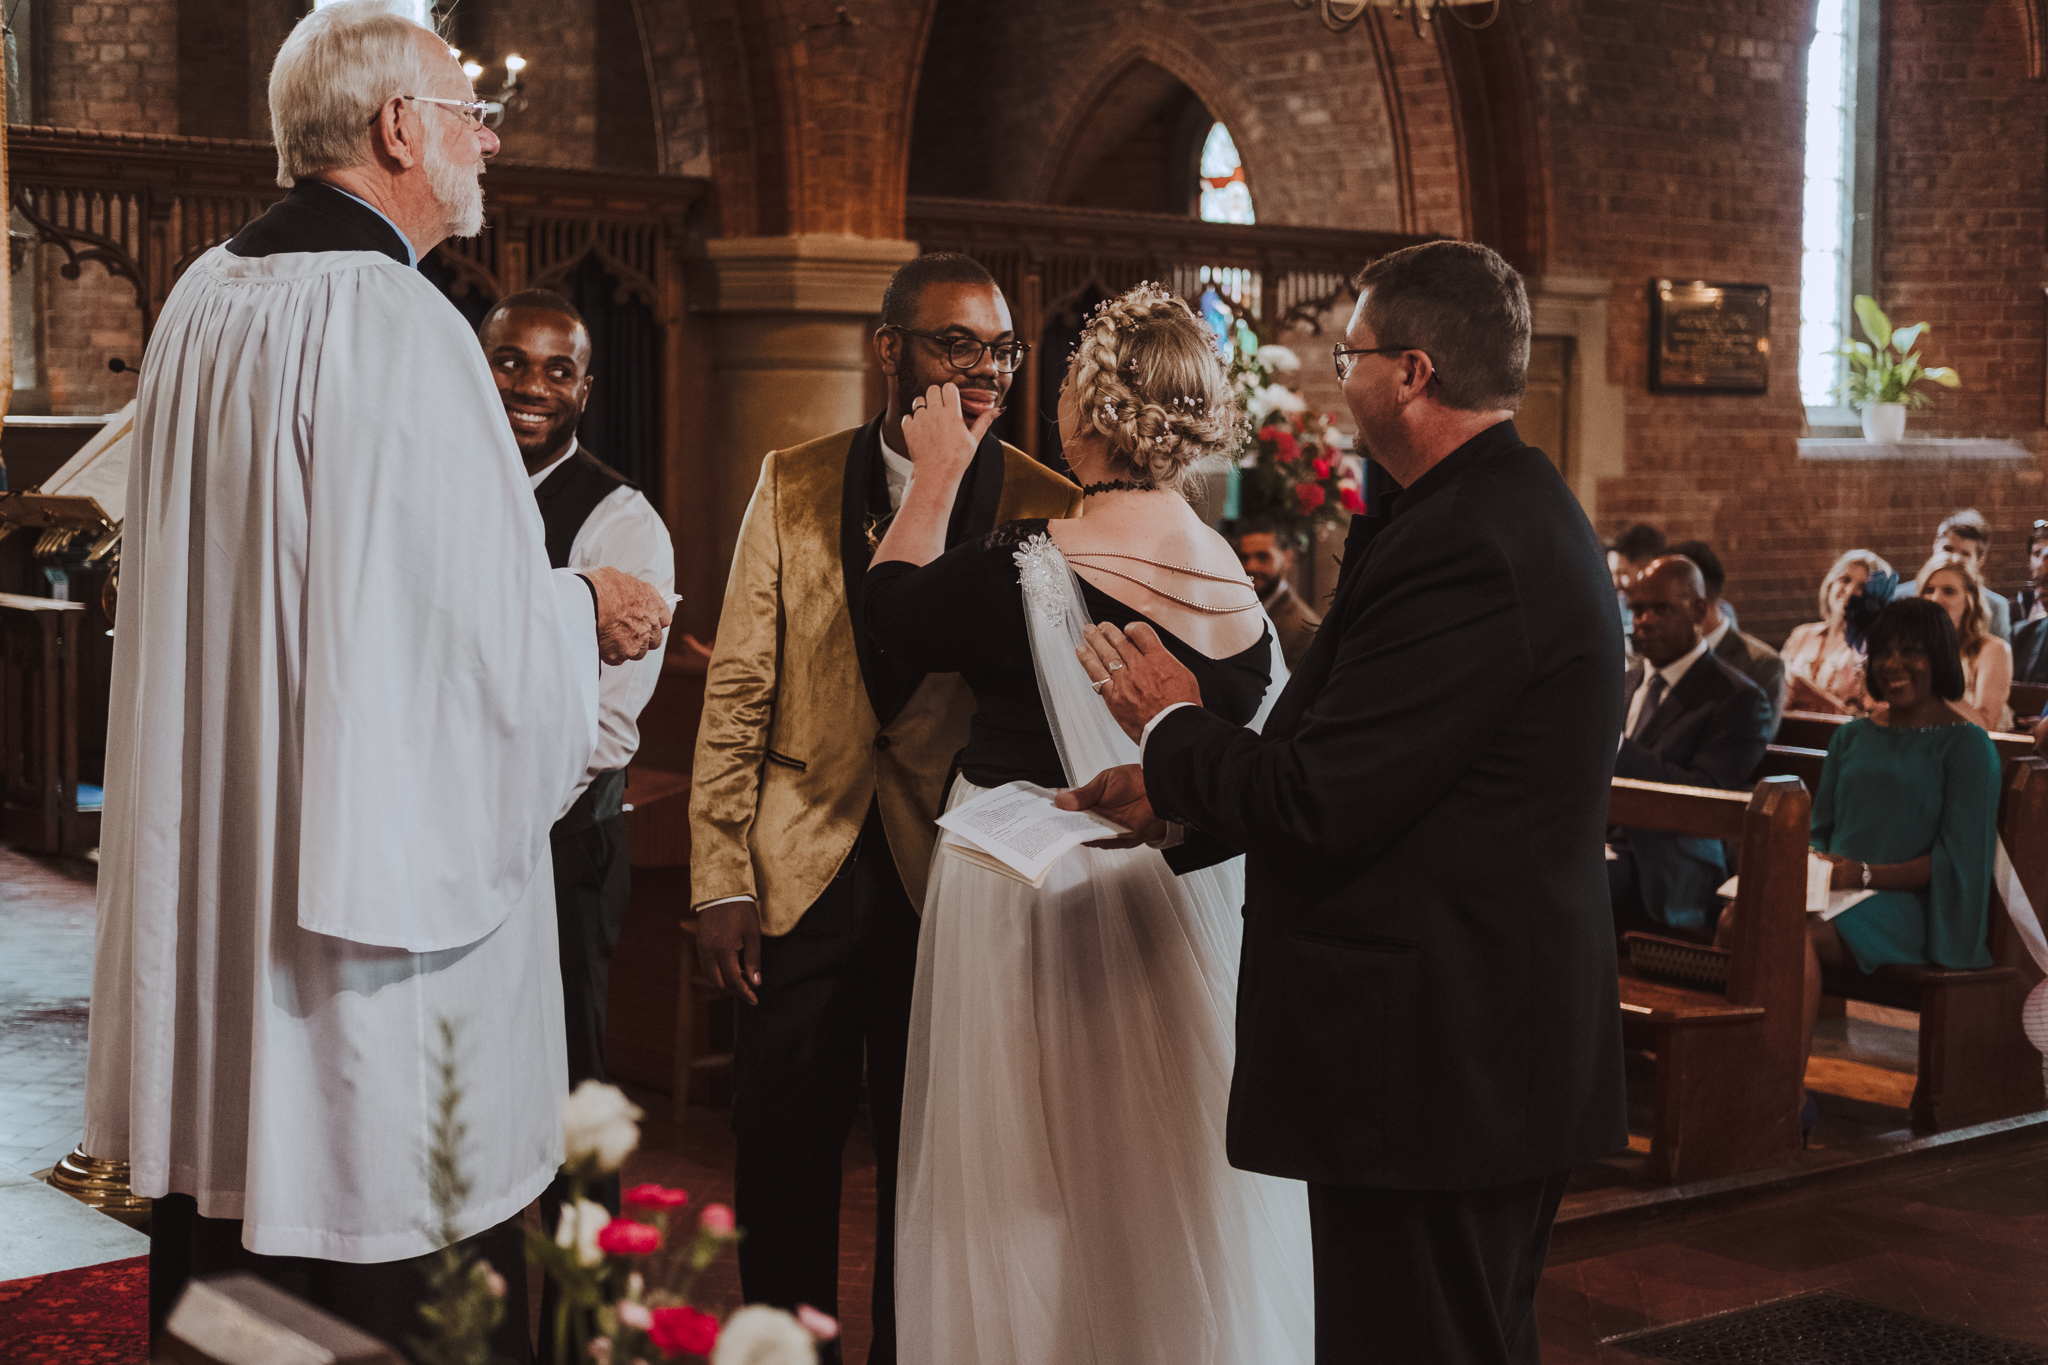
I arrived at the church about 15 minutes before Chelsea and her family arrived. Thankfully All Souls church in Cheriton, was literally a two-minute walk from their house so I didn’t have to go far. Upon my arrival, I was greeted by Nick, his best man and his groomsmen. Nick was sporting one of the most stylish wedding jackets I have ever seen. I kind of knew he would be dressed to impress, as the very first time I met Nick a couple of years prior at their friends Charlotte and Glenn’s wedding, he sported a brightly coloured jacket which had bright green and red flowers on it. The mans got style!
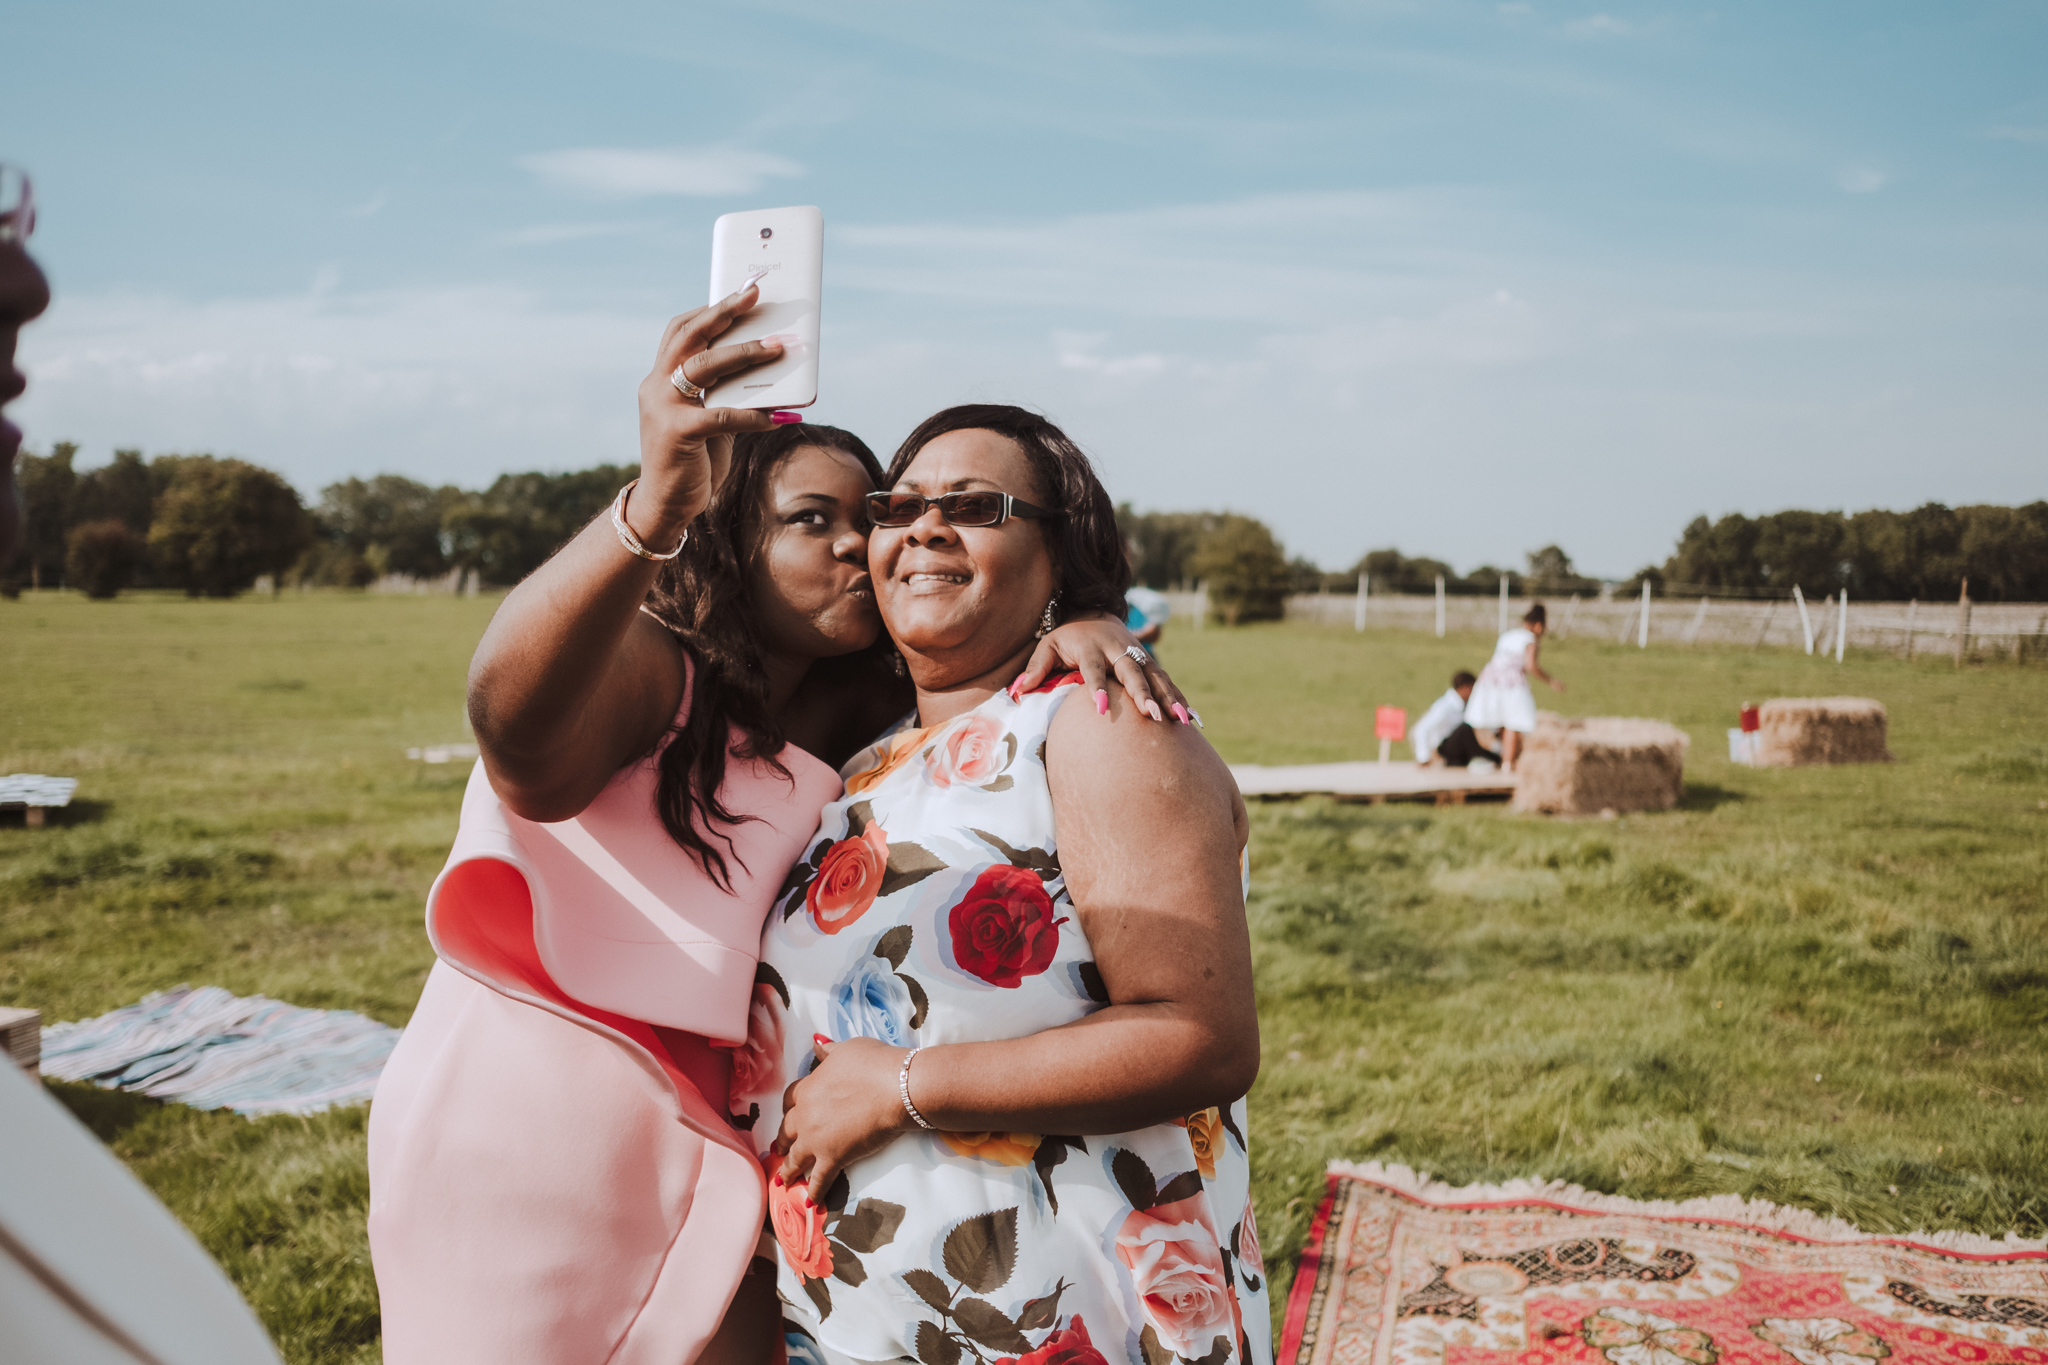
The church was packed with family and friends from both sides. Half of Nicks family had even flown over from Jamaica to be there for this special day as well.
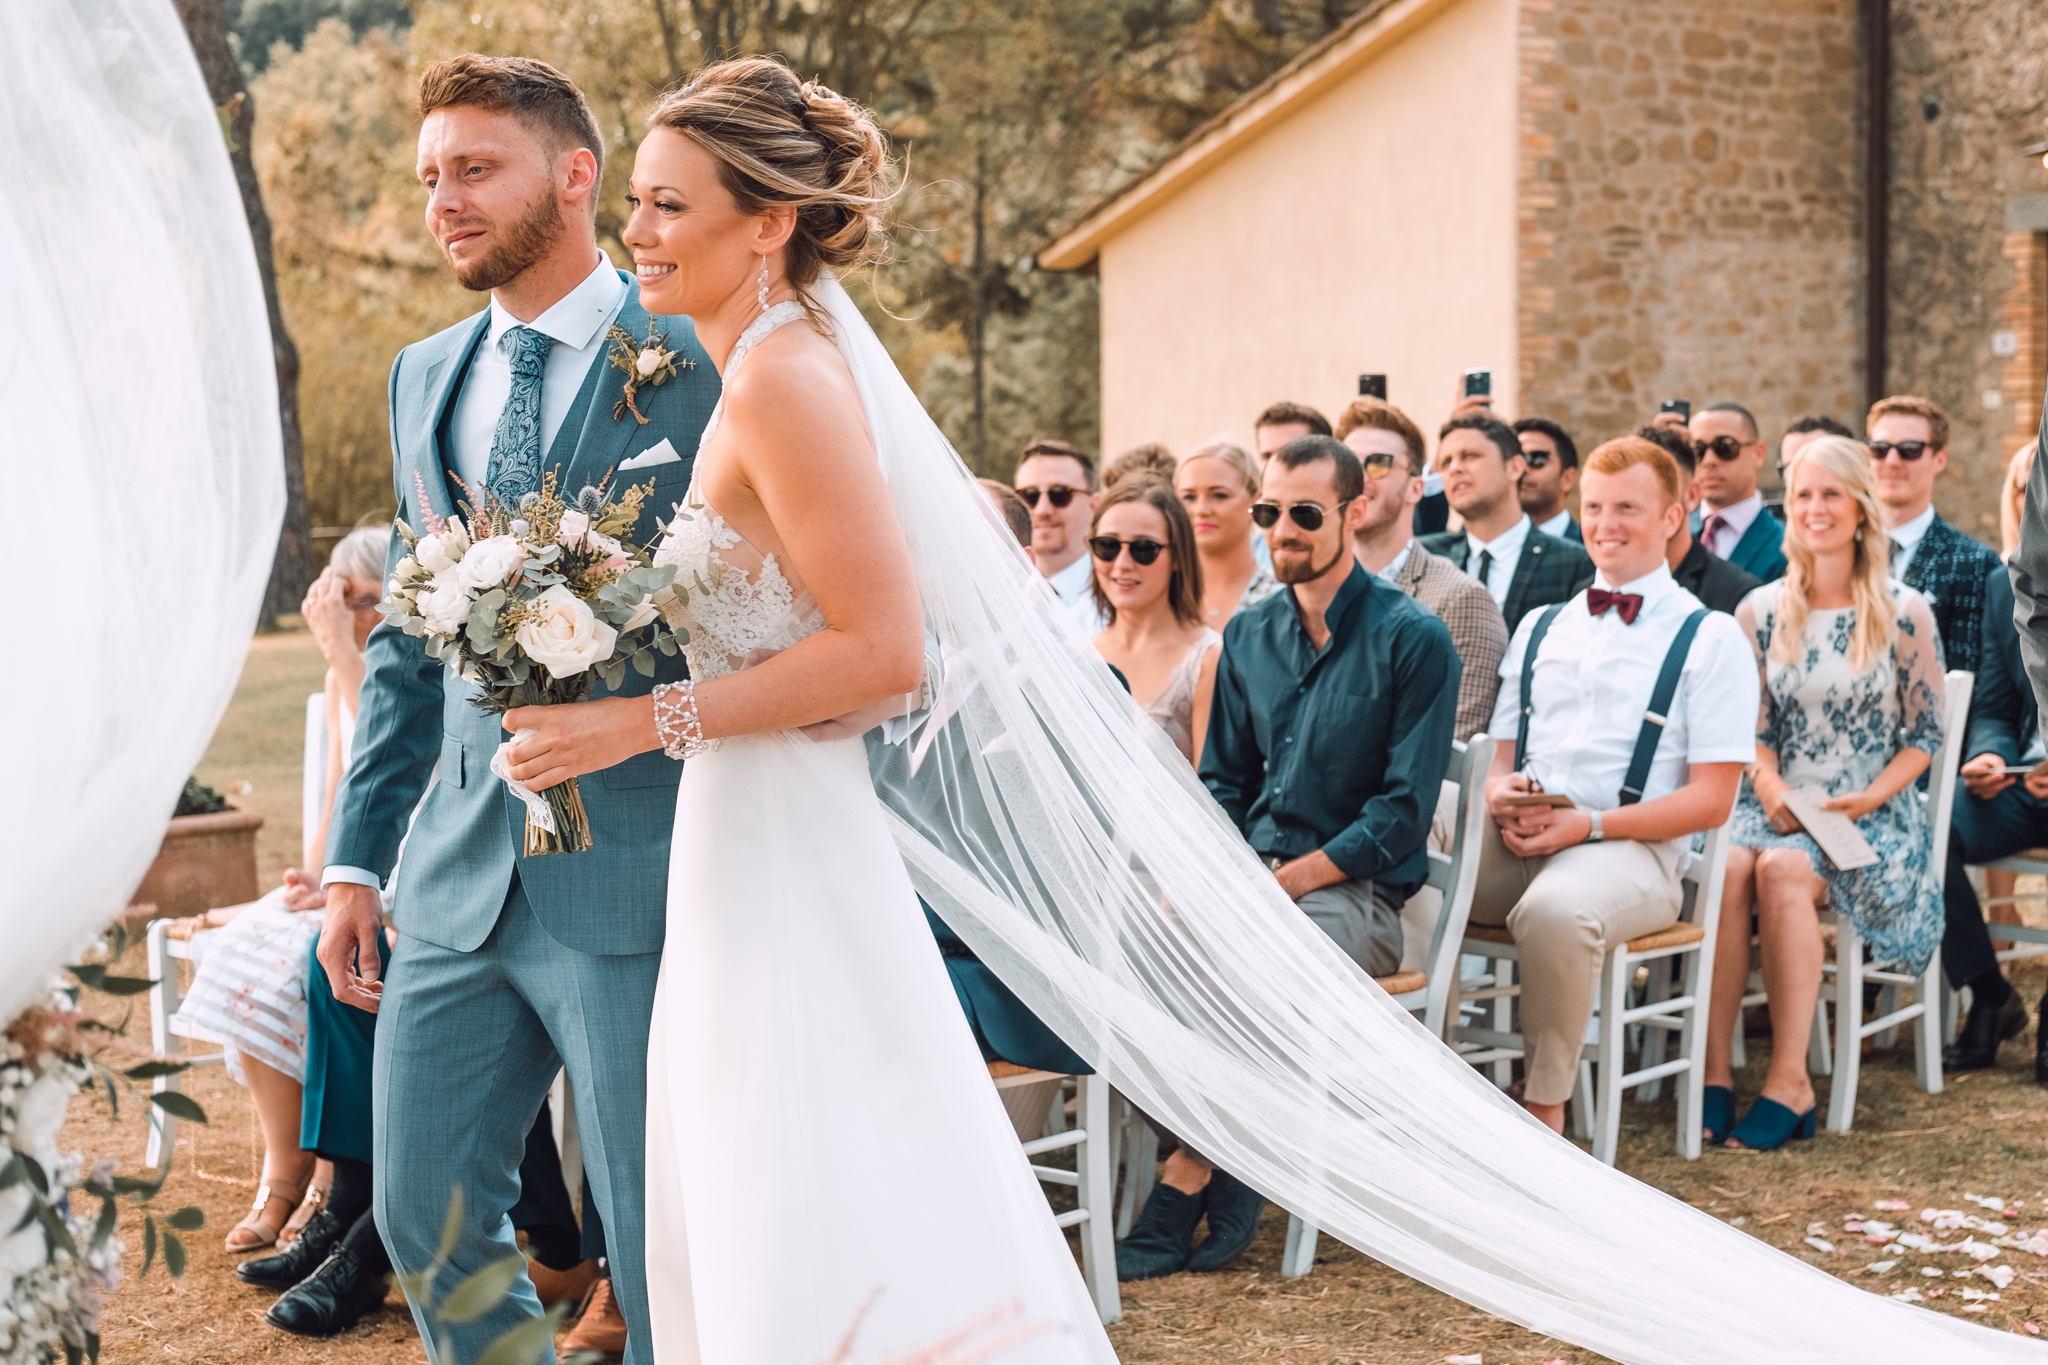
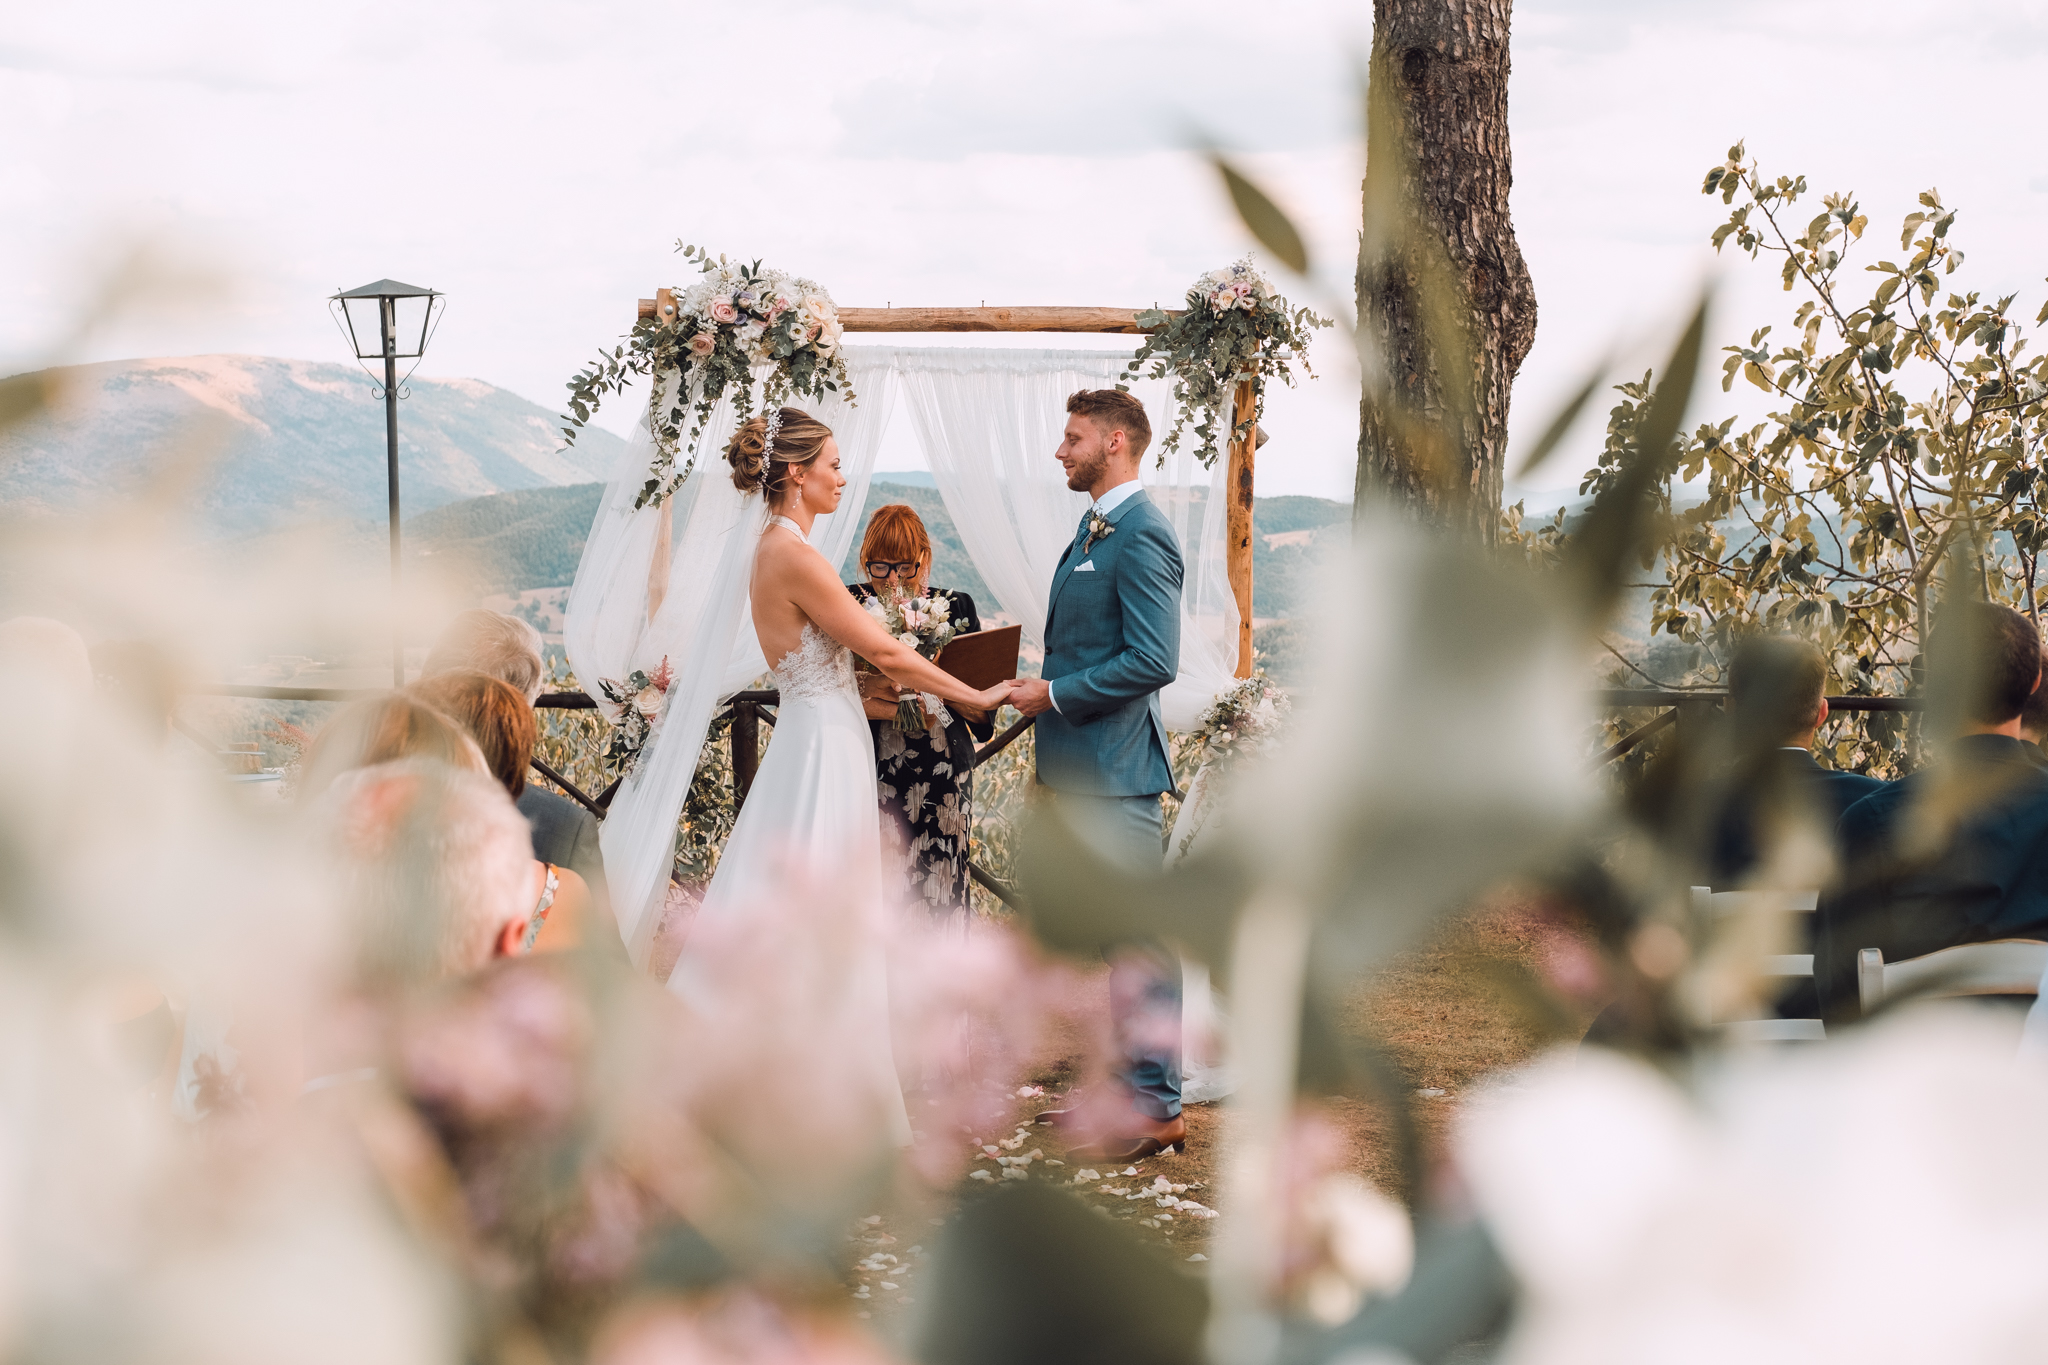
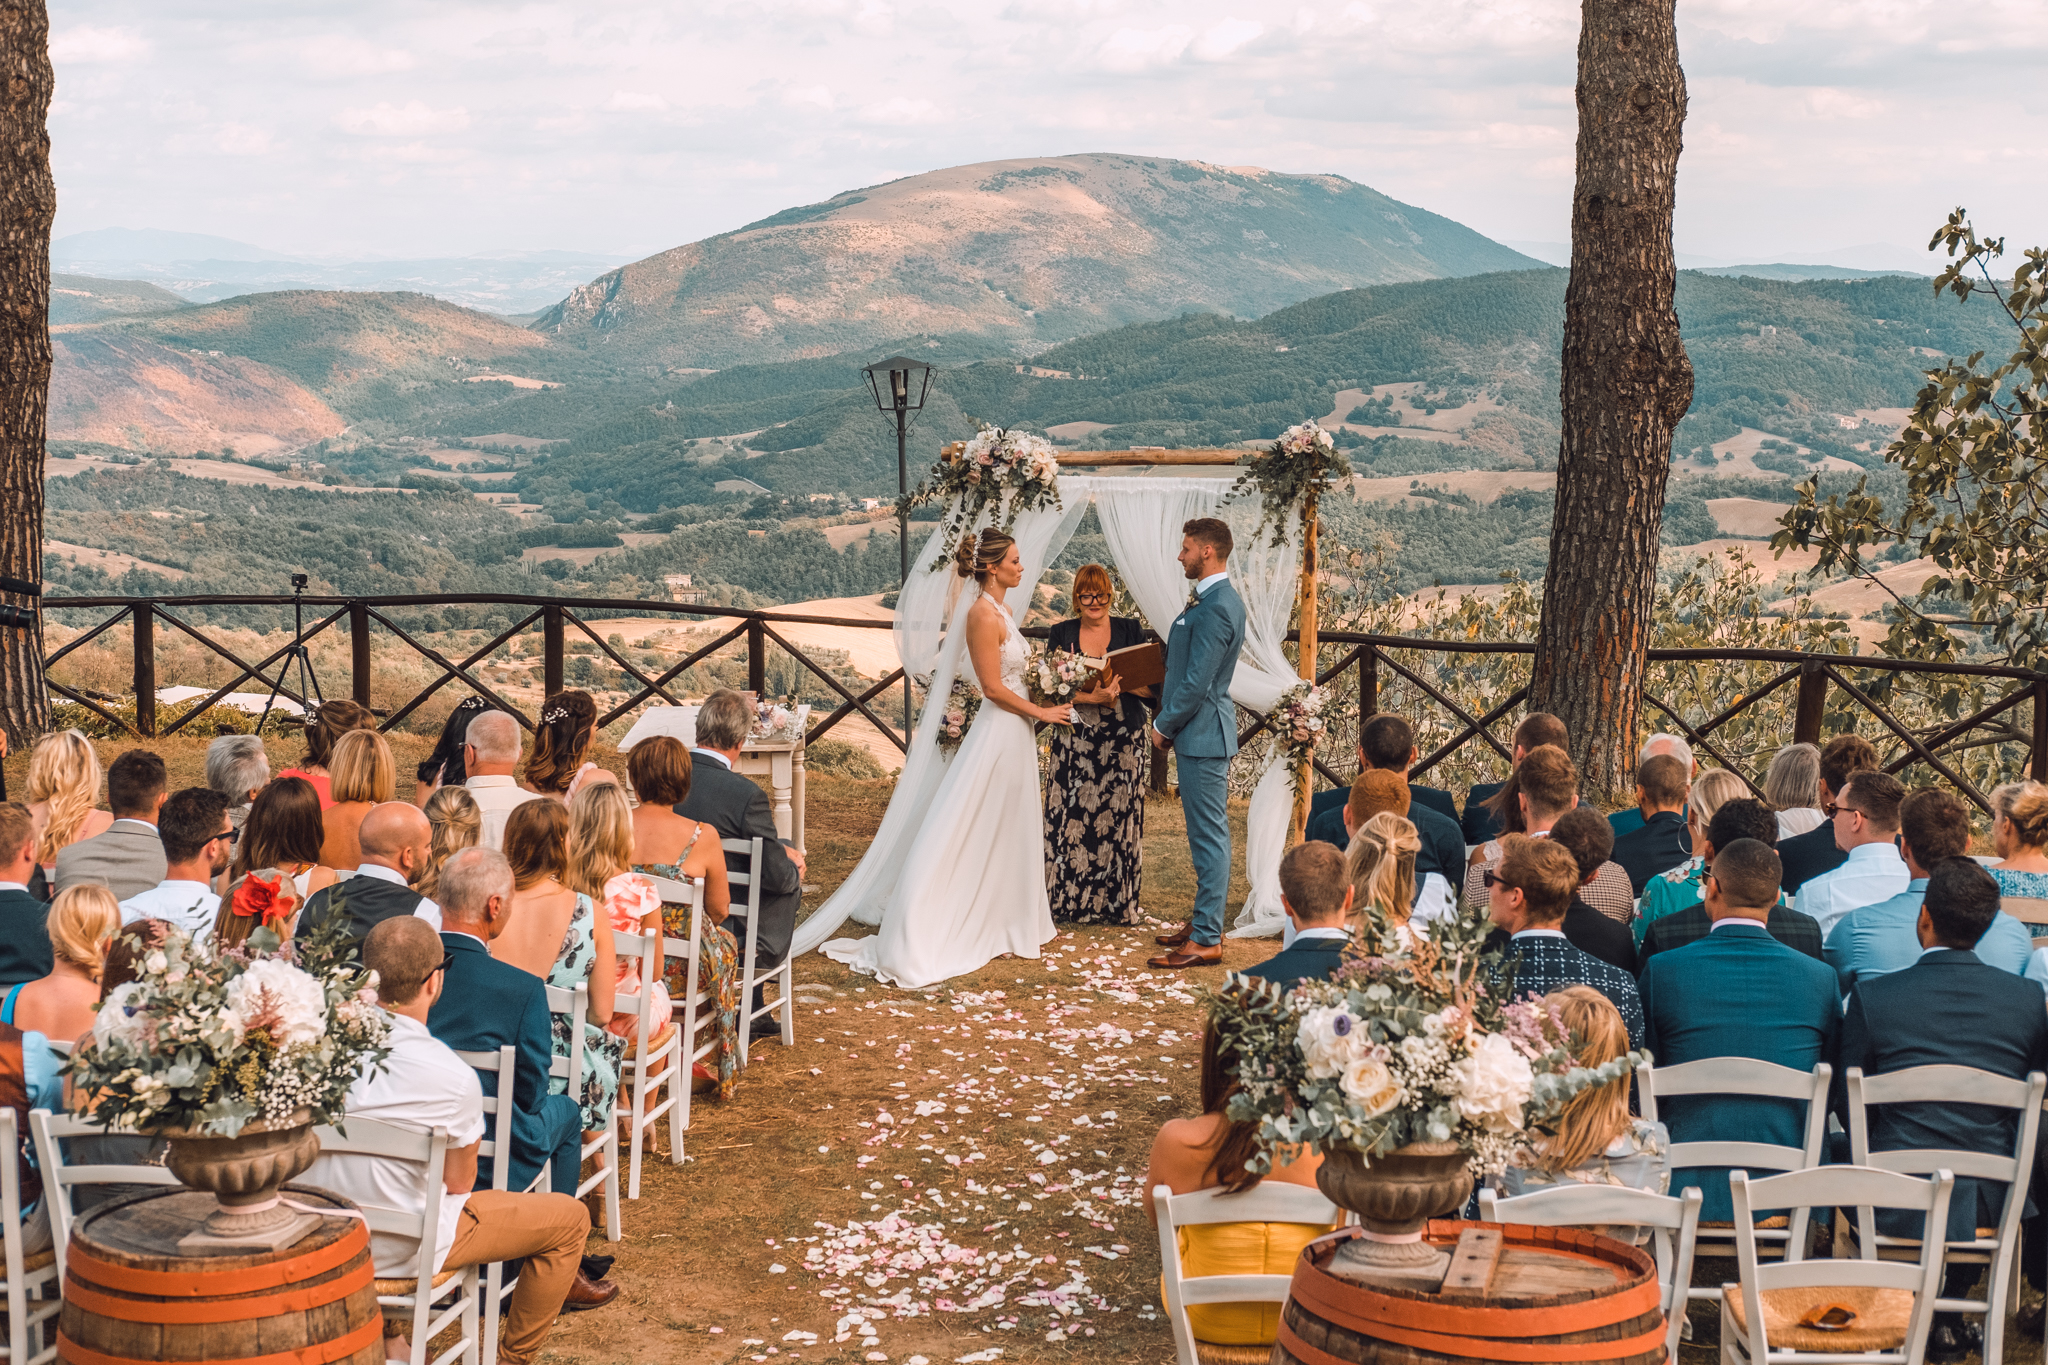
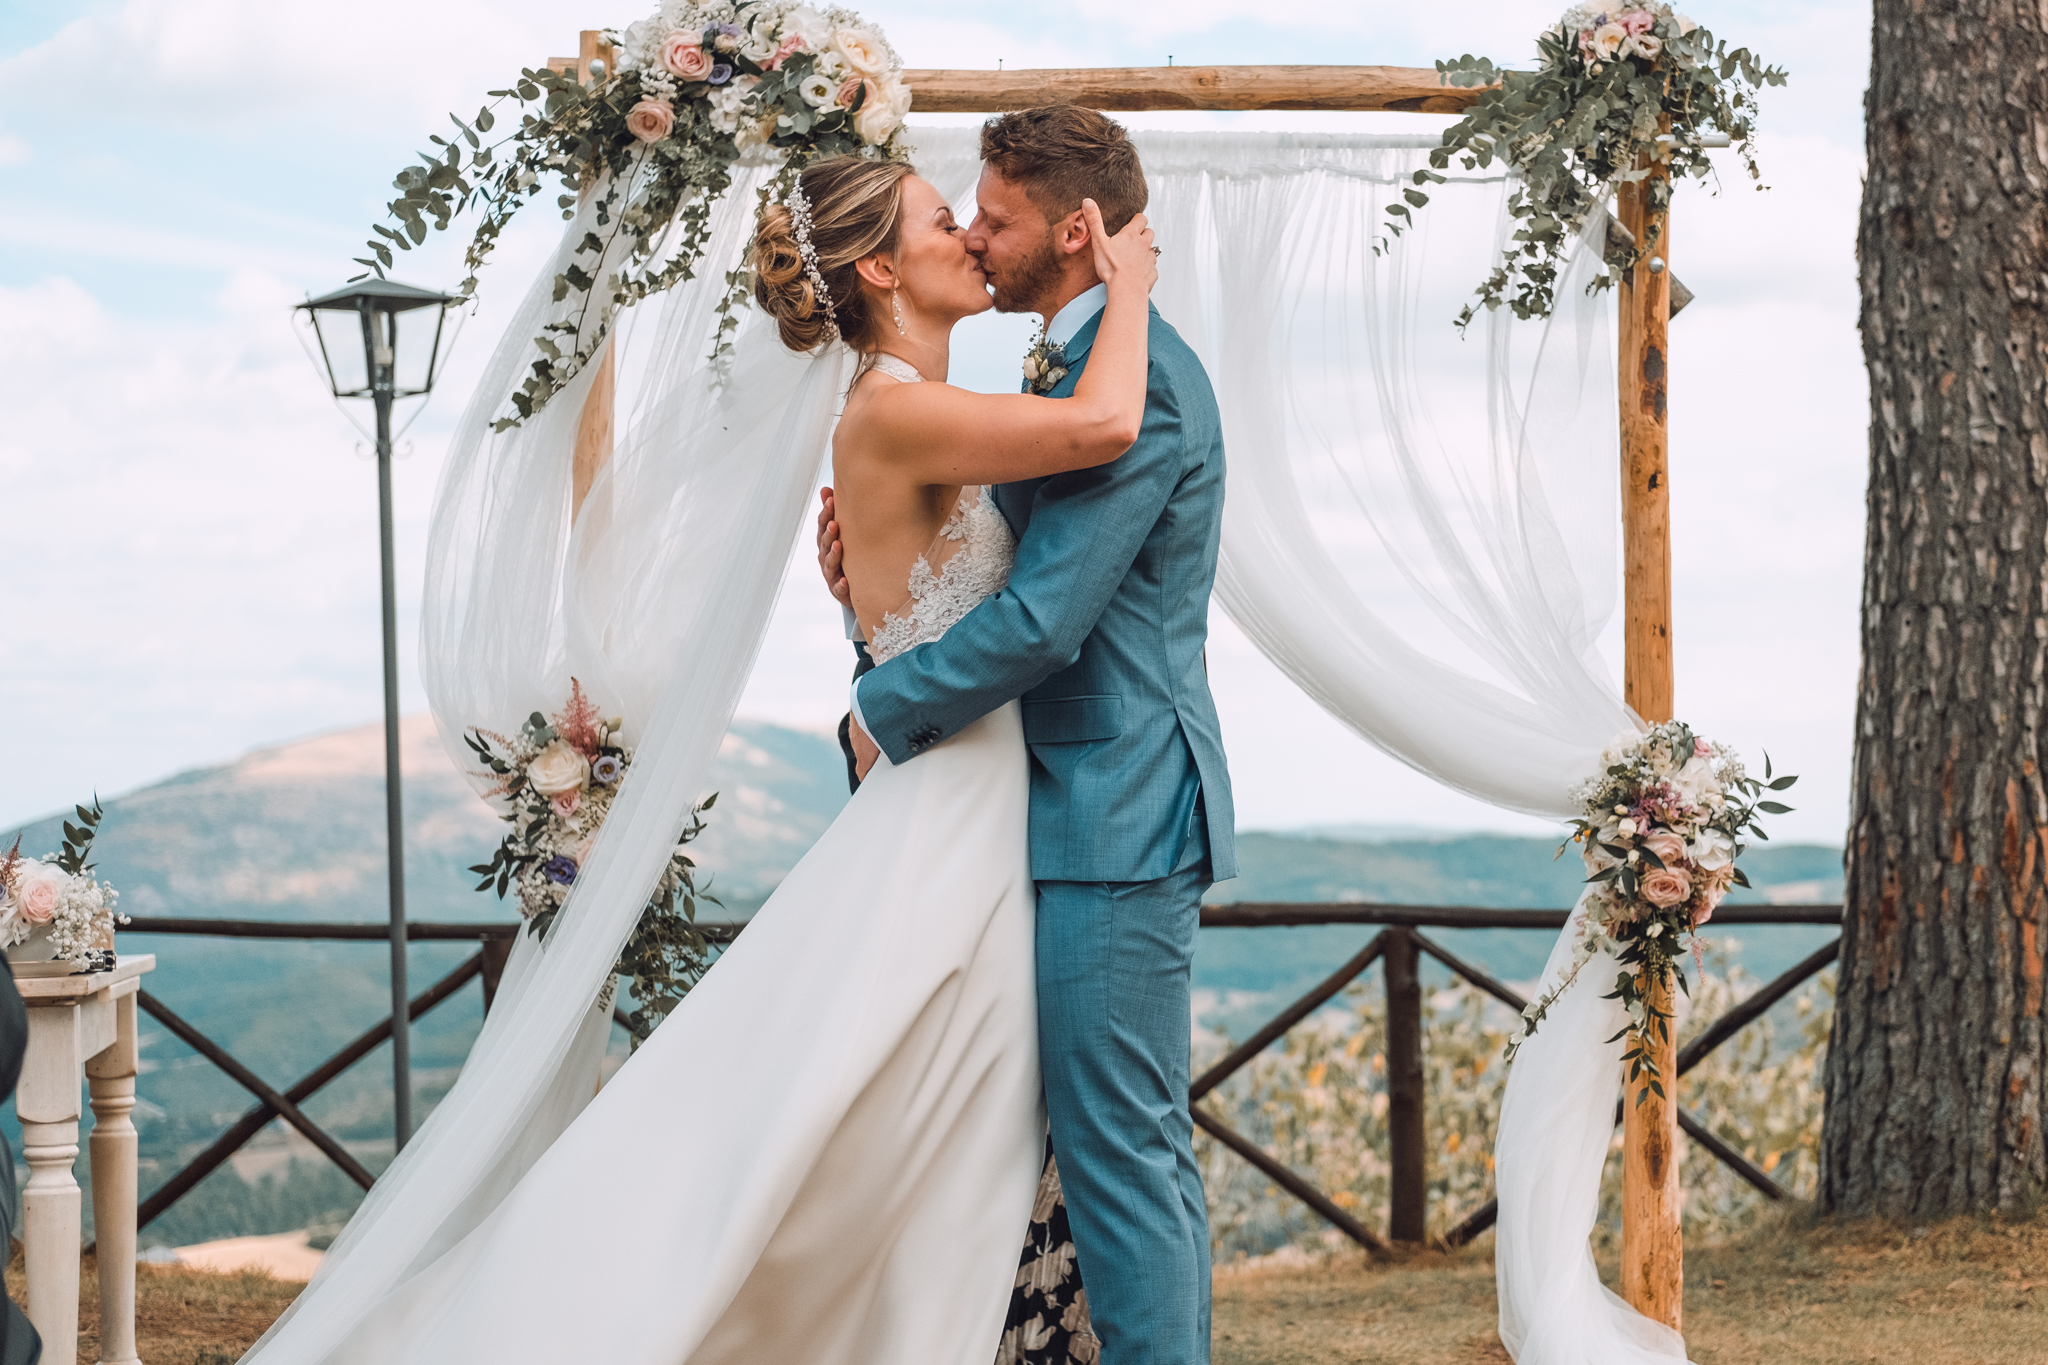
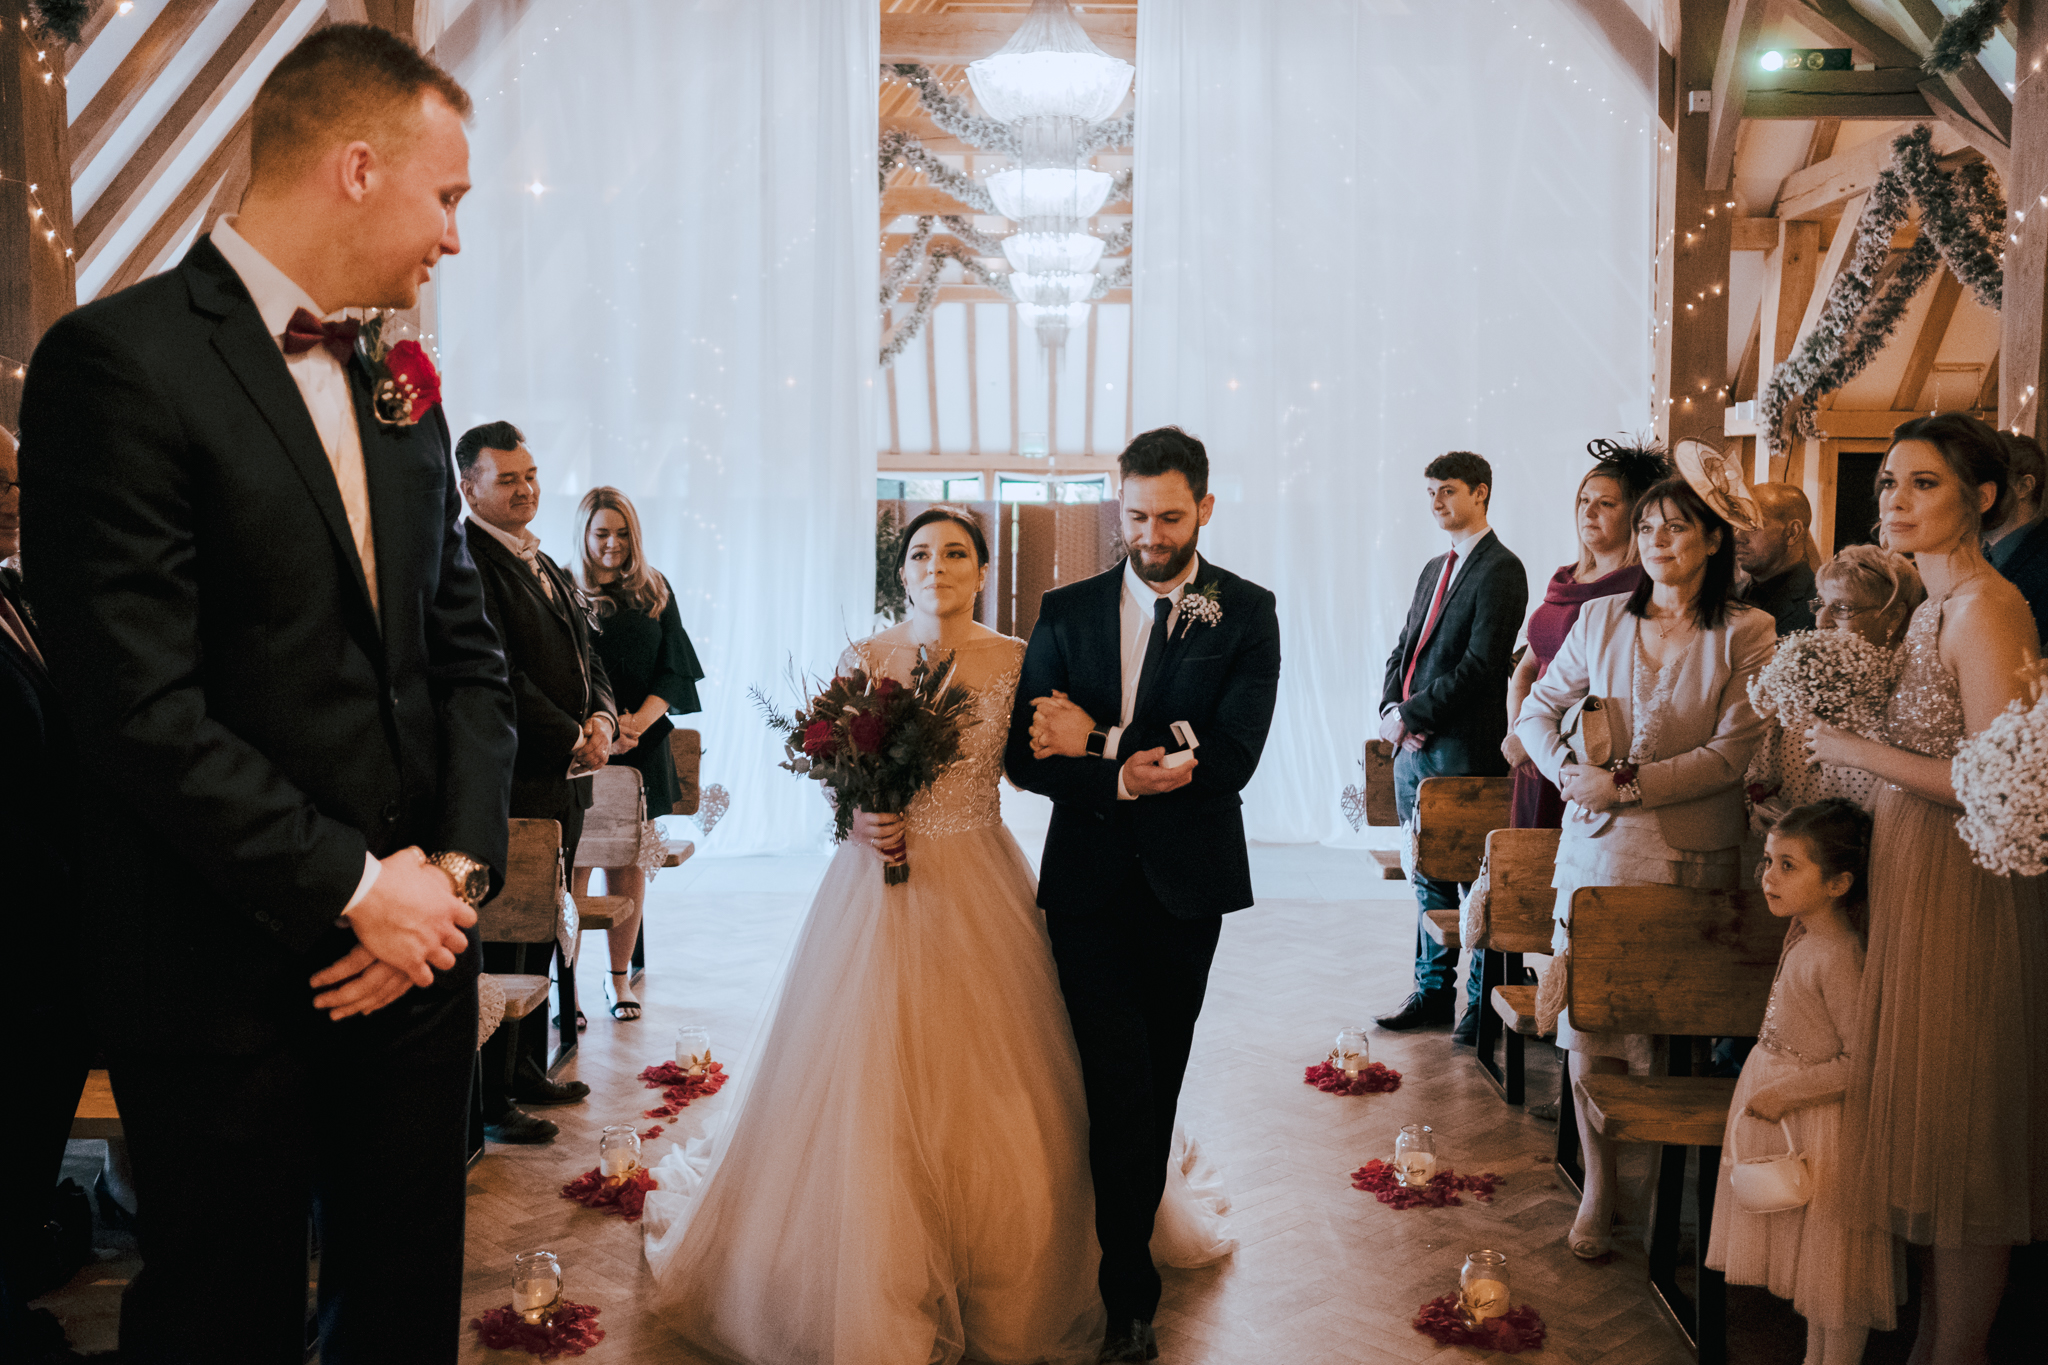
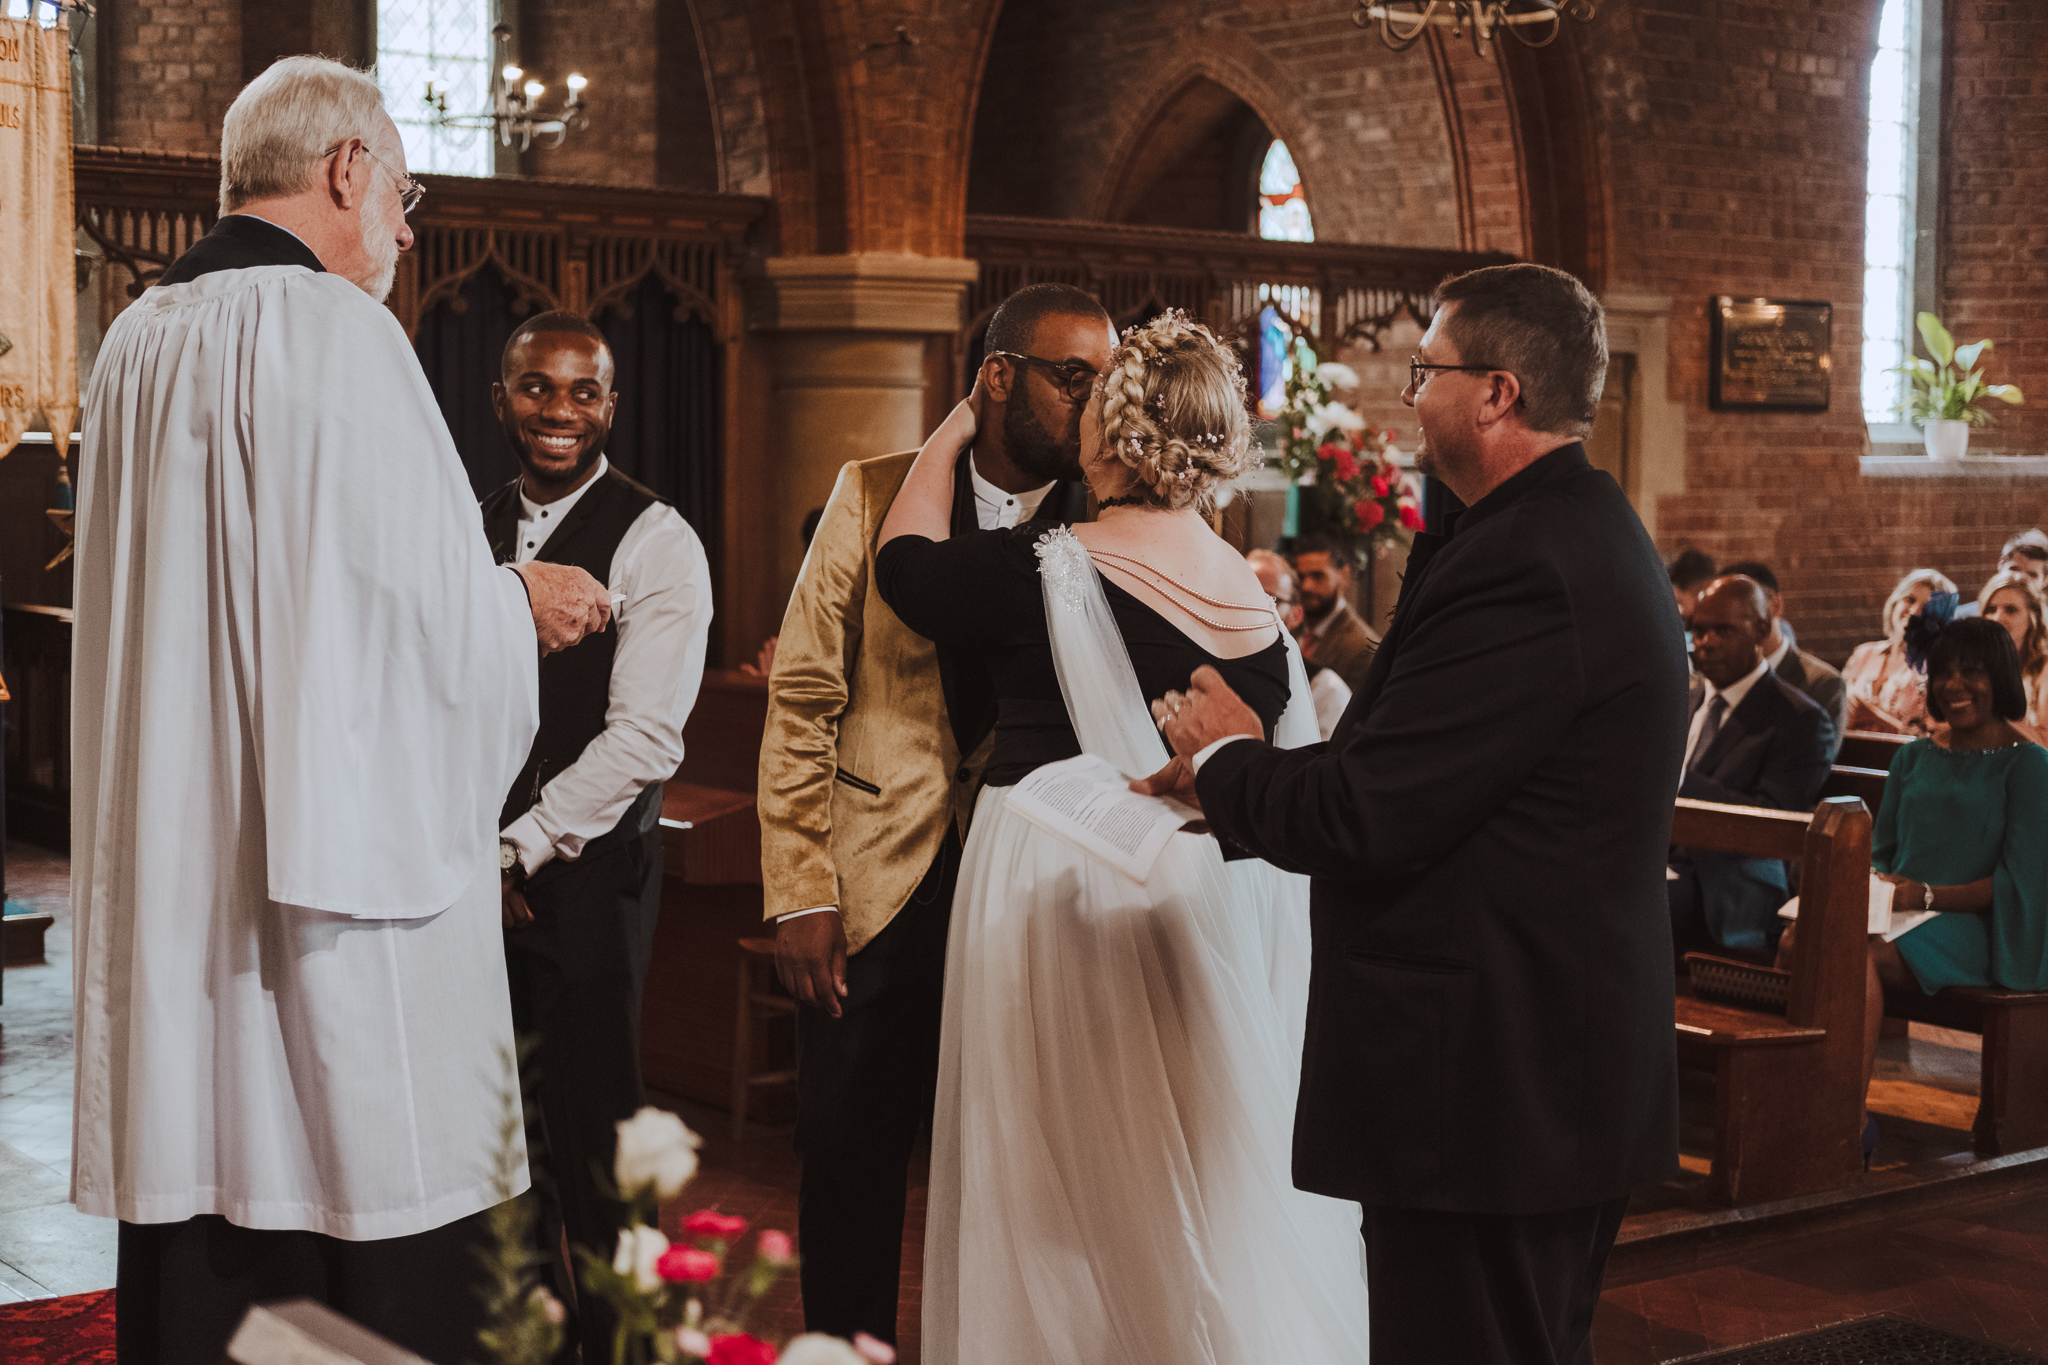
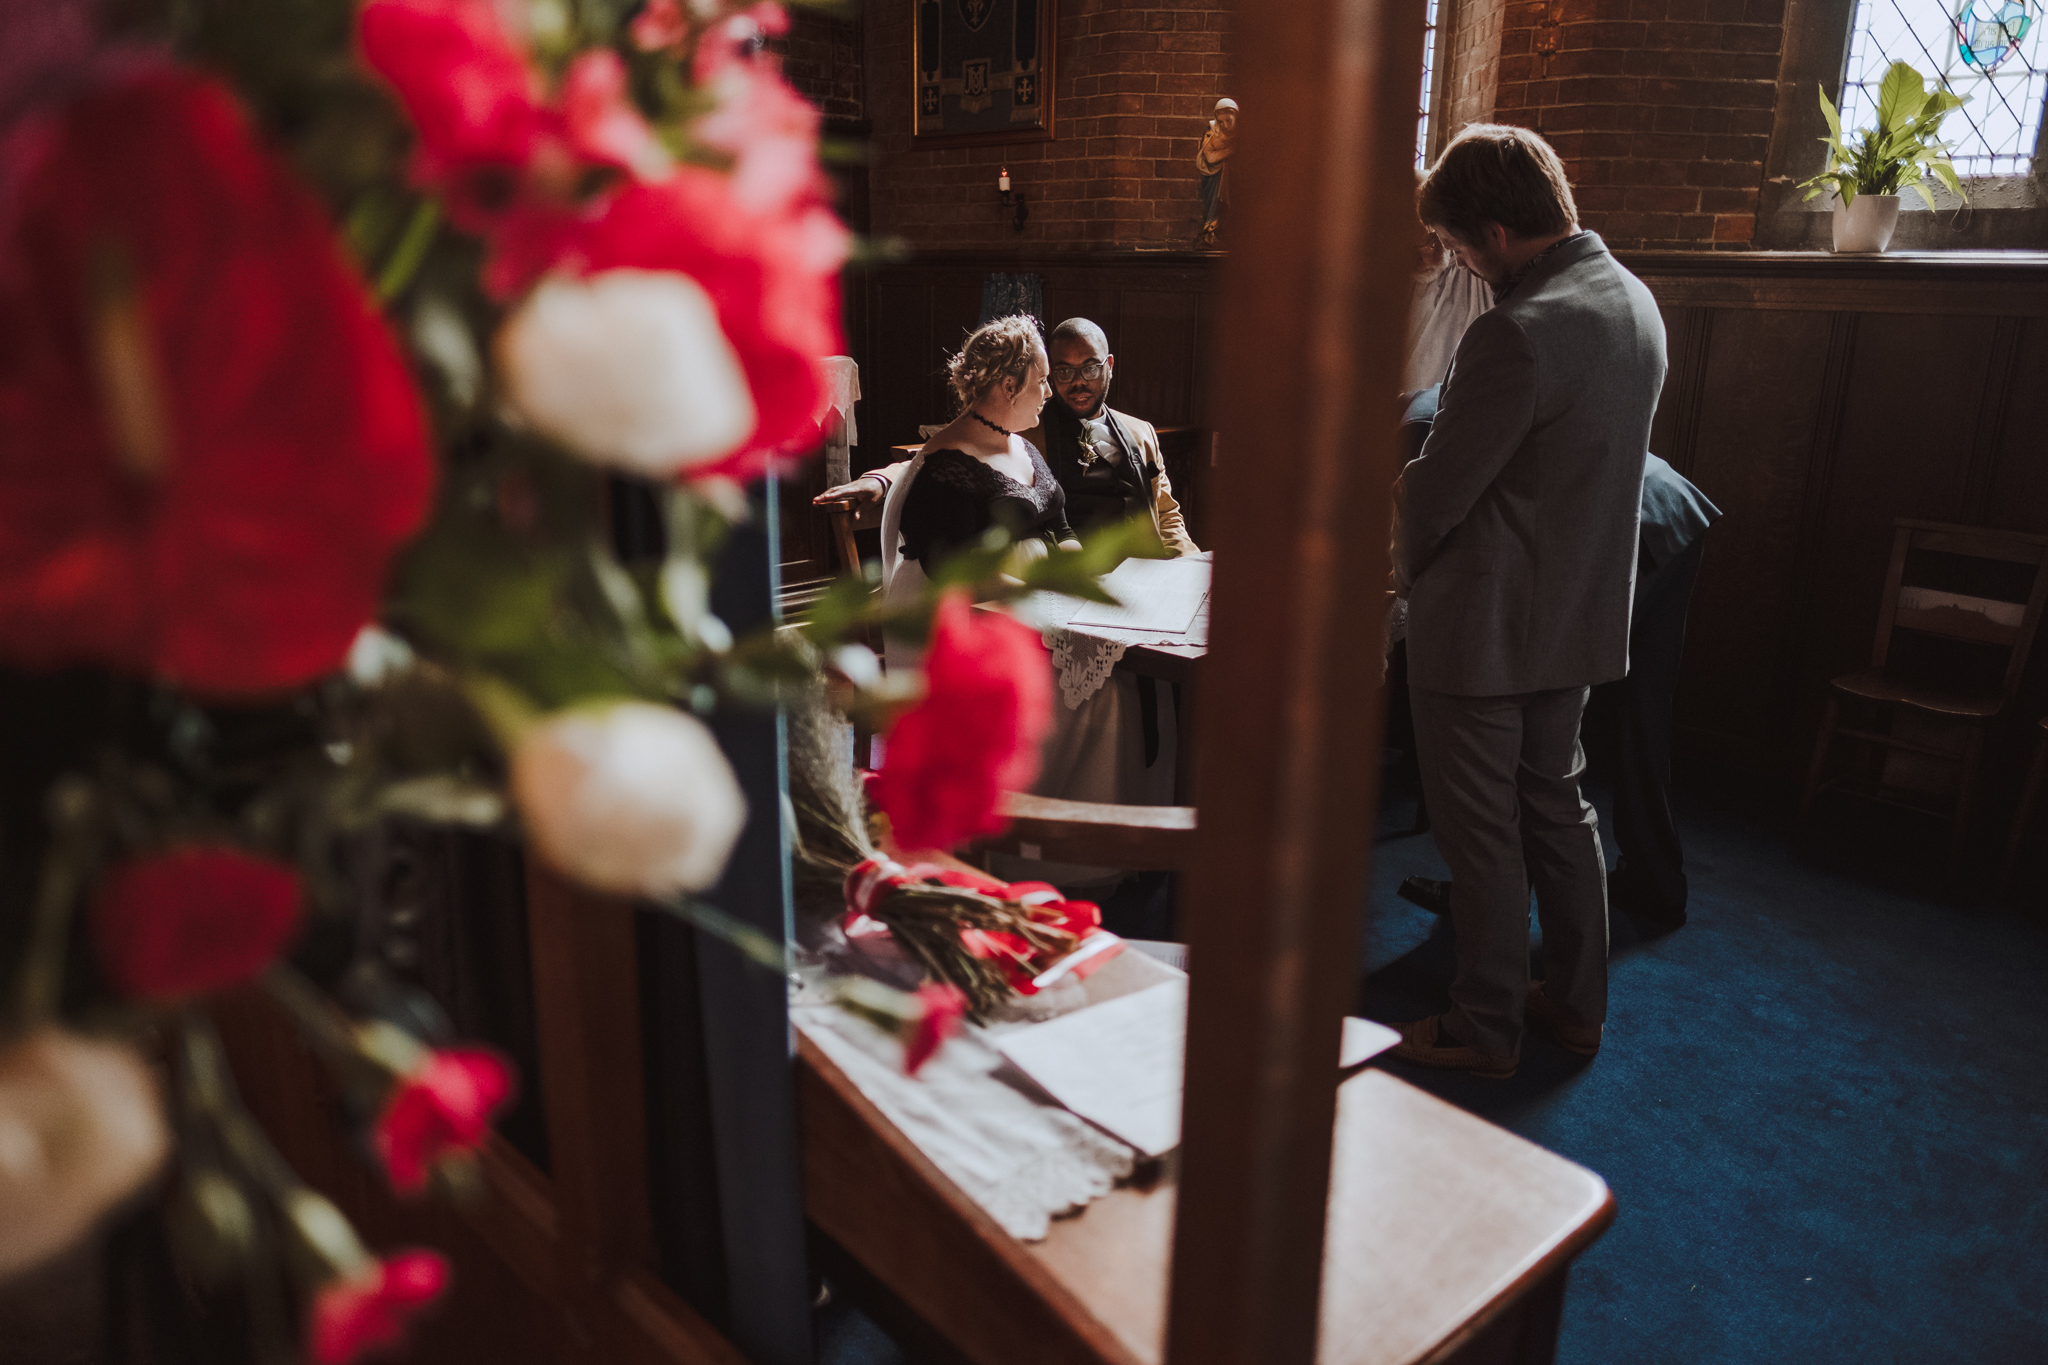
The service was filled with hymns and readings, and everyone gave a huge cheer when the happy couple tied the knot of matrimony.
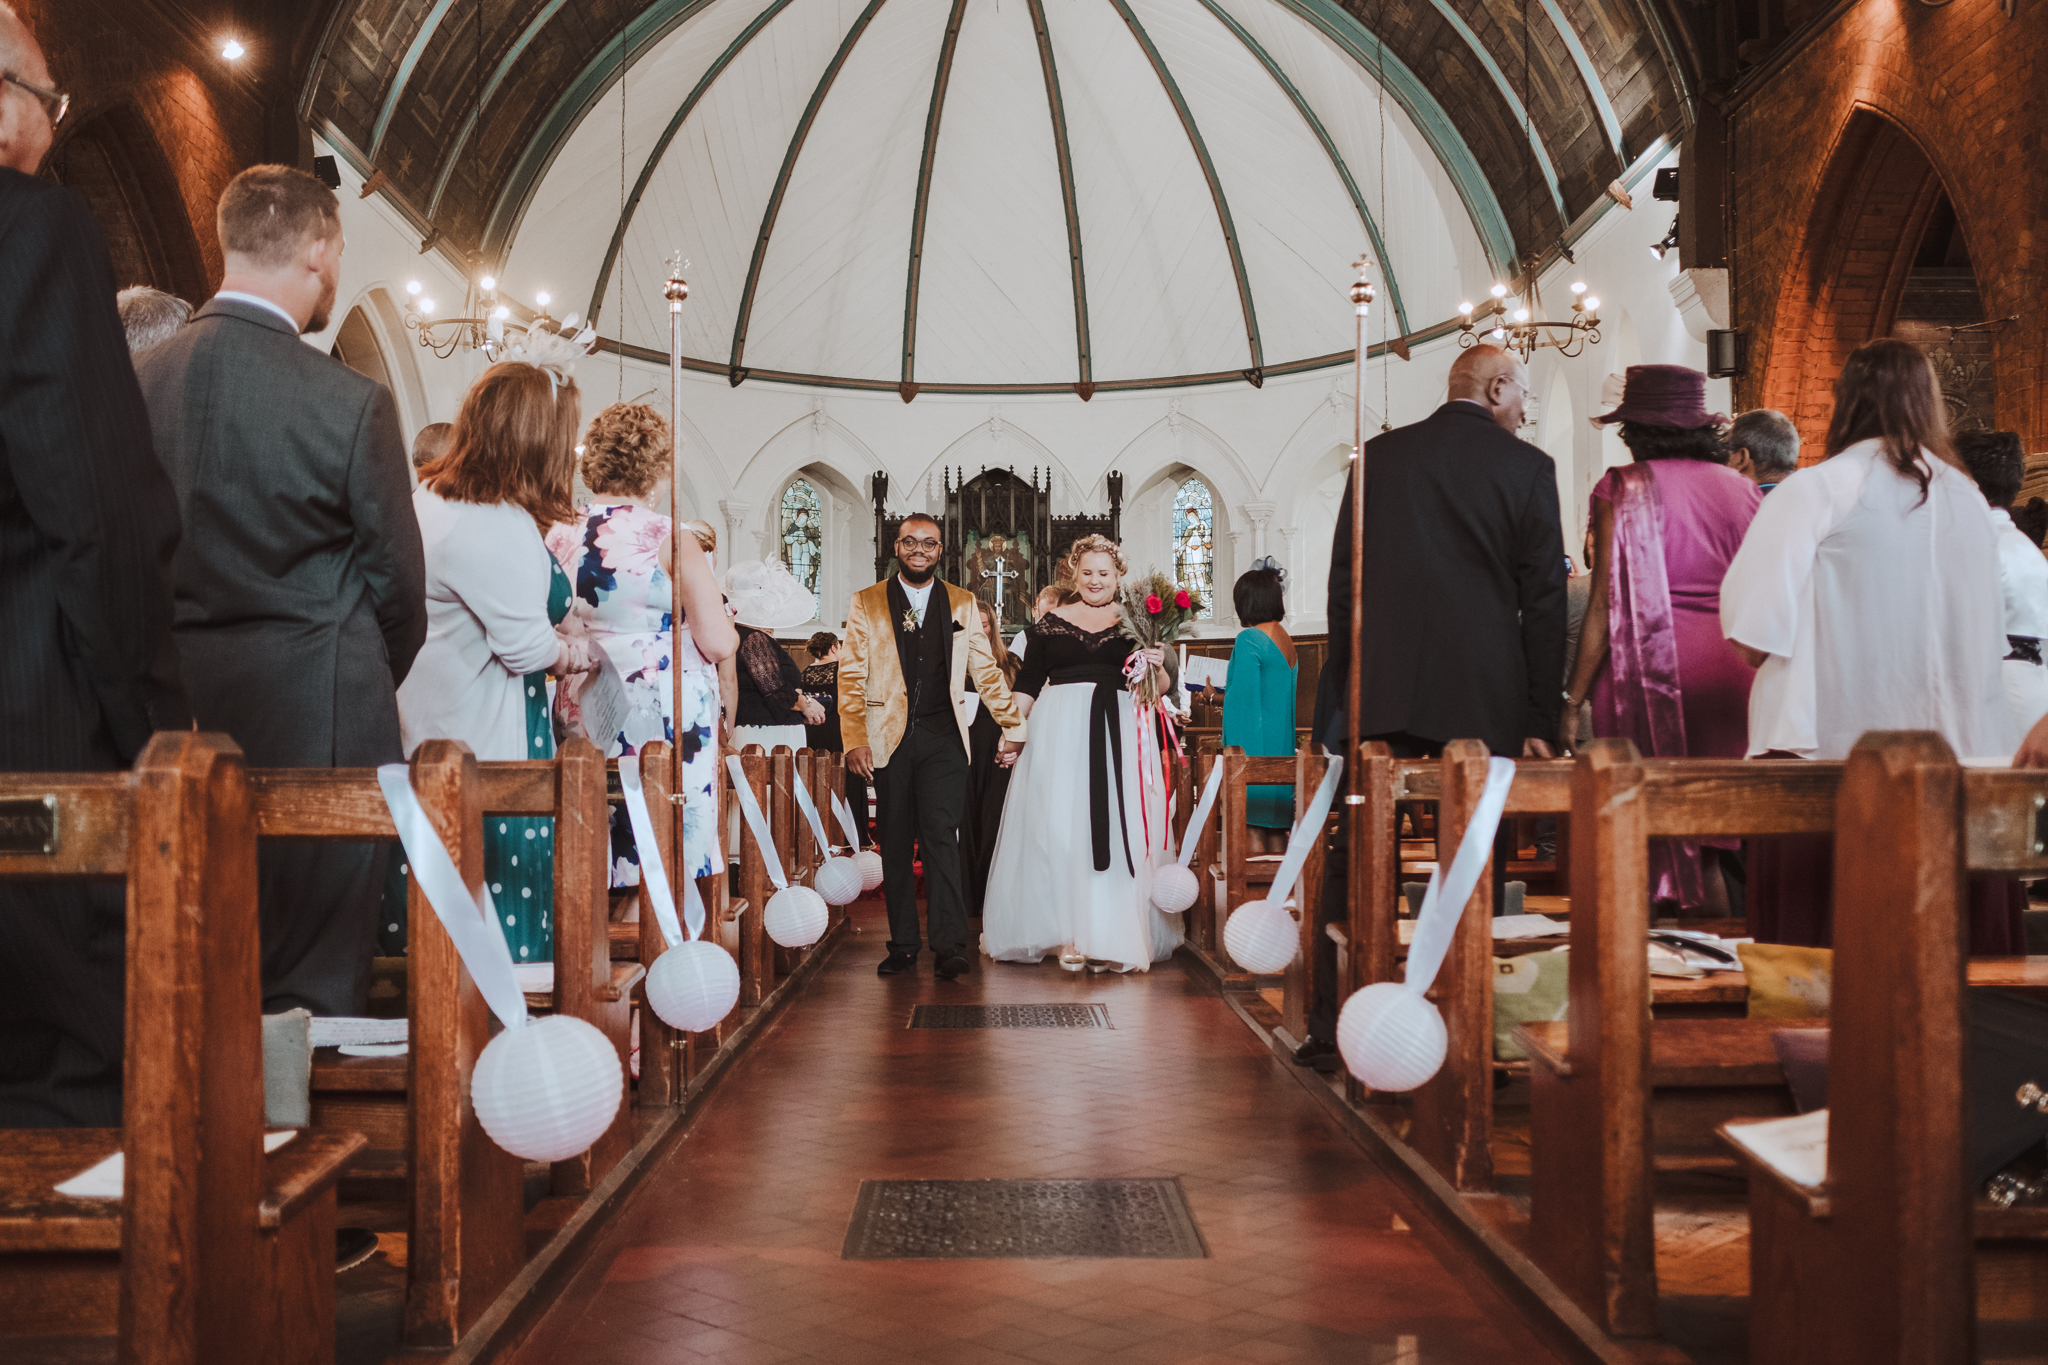
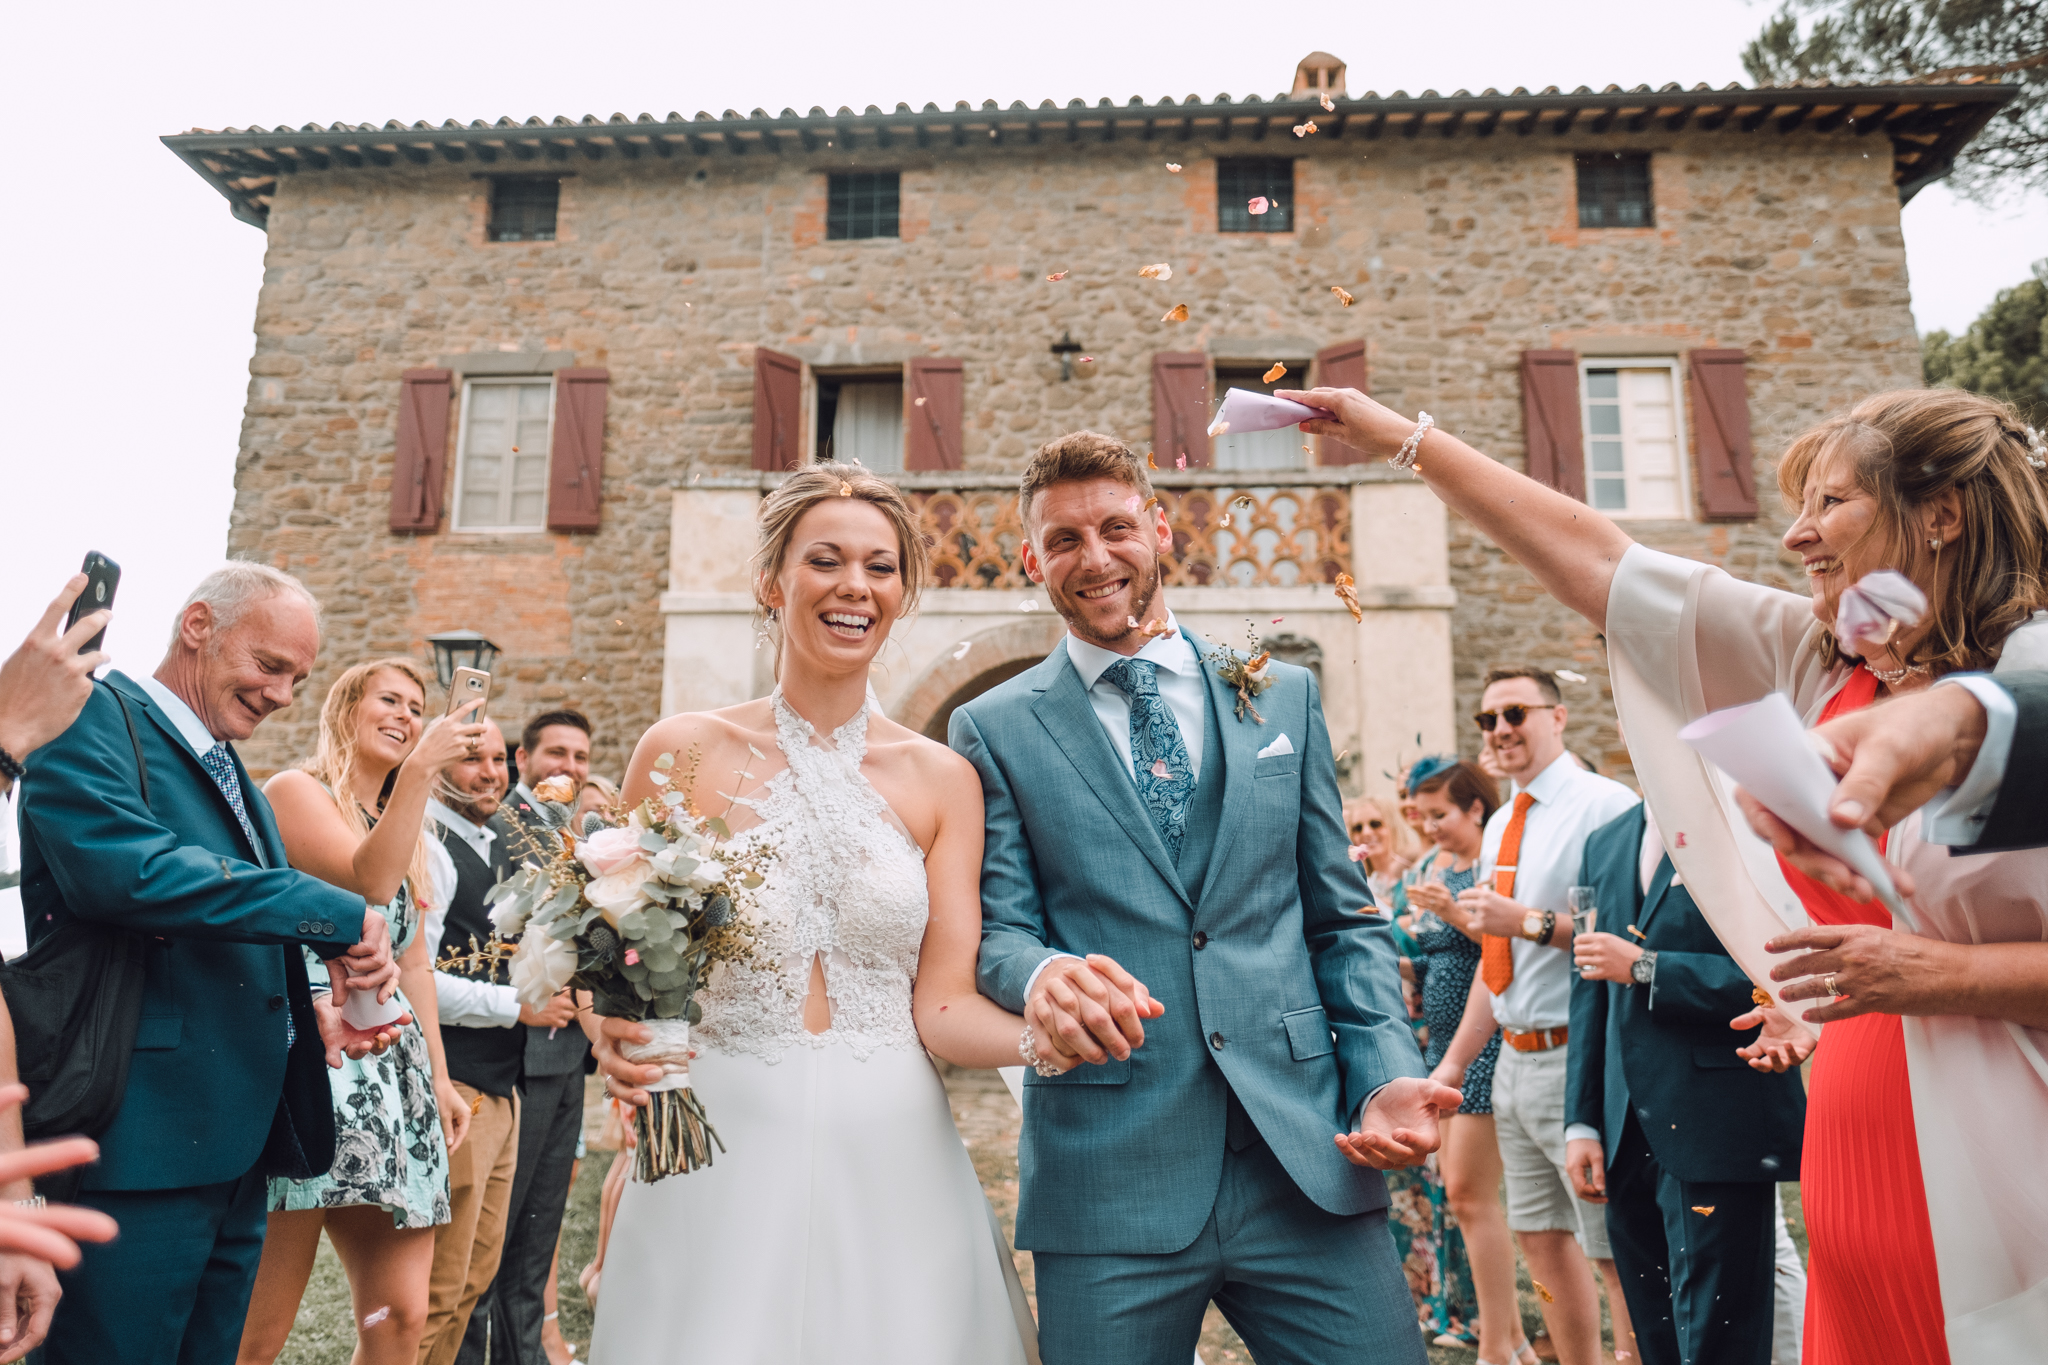
Then came one of the best confetti runs I’ve ever seen. Instead of confetti, Nick and Chelsea opted for bubbles. Yes, you read that right, bubbles. Everyone lined up with bubble guns and bubble blowers and showered the happy couple with tons and ton of bubbles.
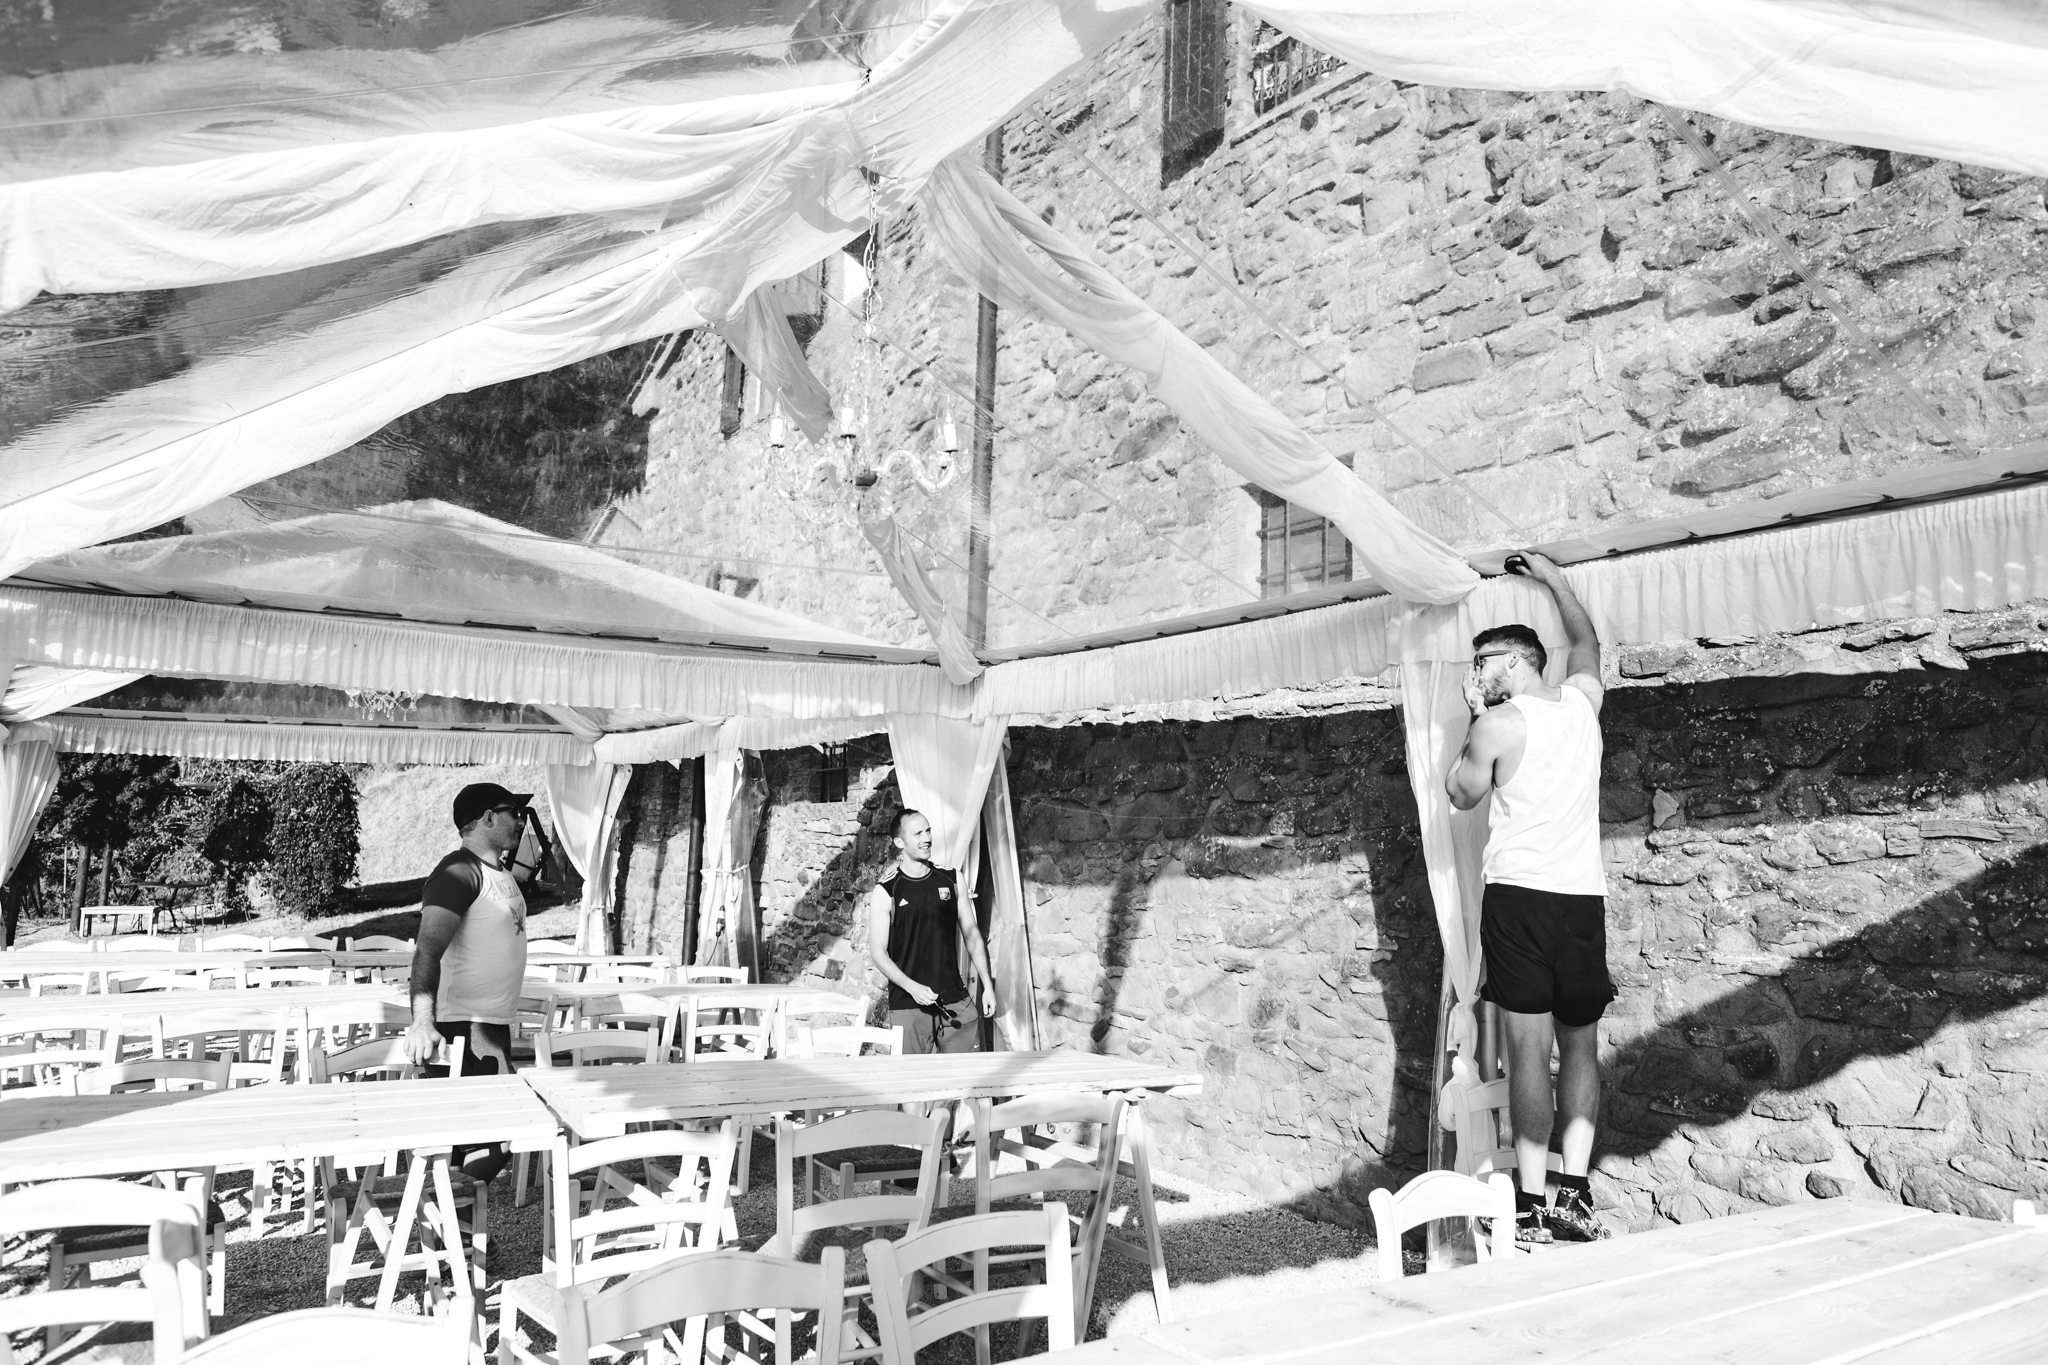
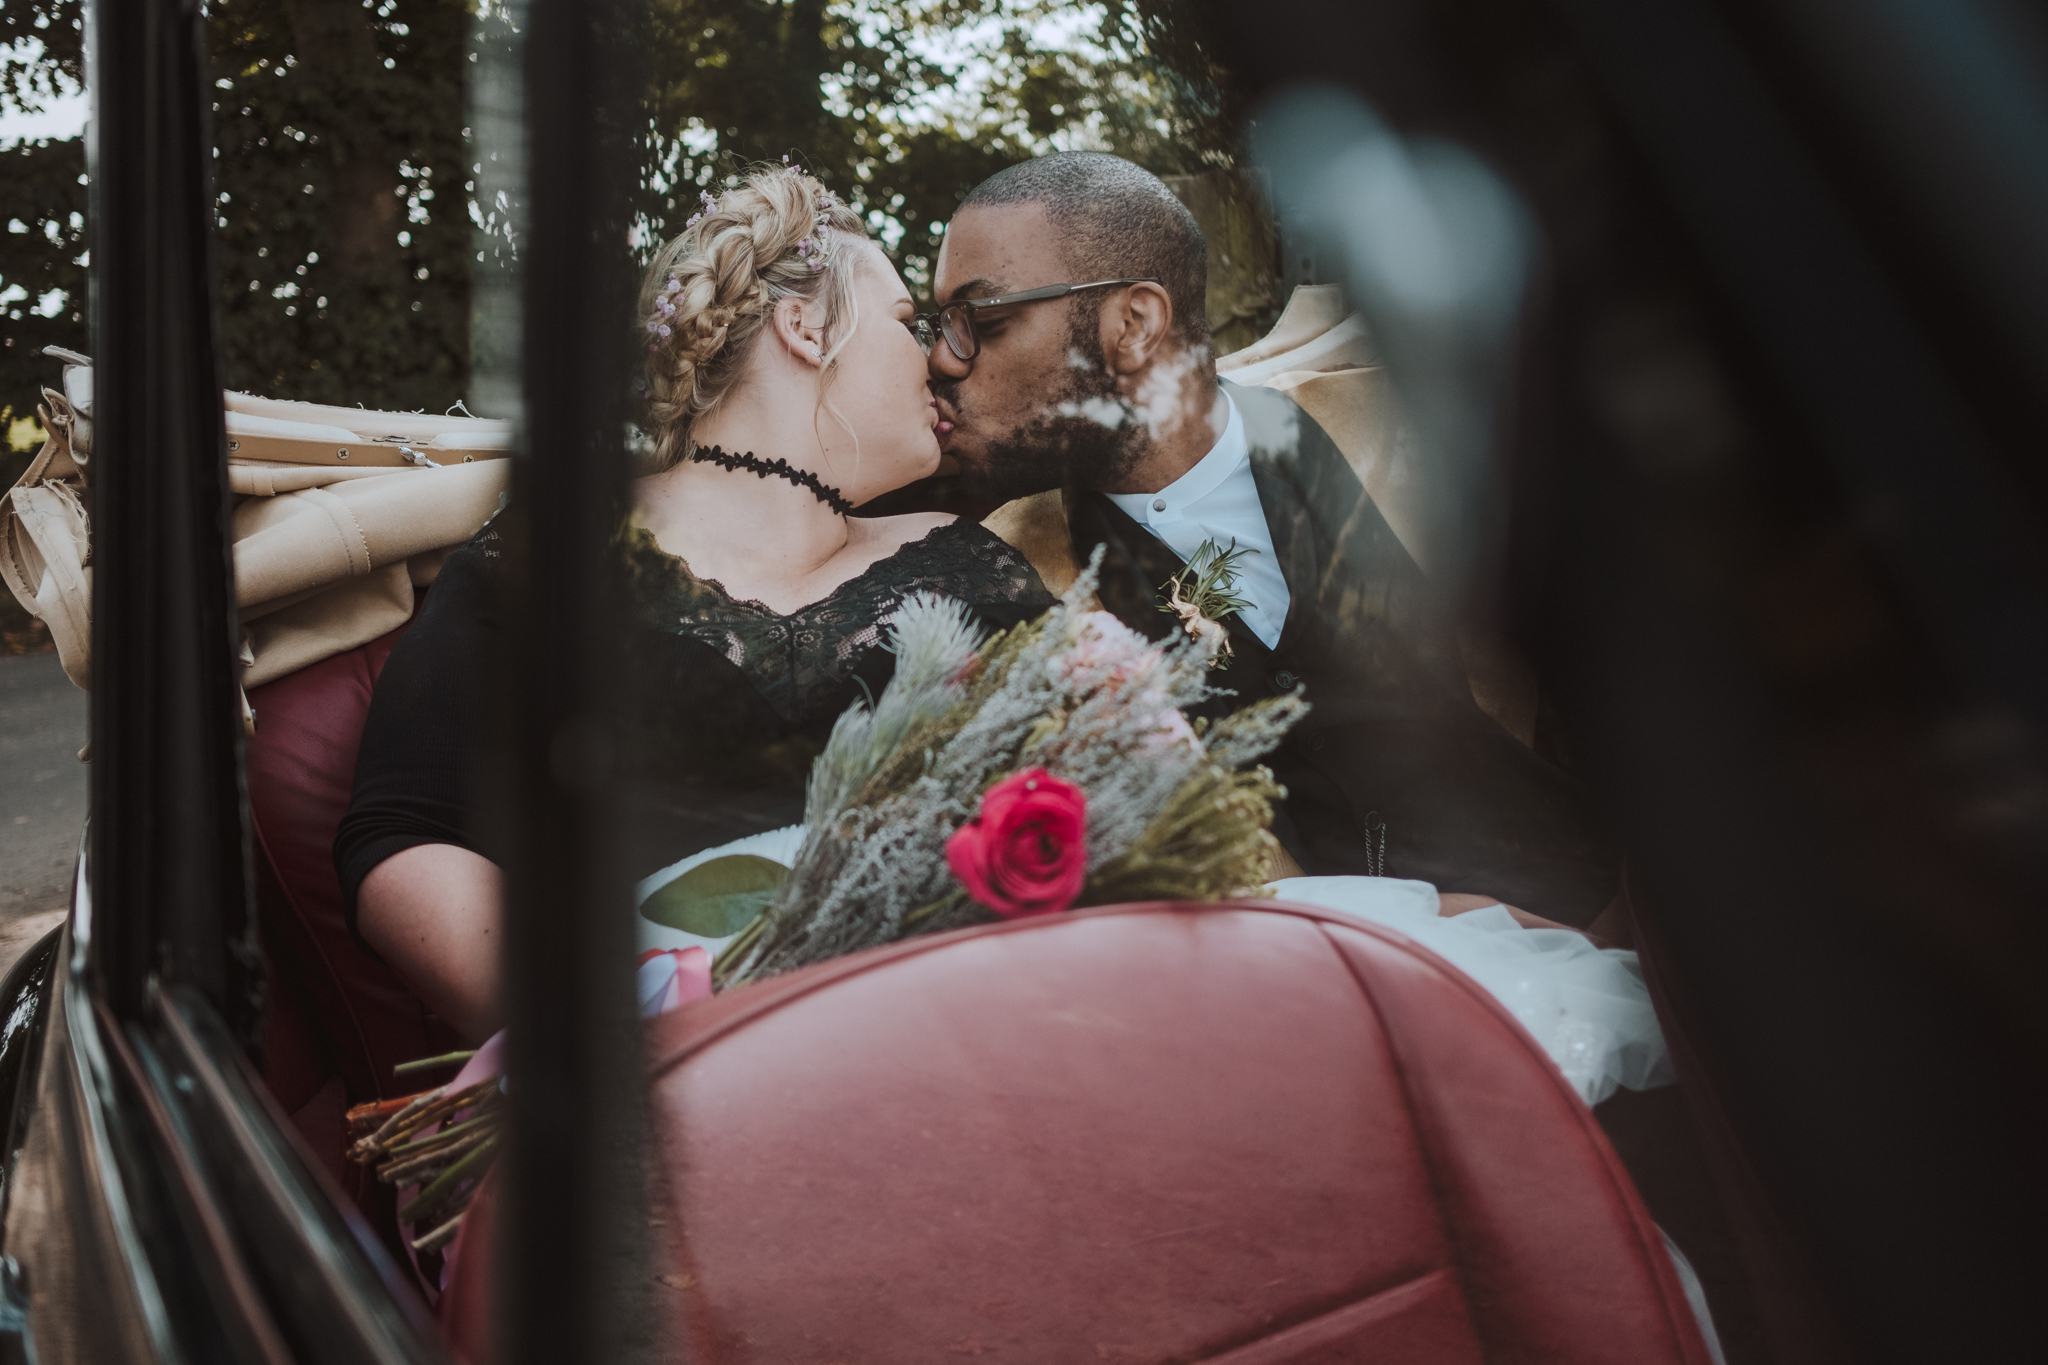
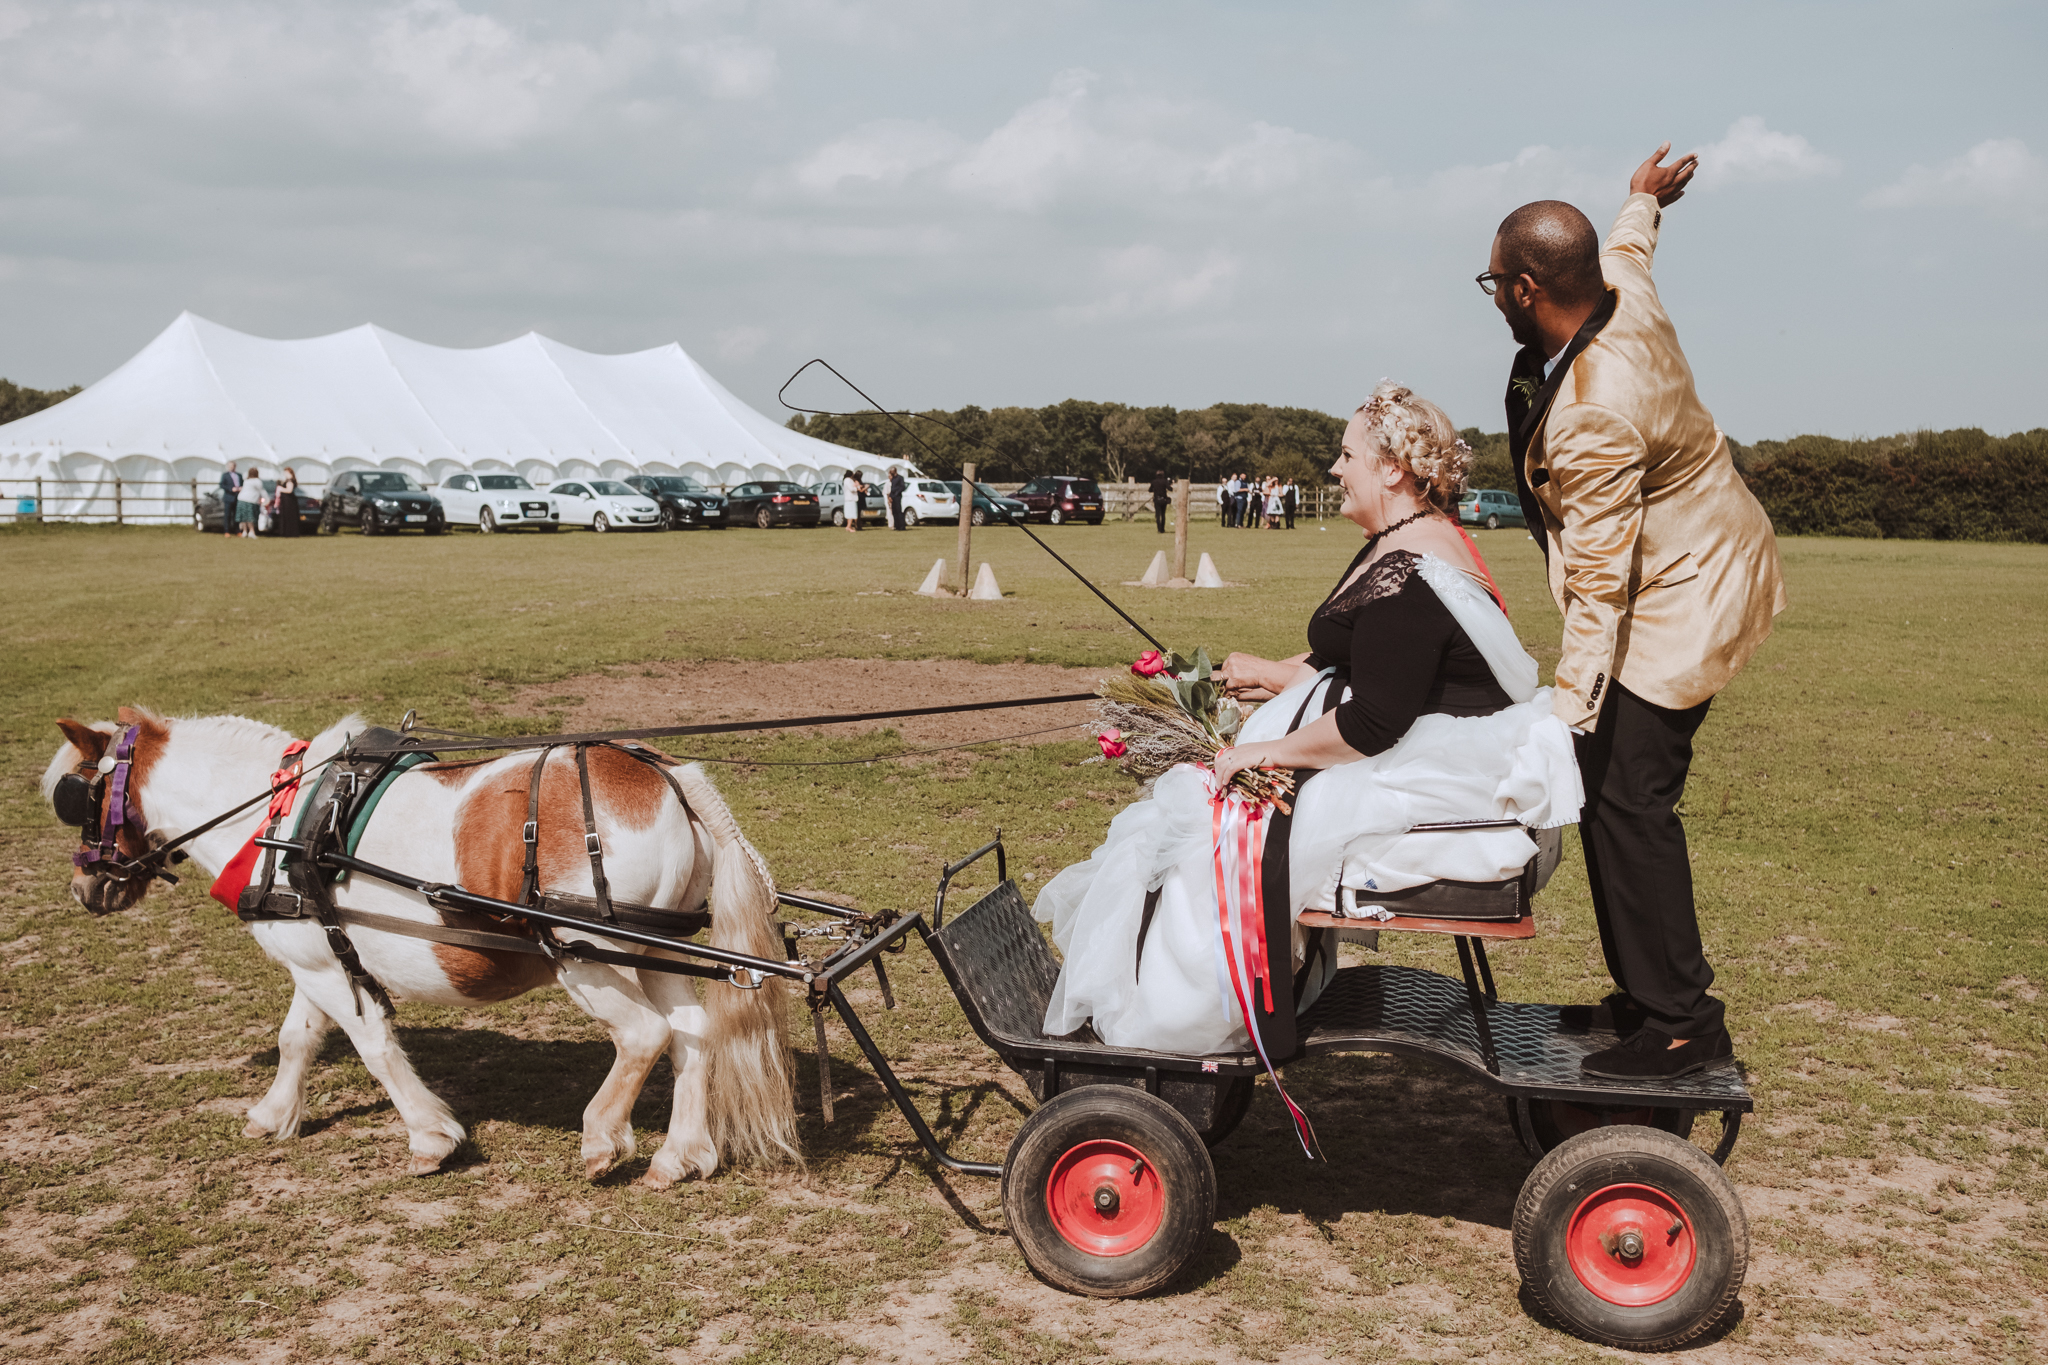
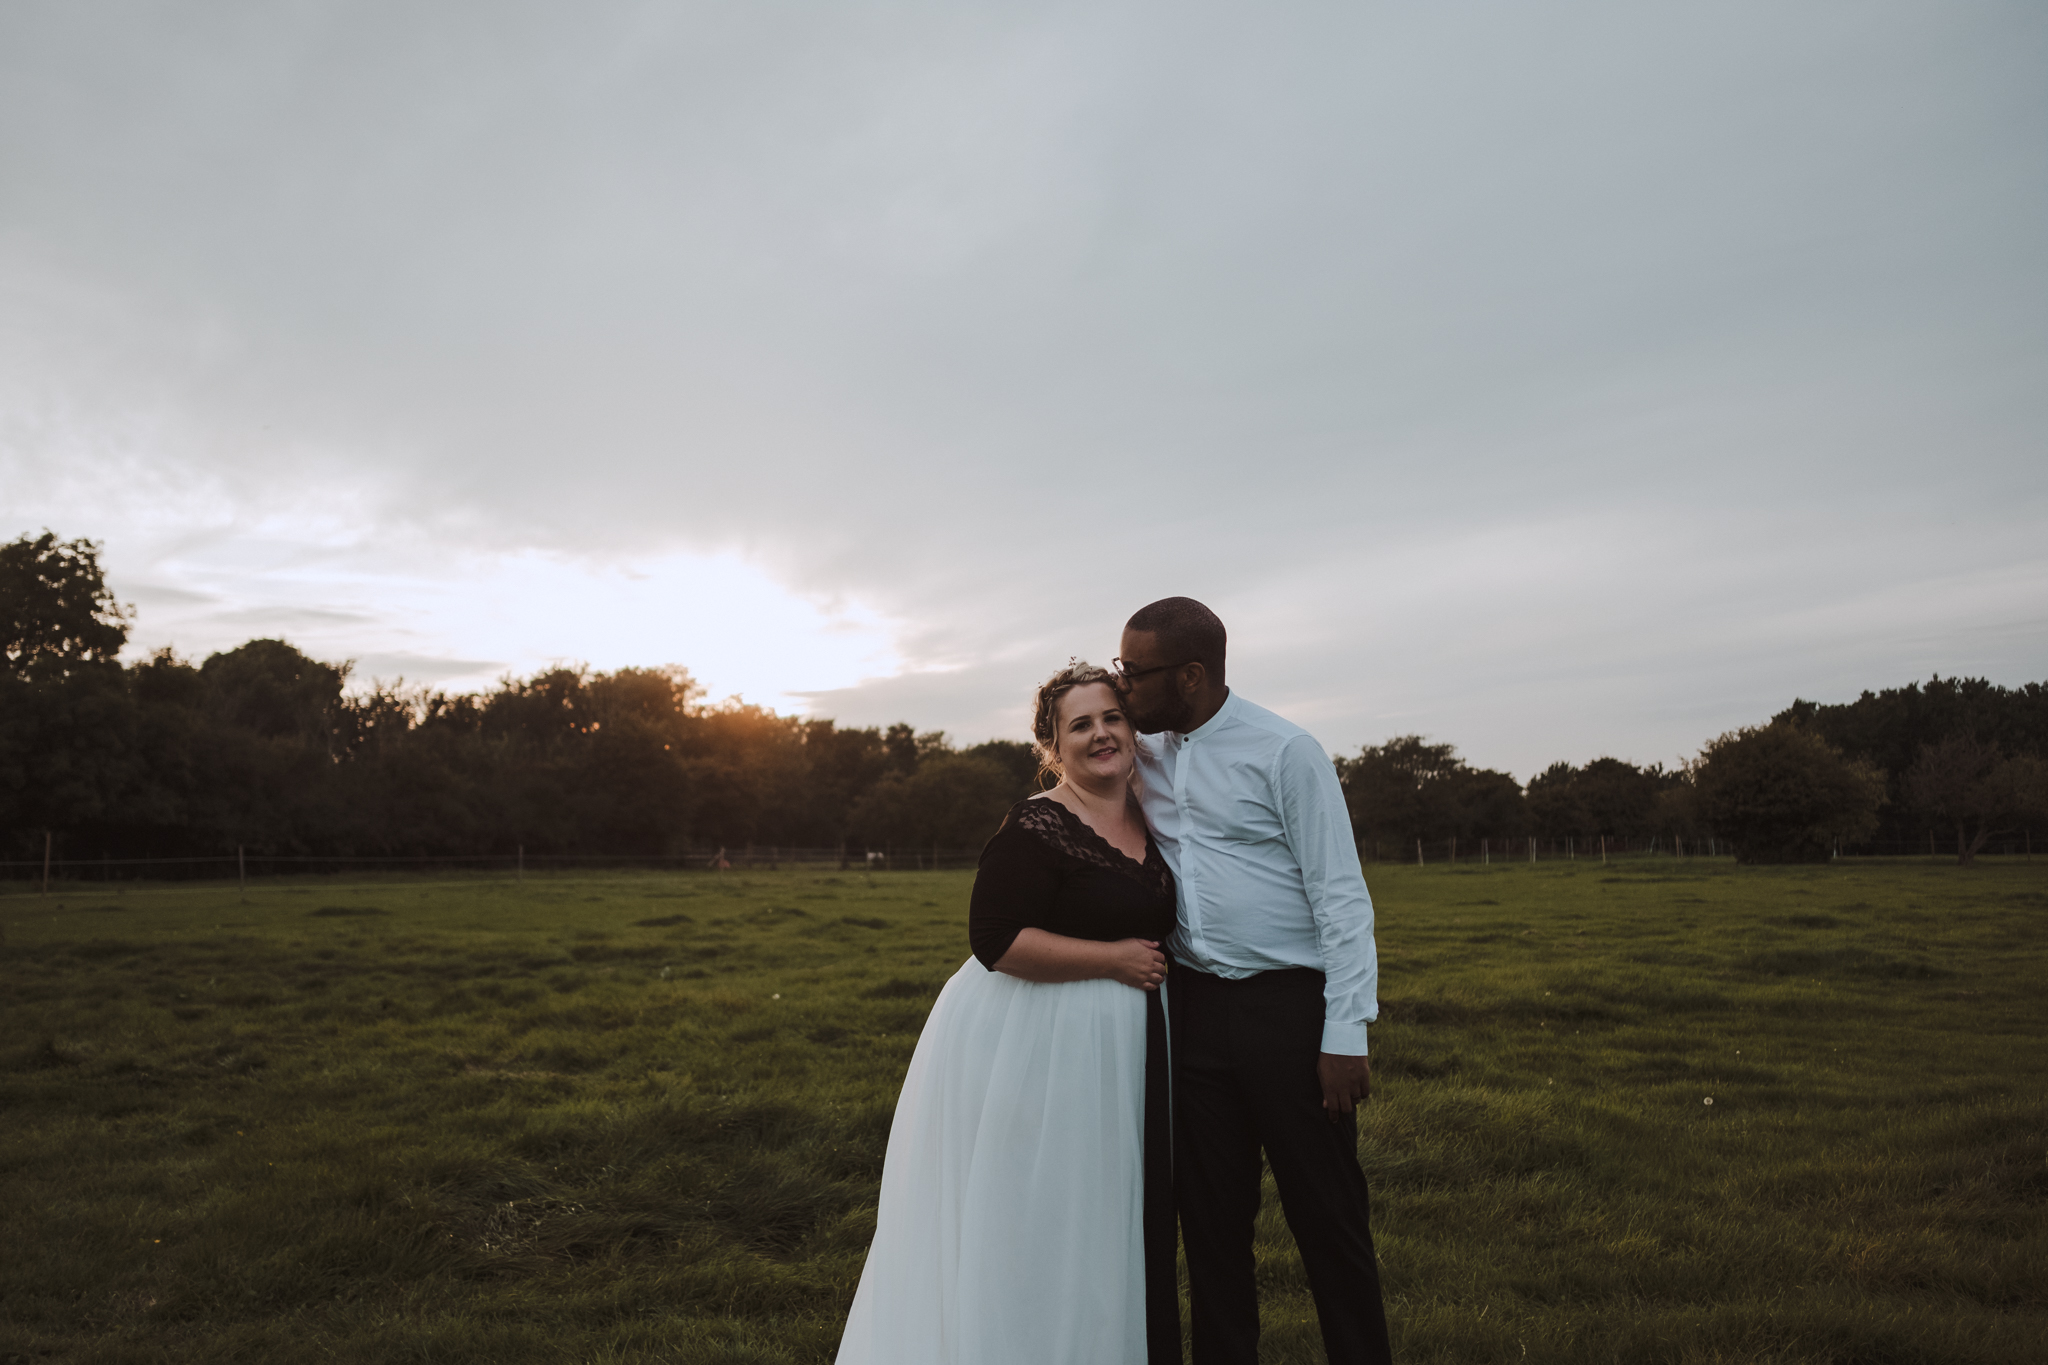
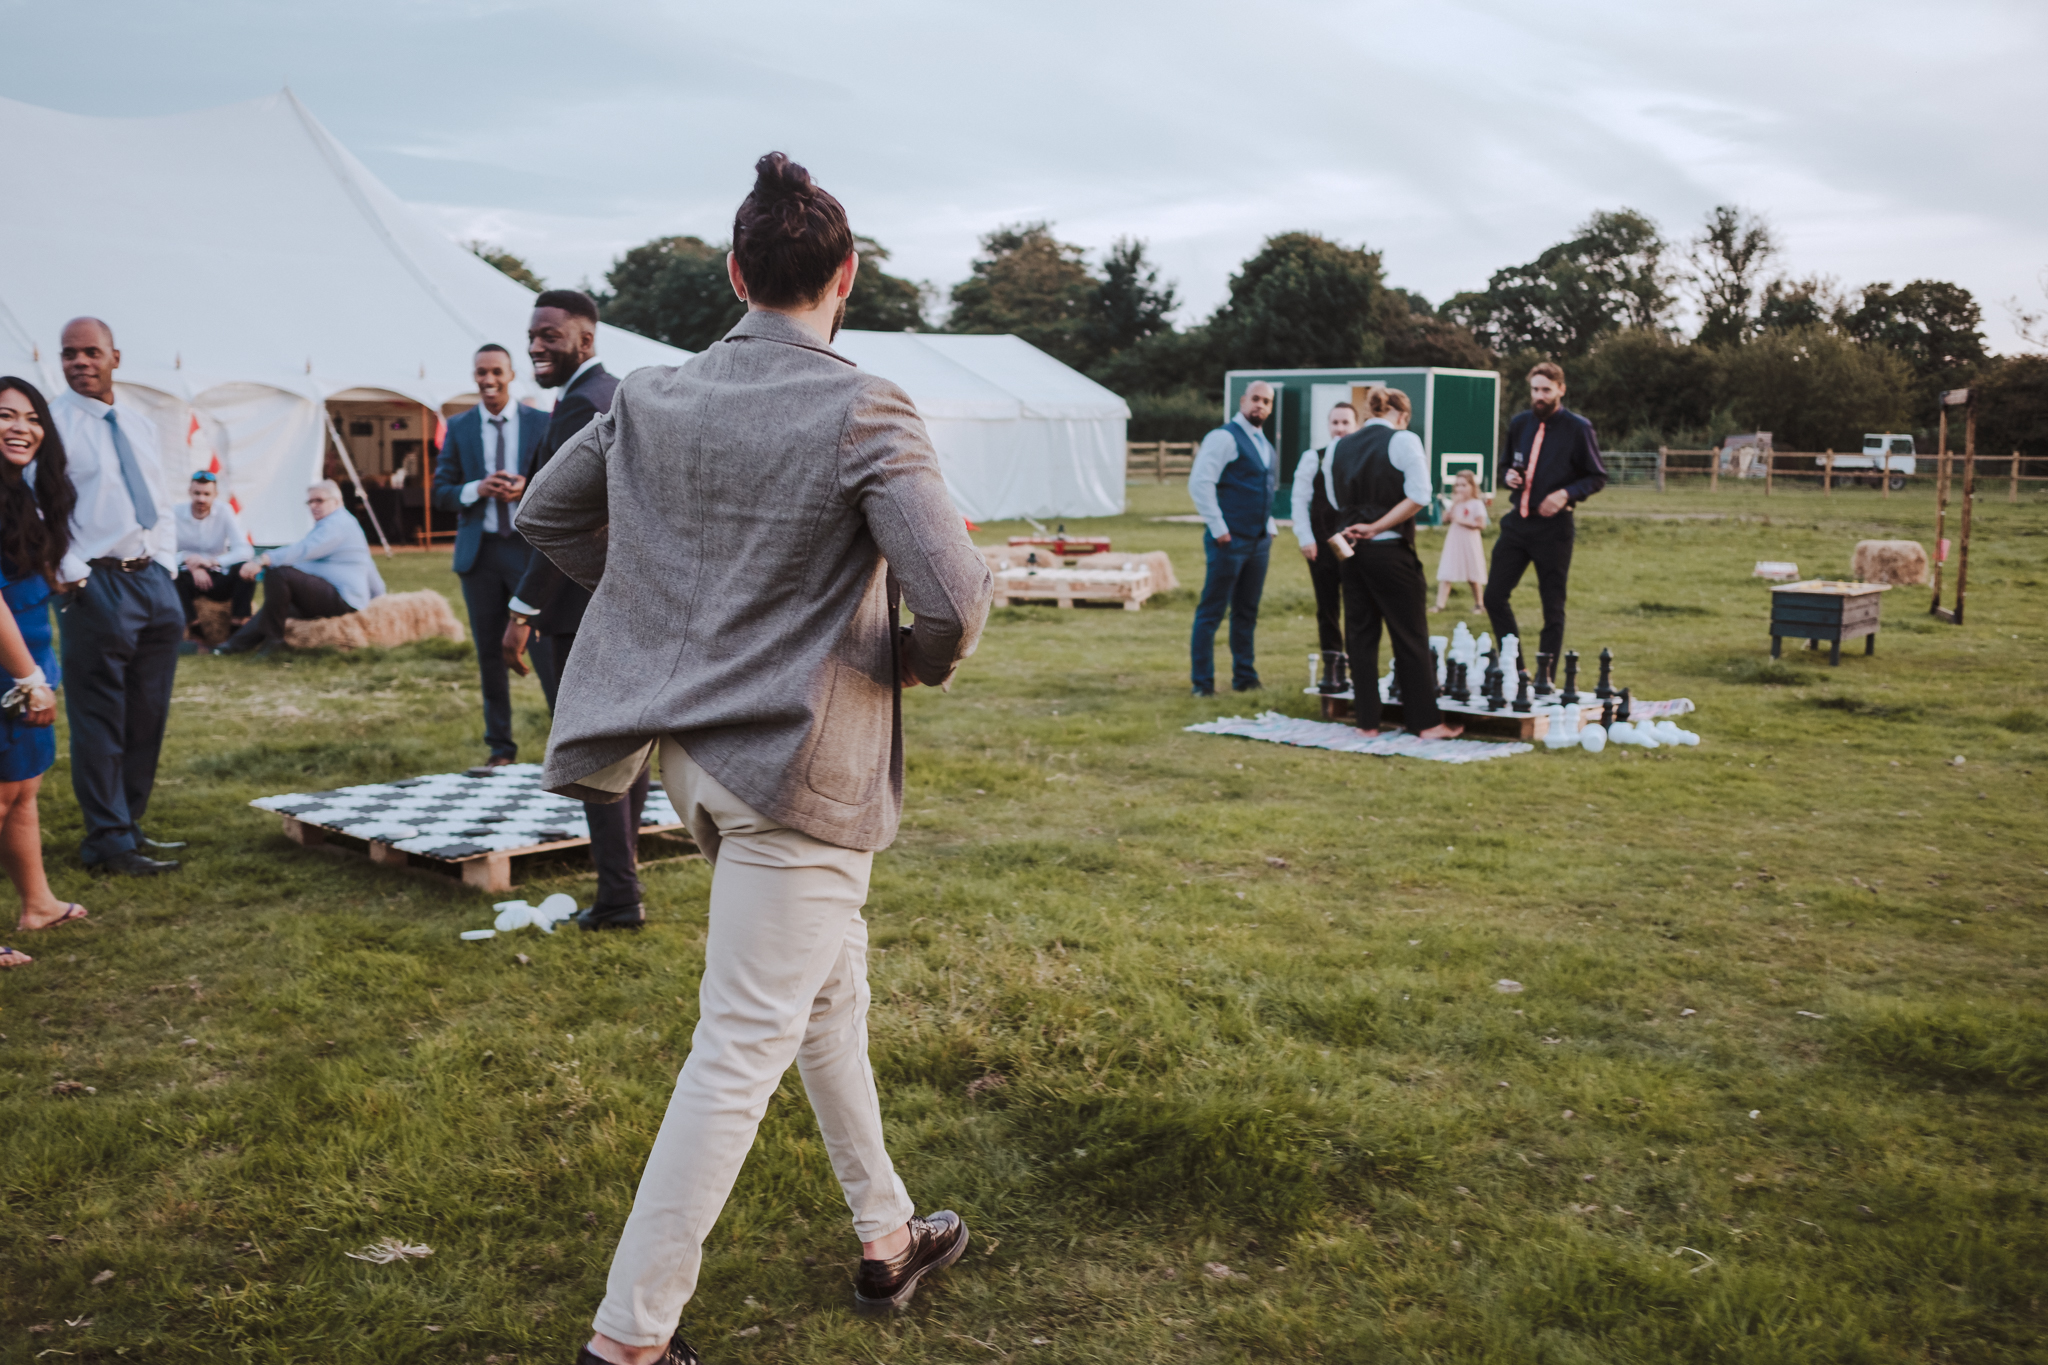
From the church we made our way up to the reception, which was being hosted in a field at a local horse riding school. Nick and Chelsea got treated to a surprise when they arrived, by being taking from the gates of the field to their waiting guests by a pony drawn cart.
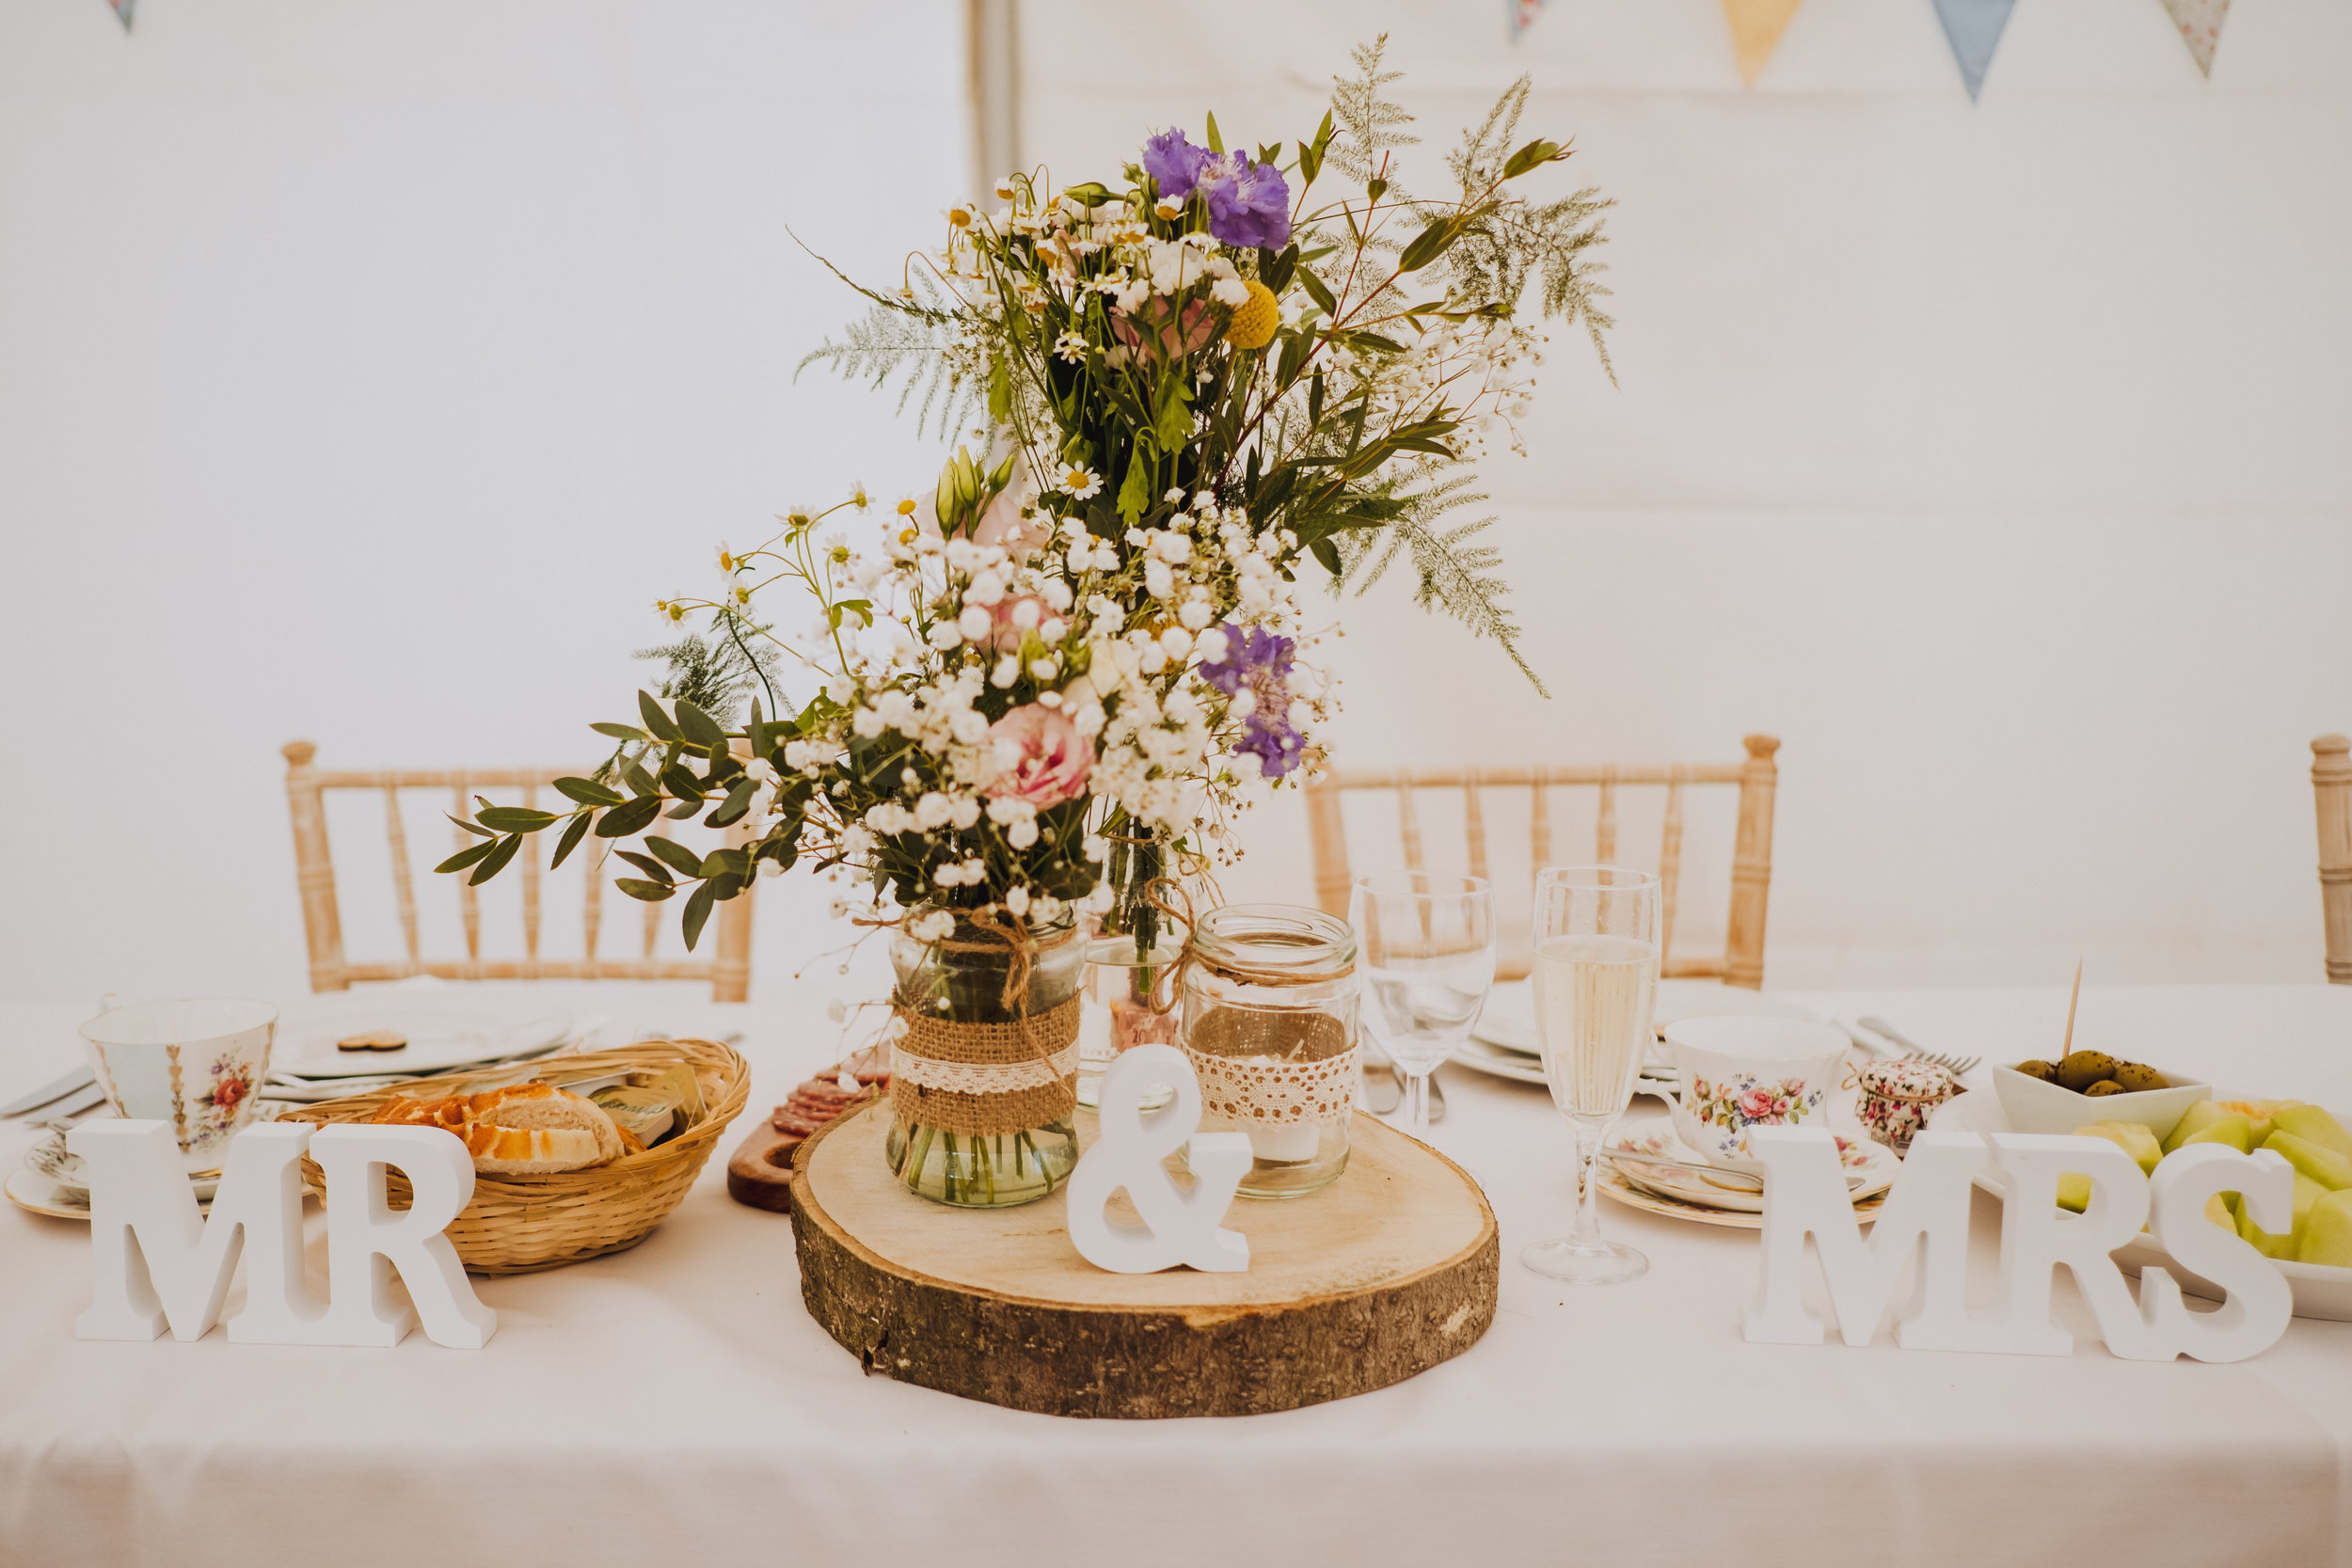
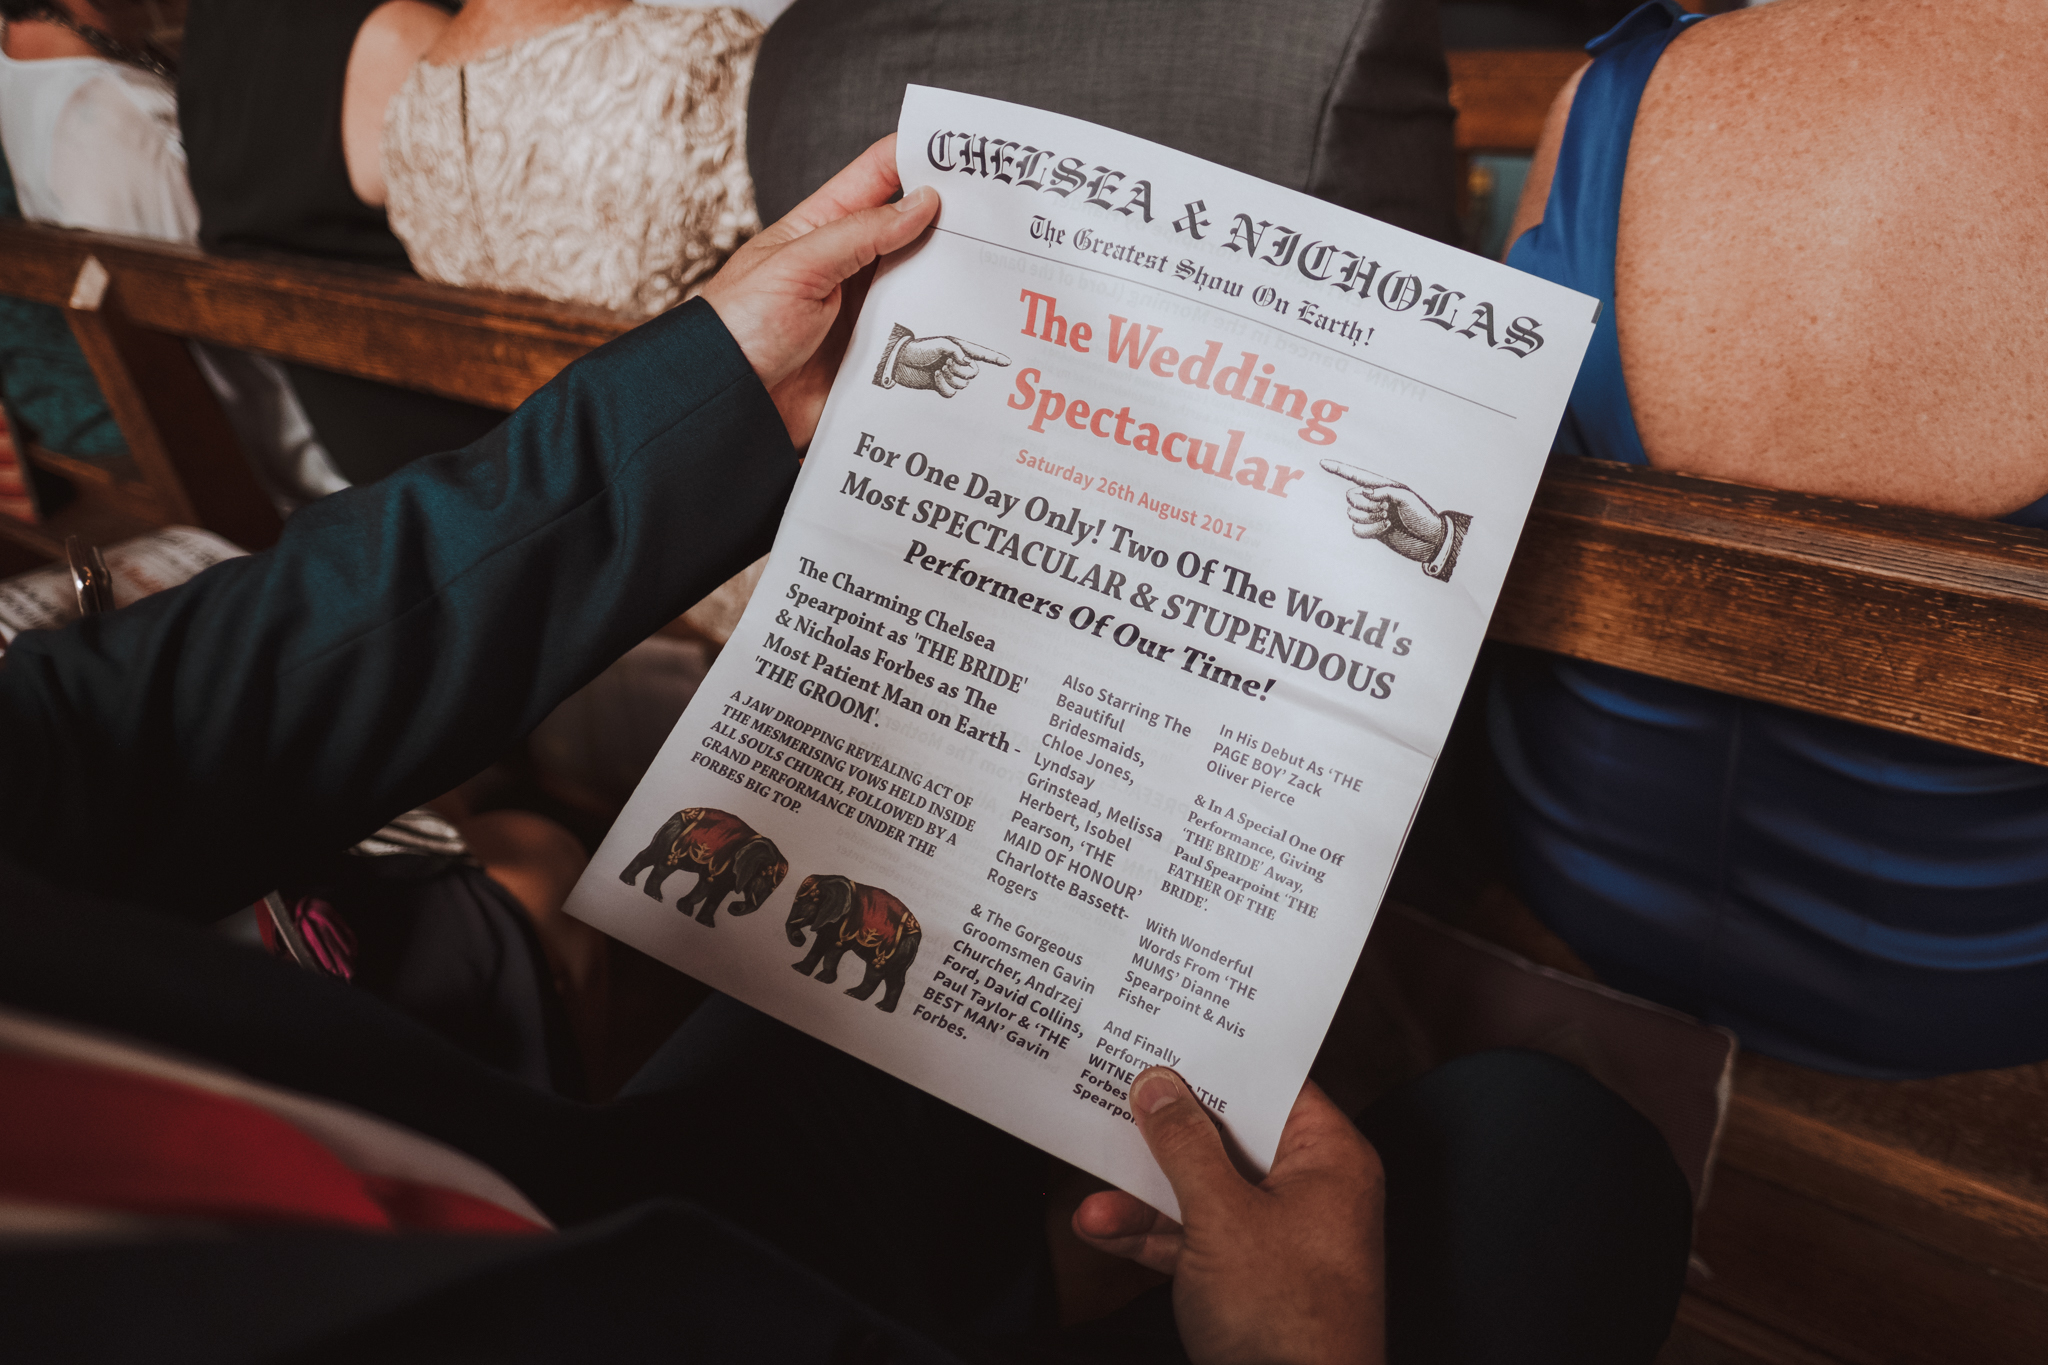
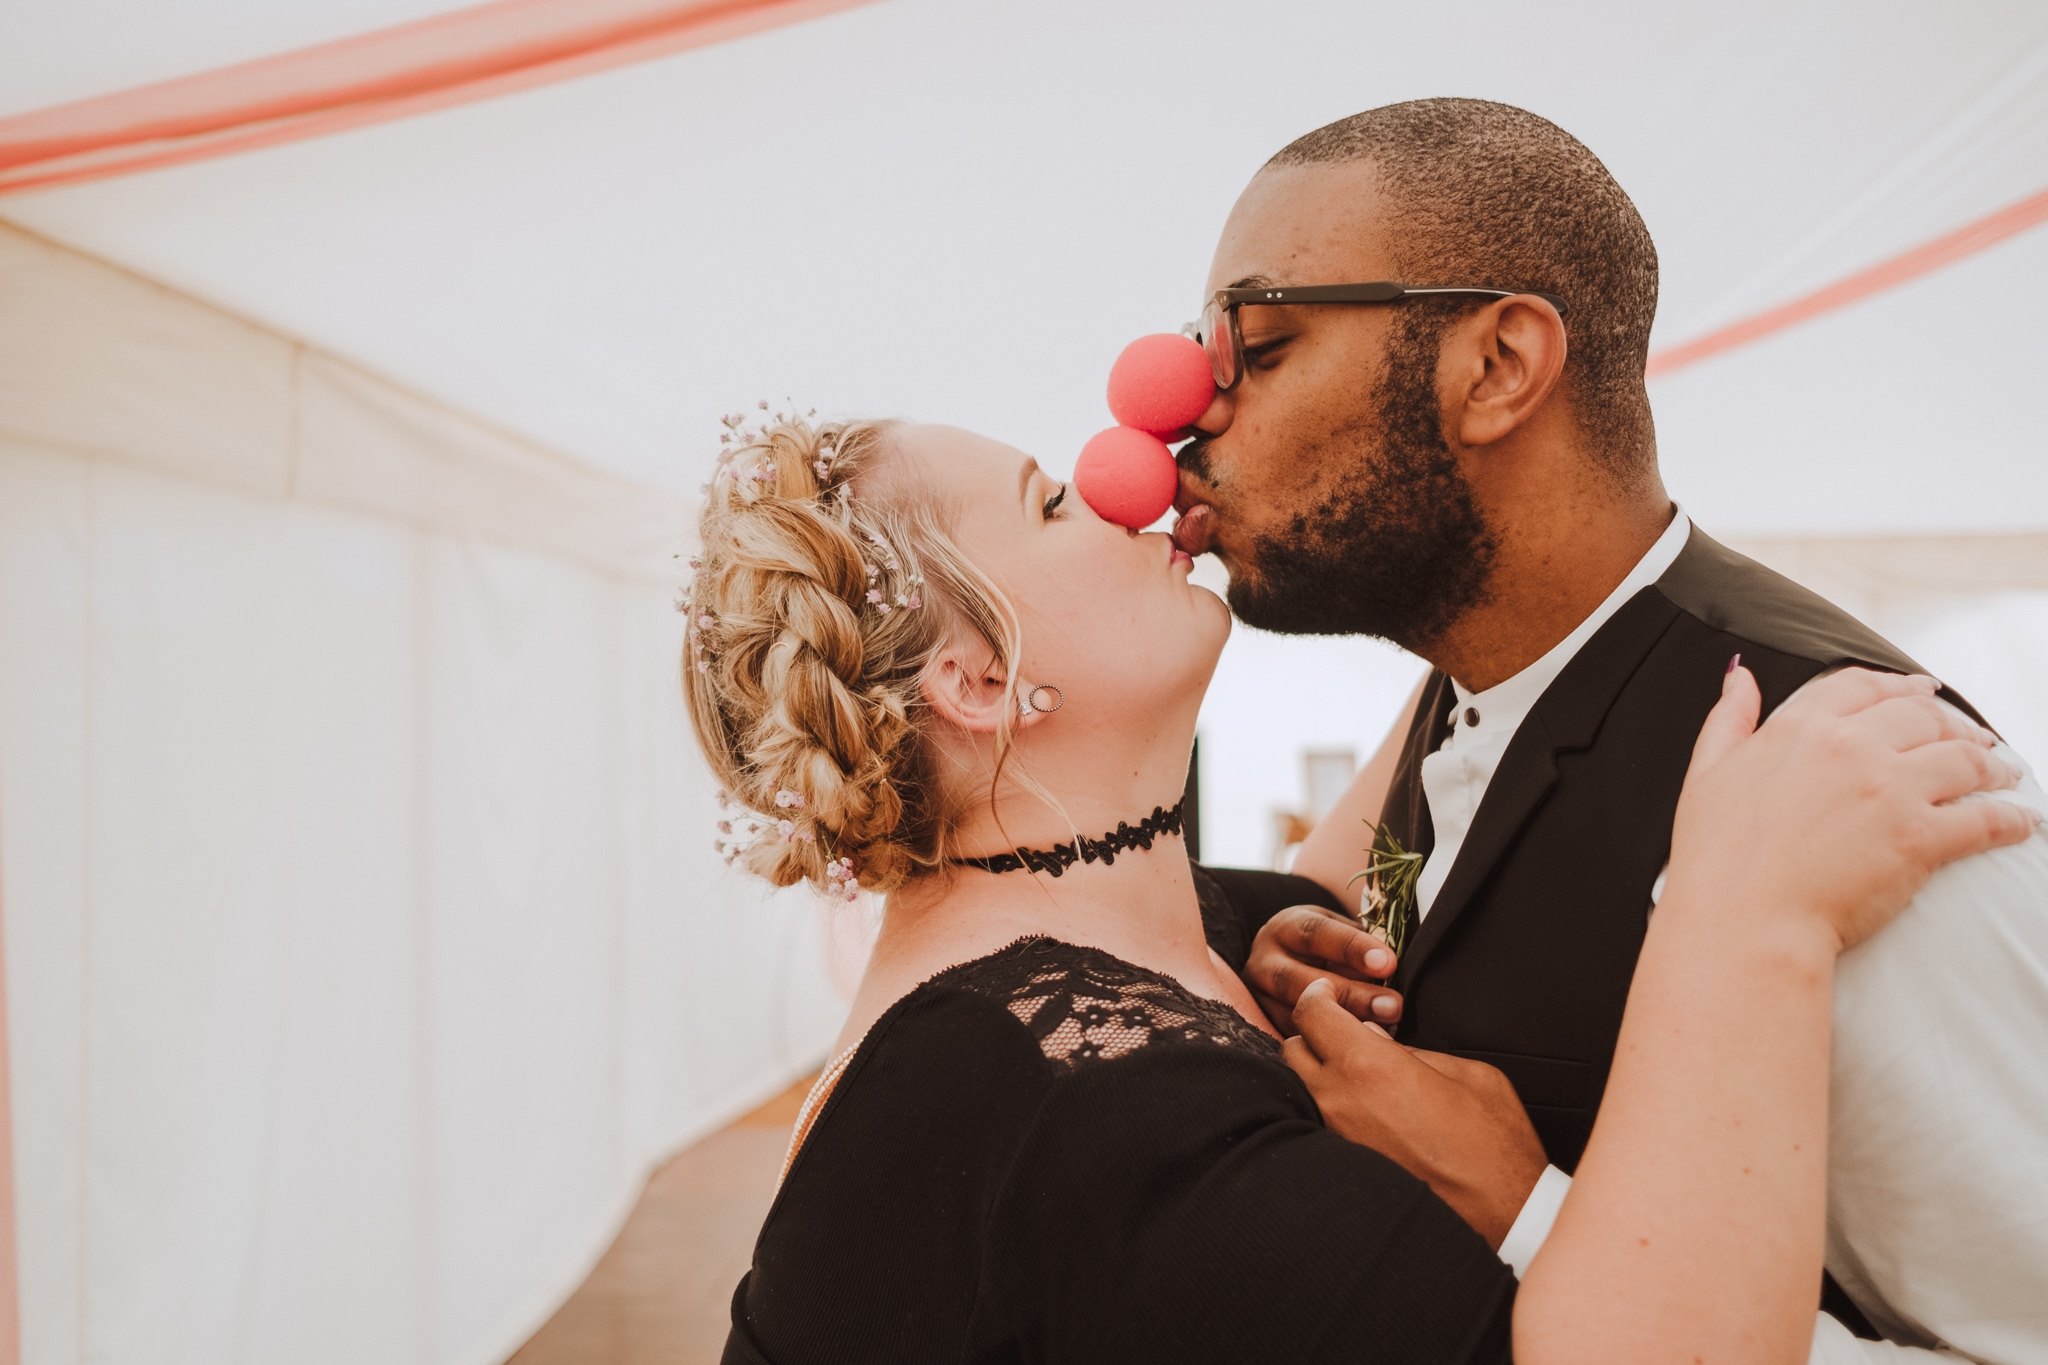
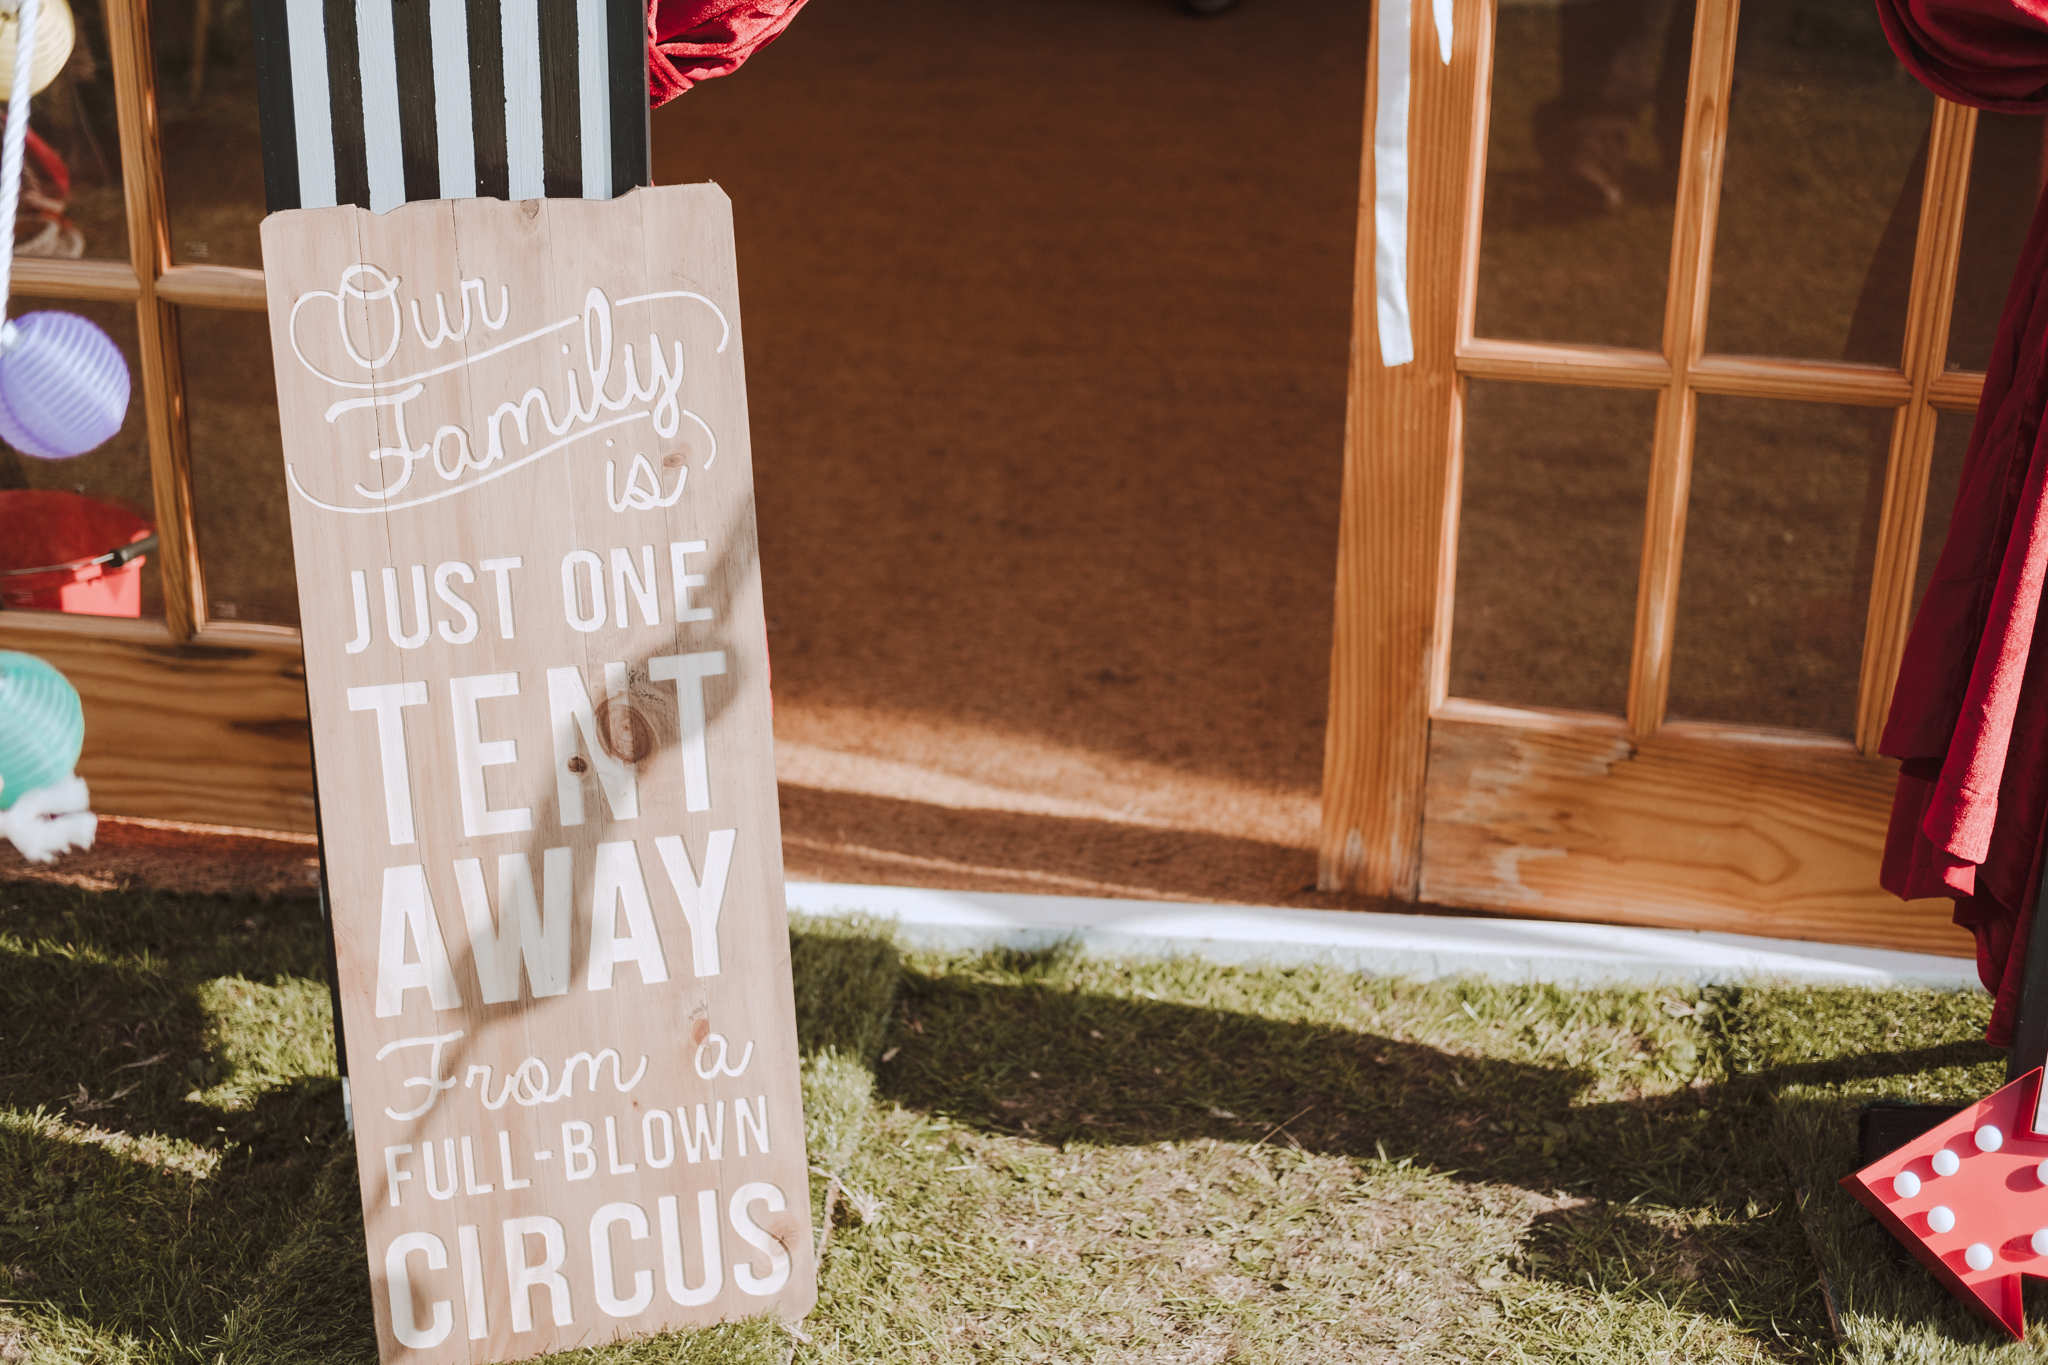
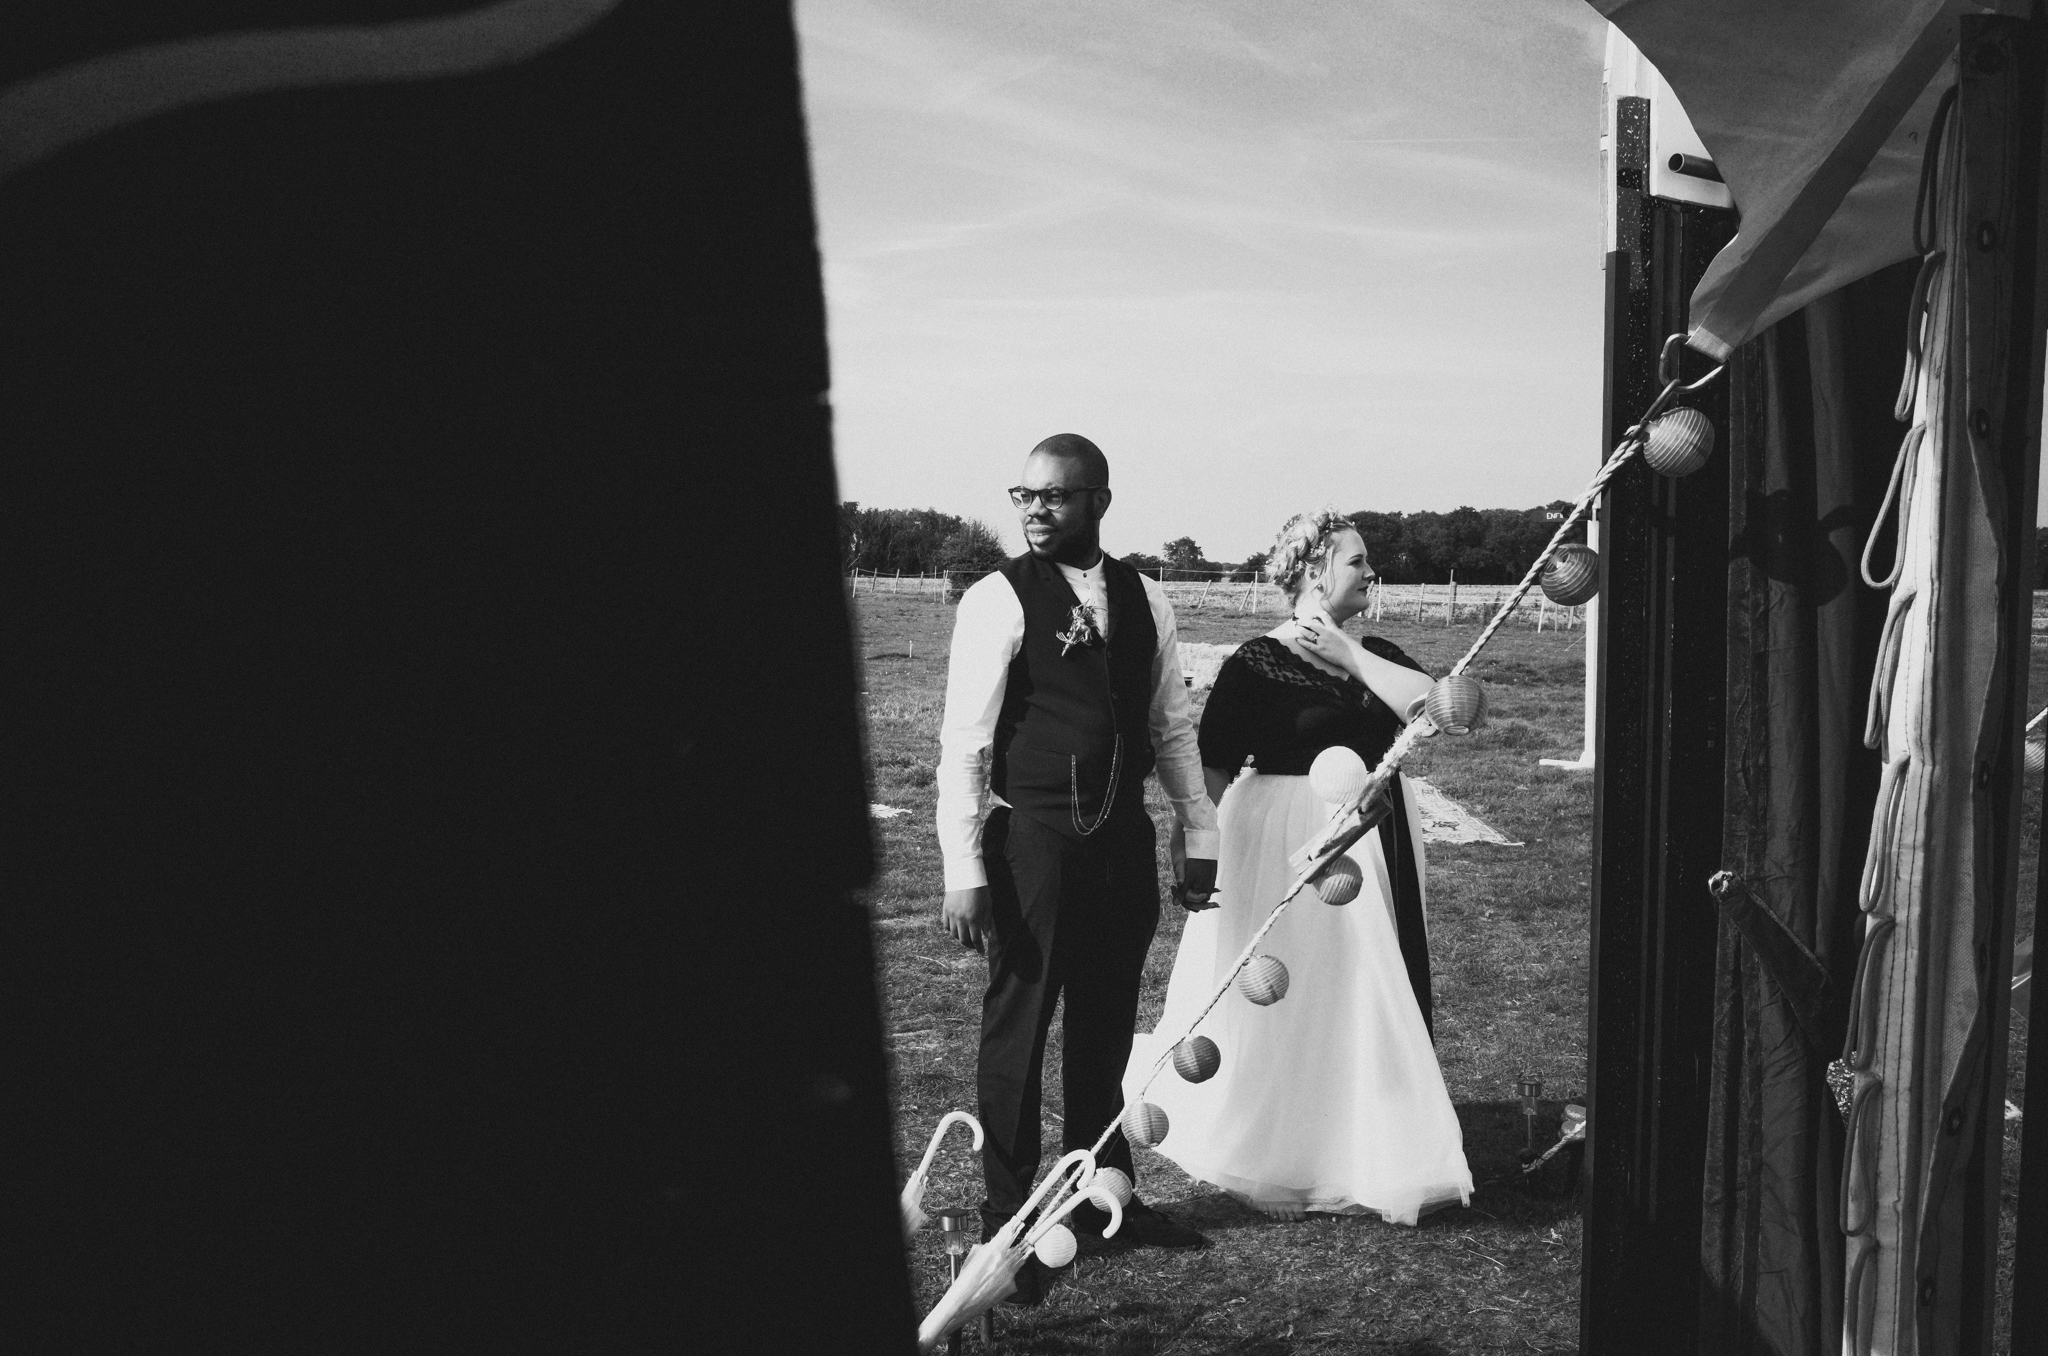
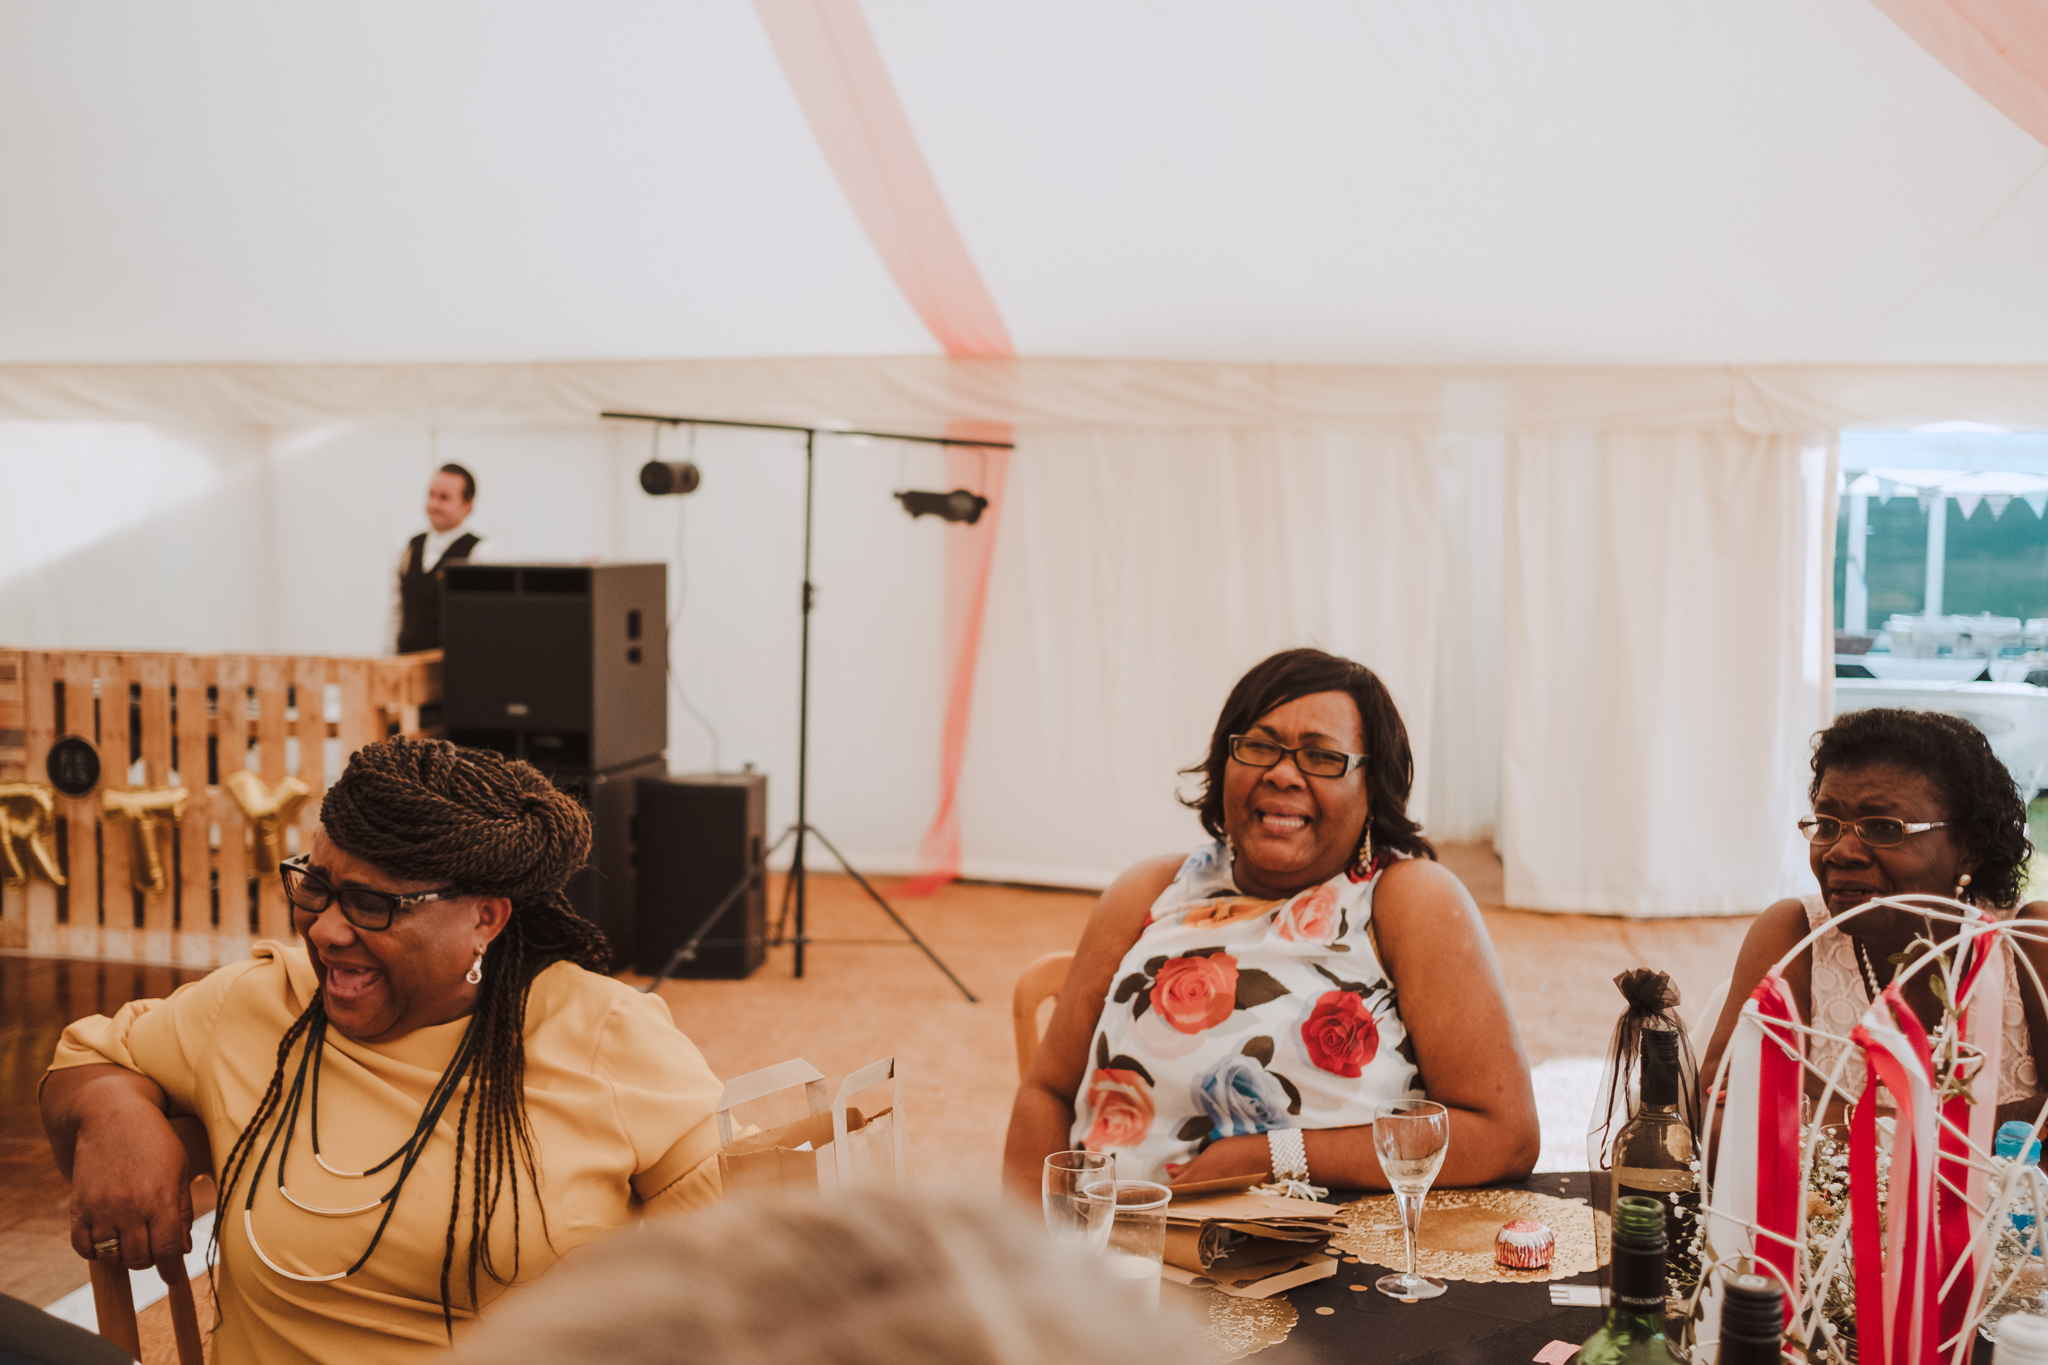
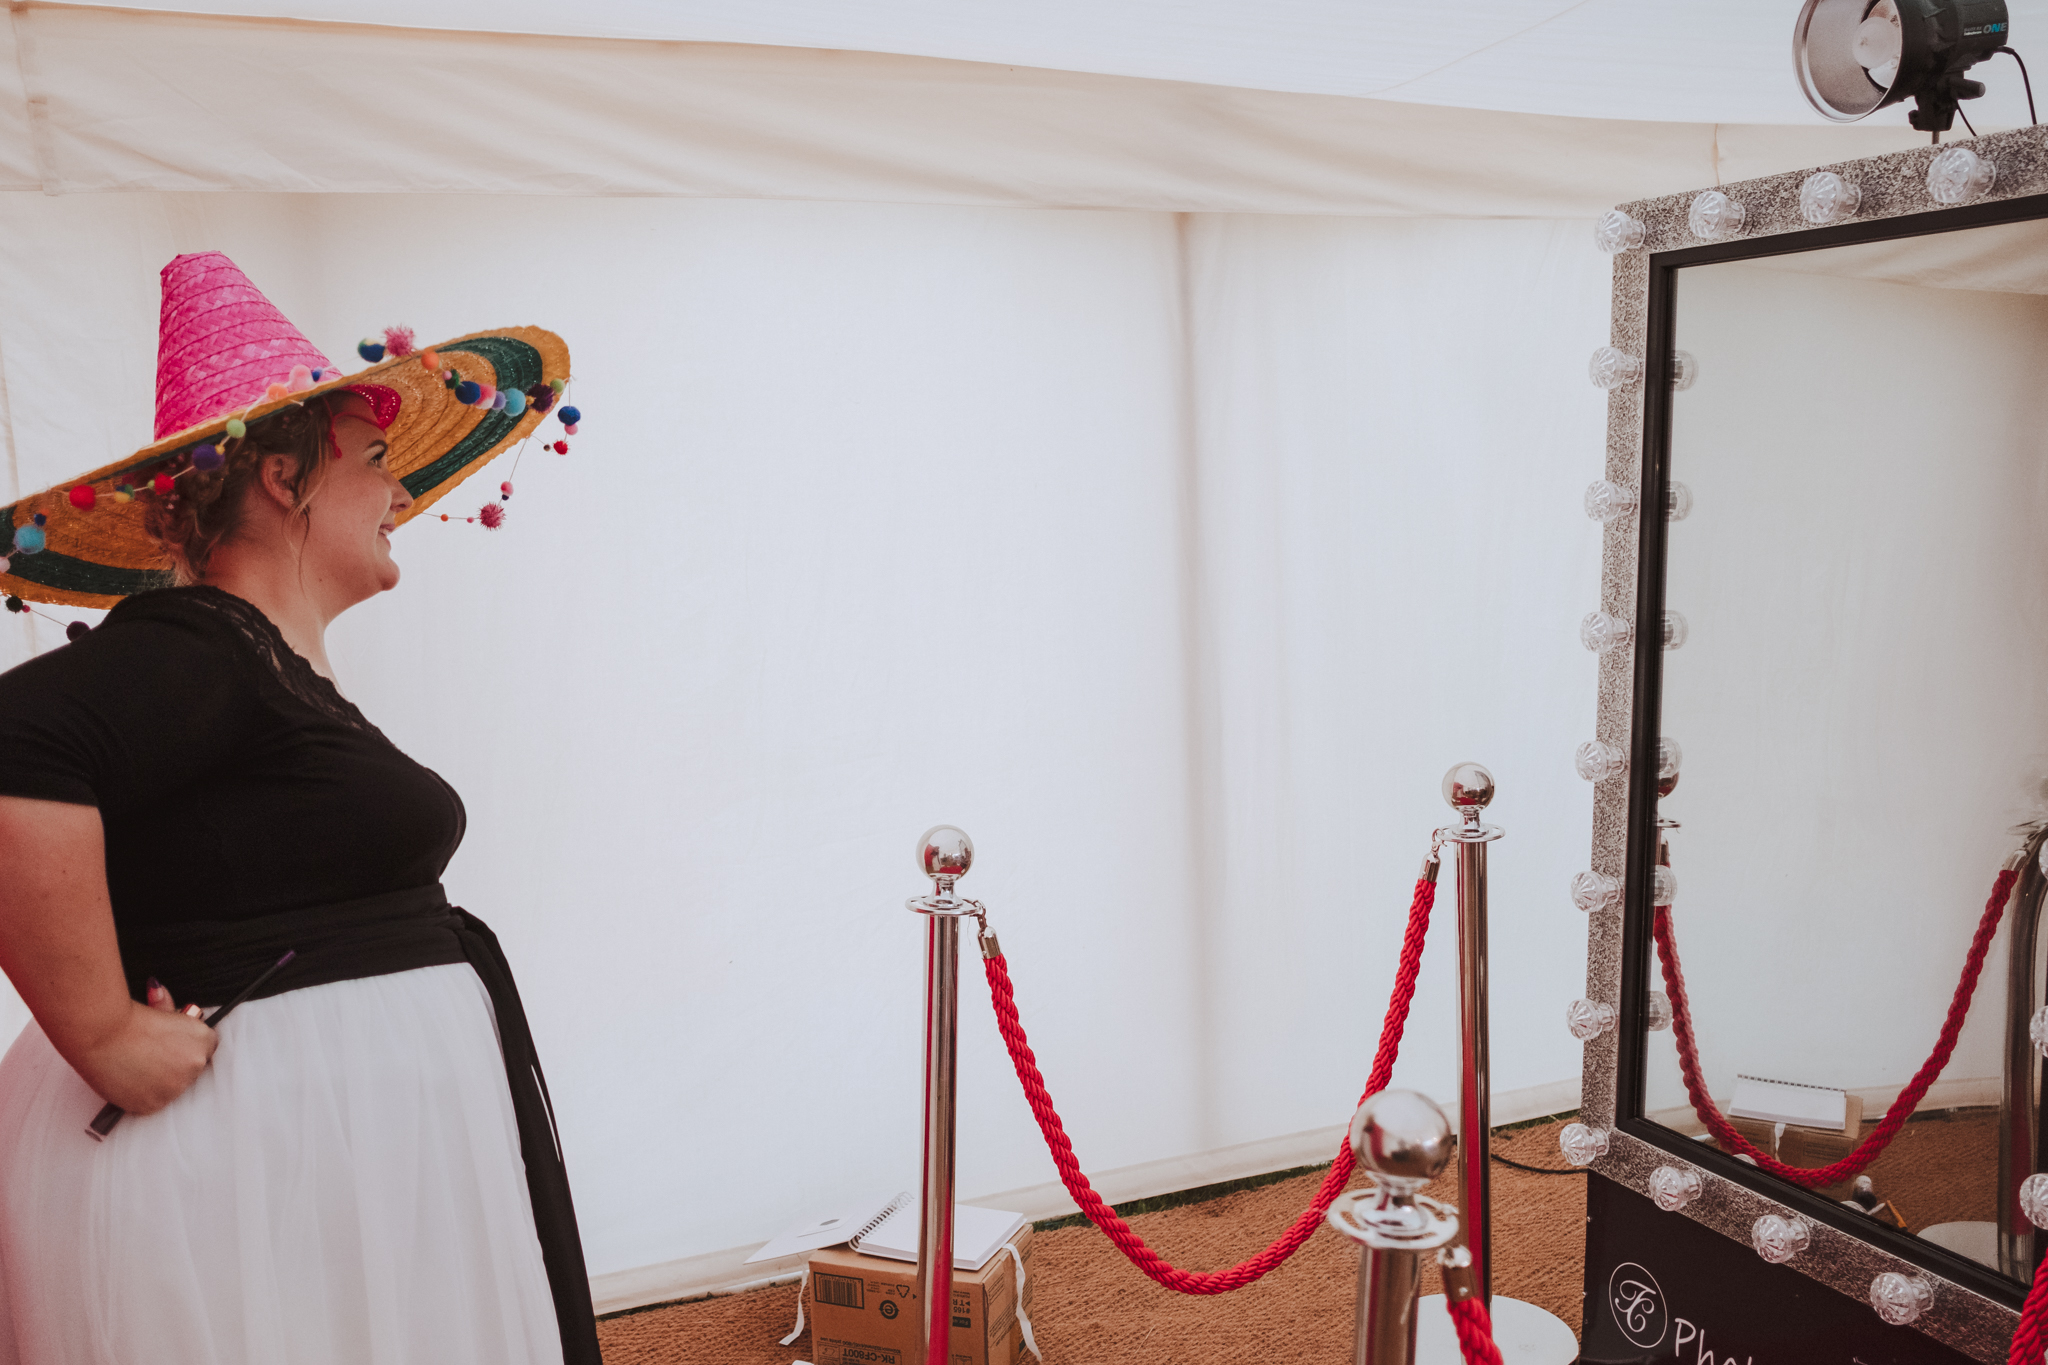
As soon as you stepped into the massive marquee, I was blown away by all the little details. The theme of the wedding was a circus one. Imagining the marquee was Nick & Chelsea’s own personal big top rolling into town, and they and their guests would all be here to perform the greatest show on earth.
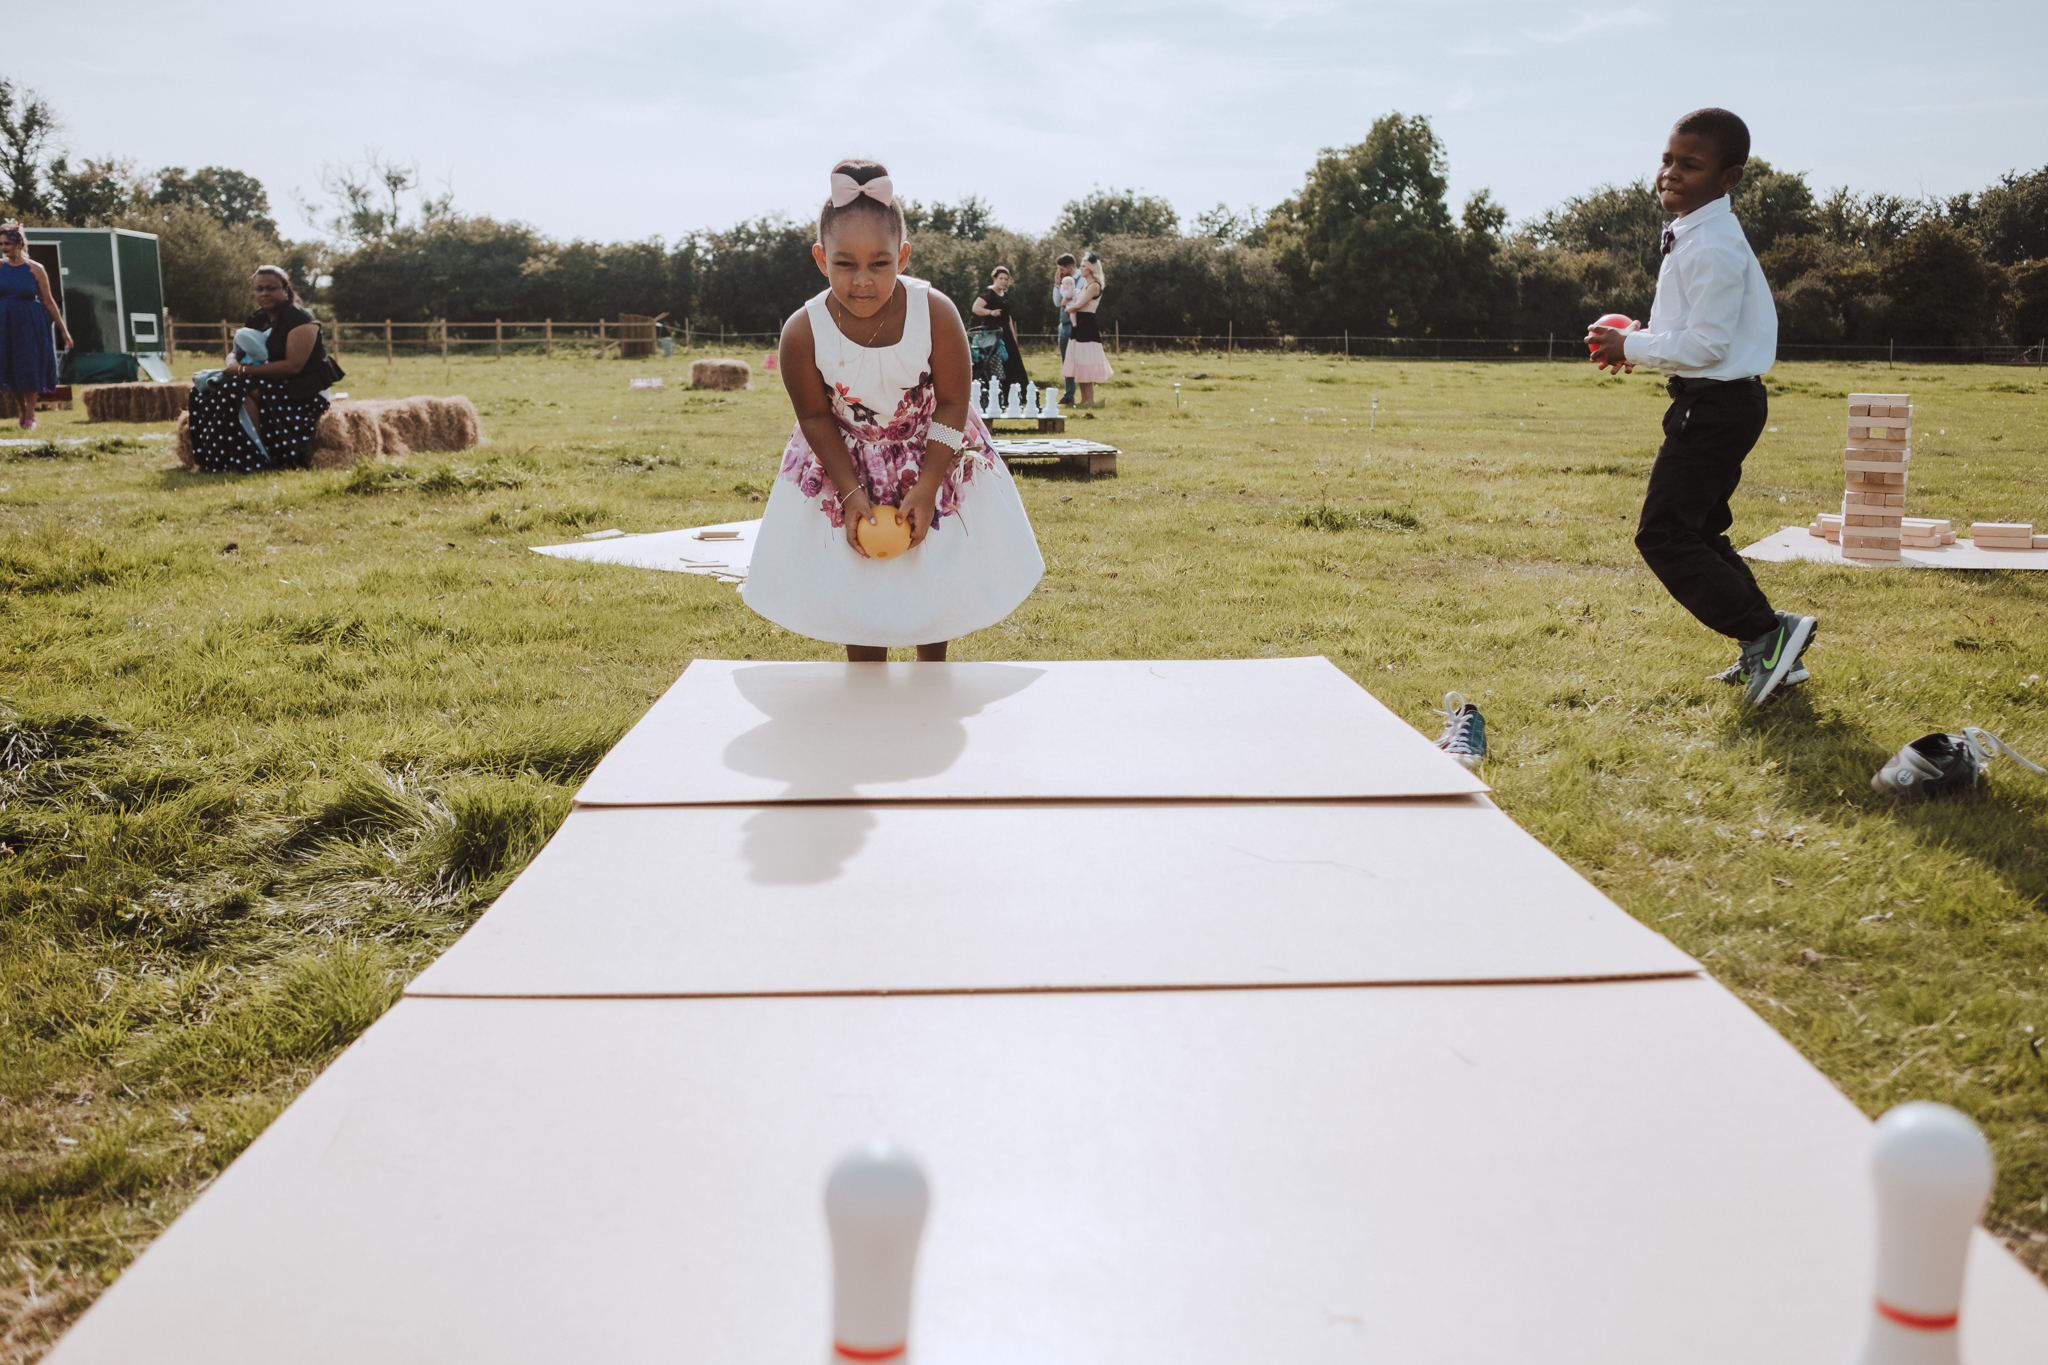
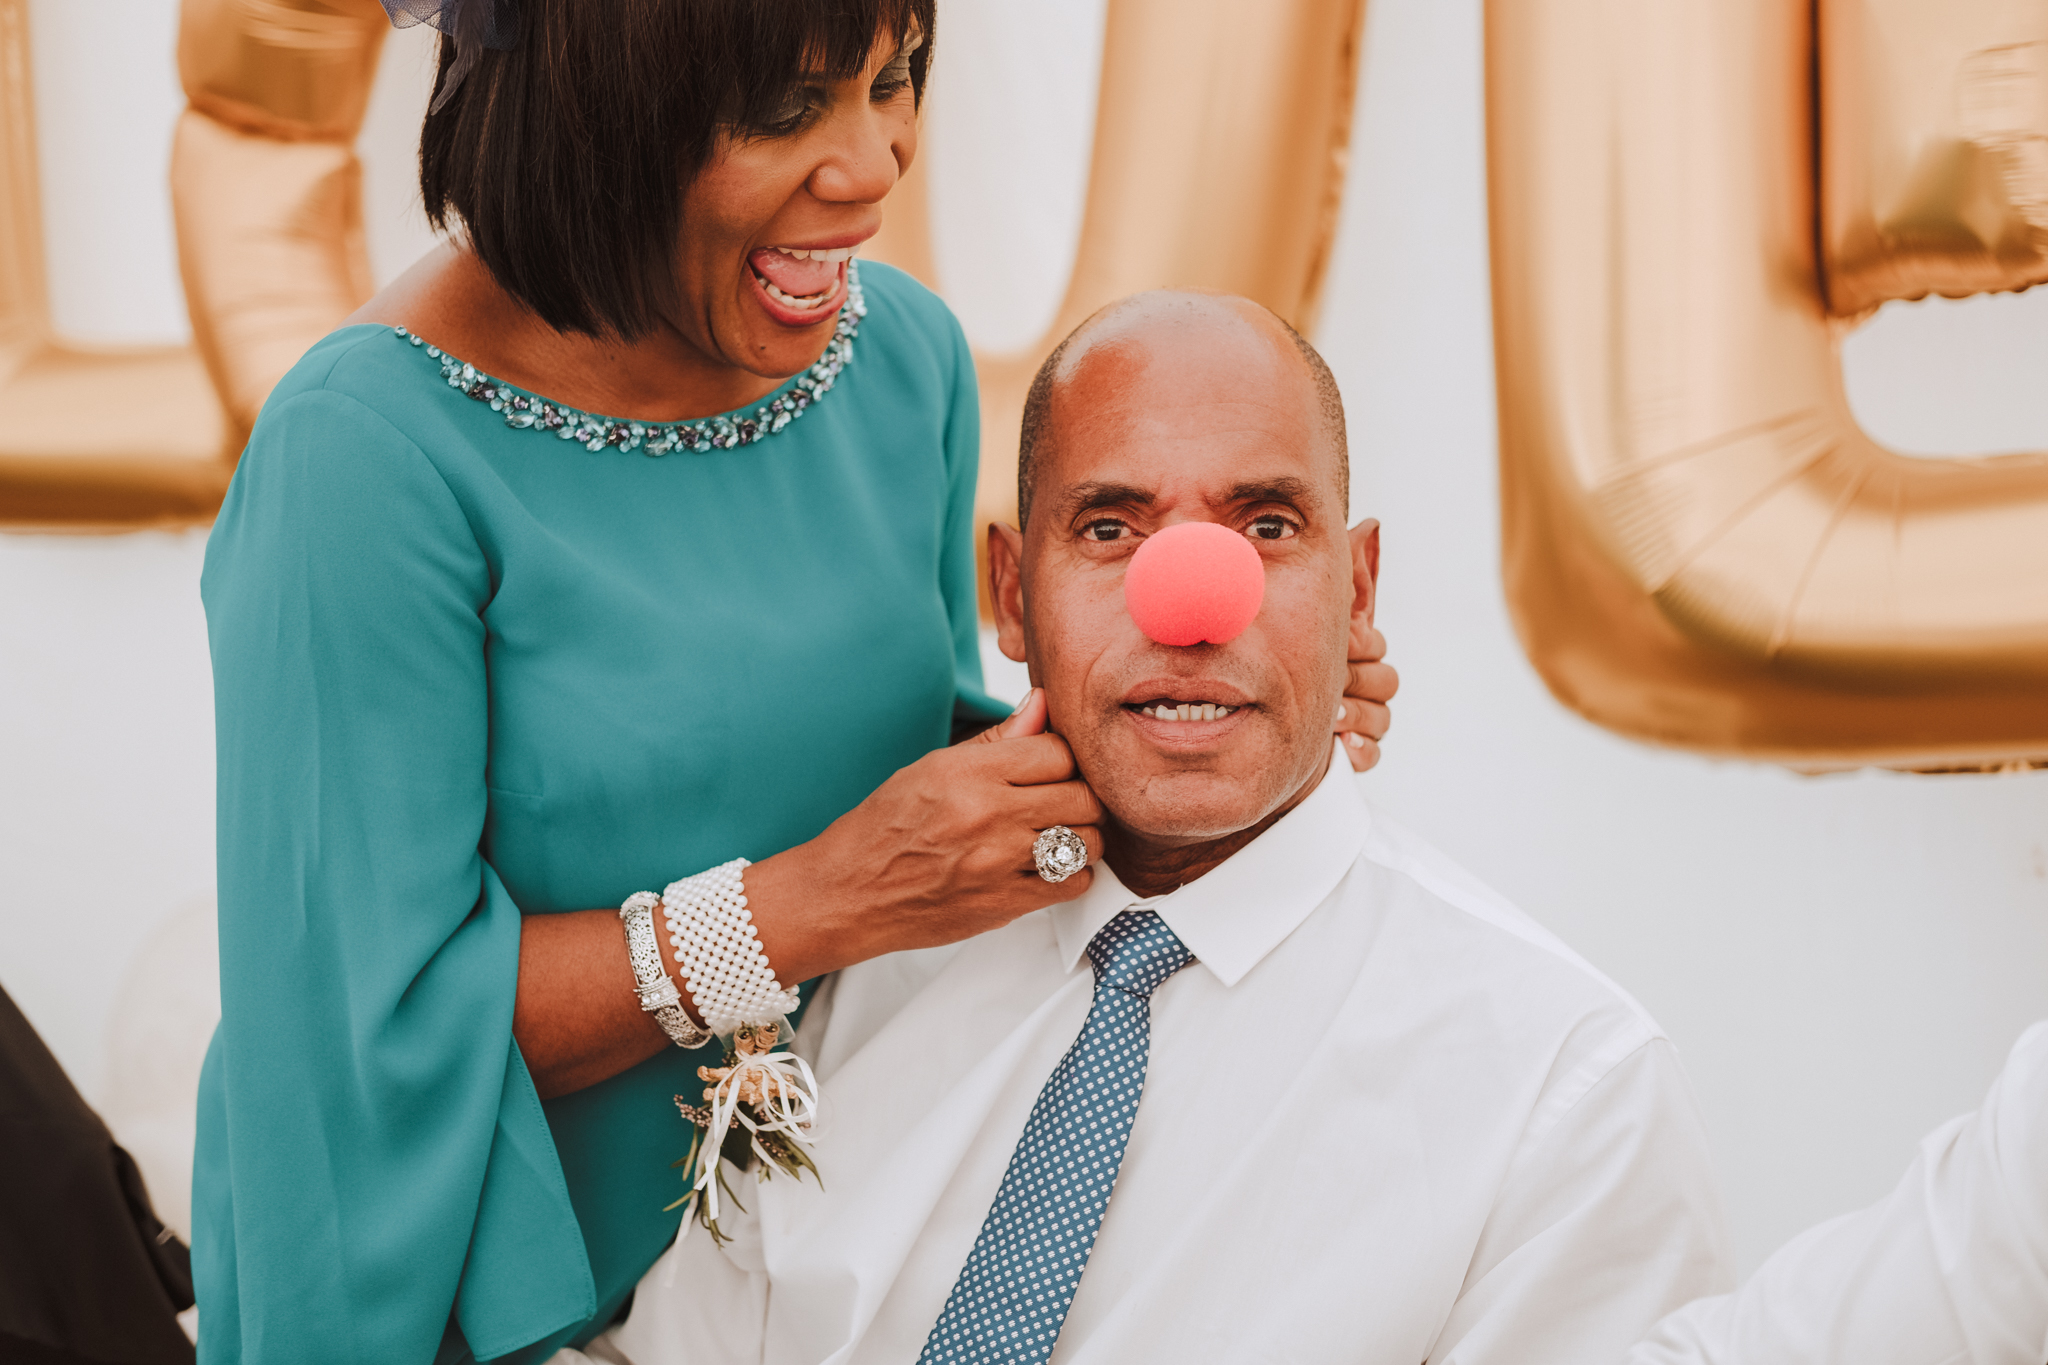
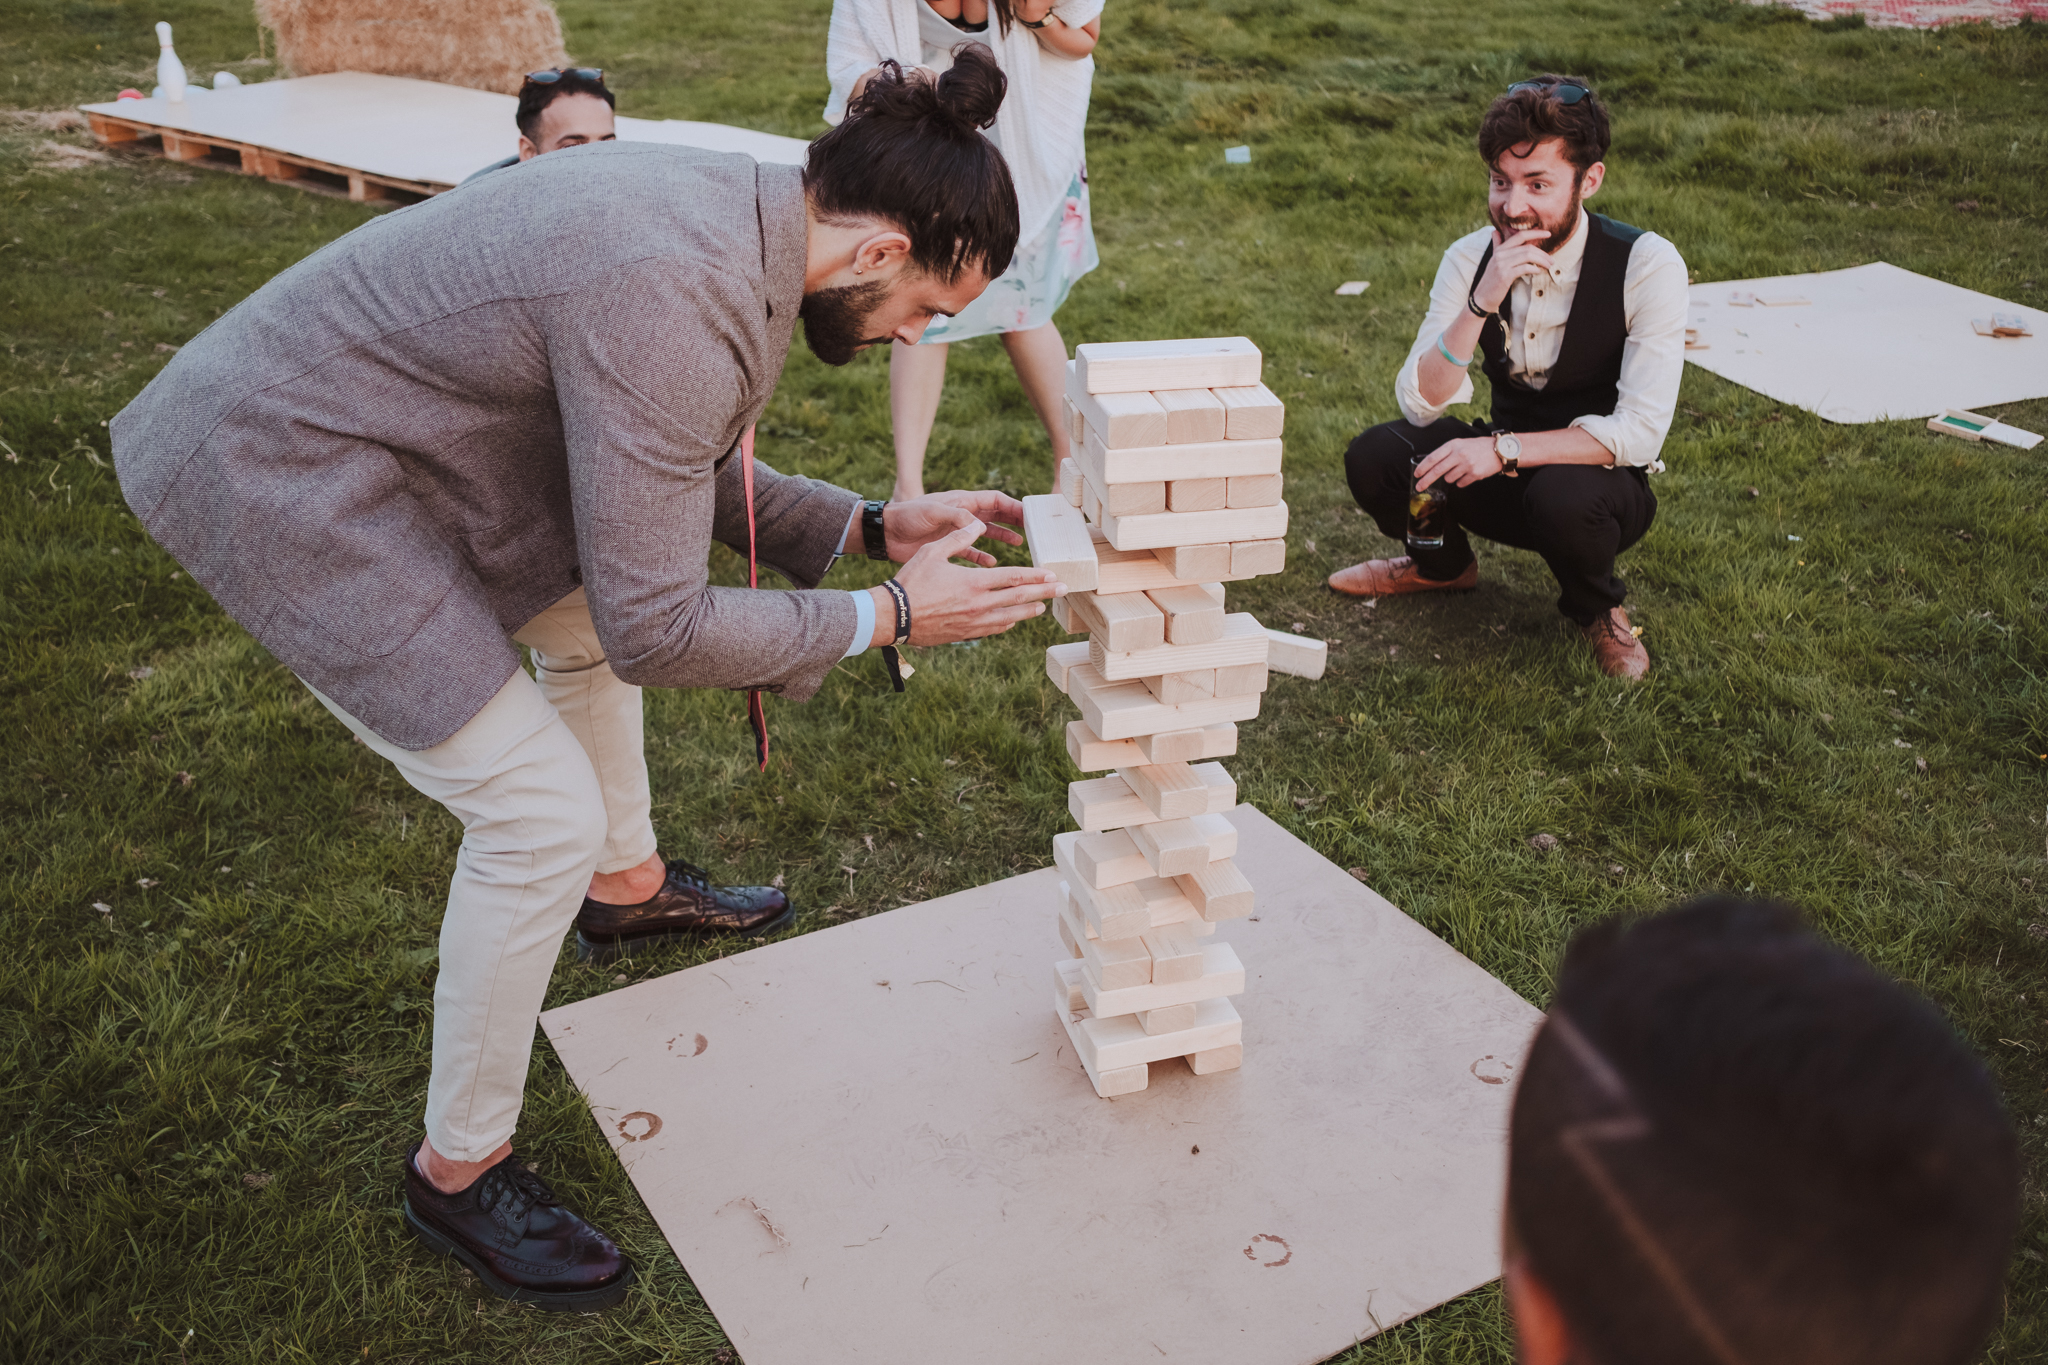
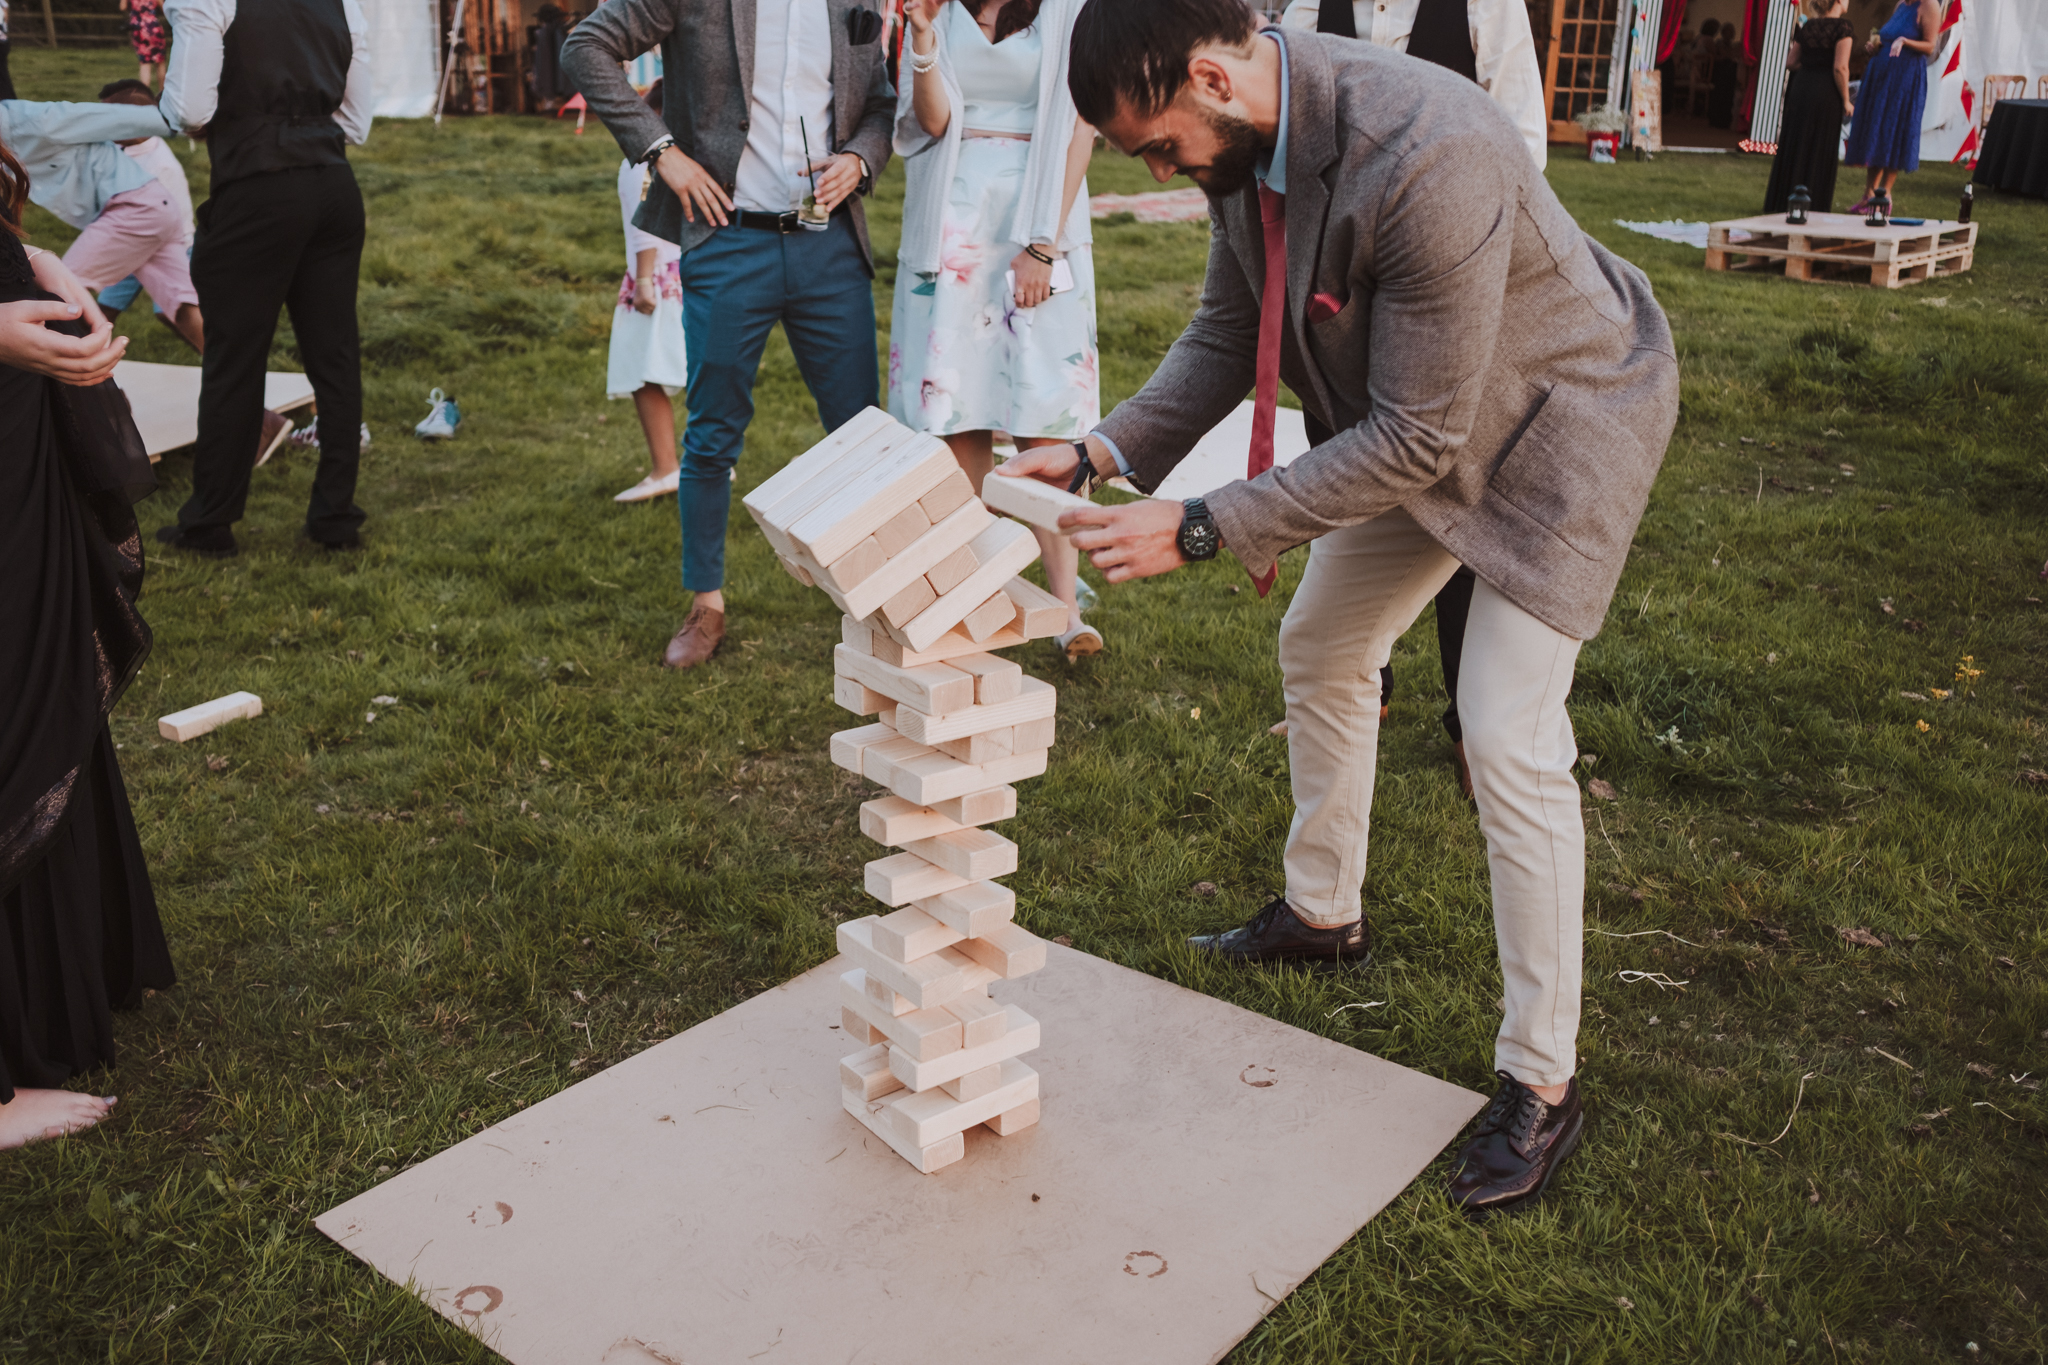
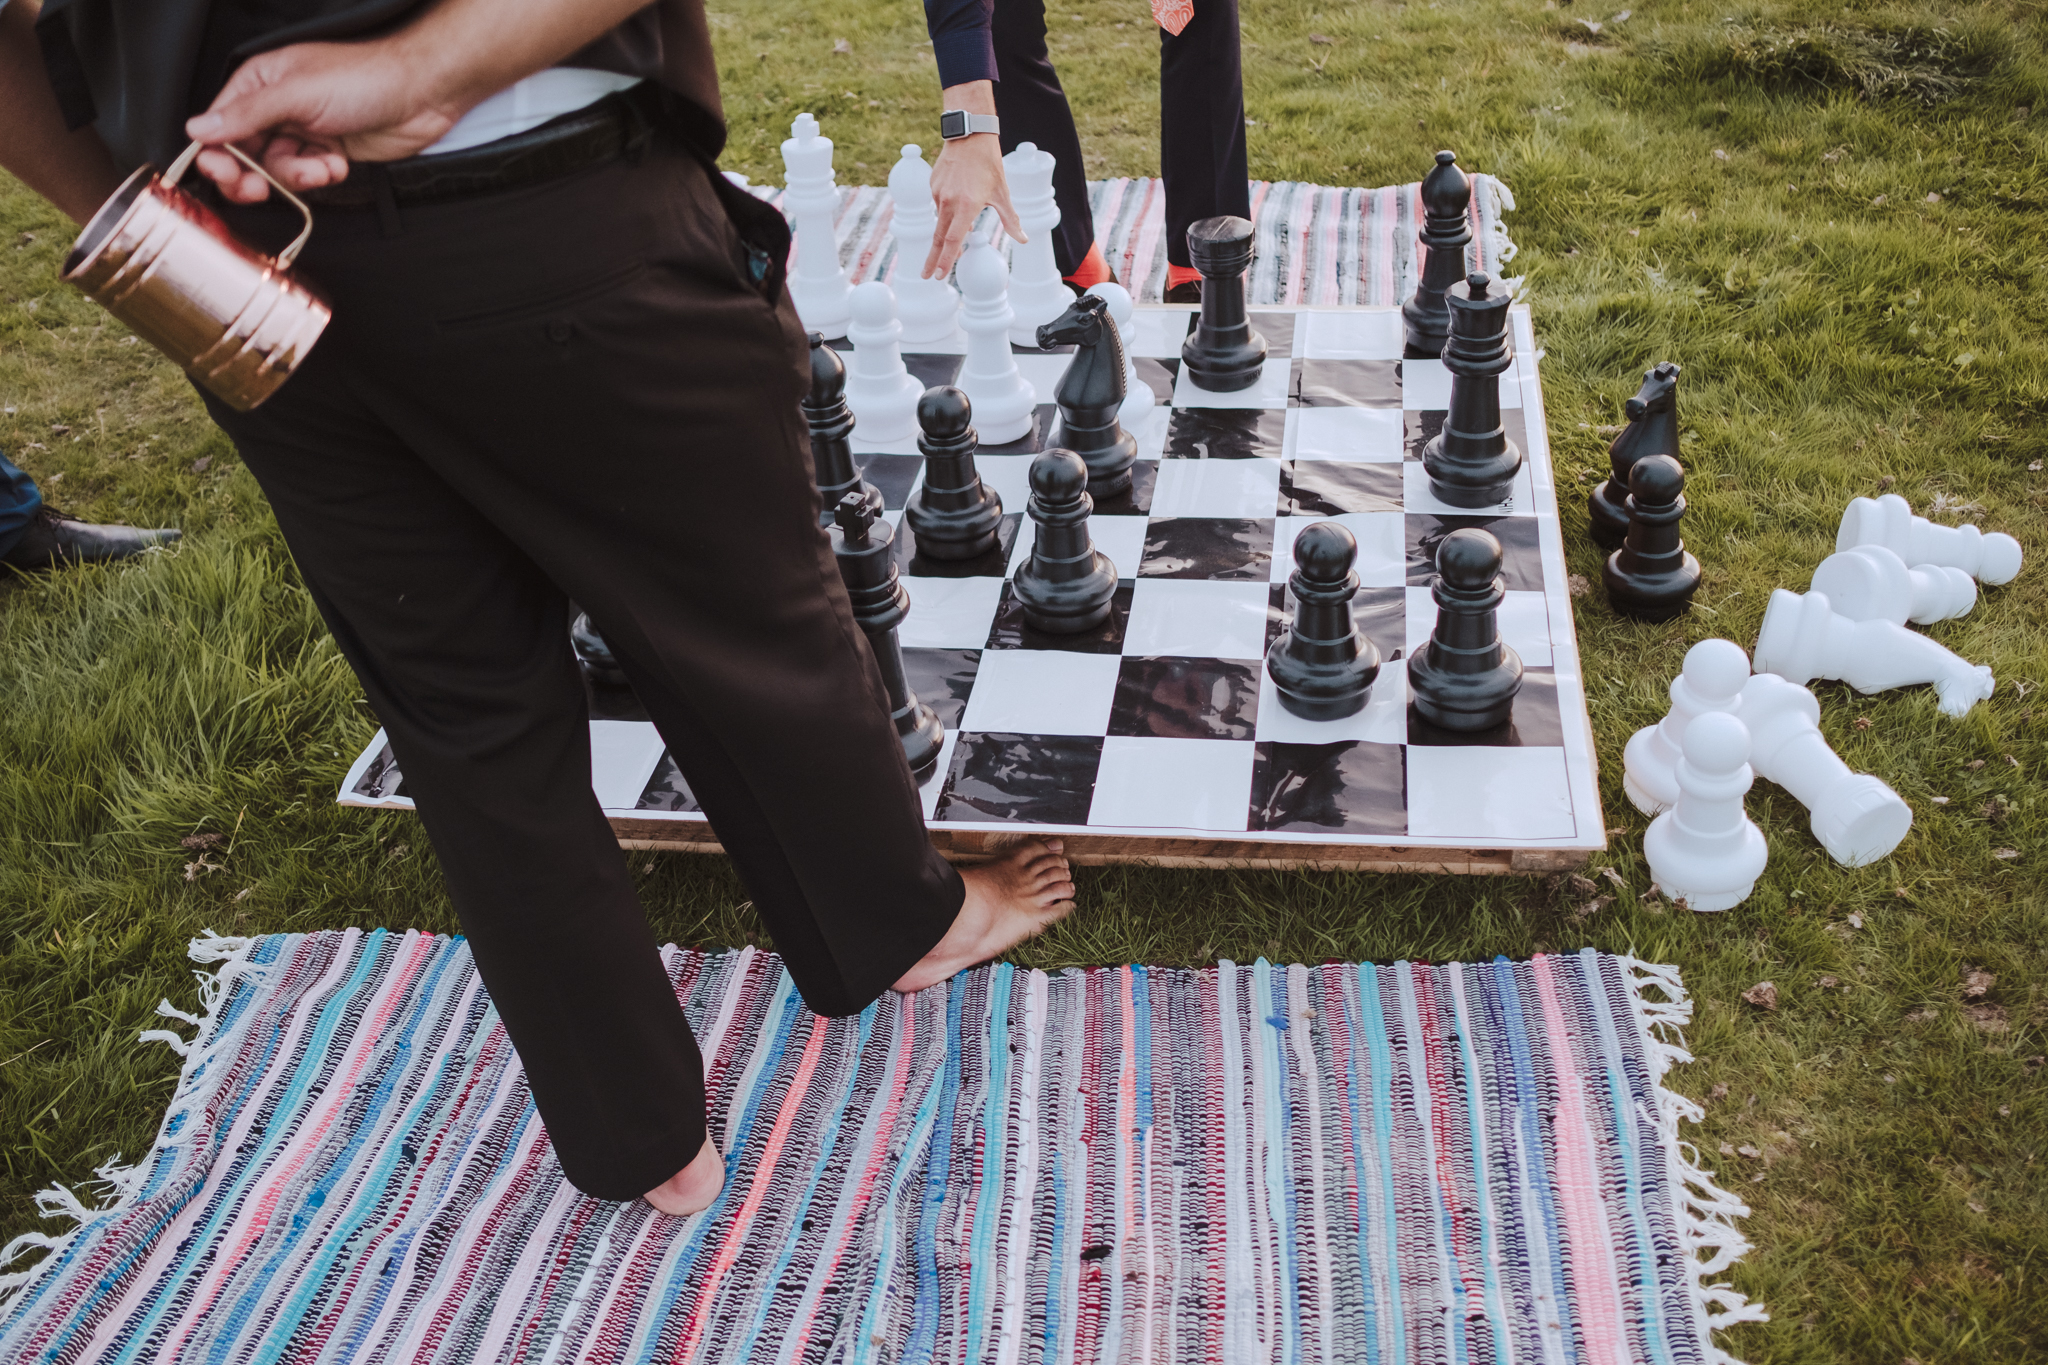
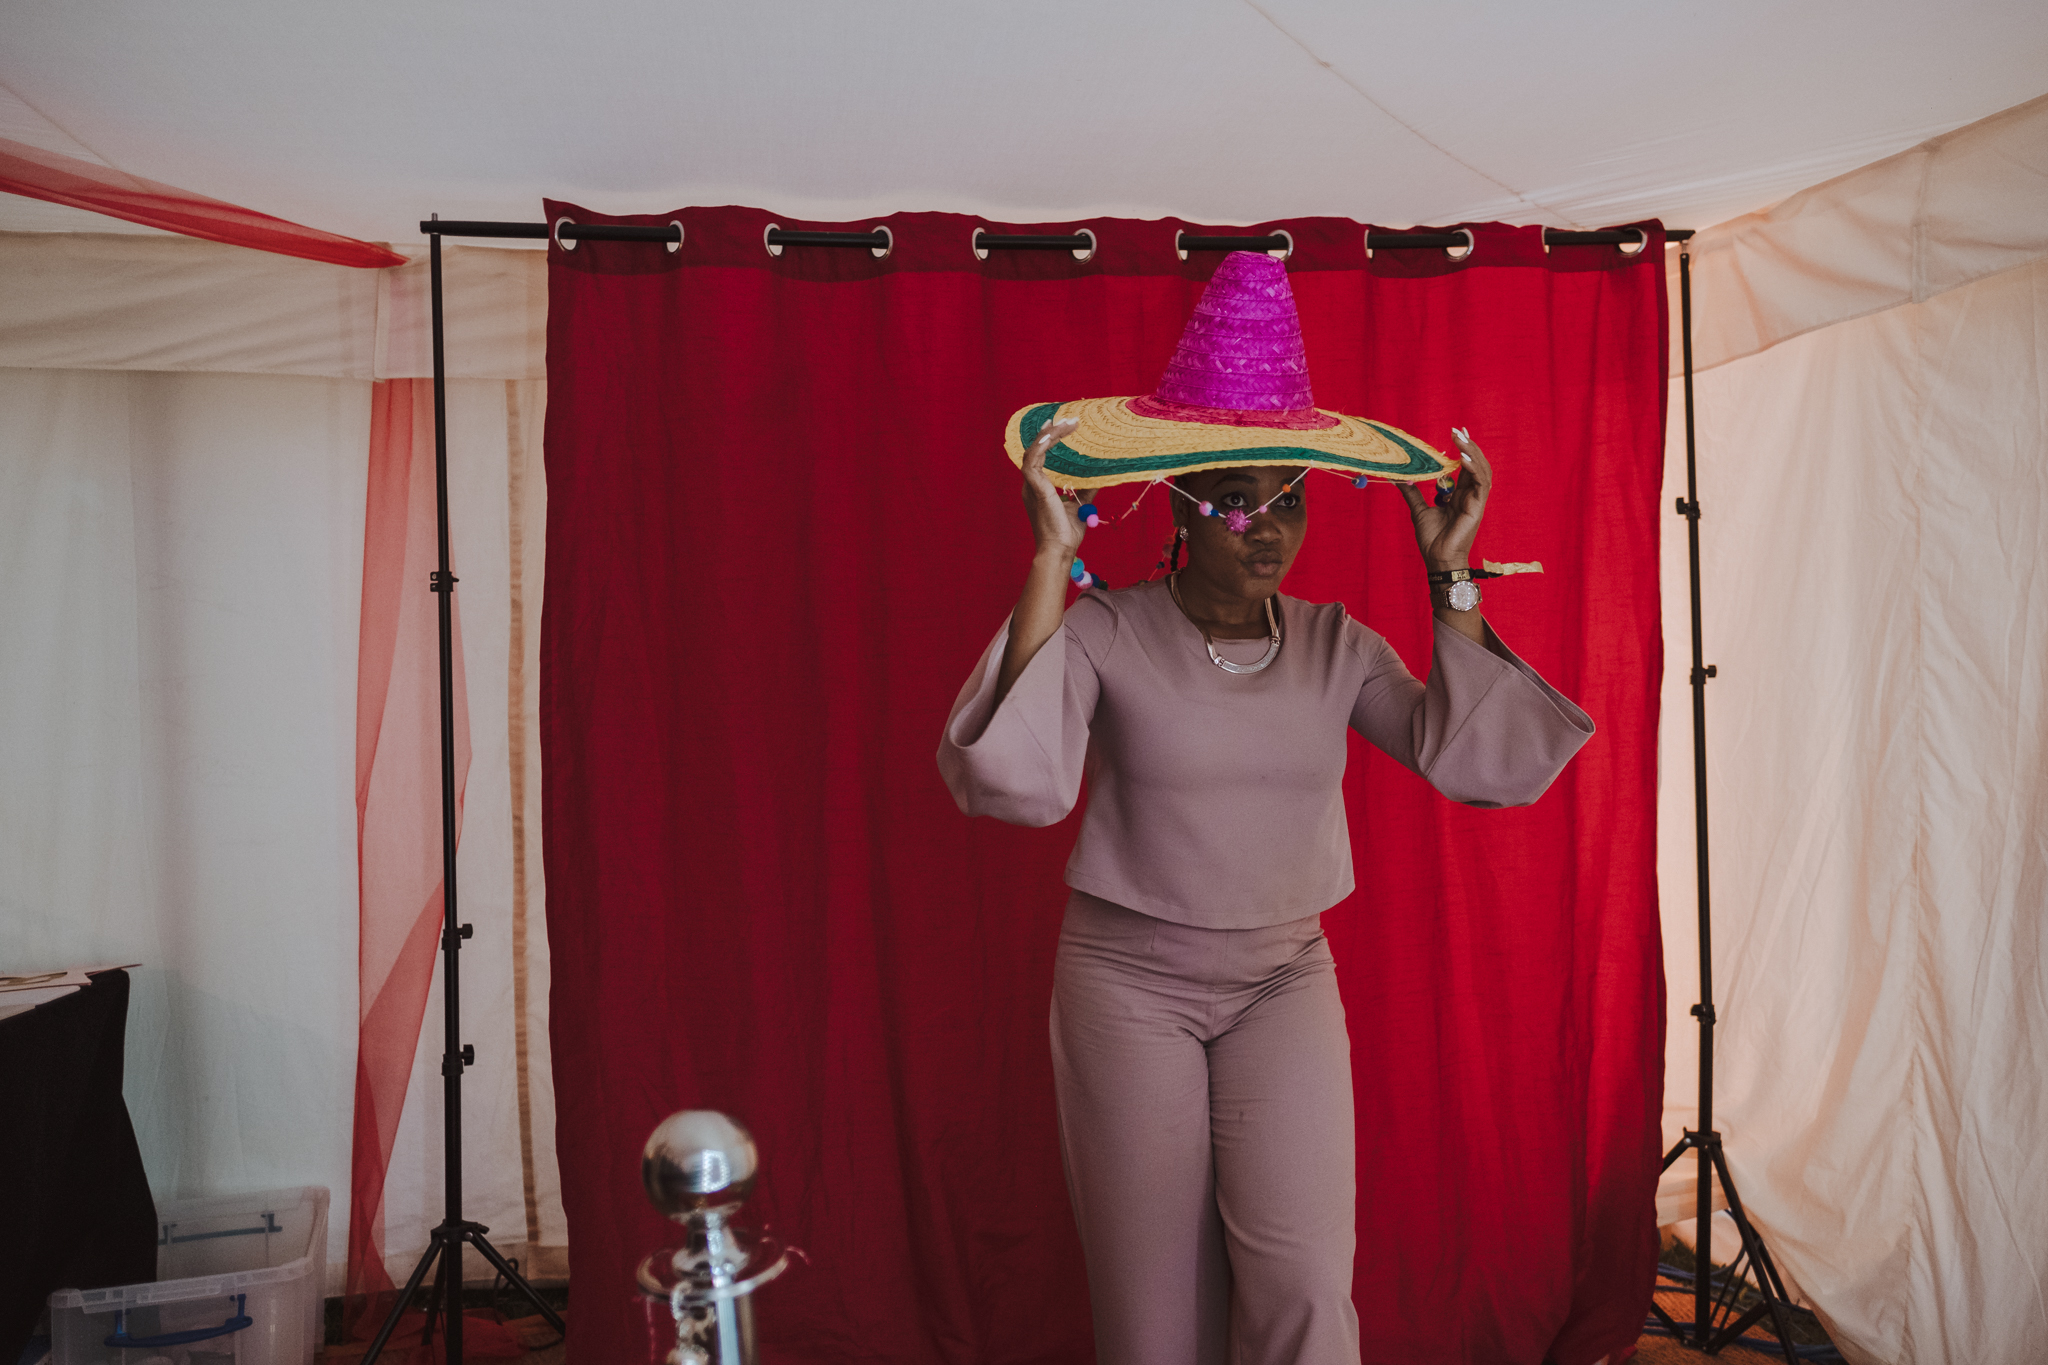
There were lawn games, clown noses, handmade table decorations, a photo booth, they even had their very own snapchat filter specially made for the day. Who even knew you could do that?

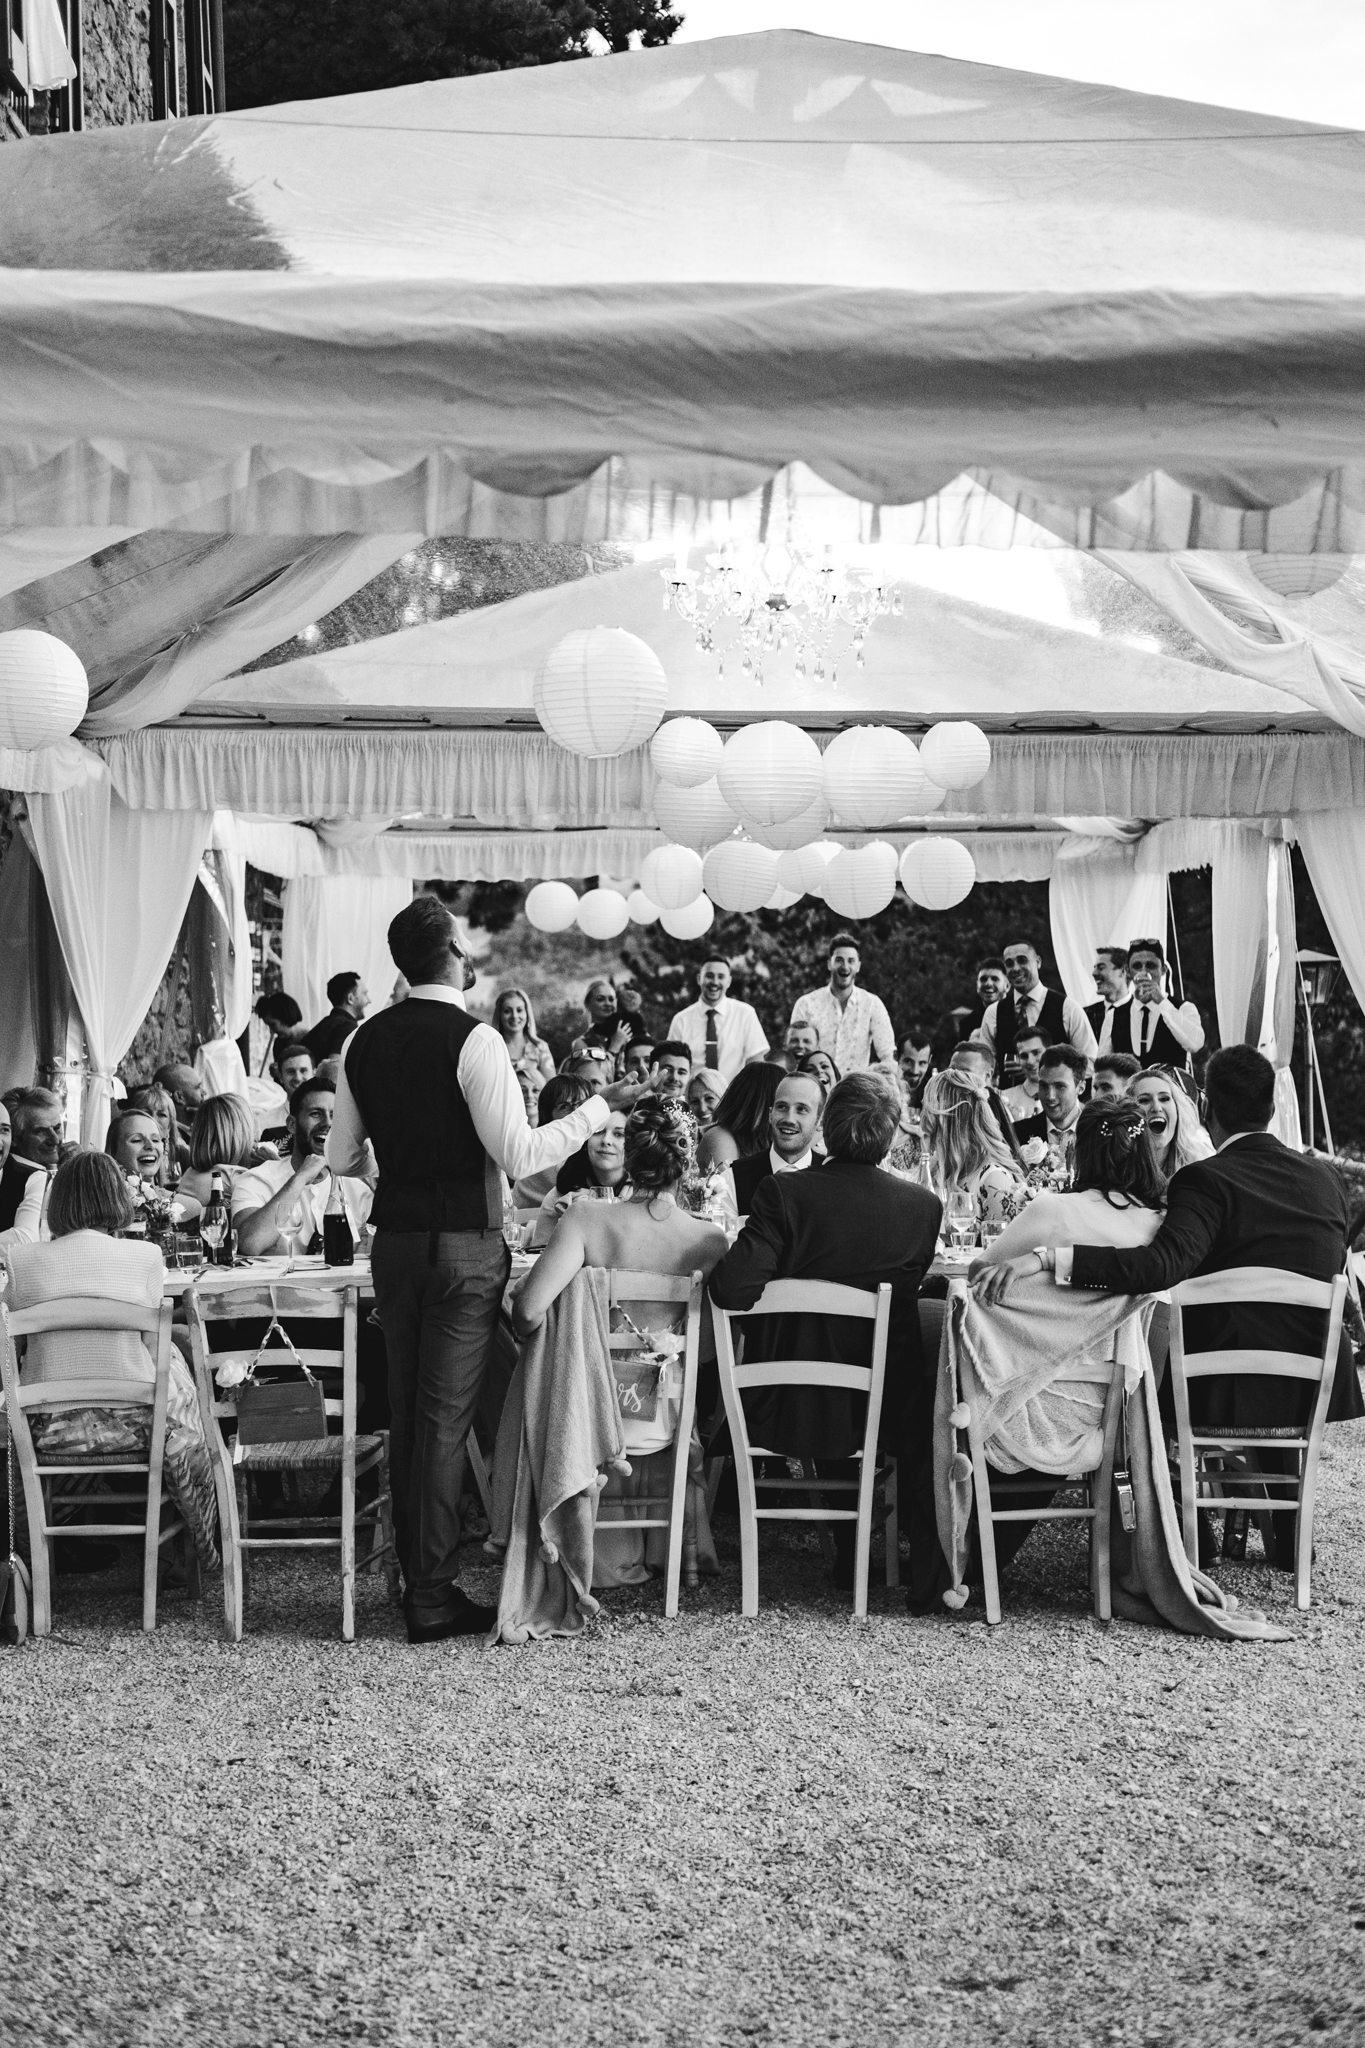
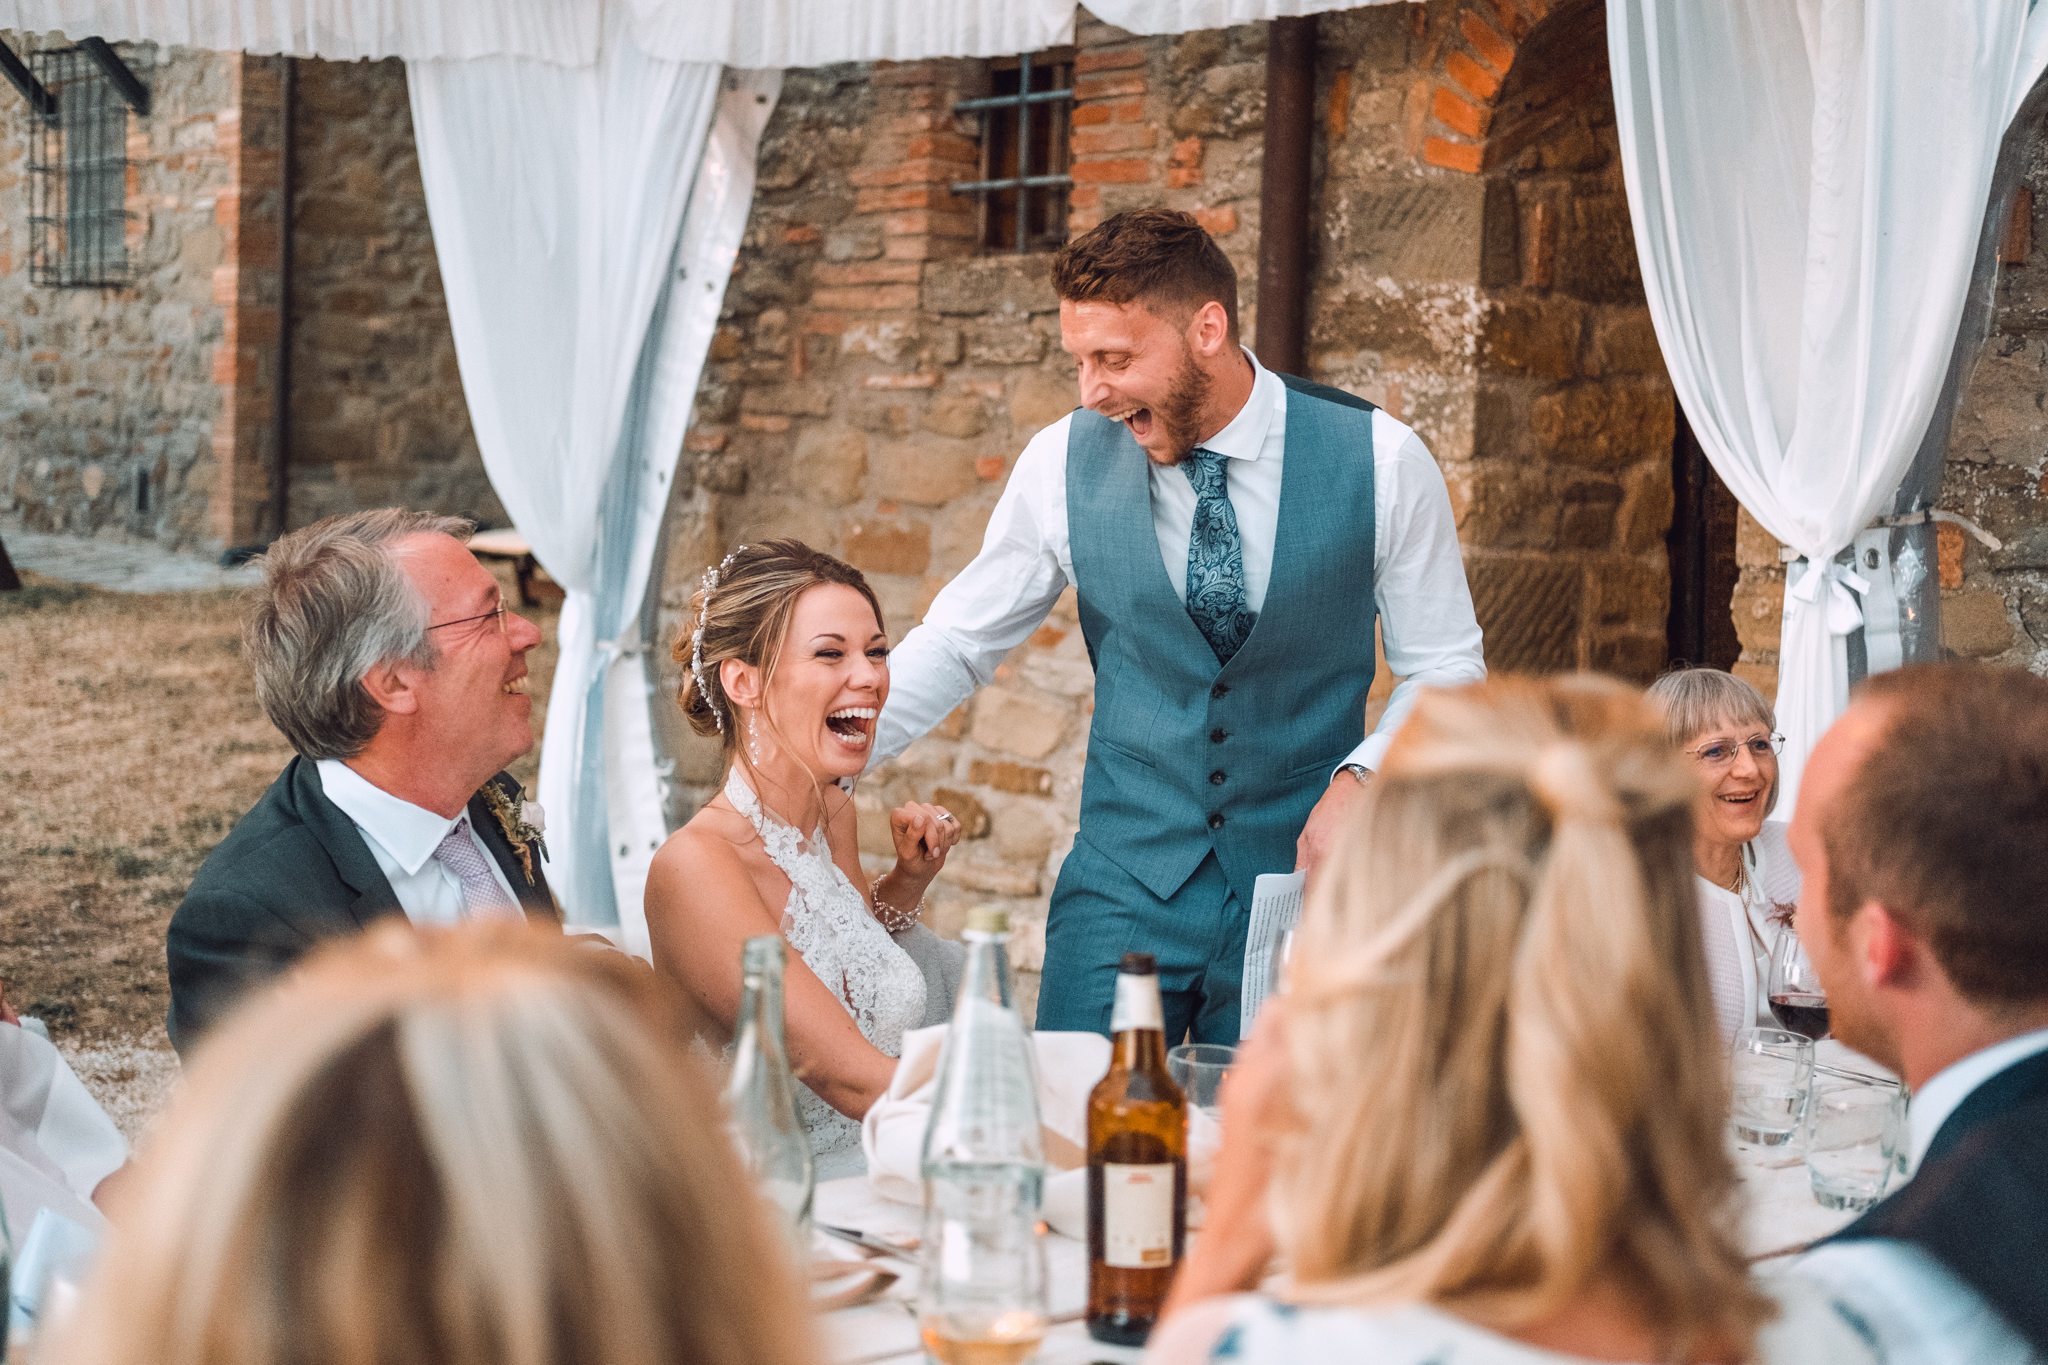
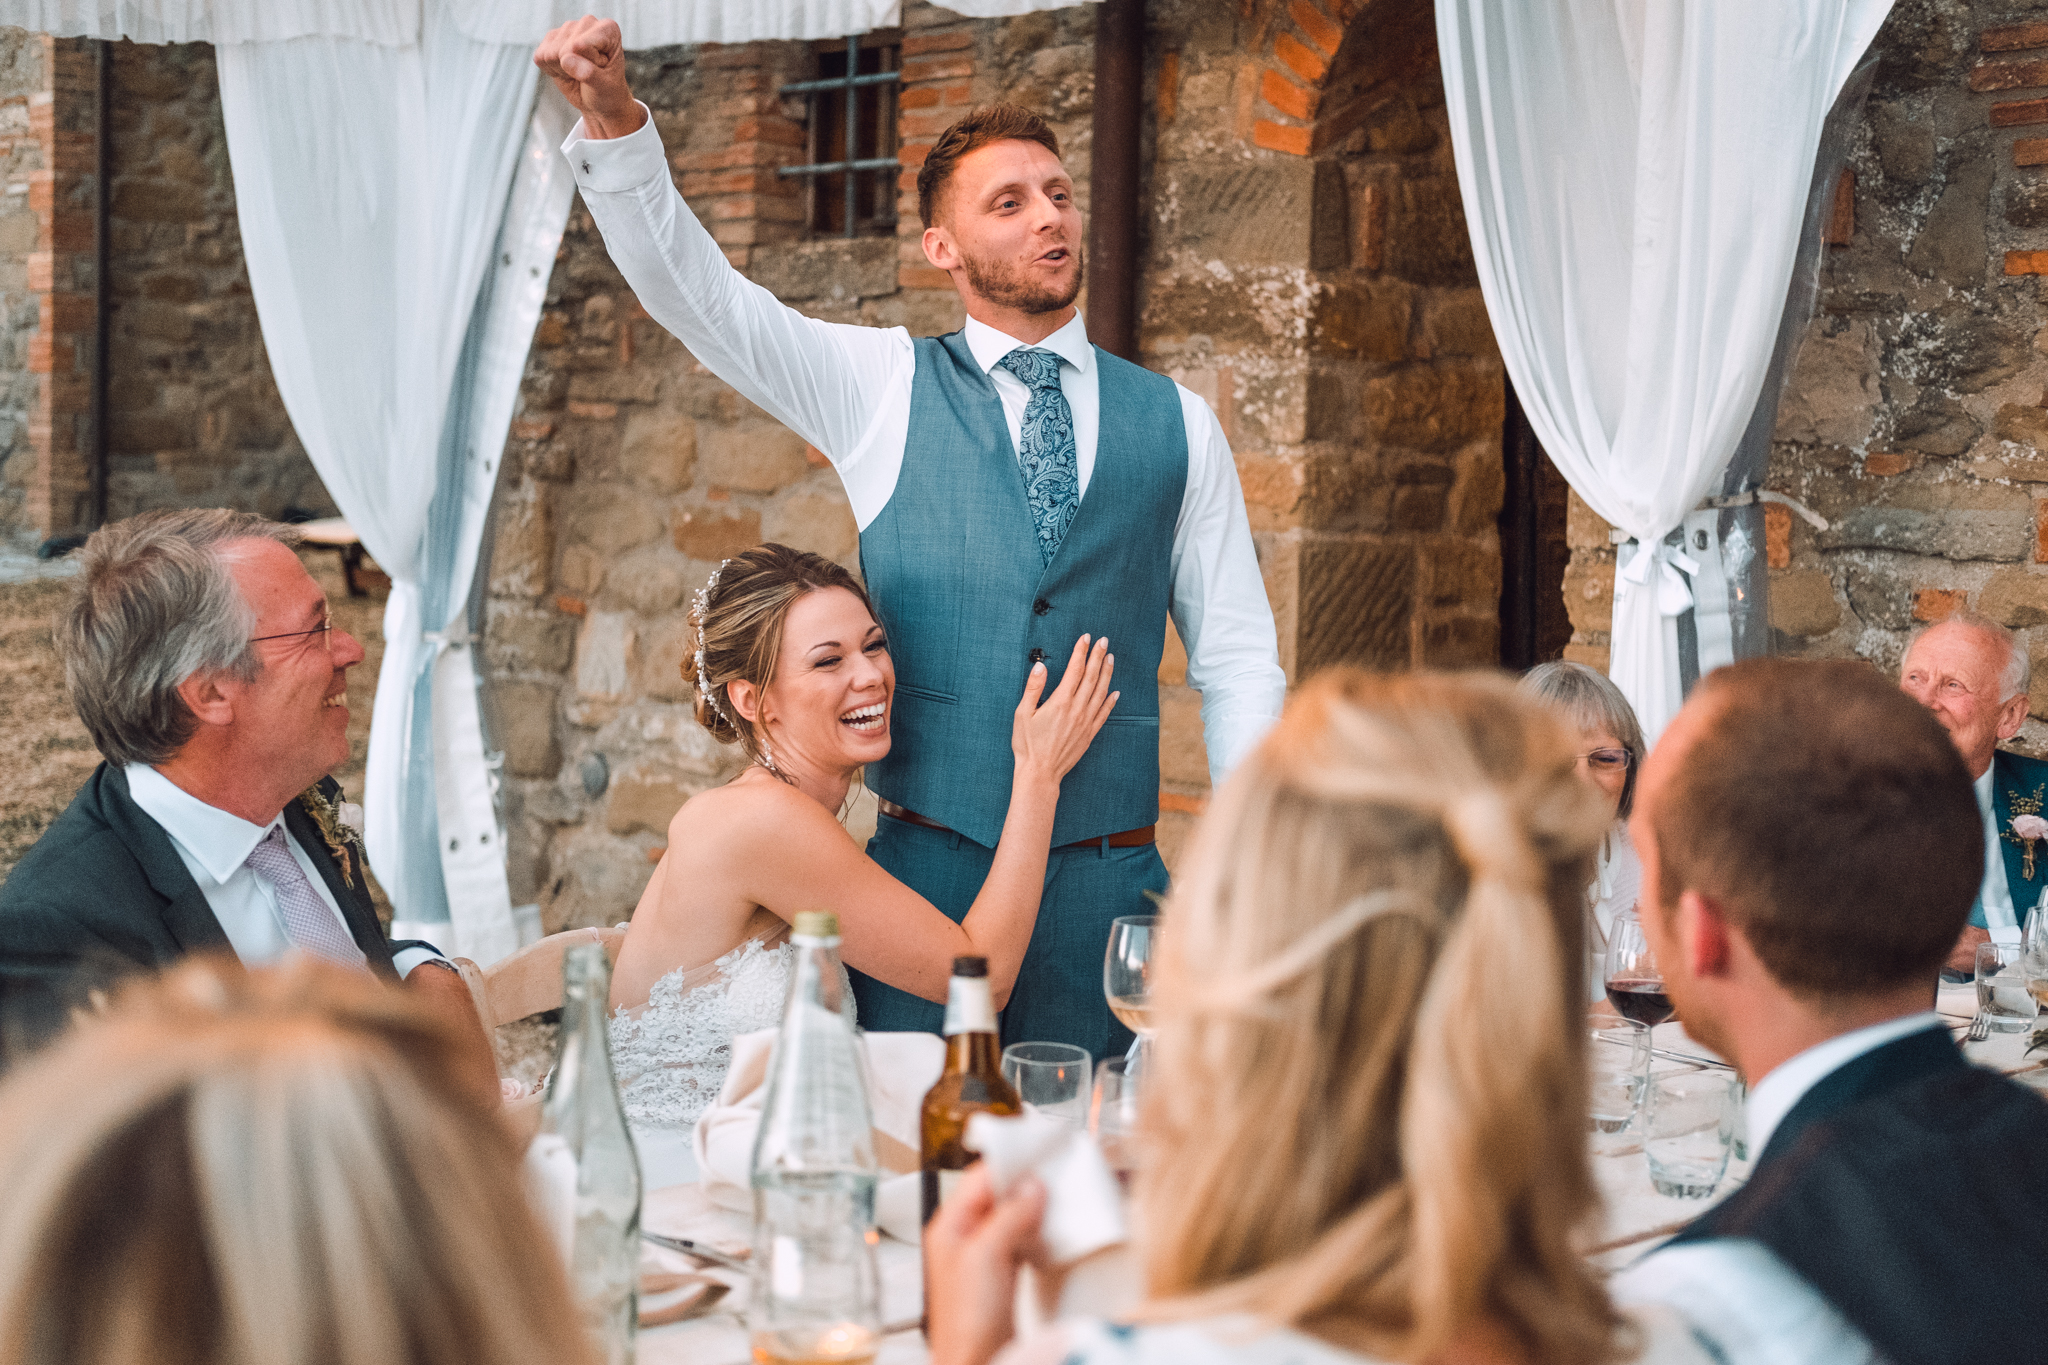
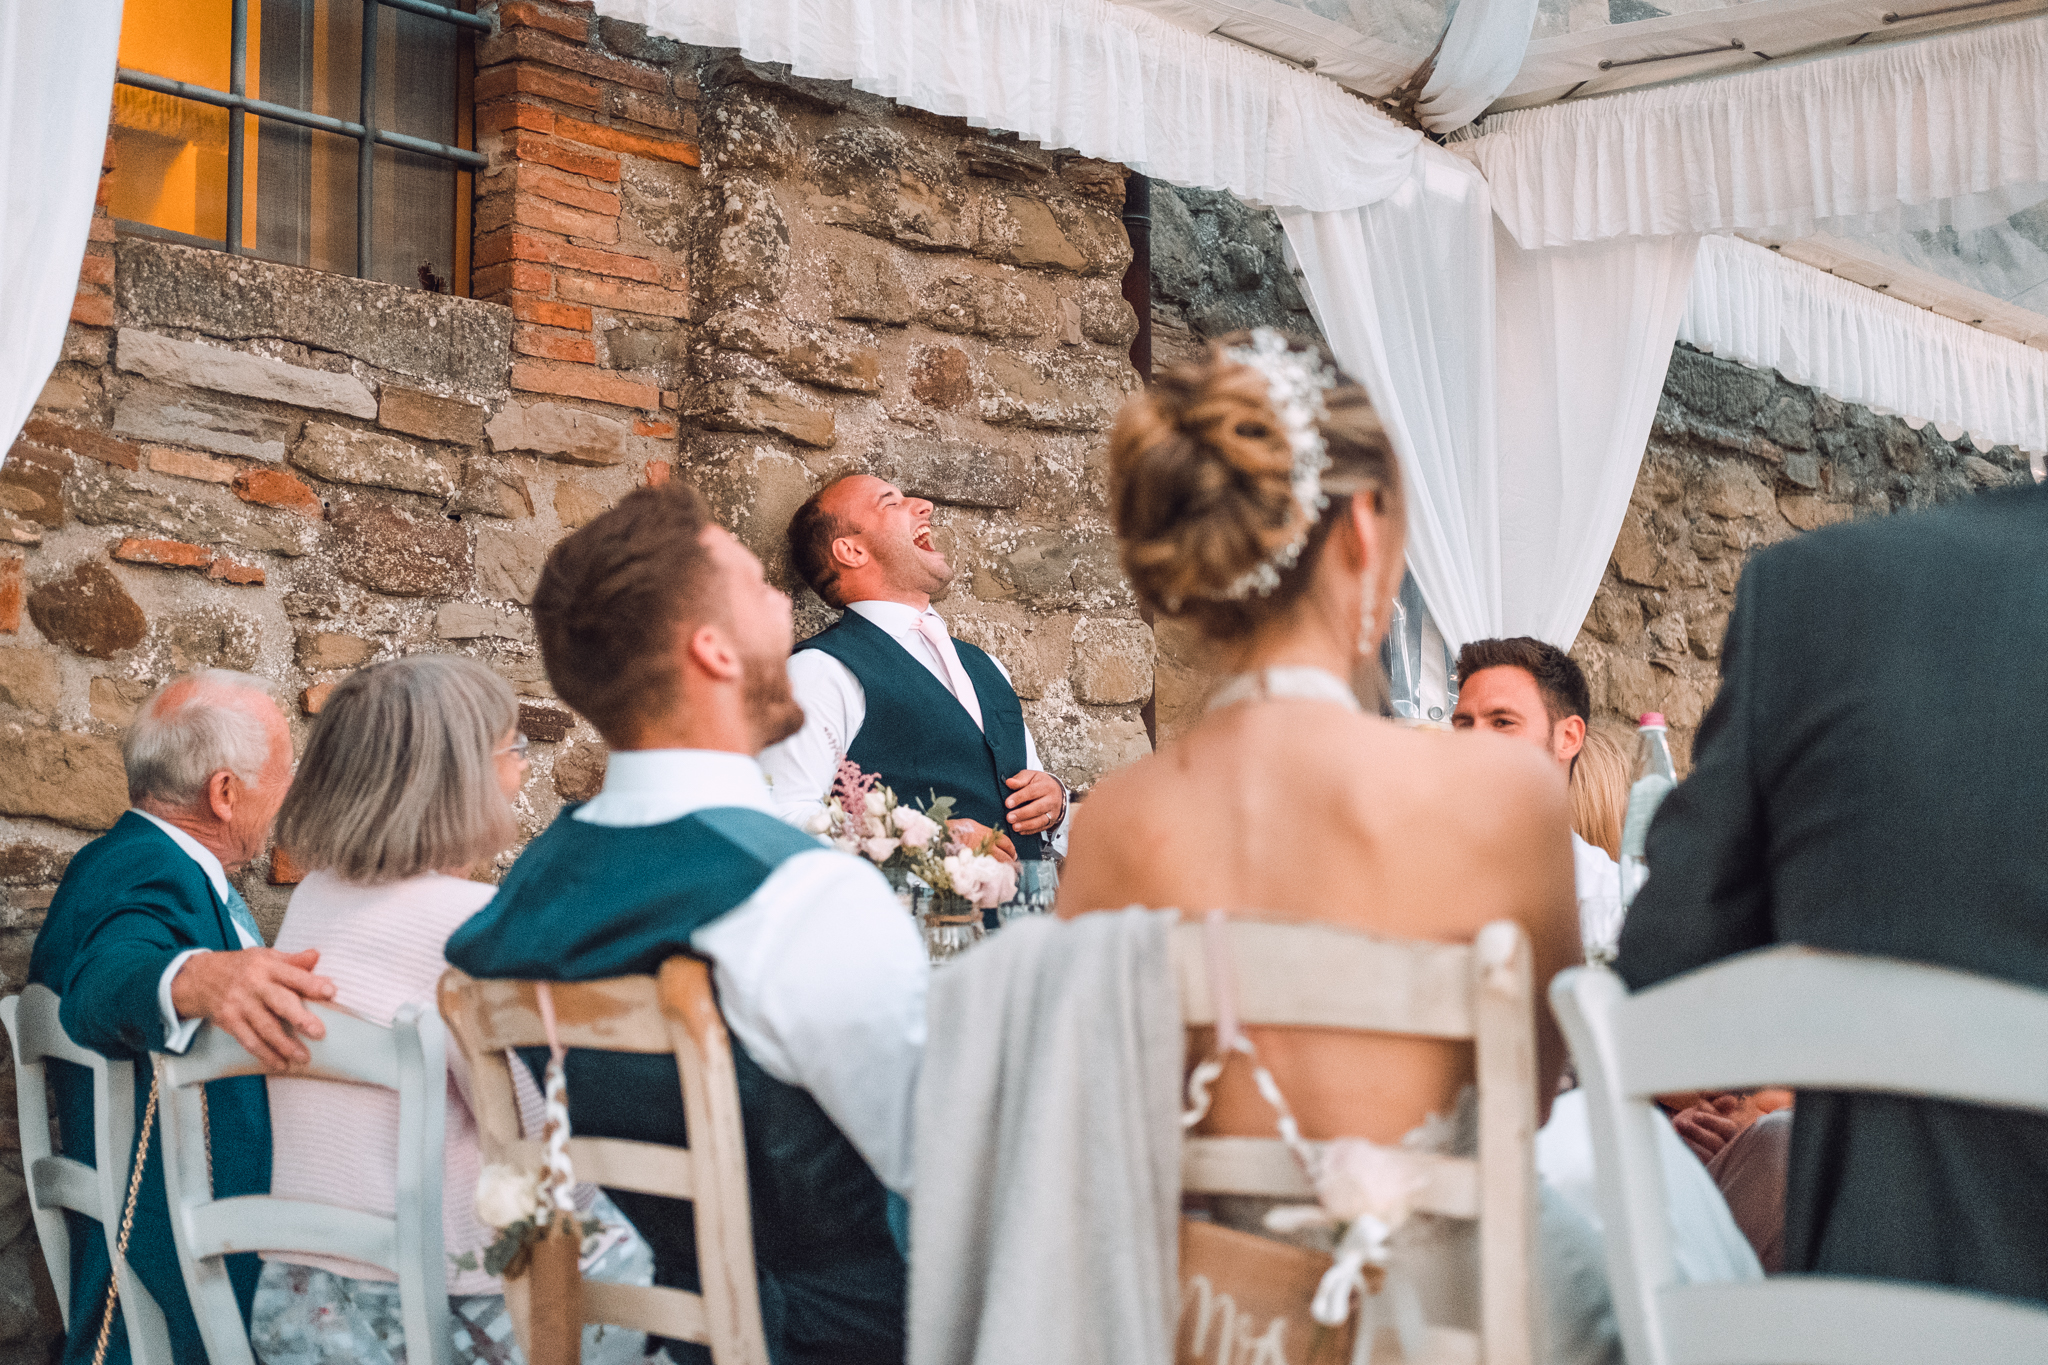
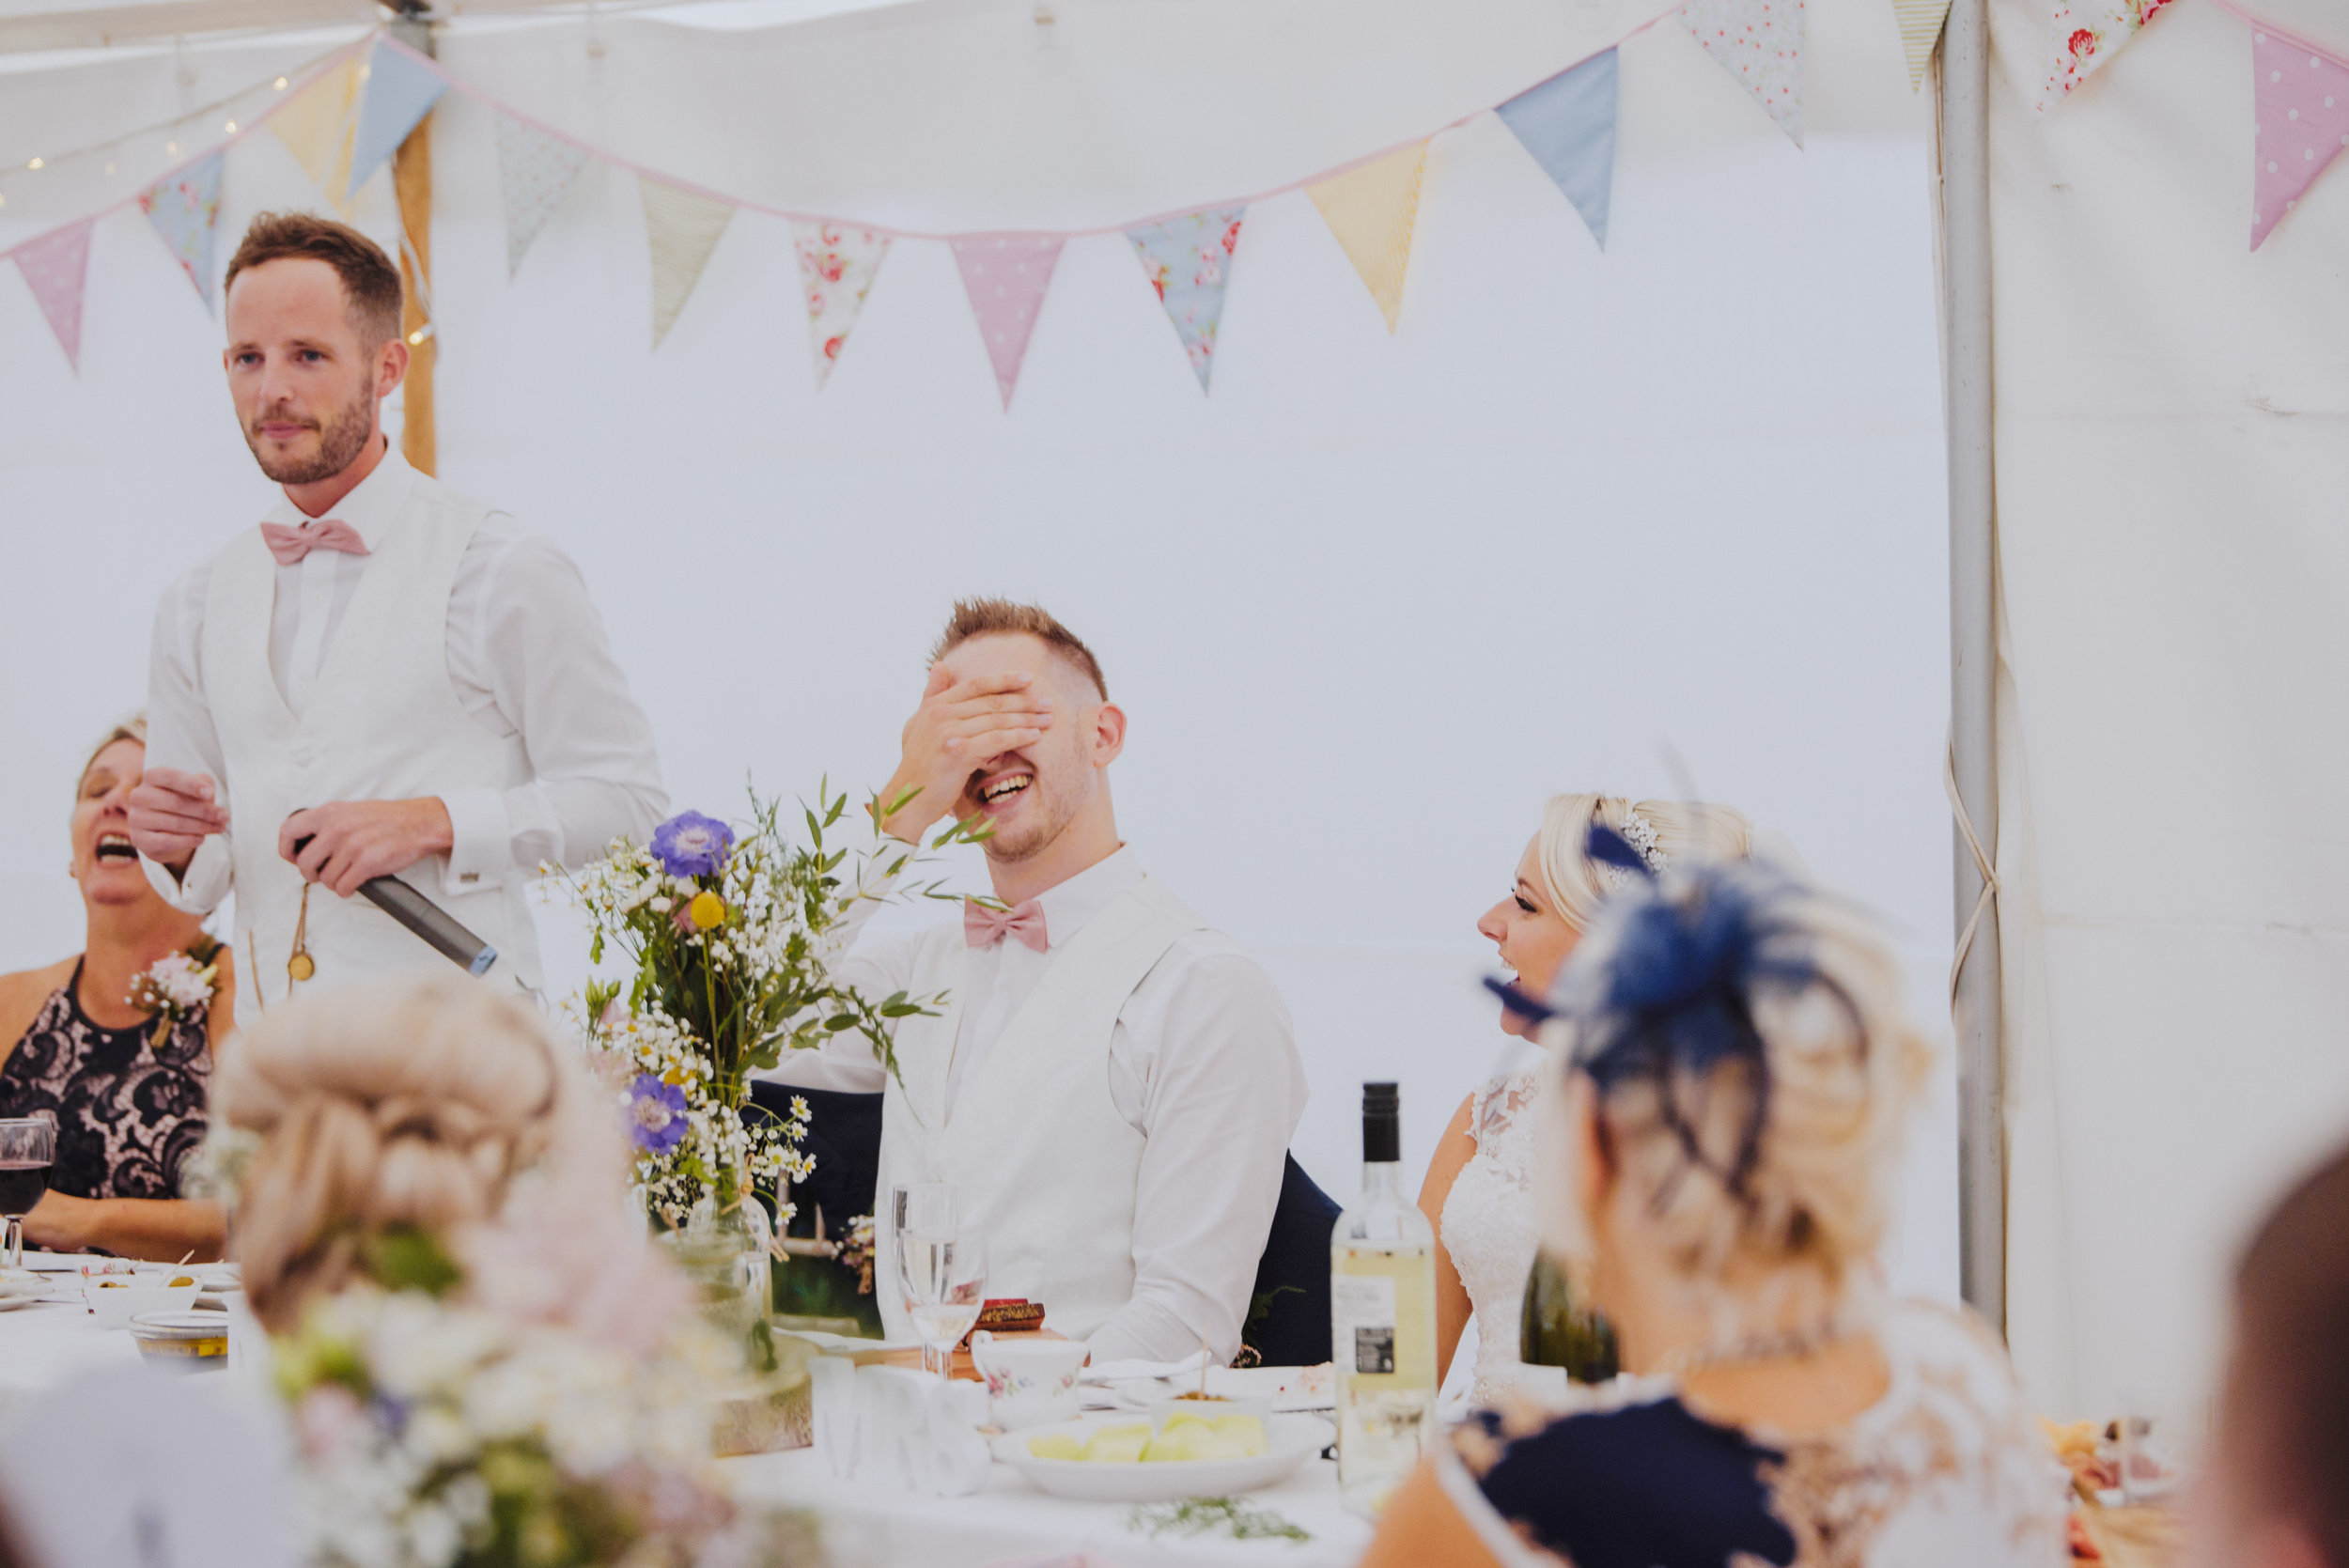
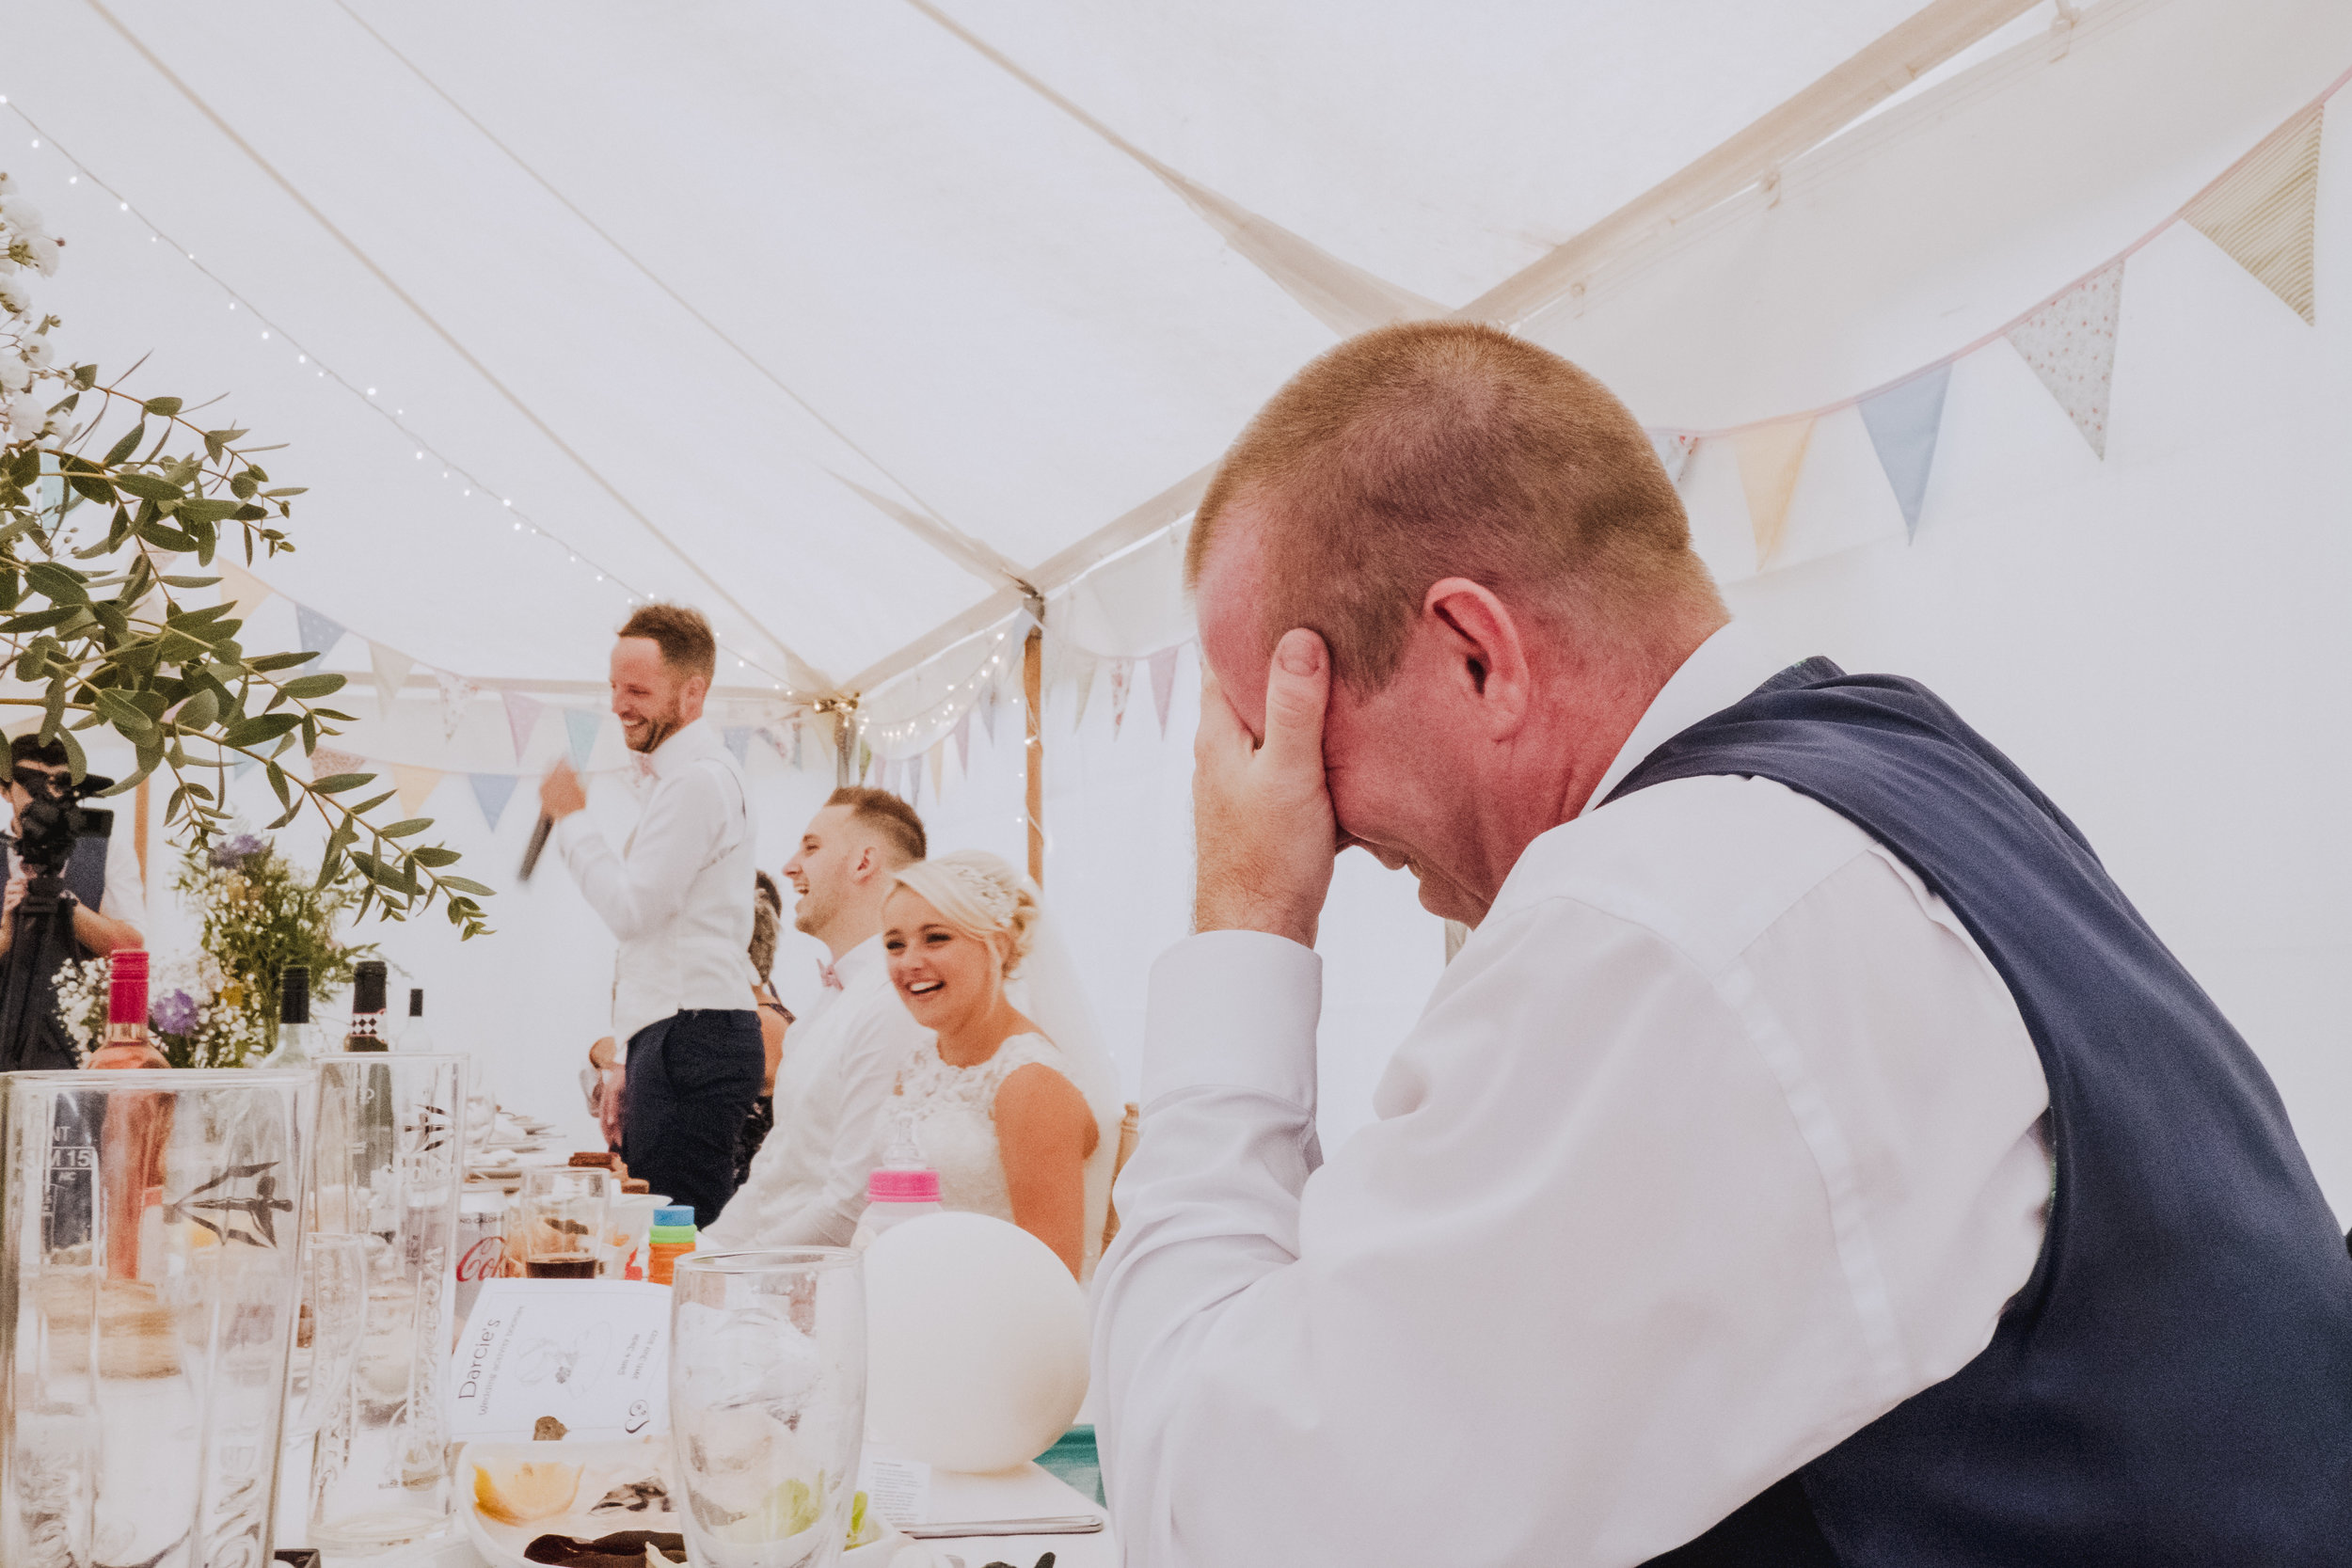
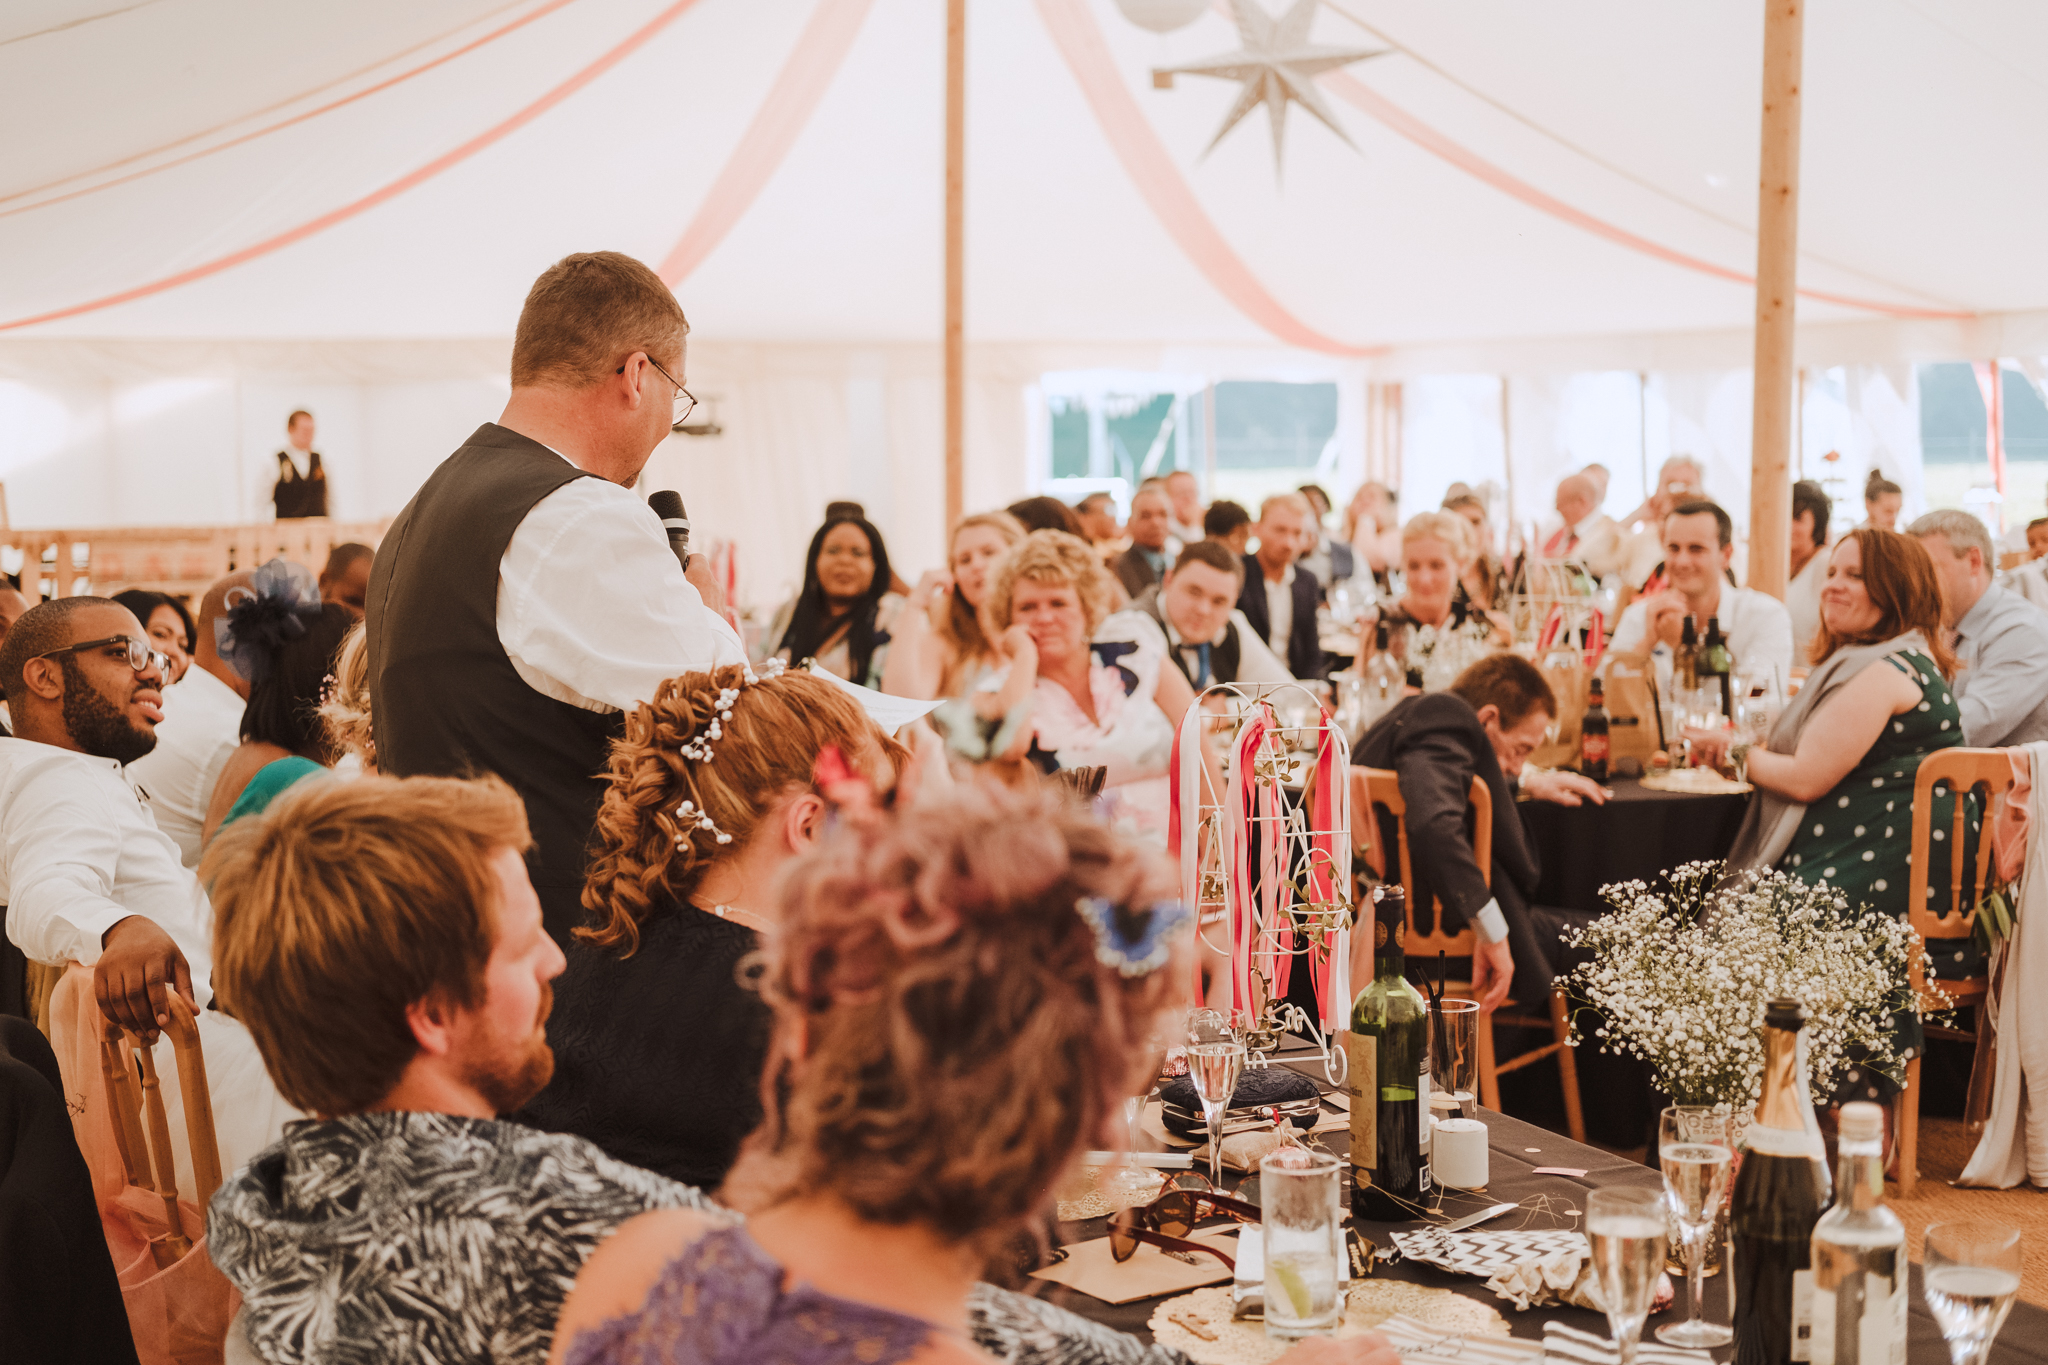
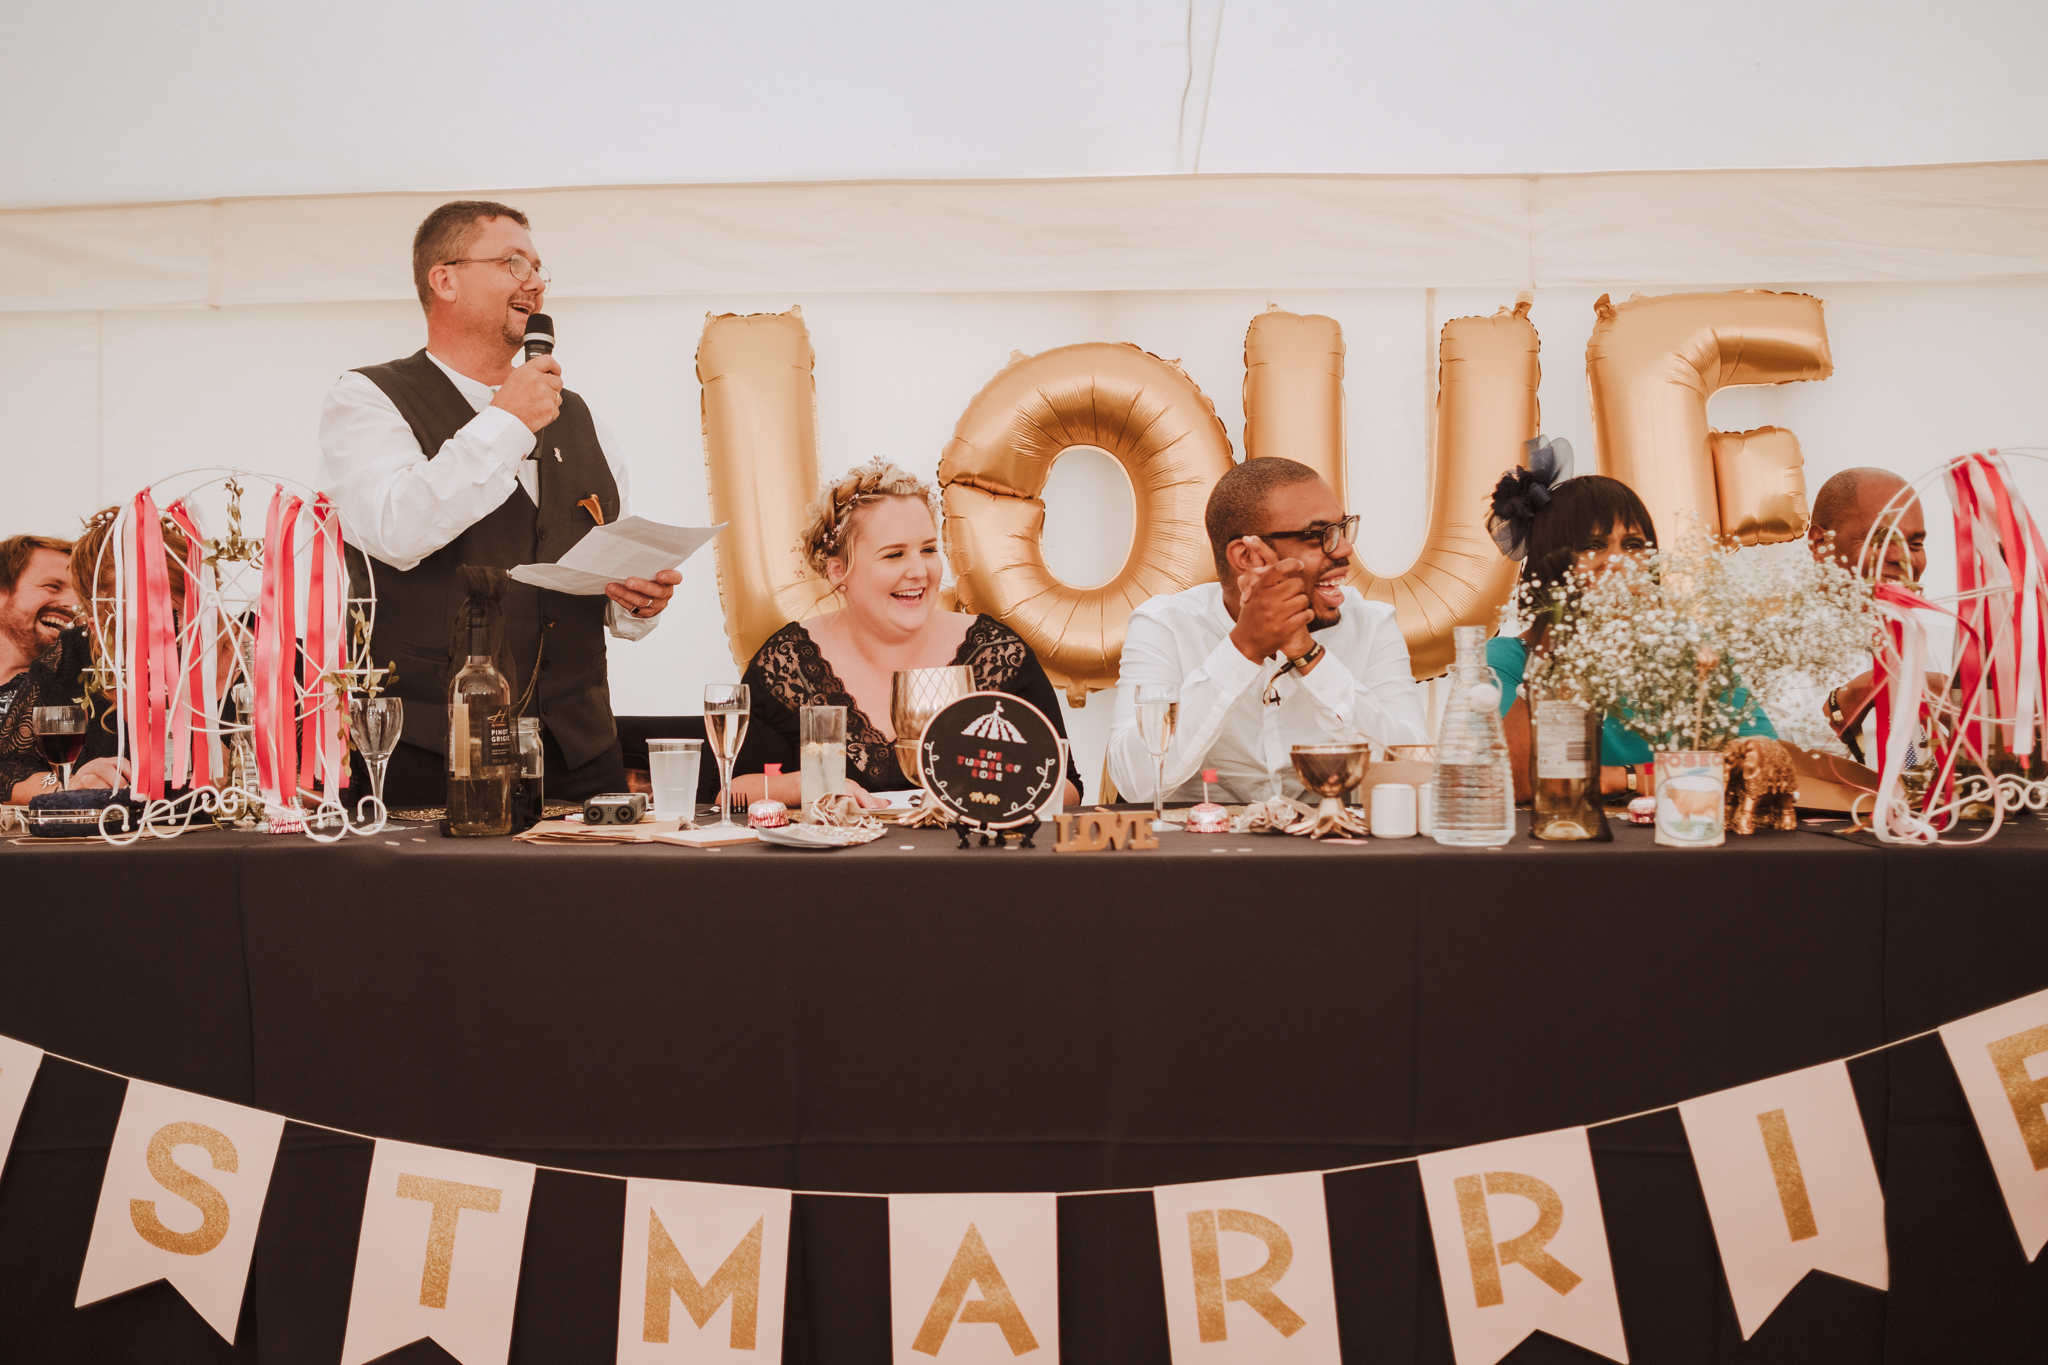
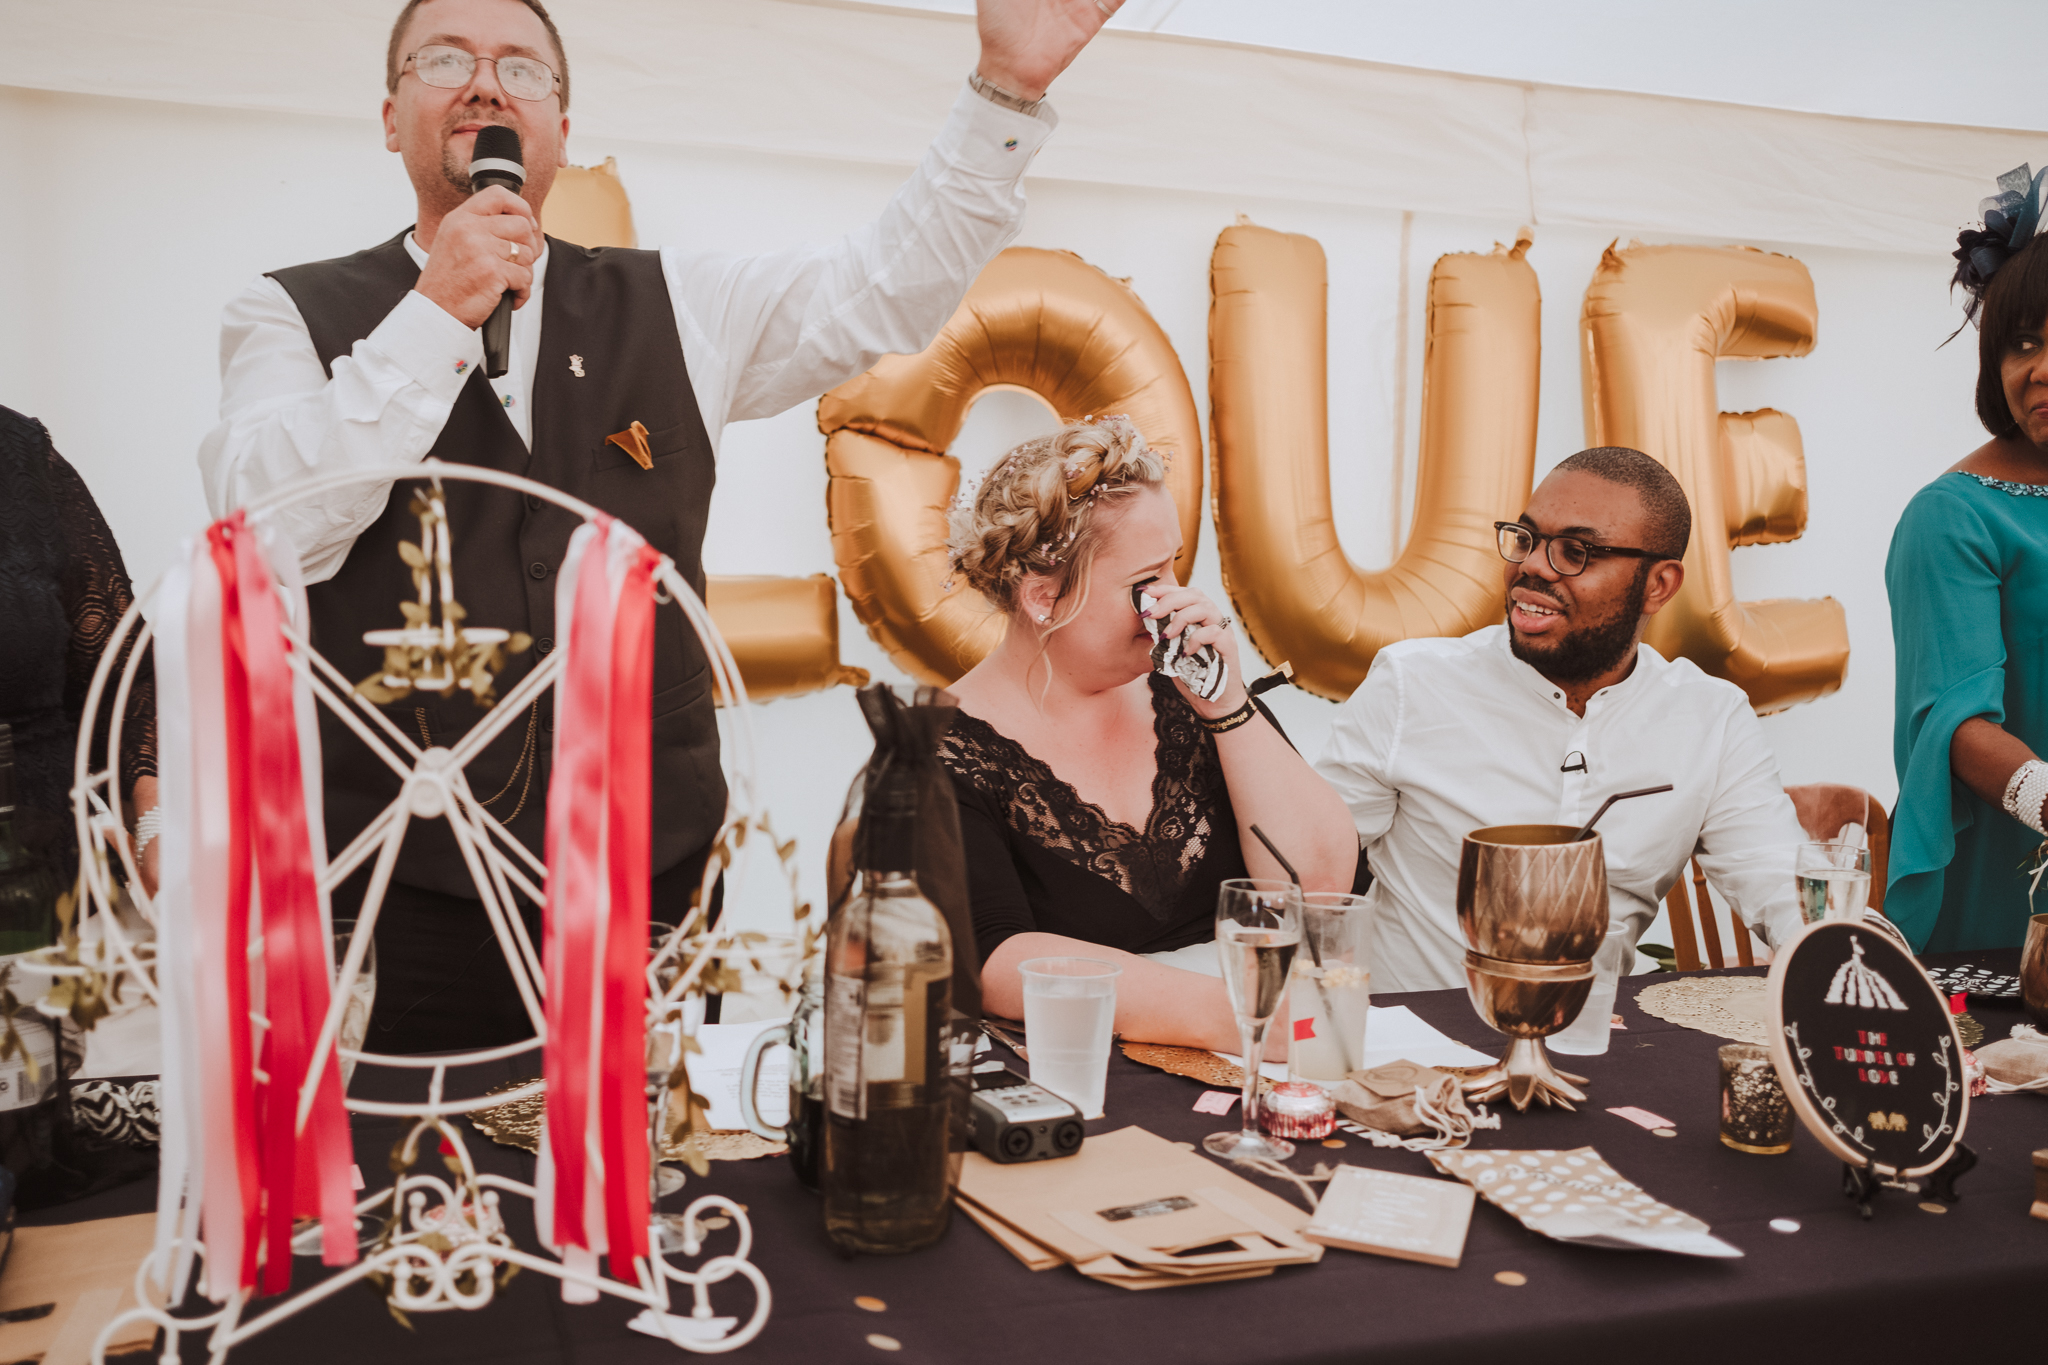
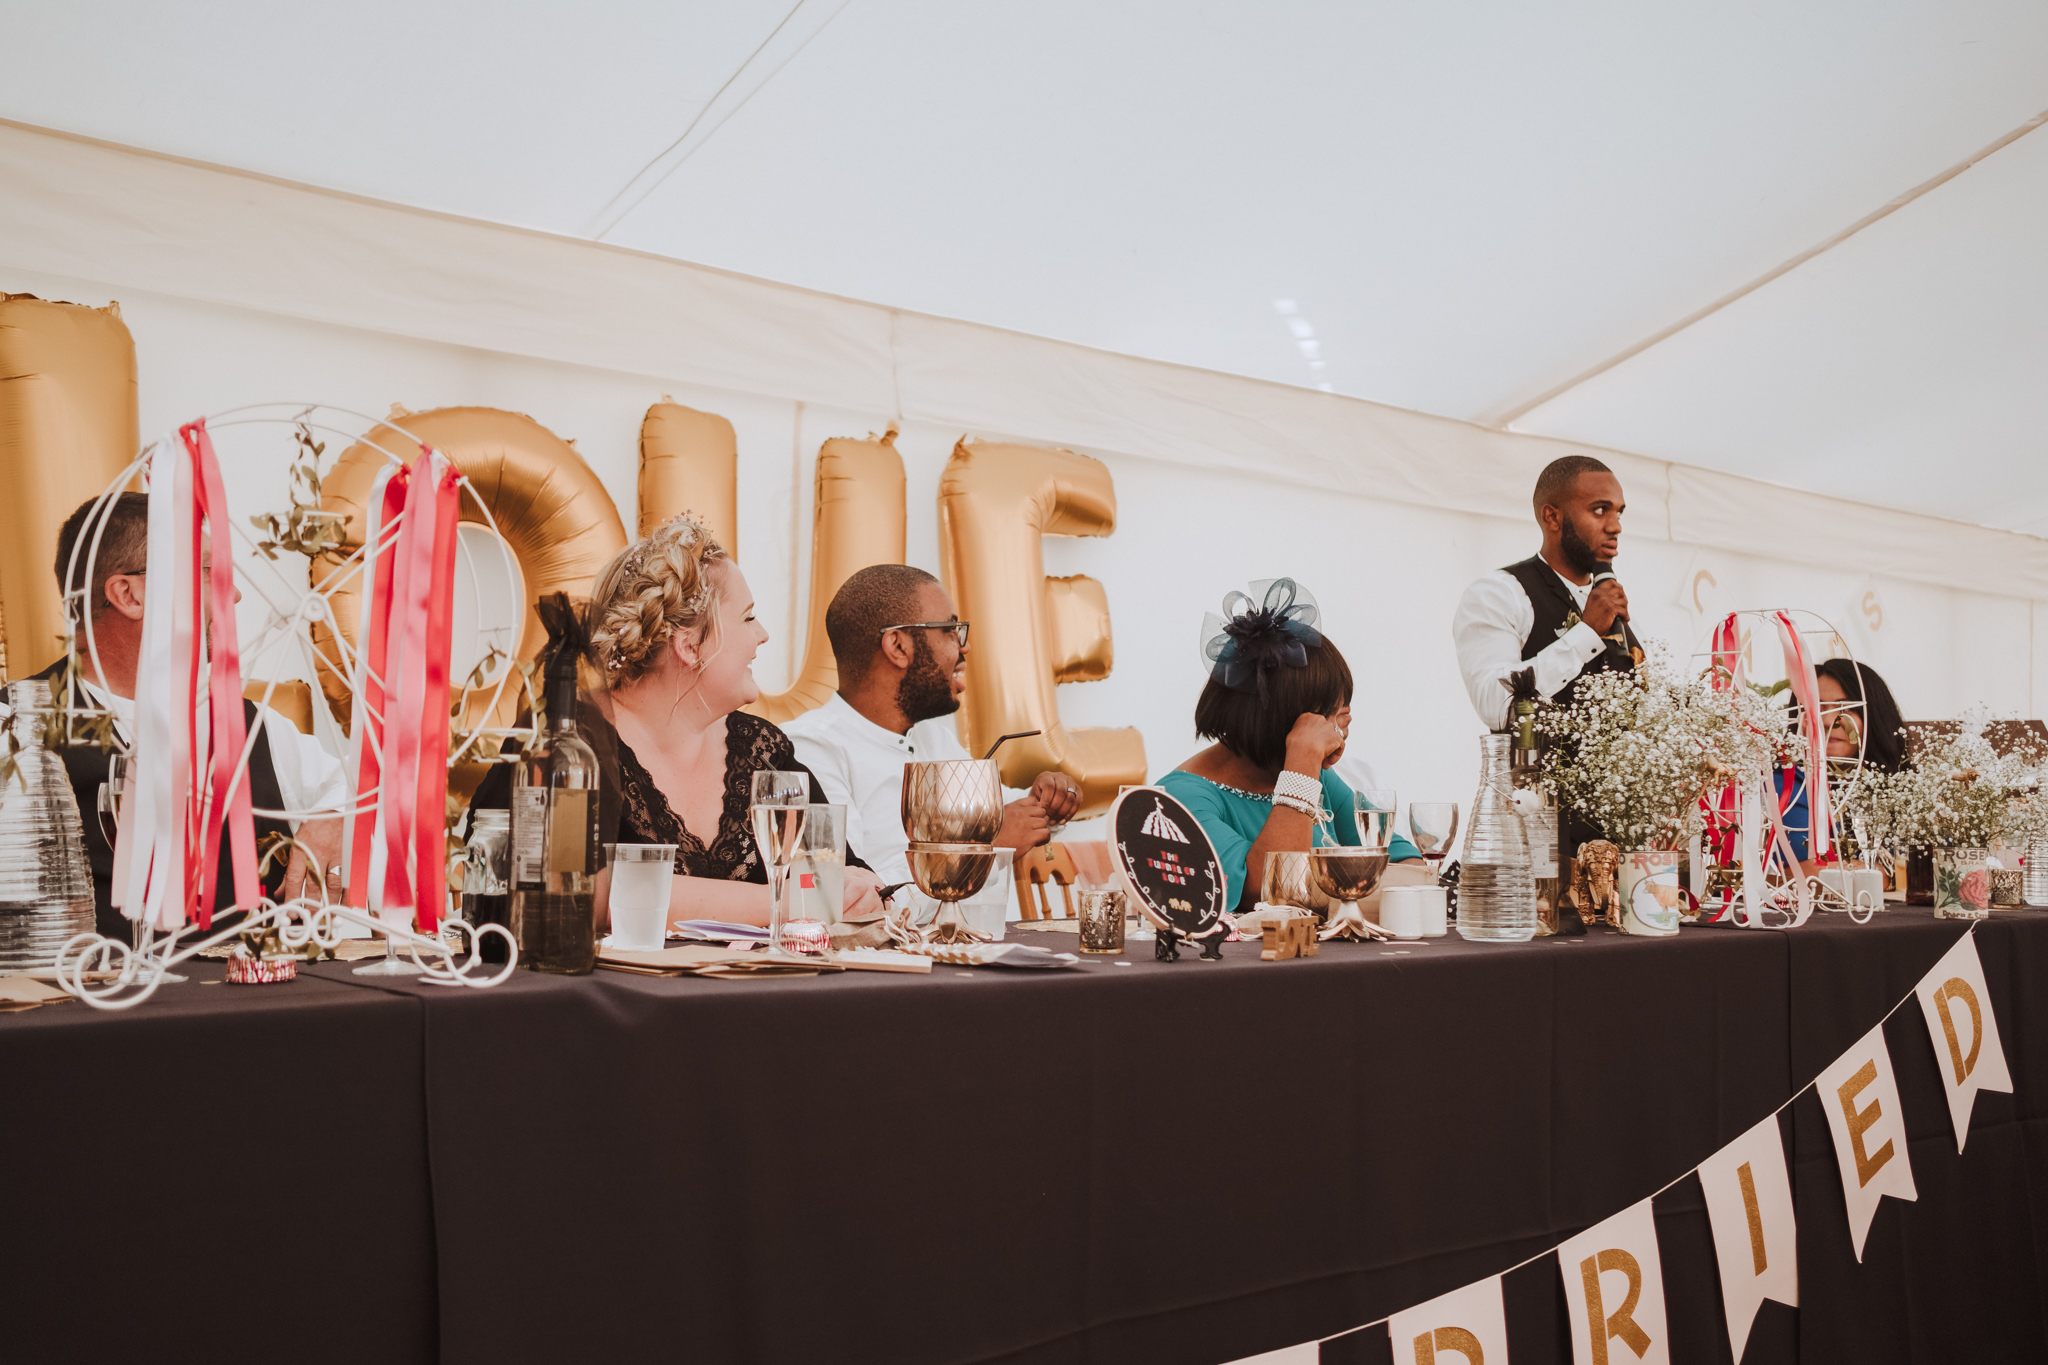
After everyone had tucked into some amazing food, it was time for the speeches. Some of the speeches brought loving tears to many eyes. Some others brought fits of laughter. On the whole it was rounding success from everyone involved.
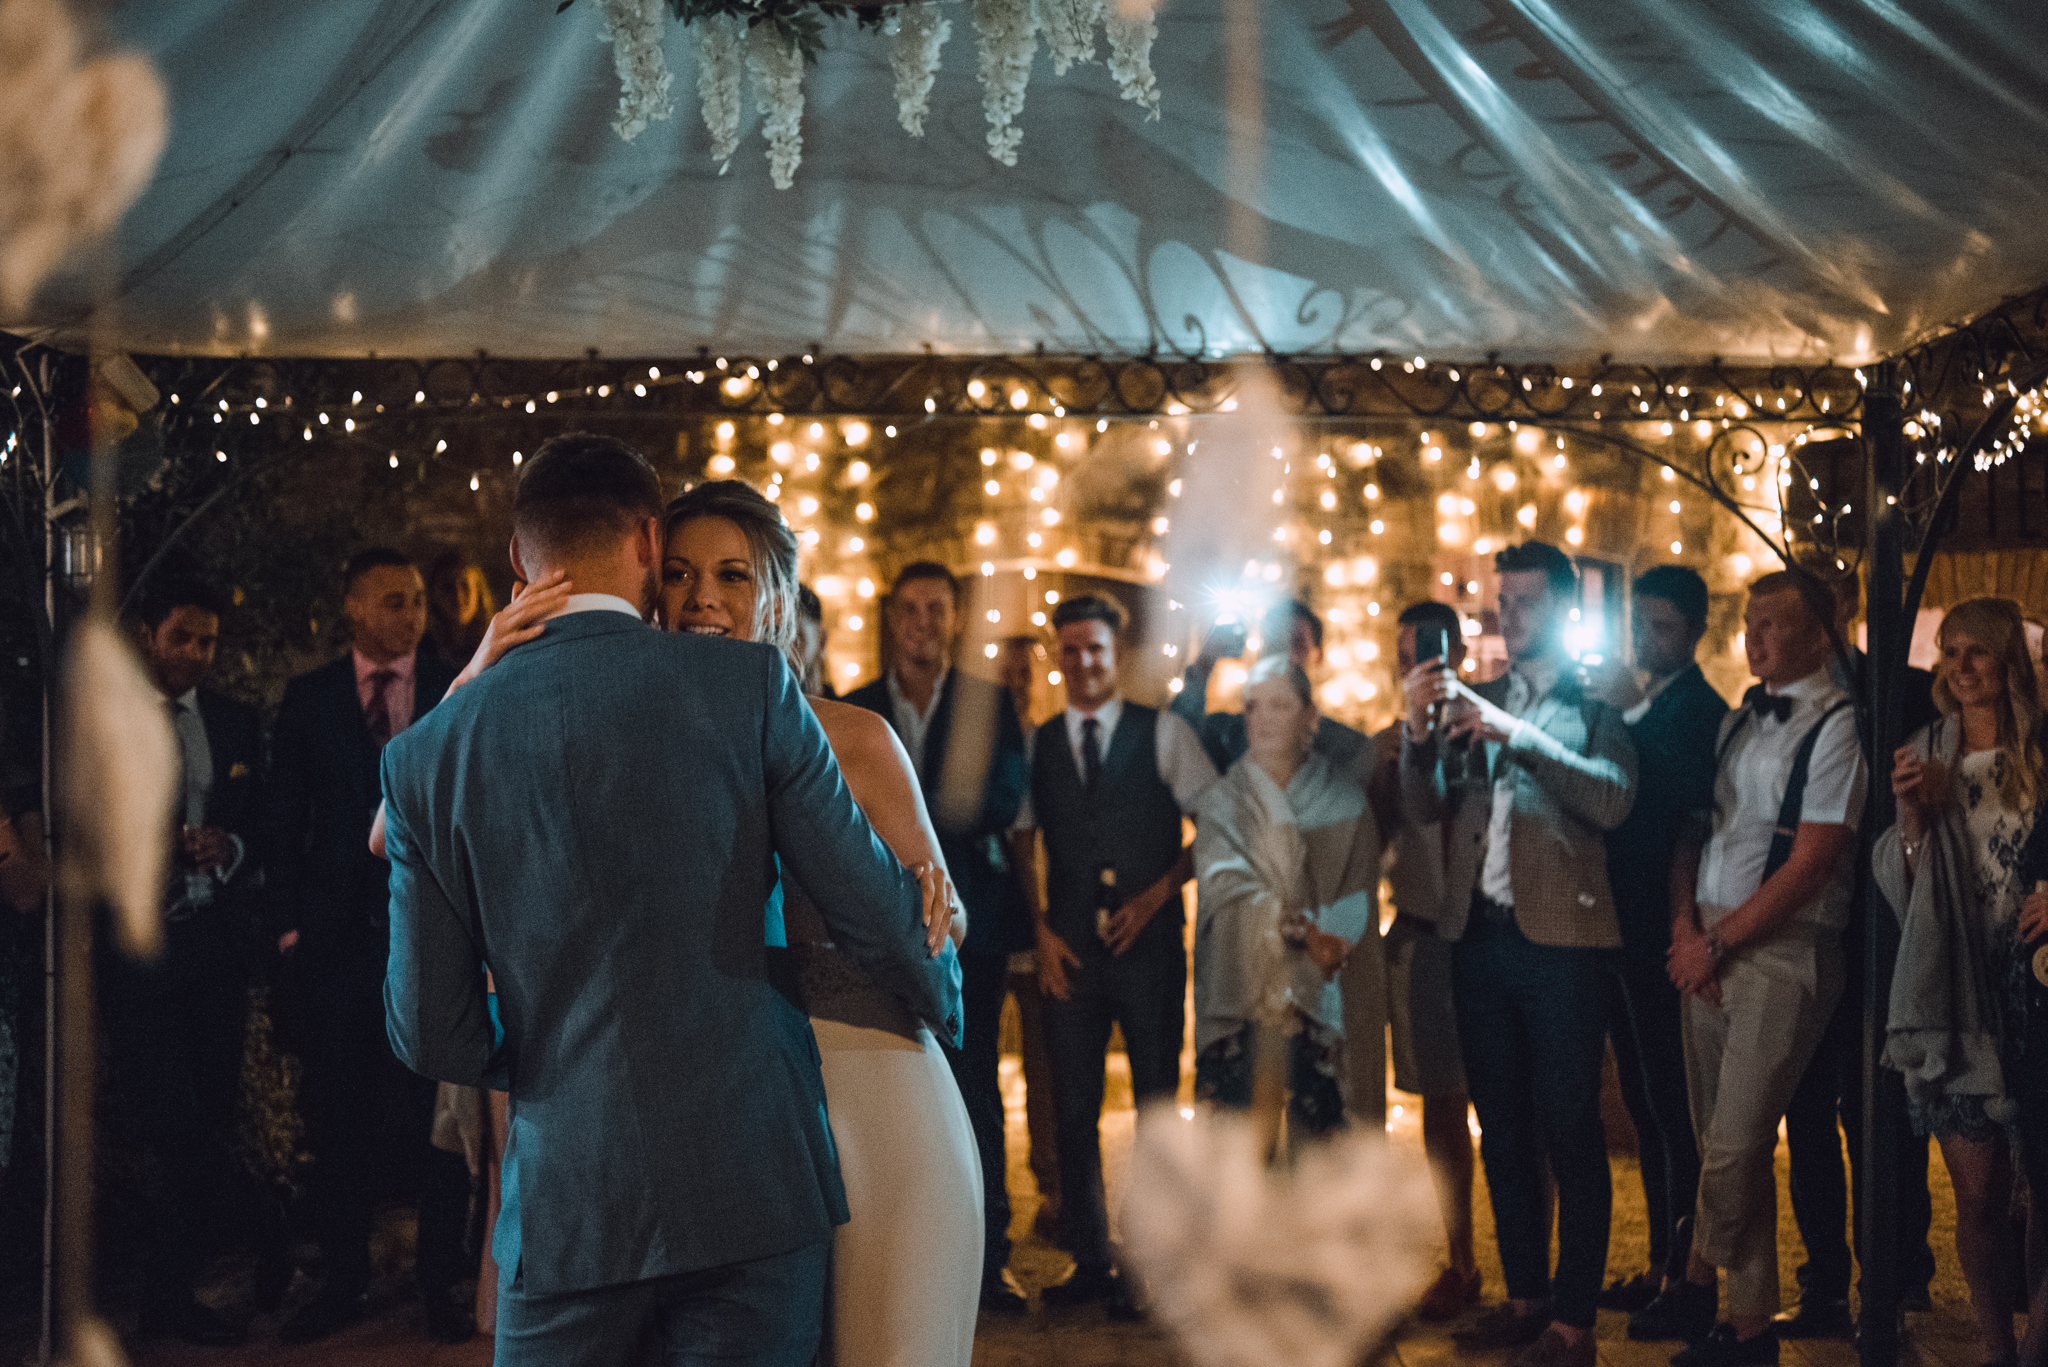
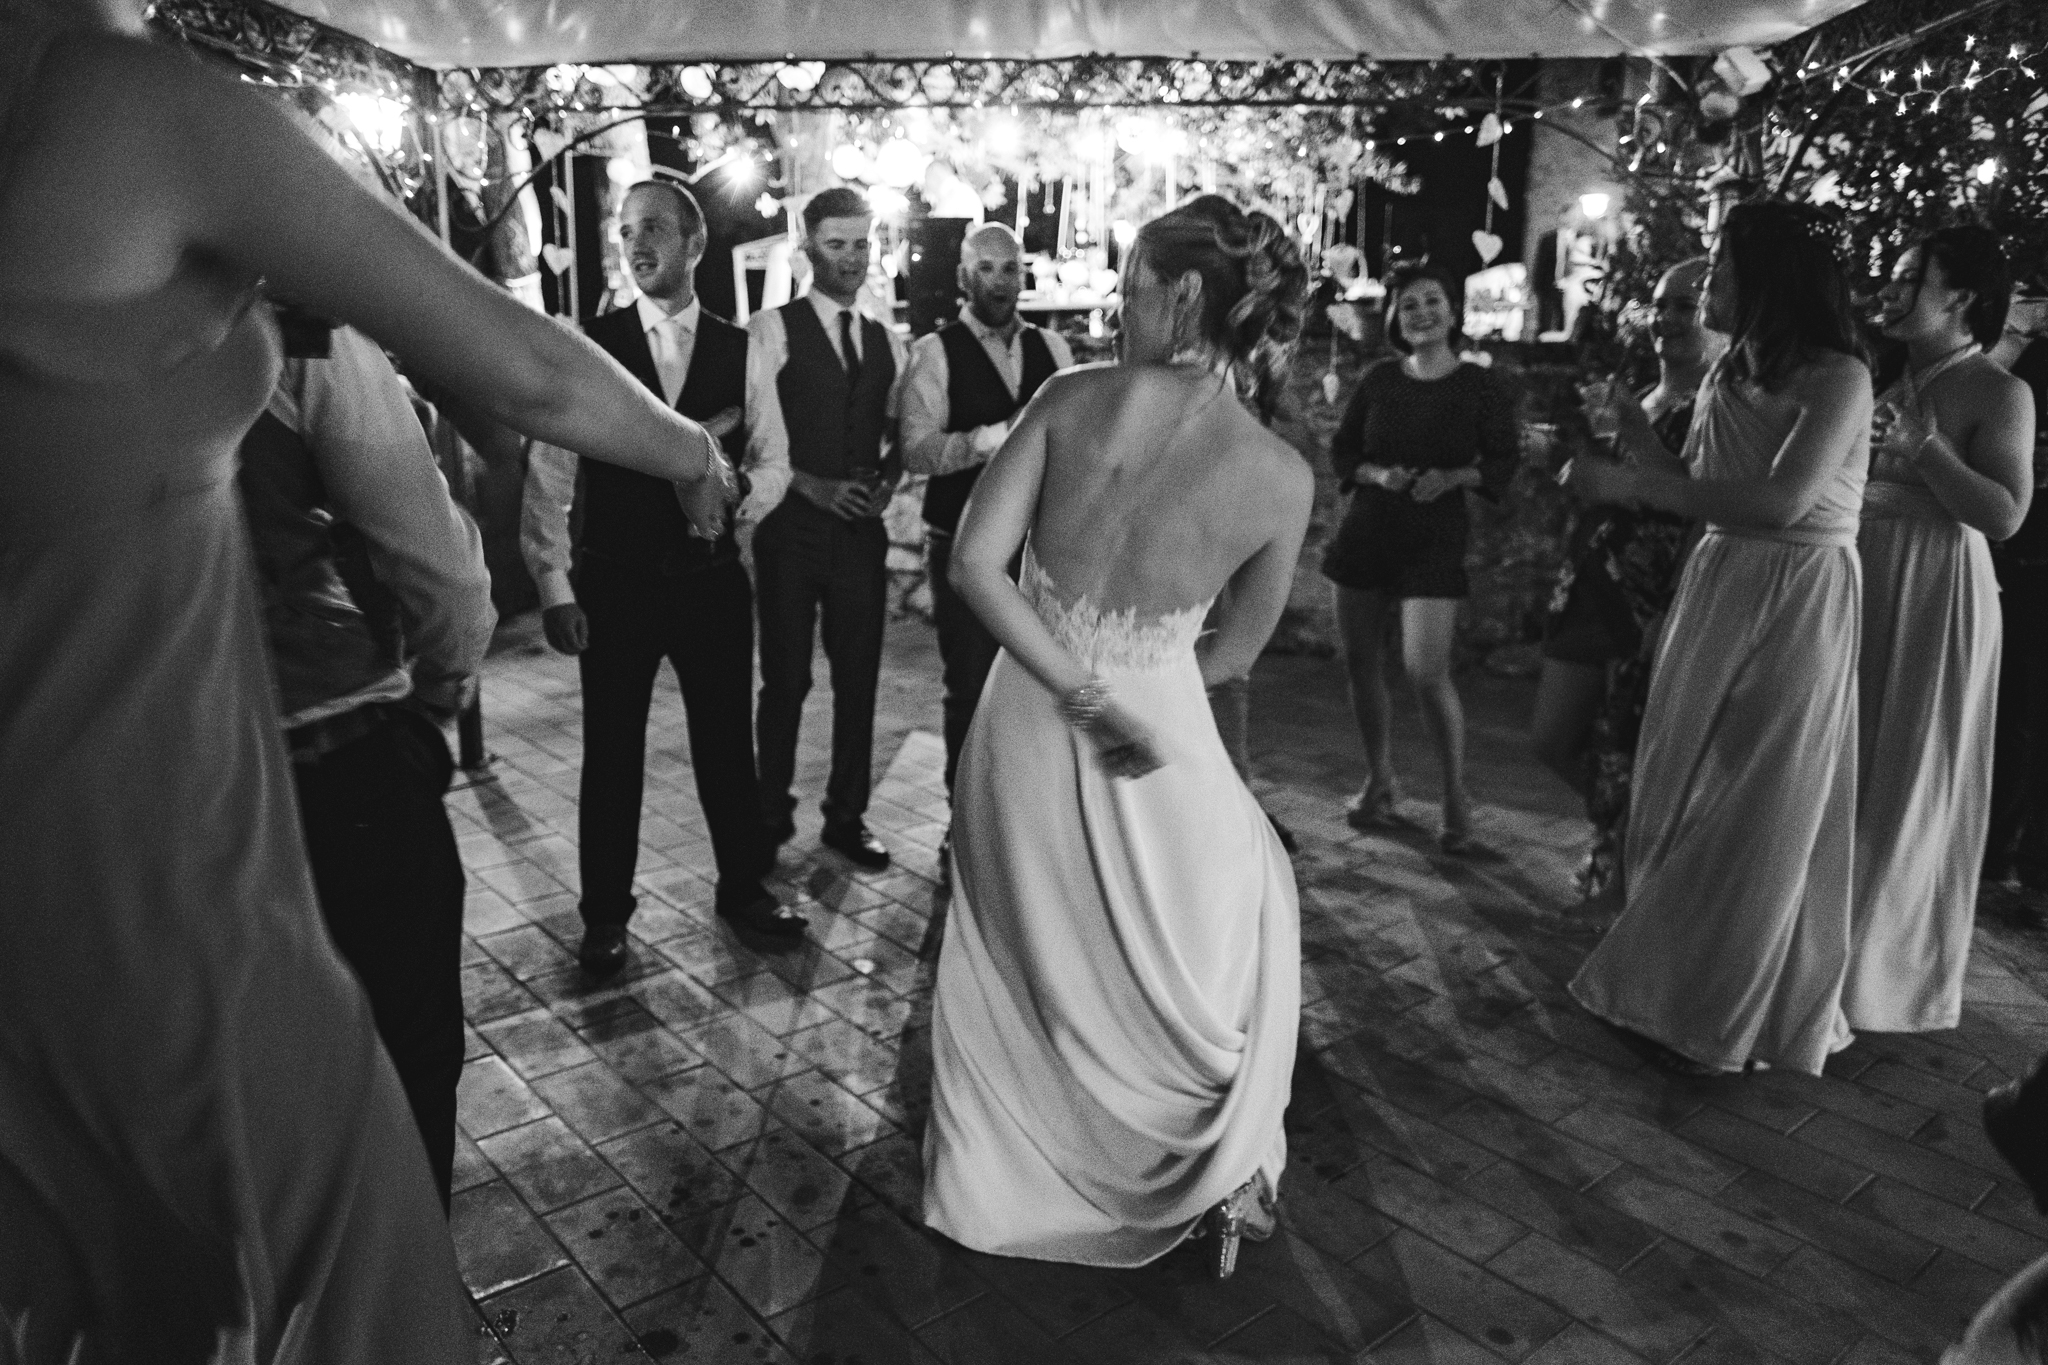
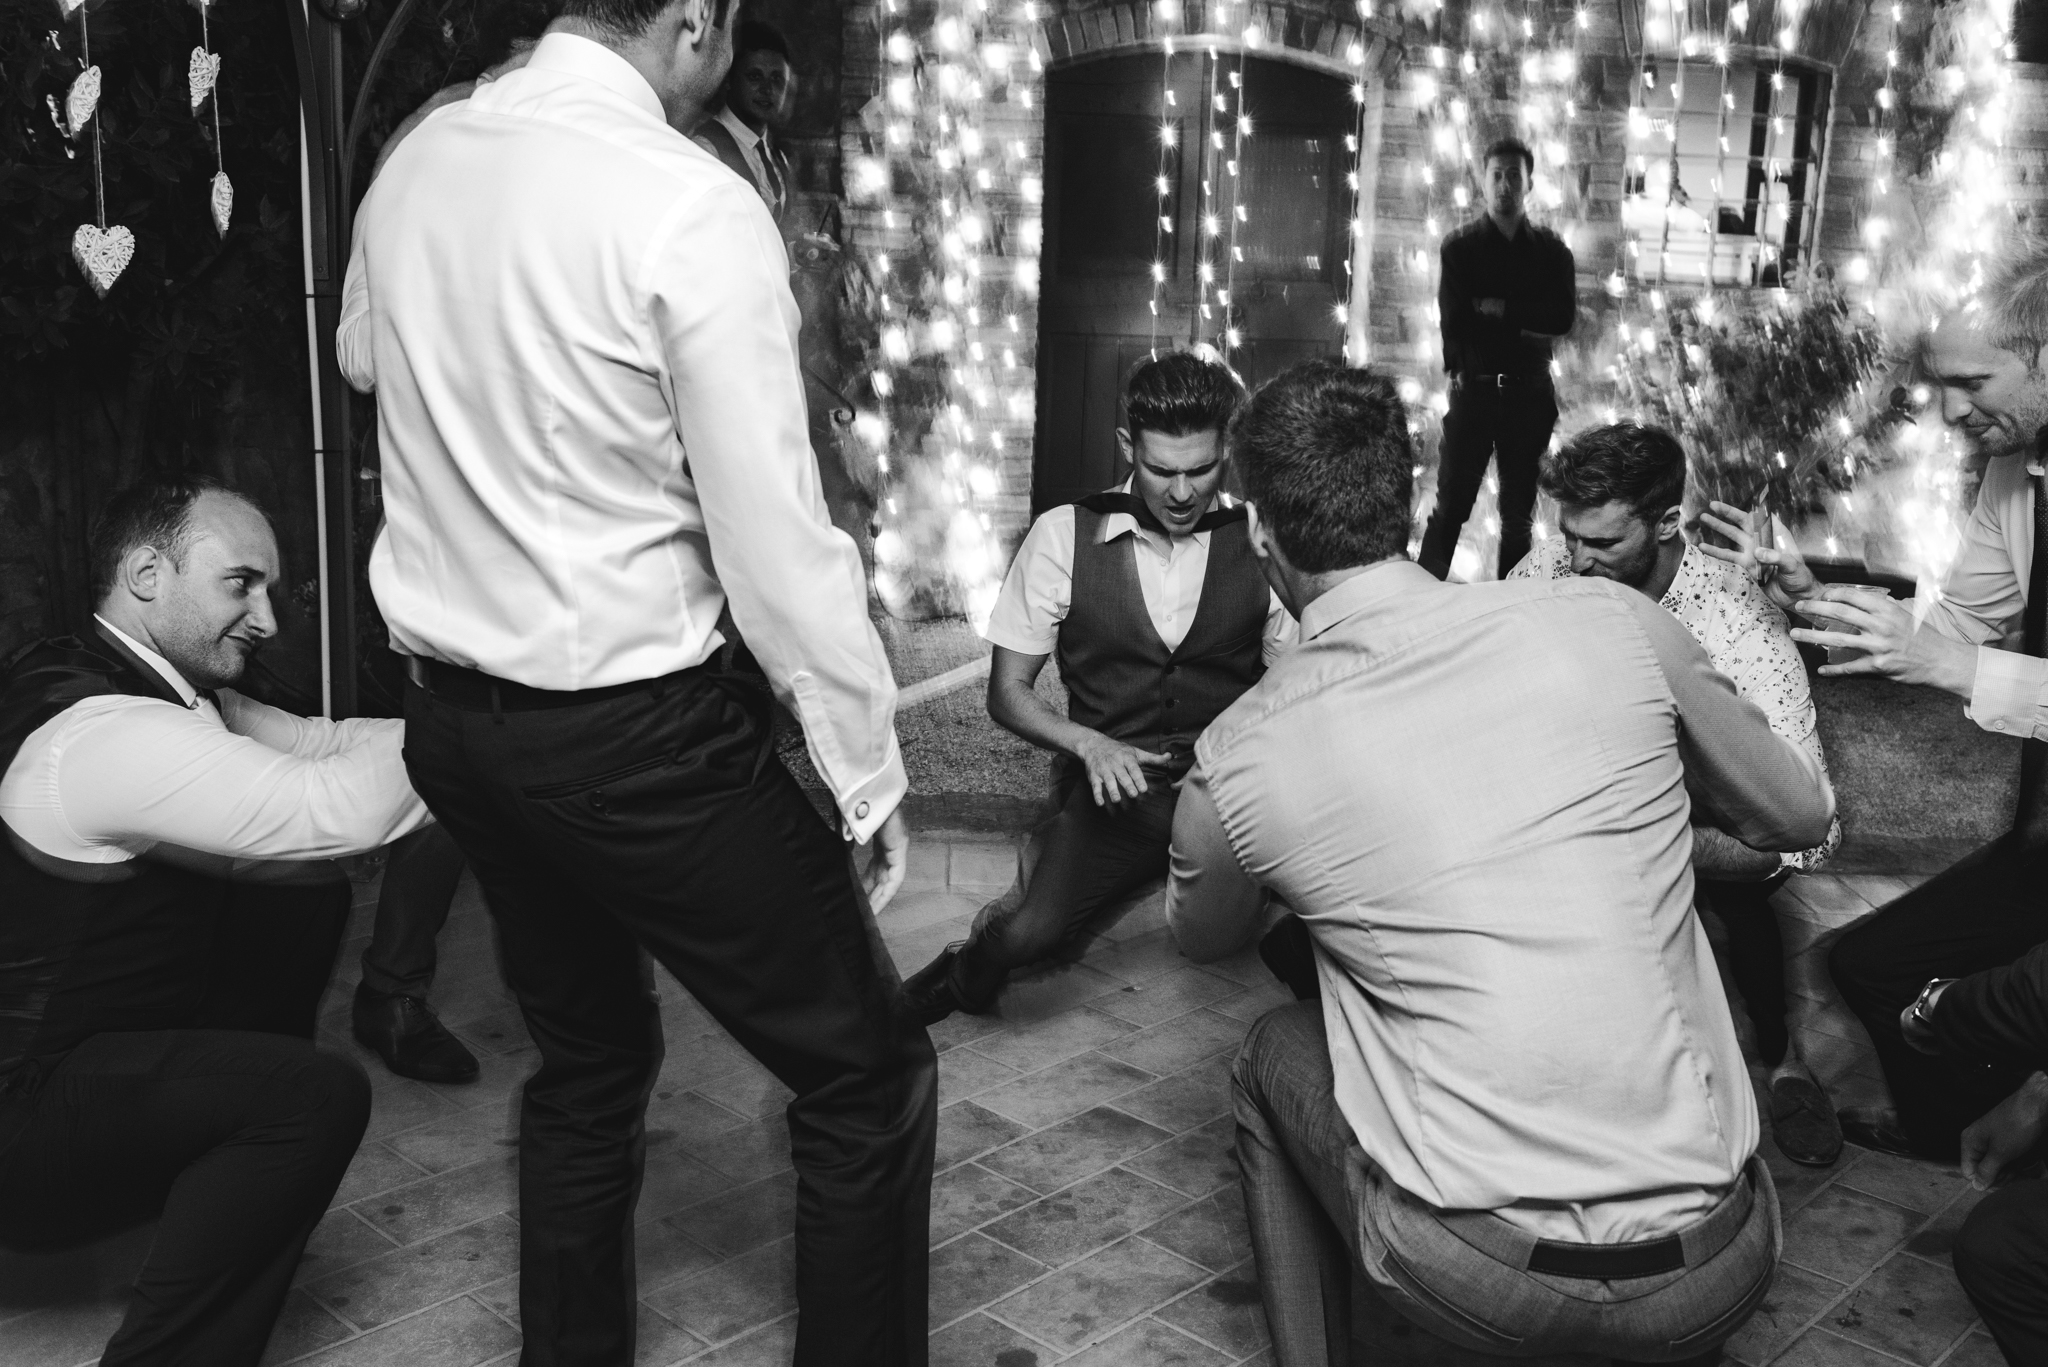
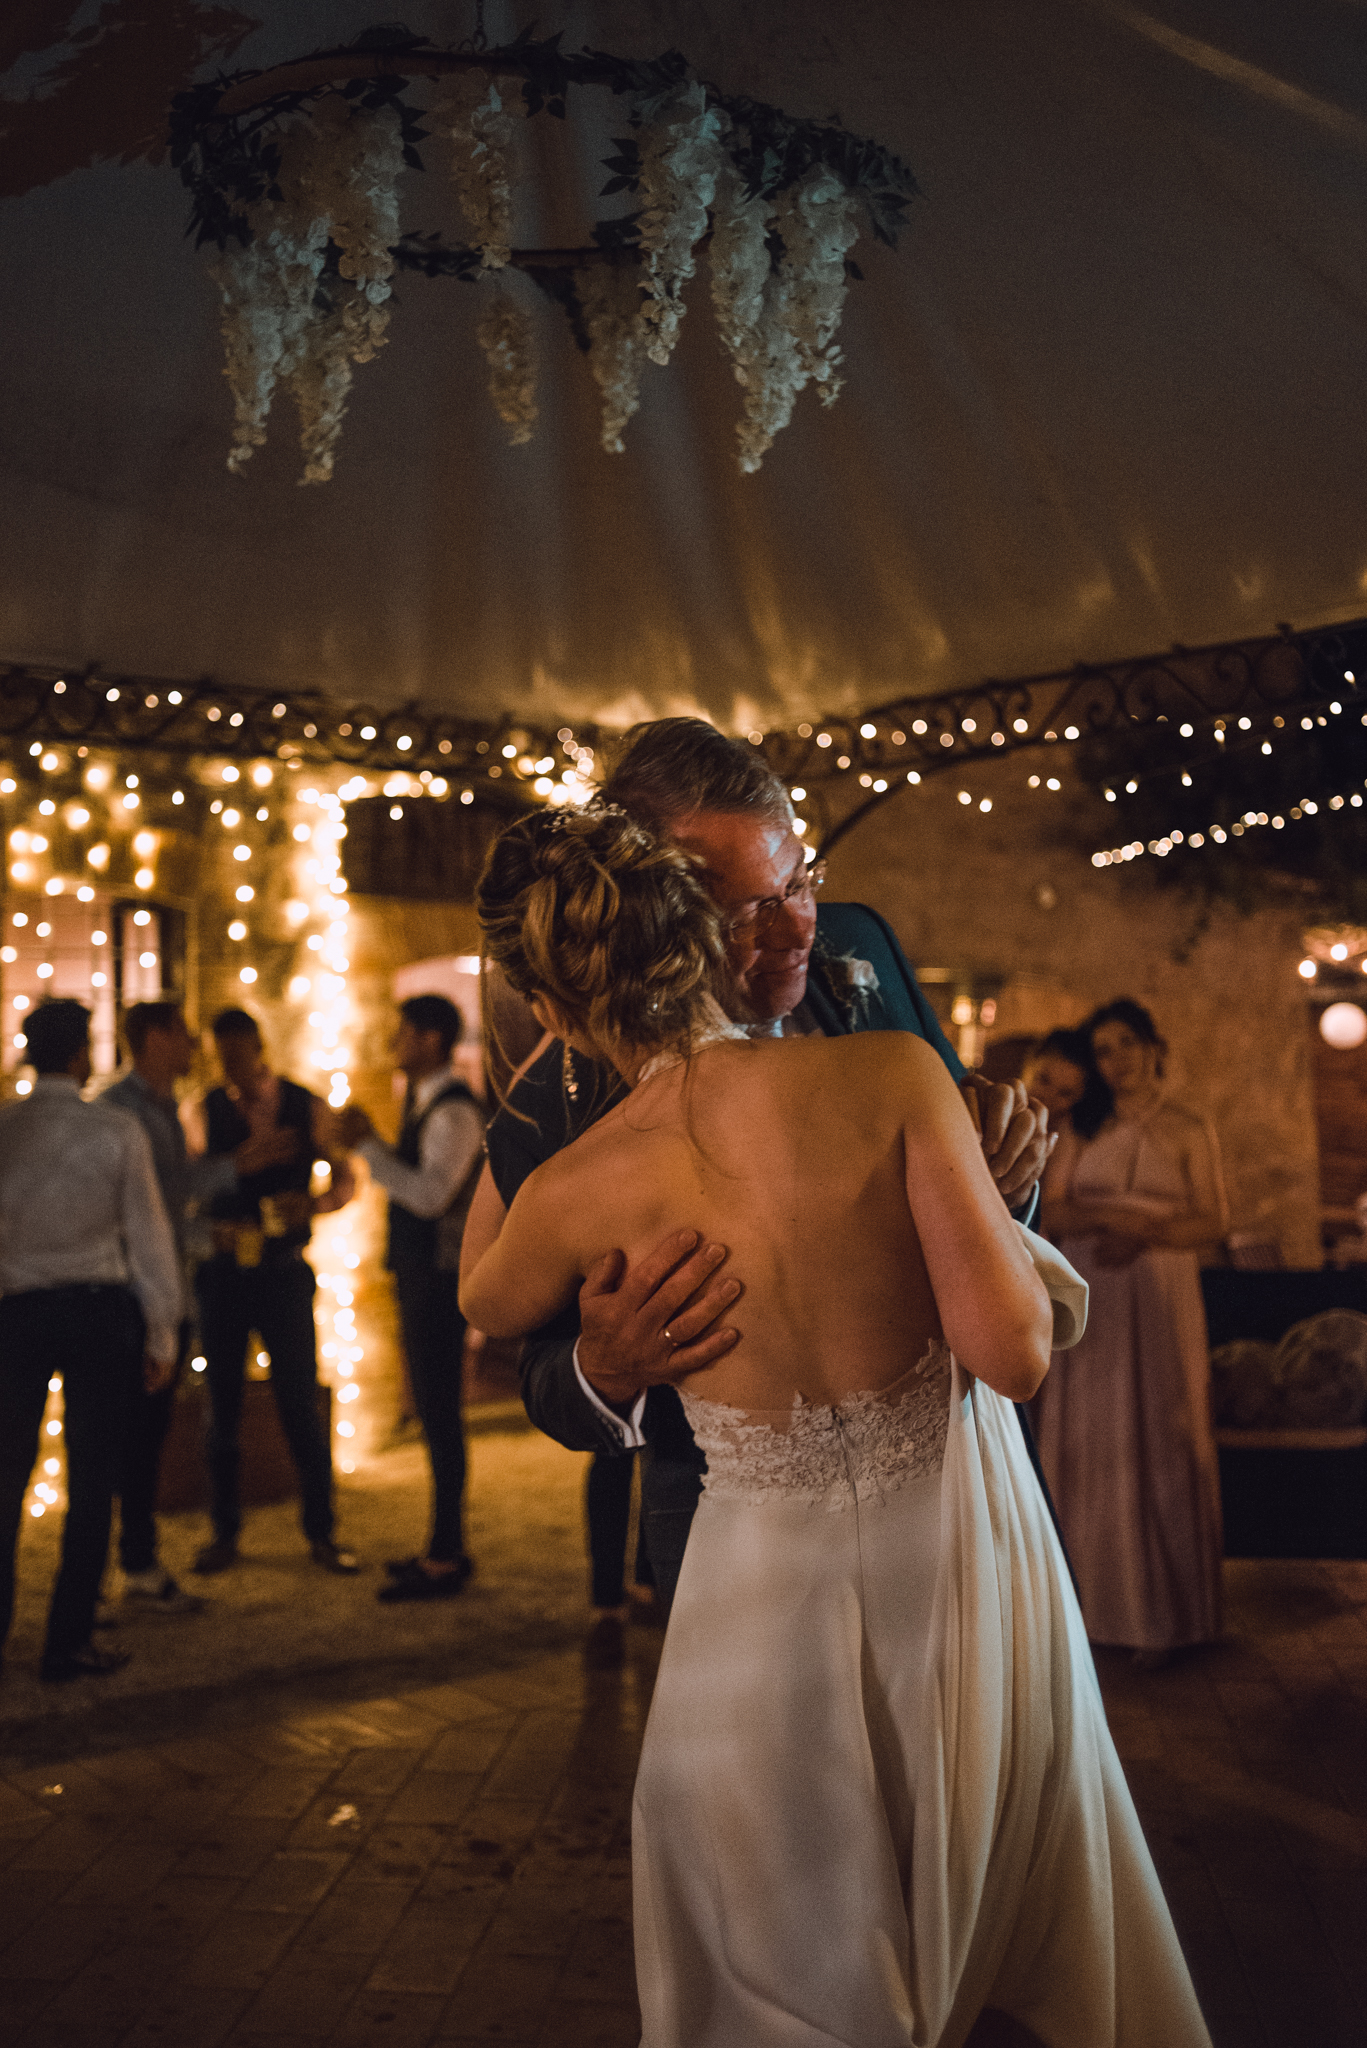
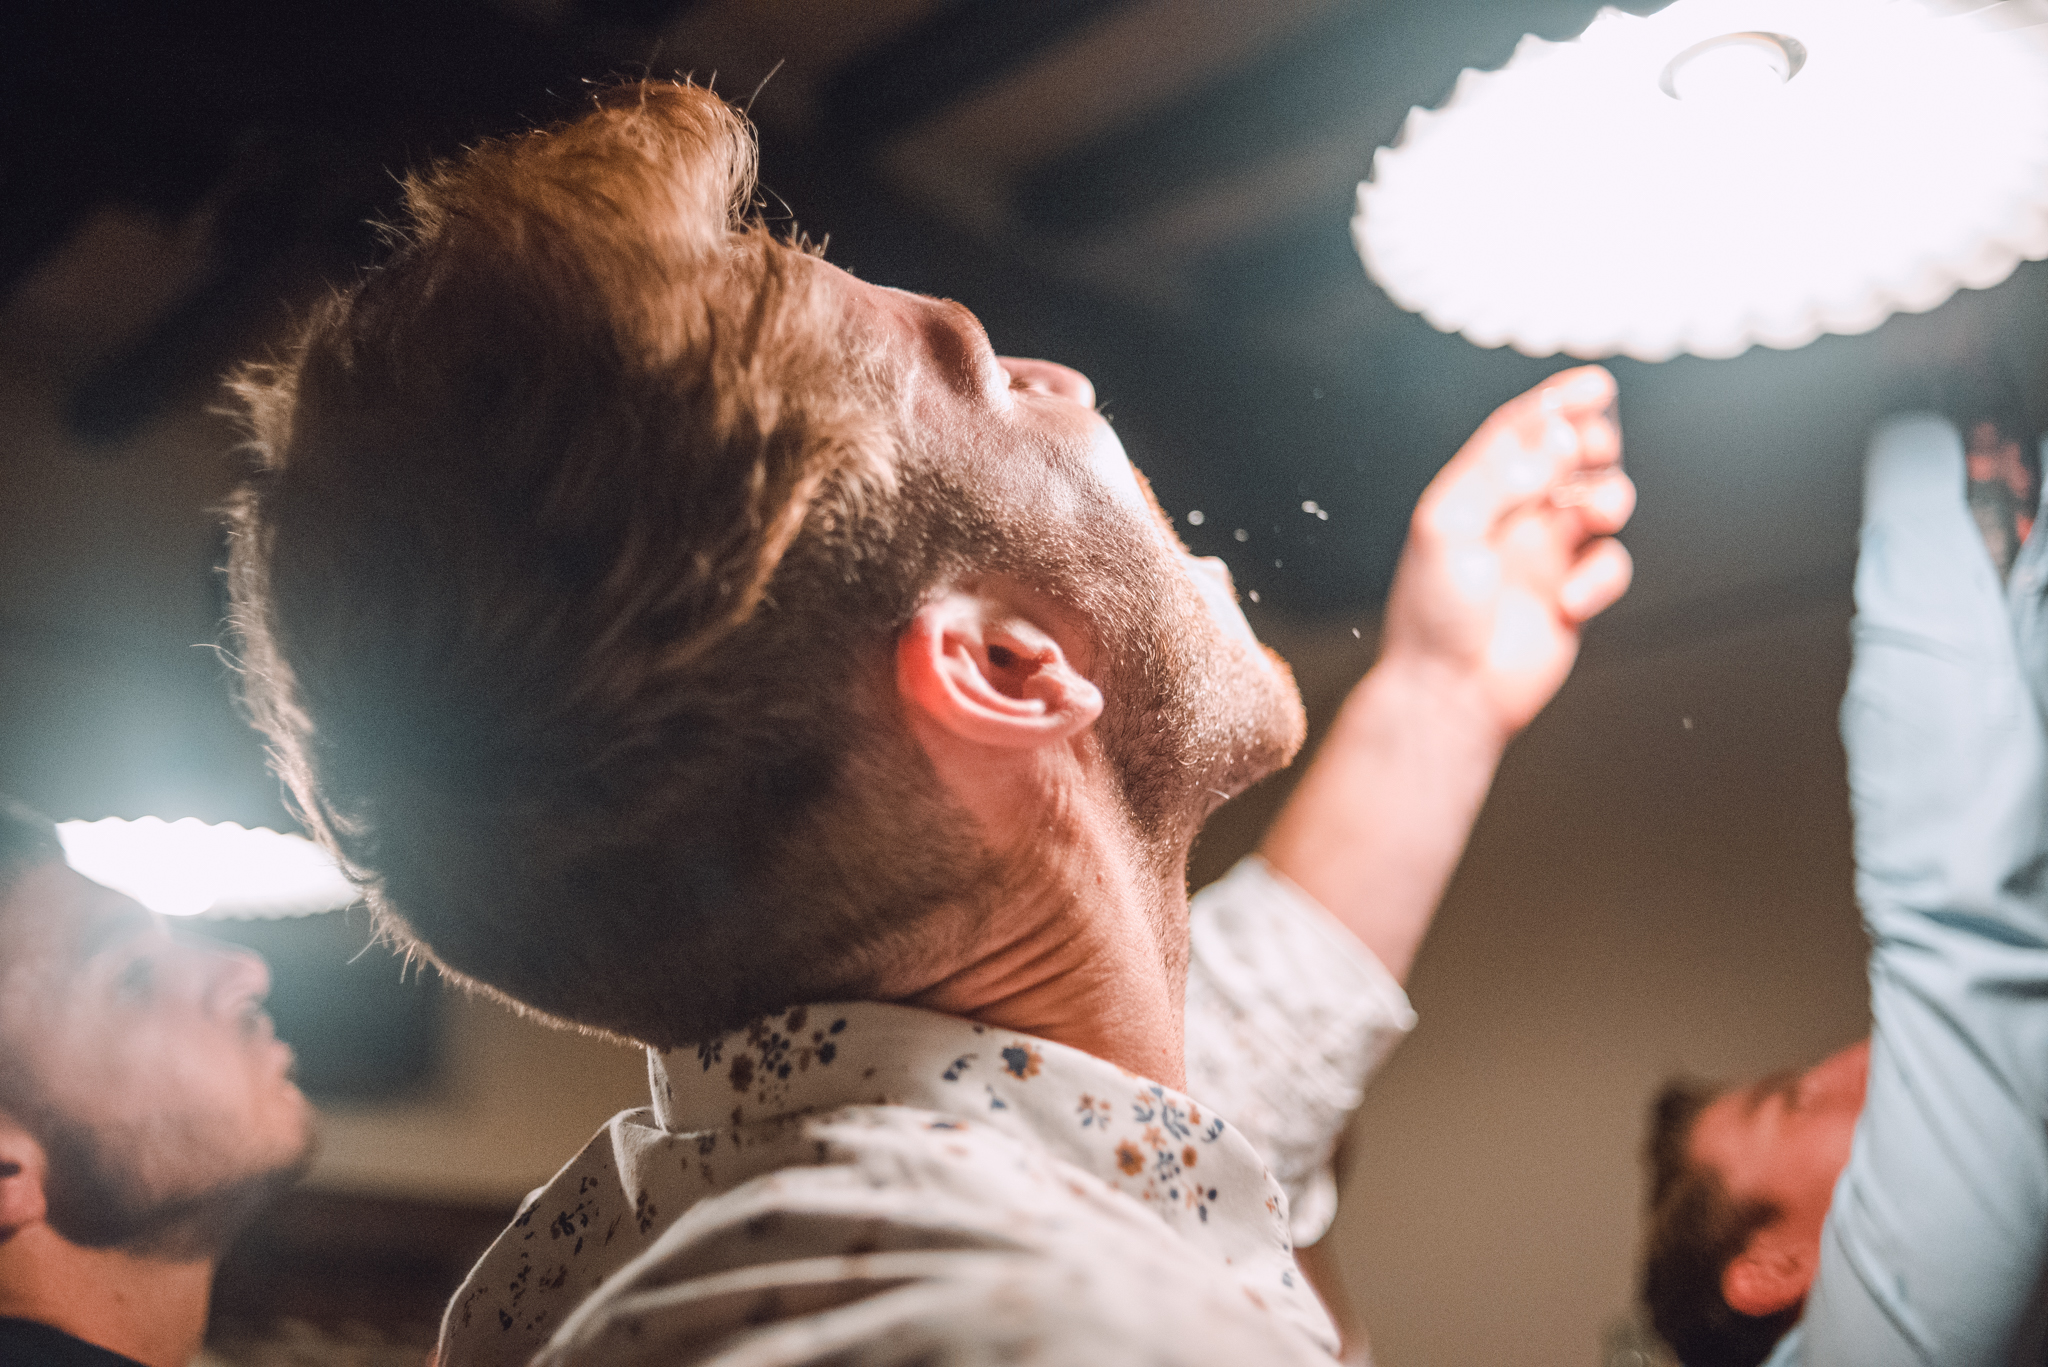
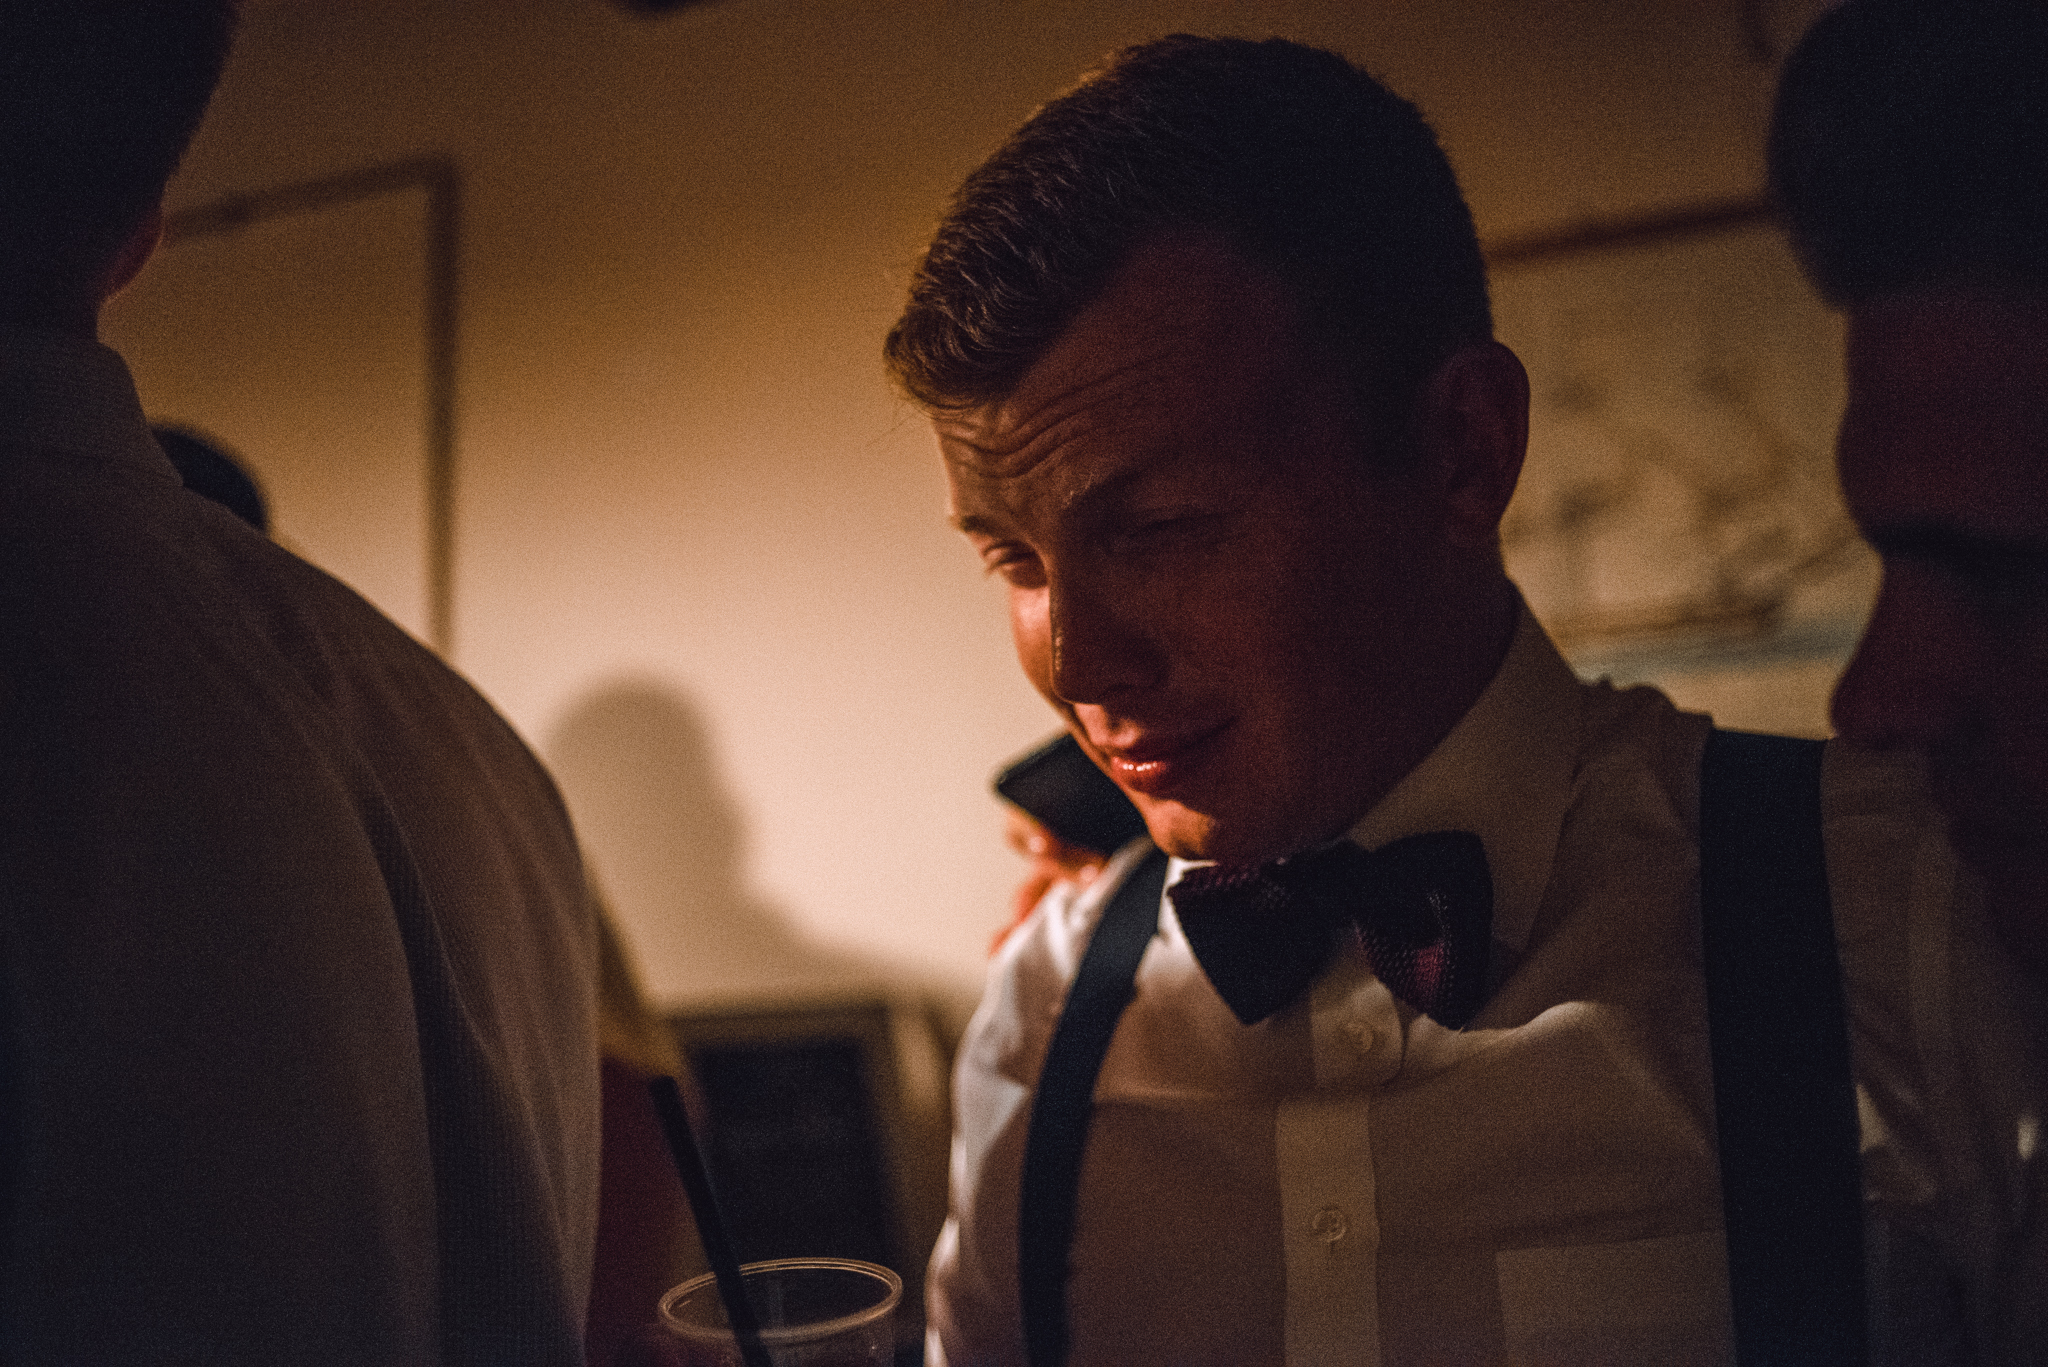
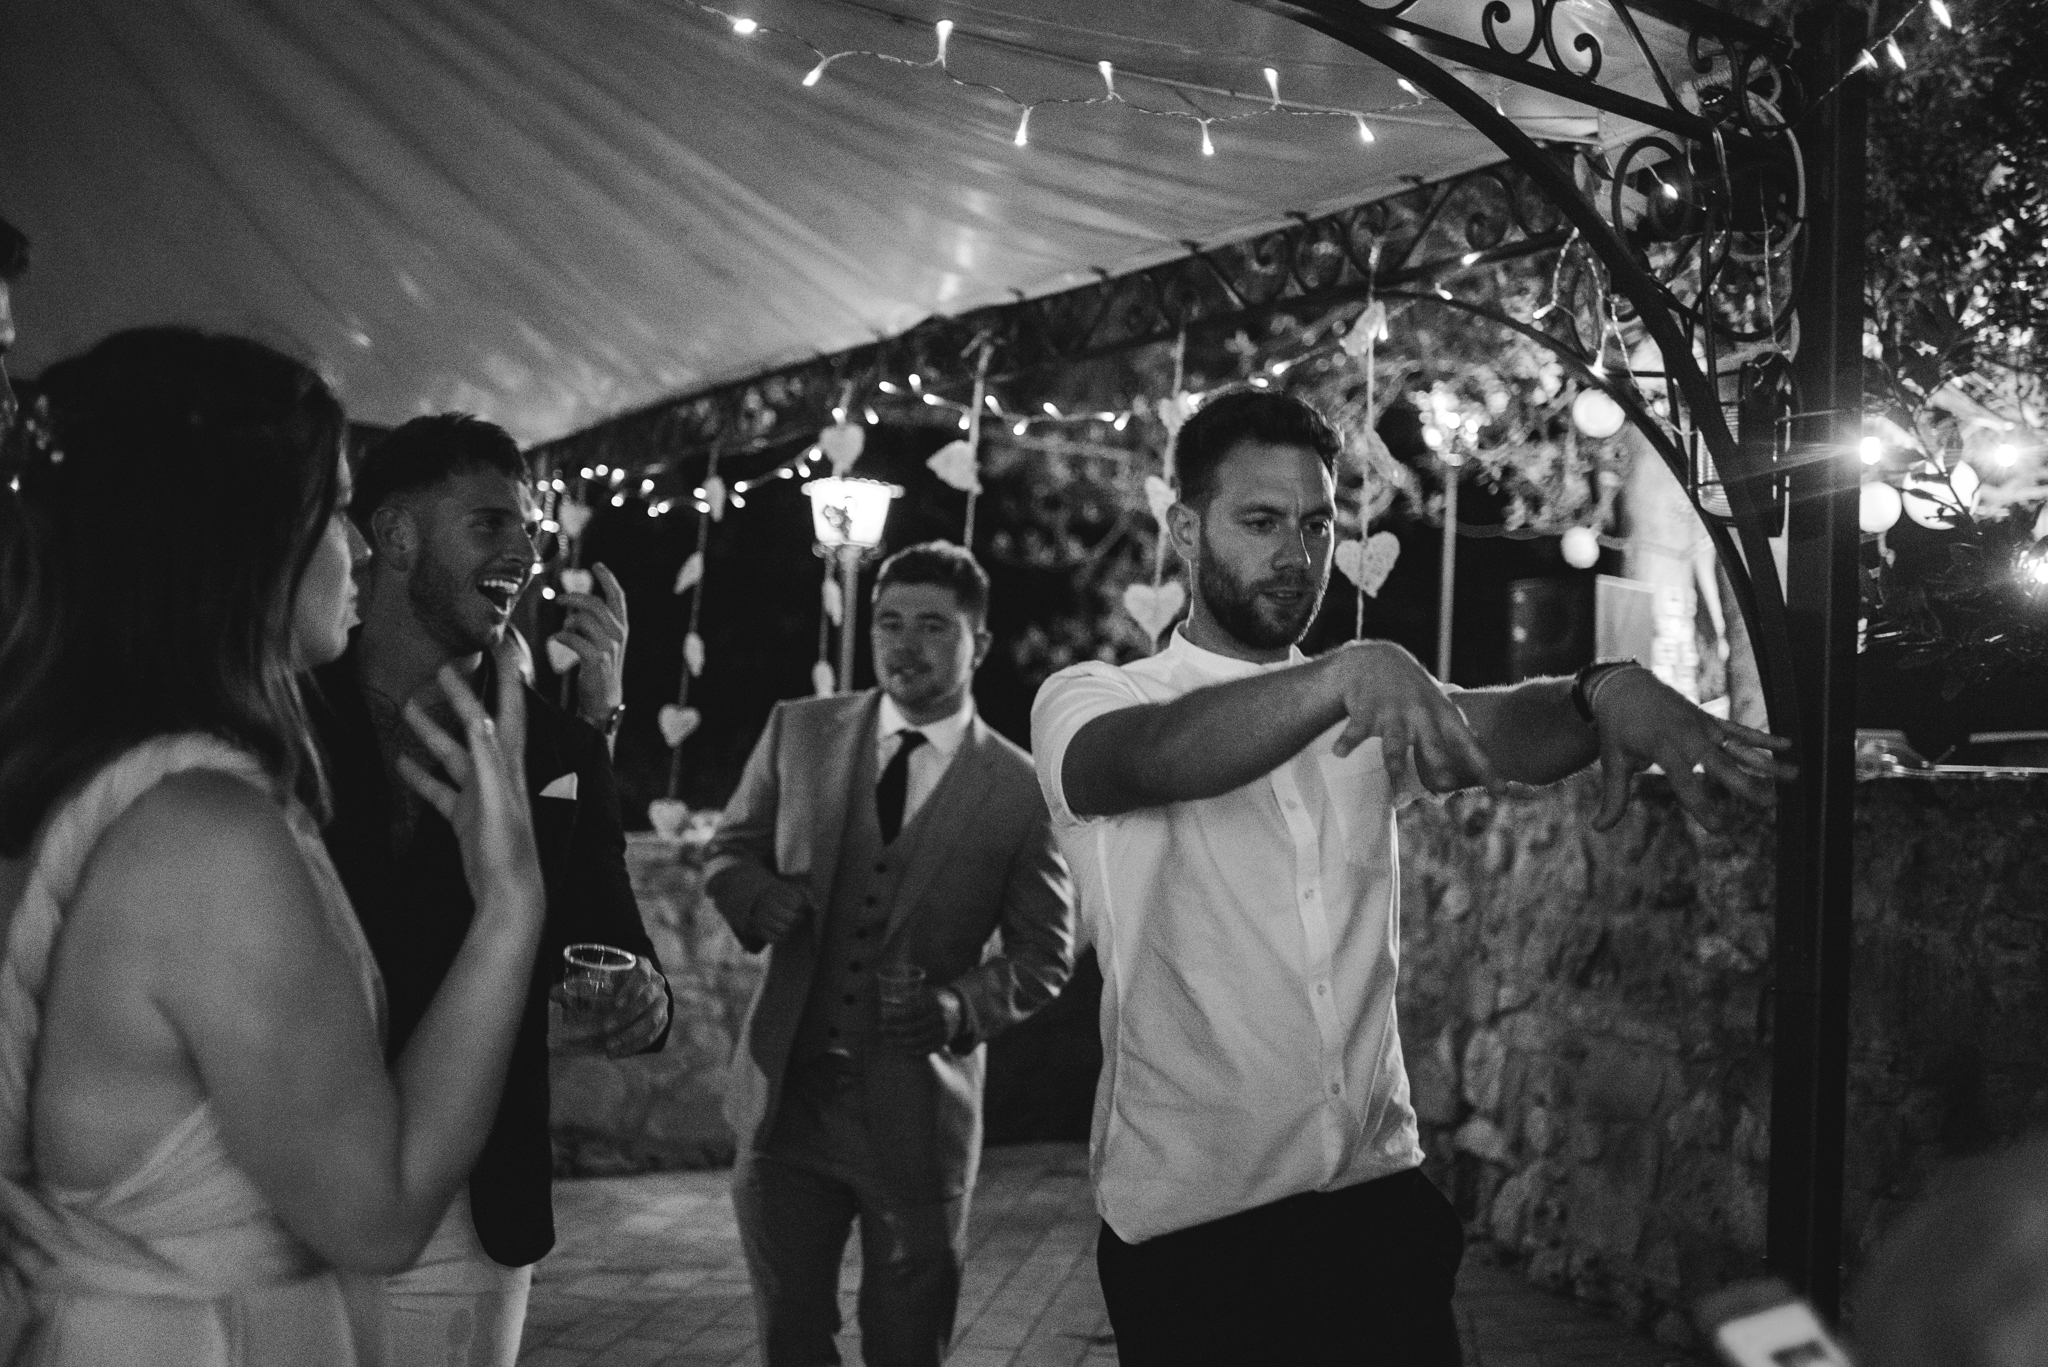
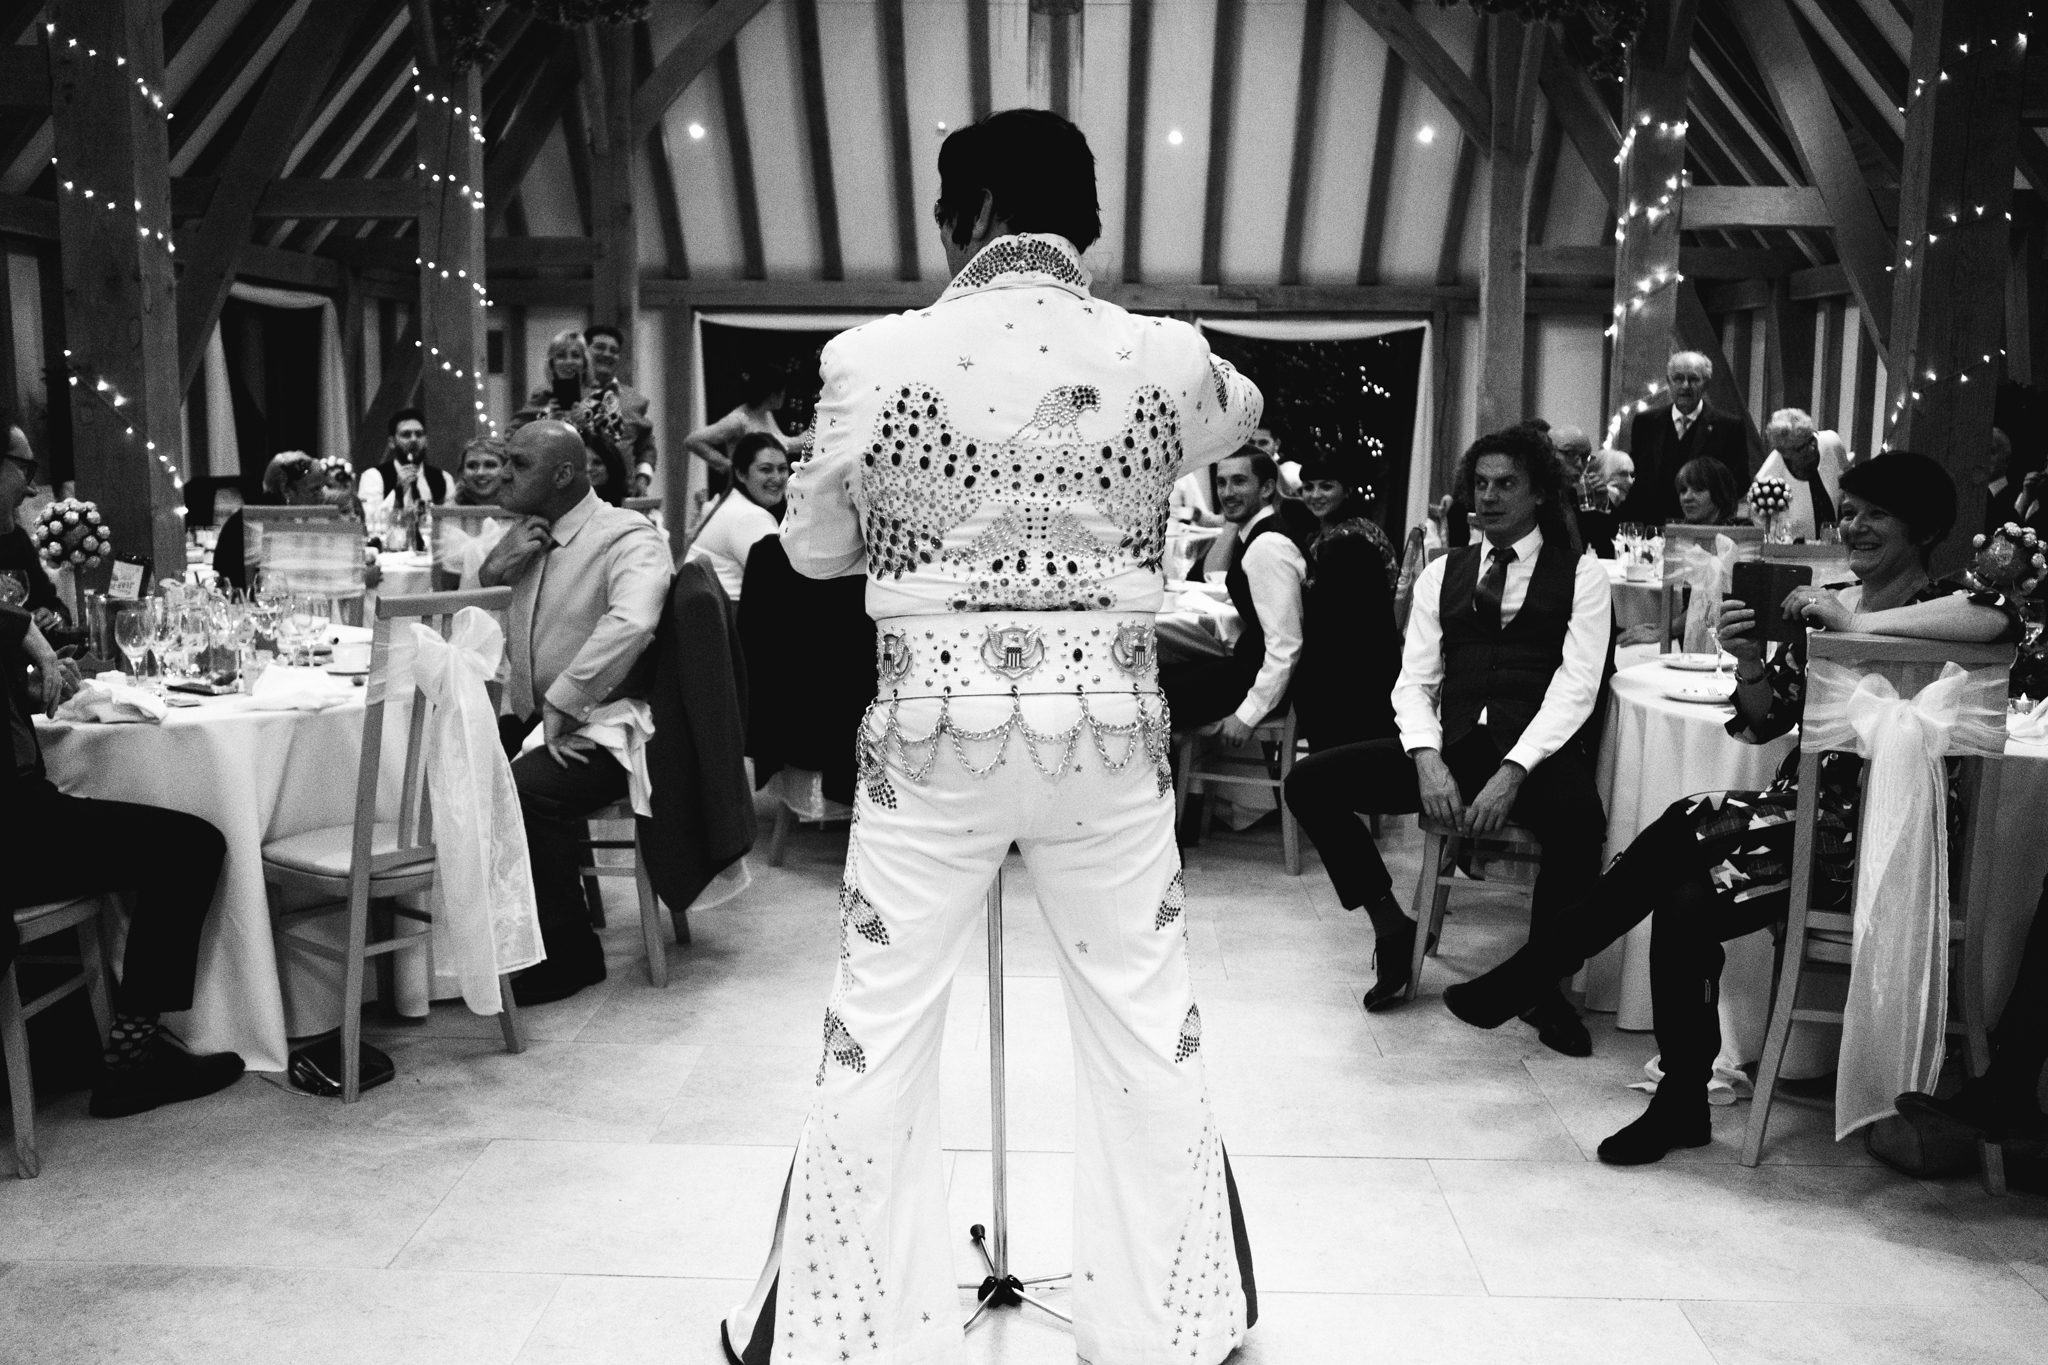
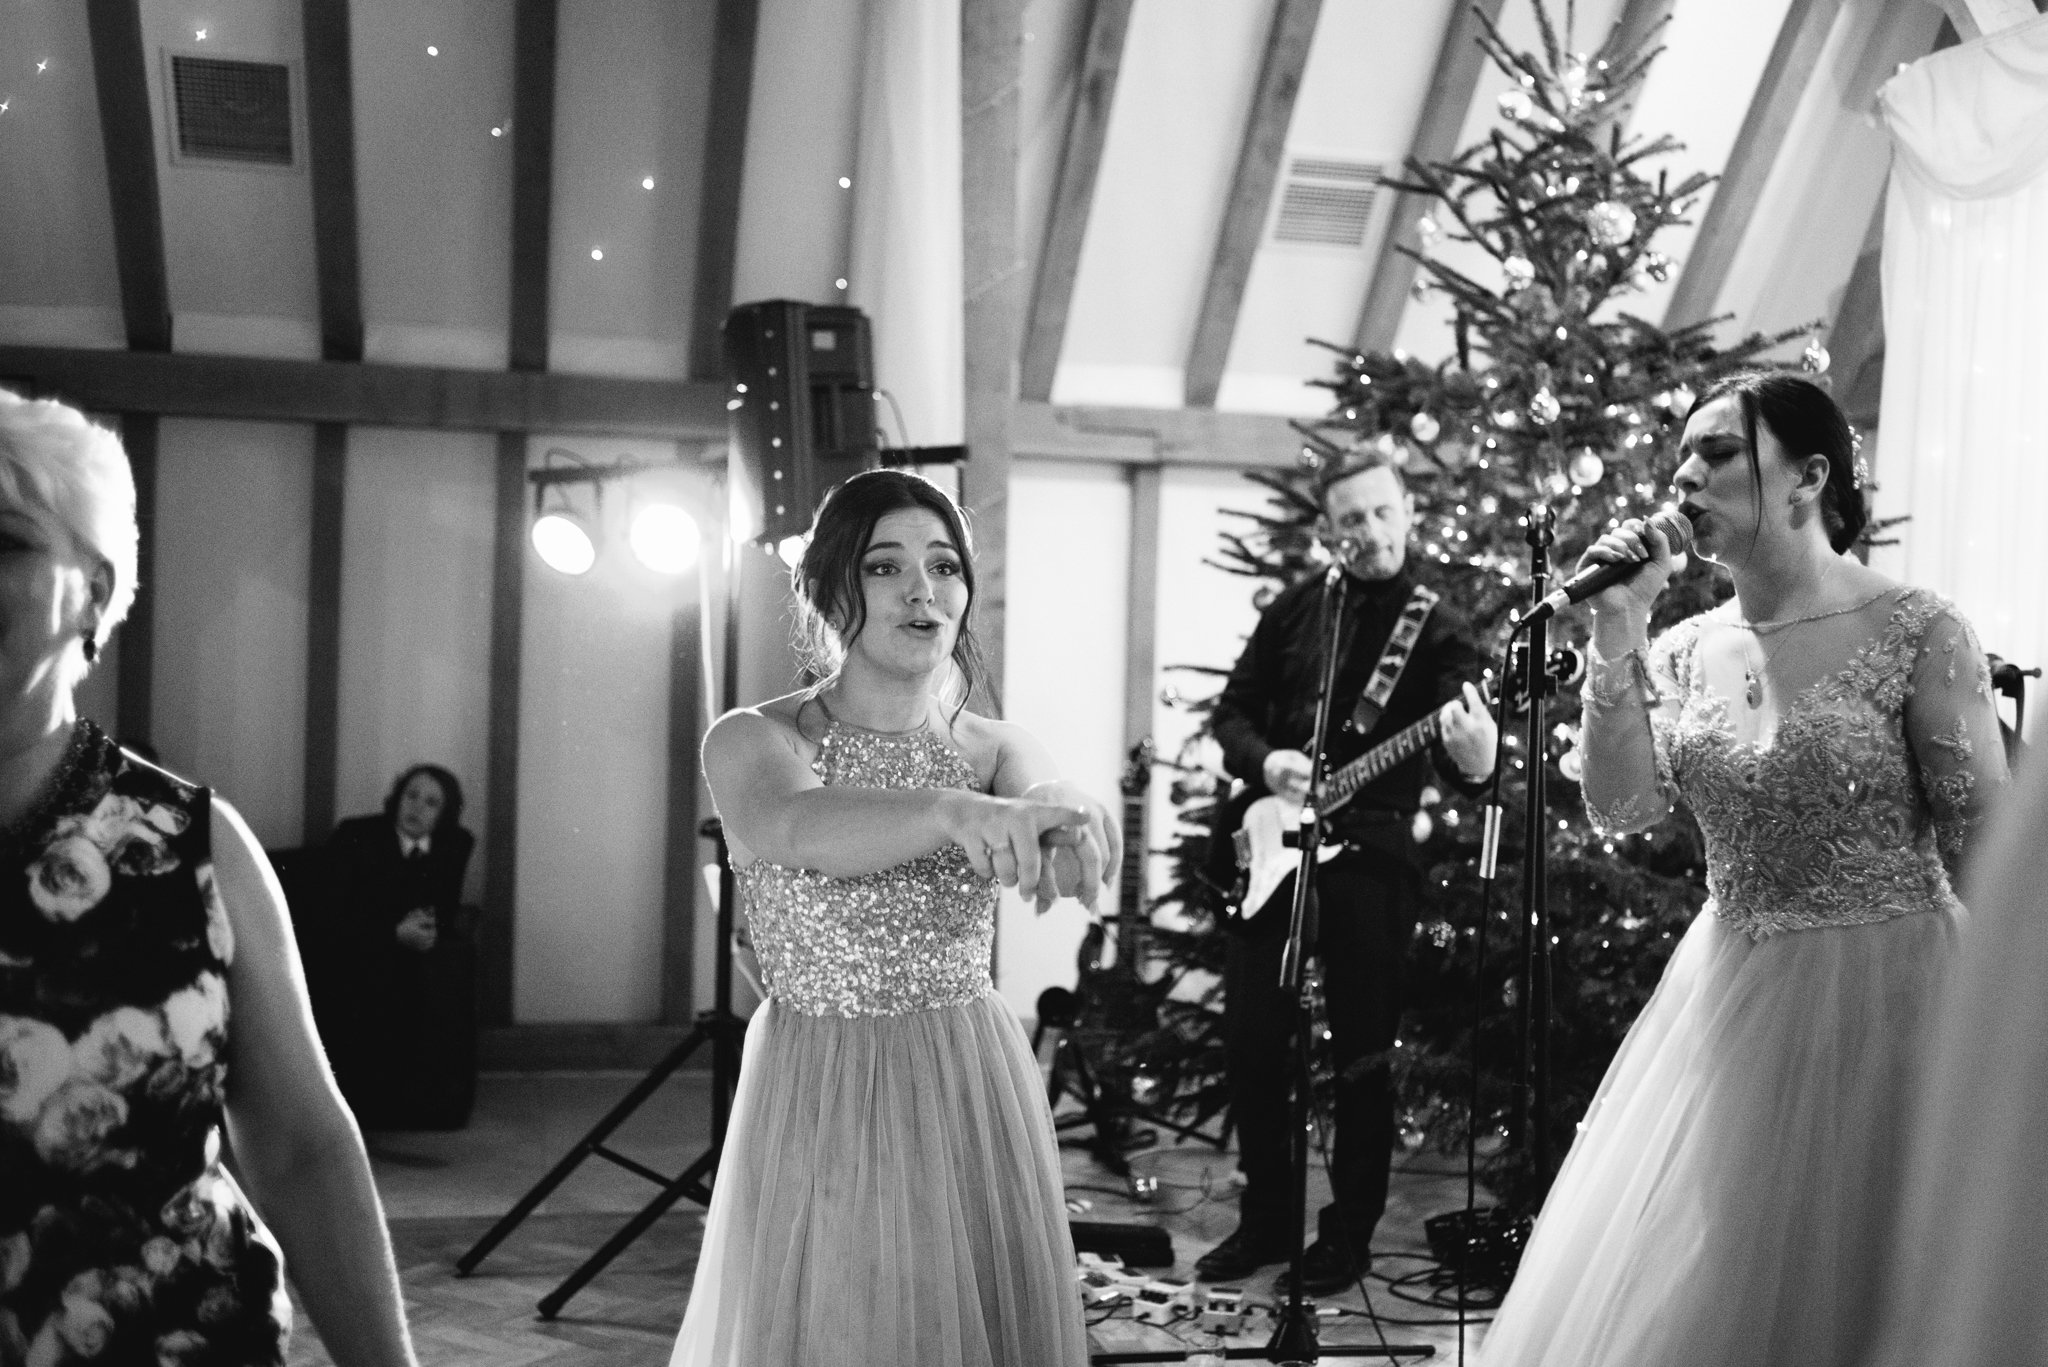
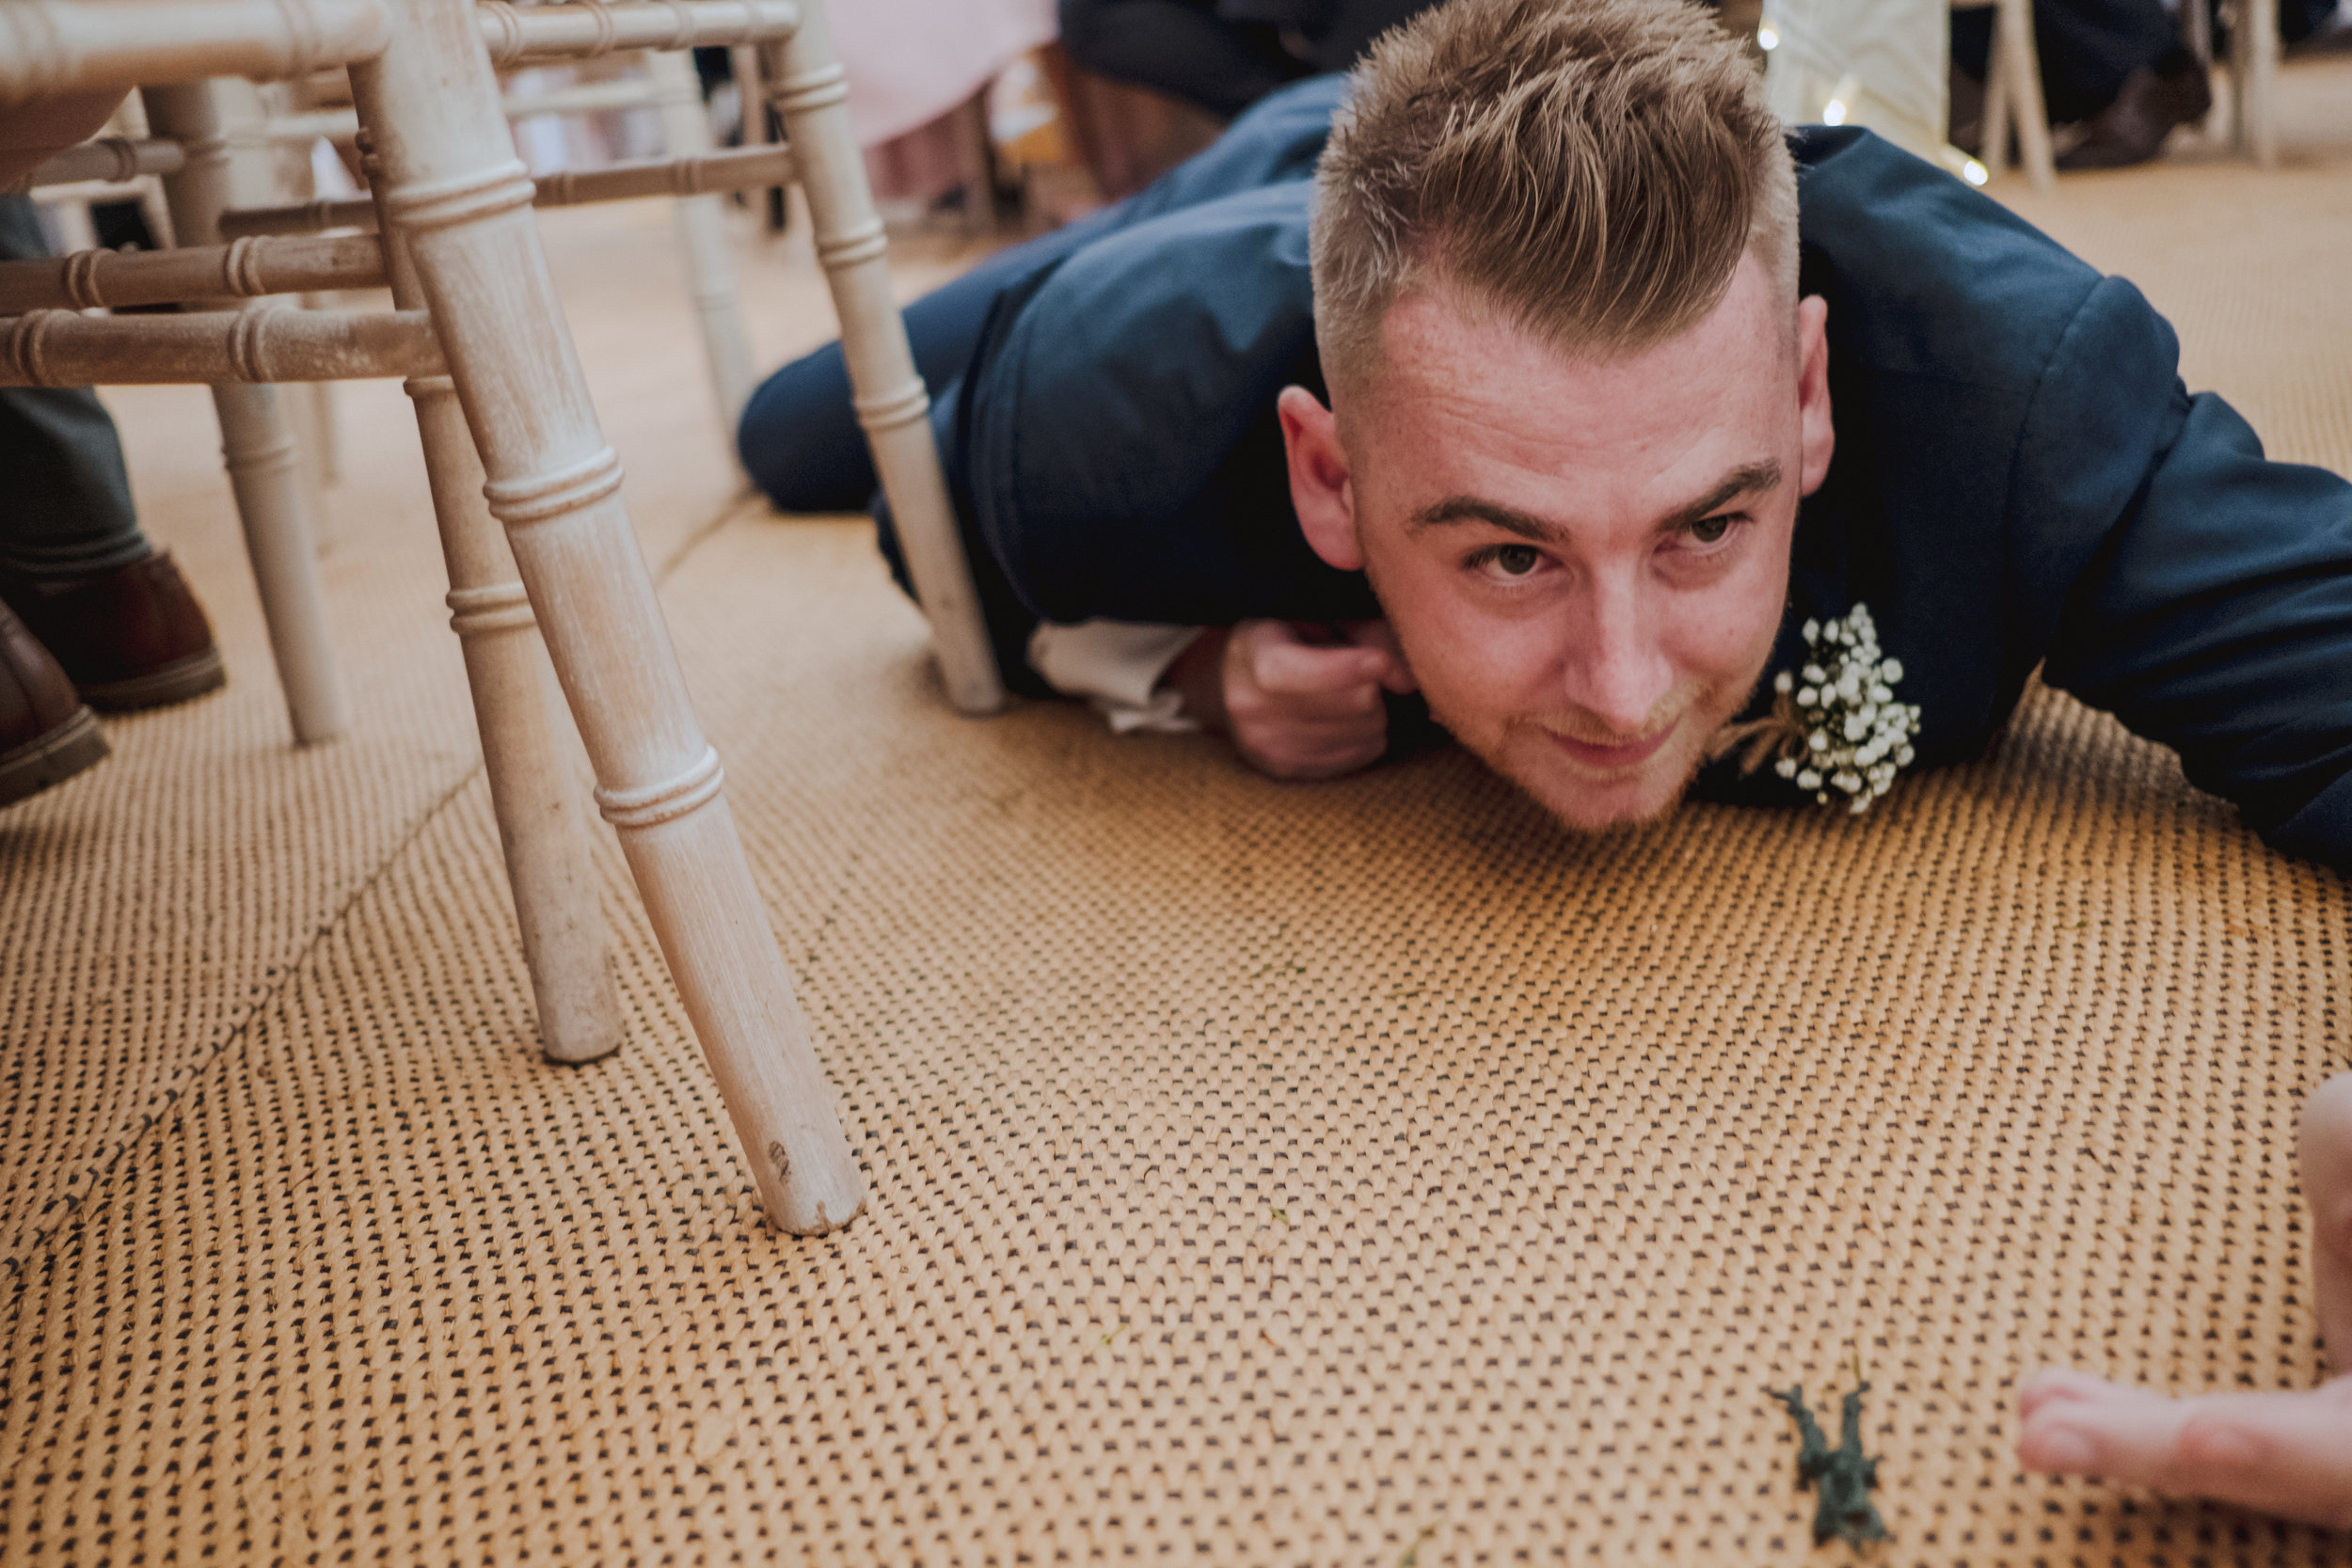
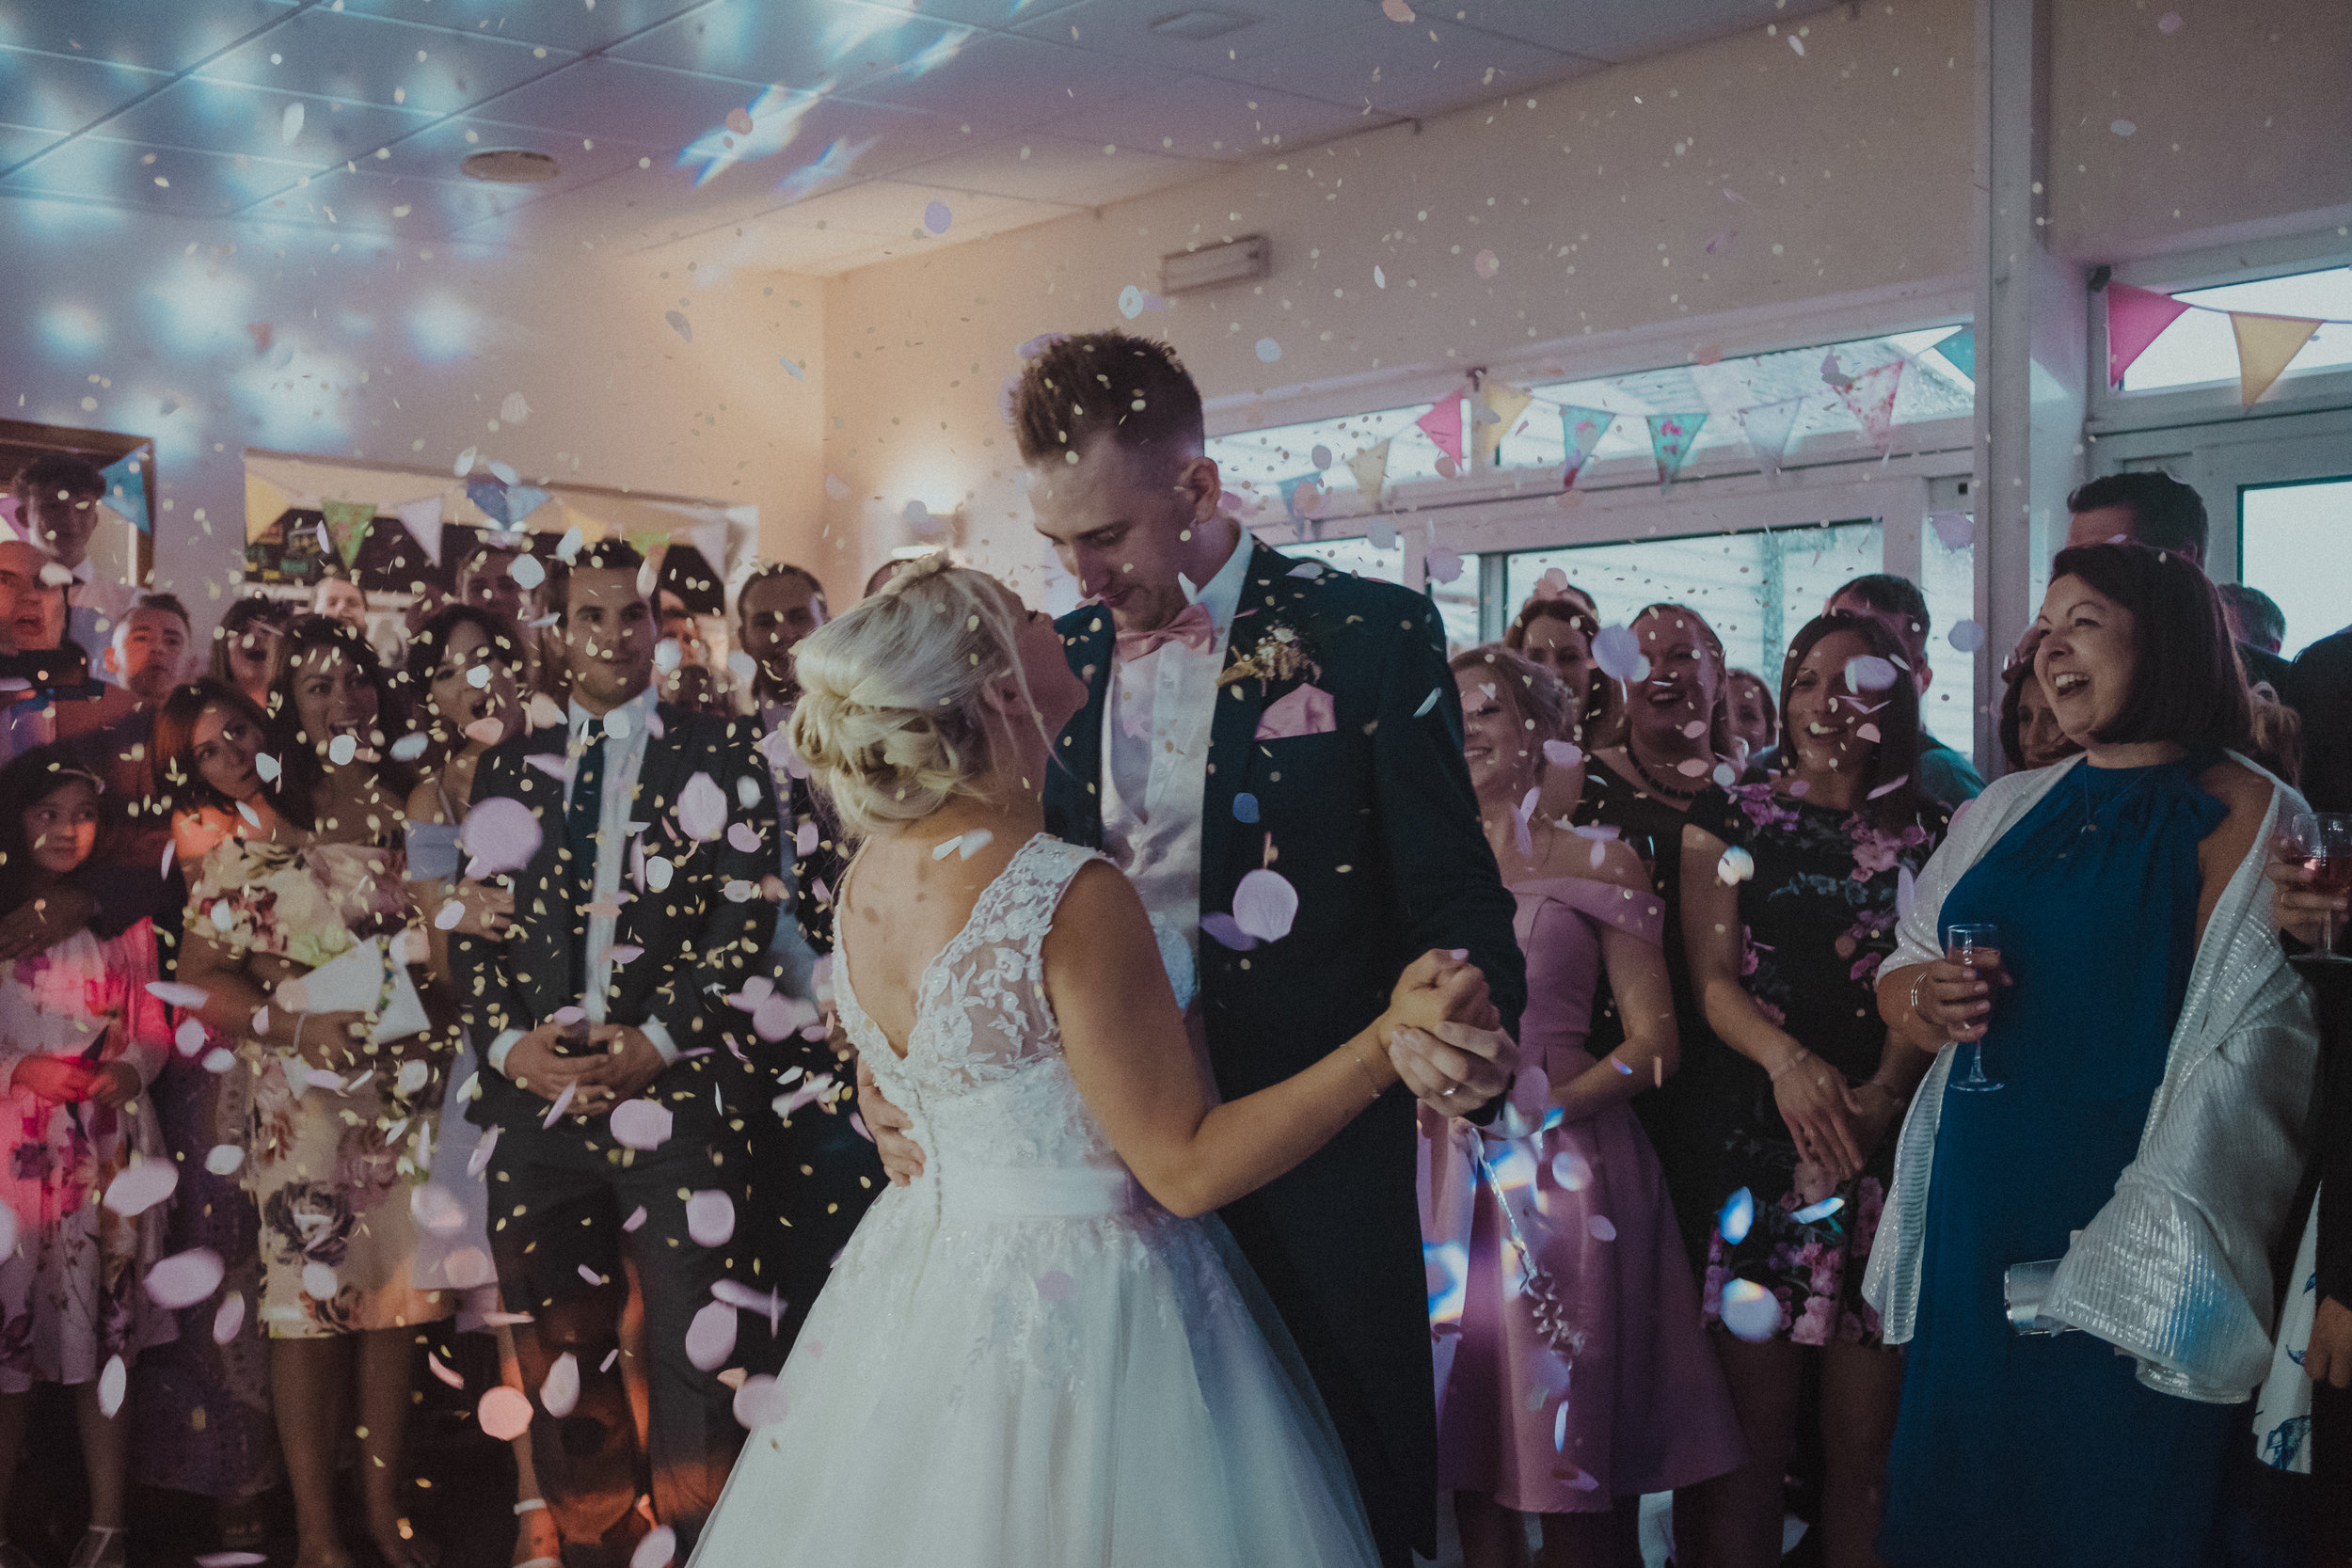
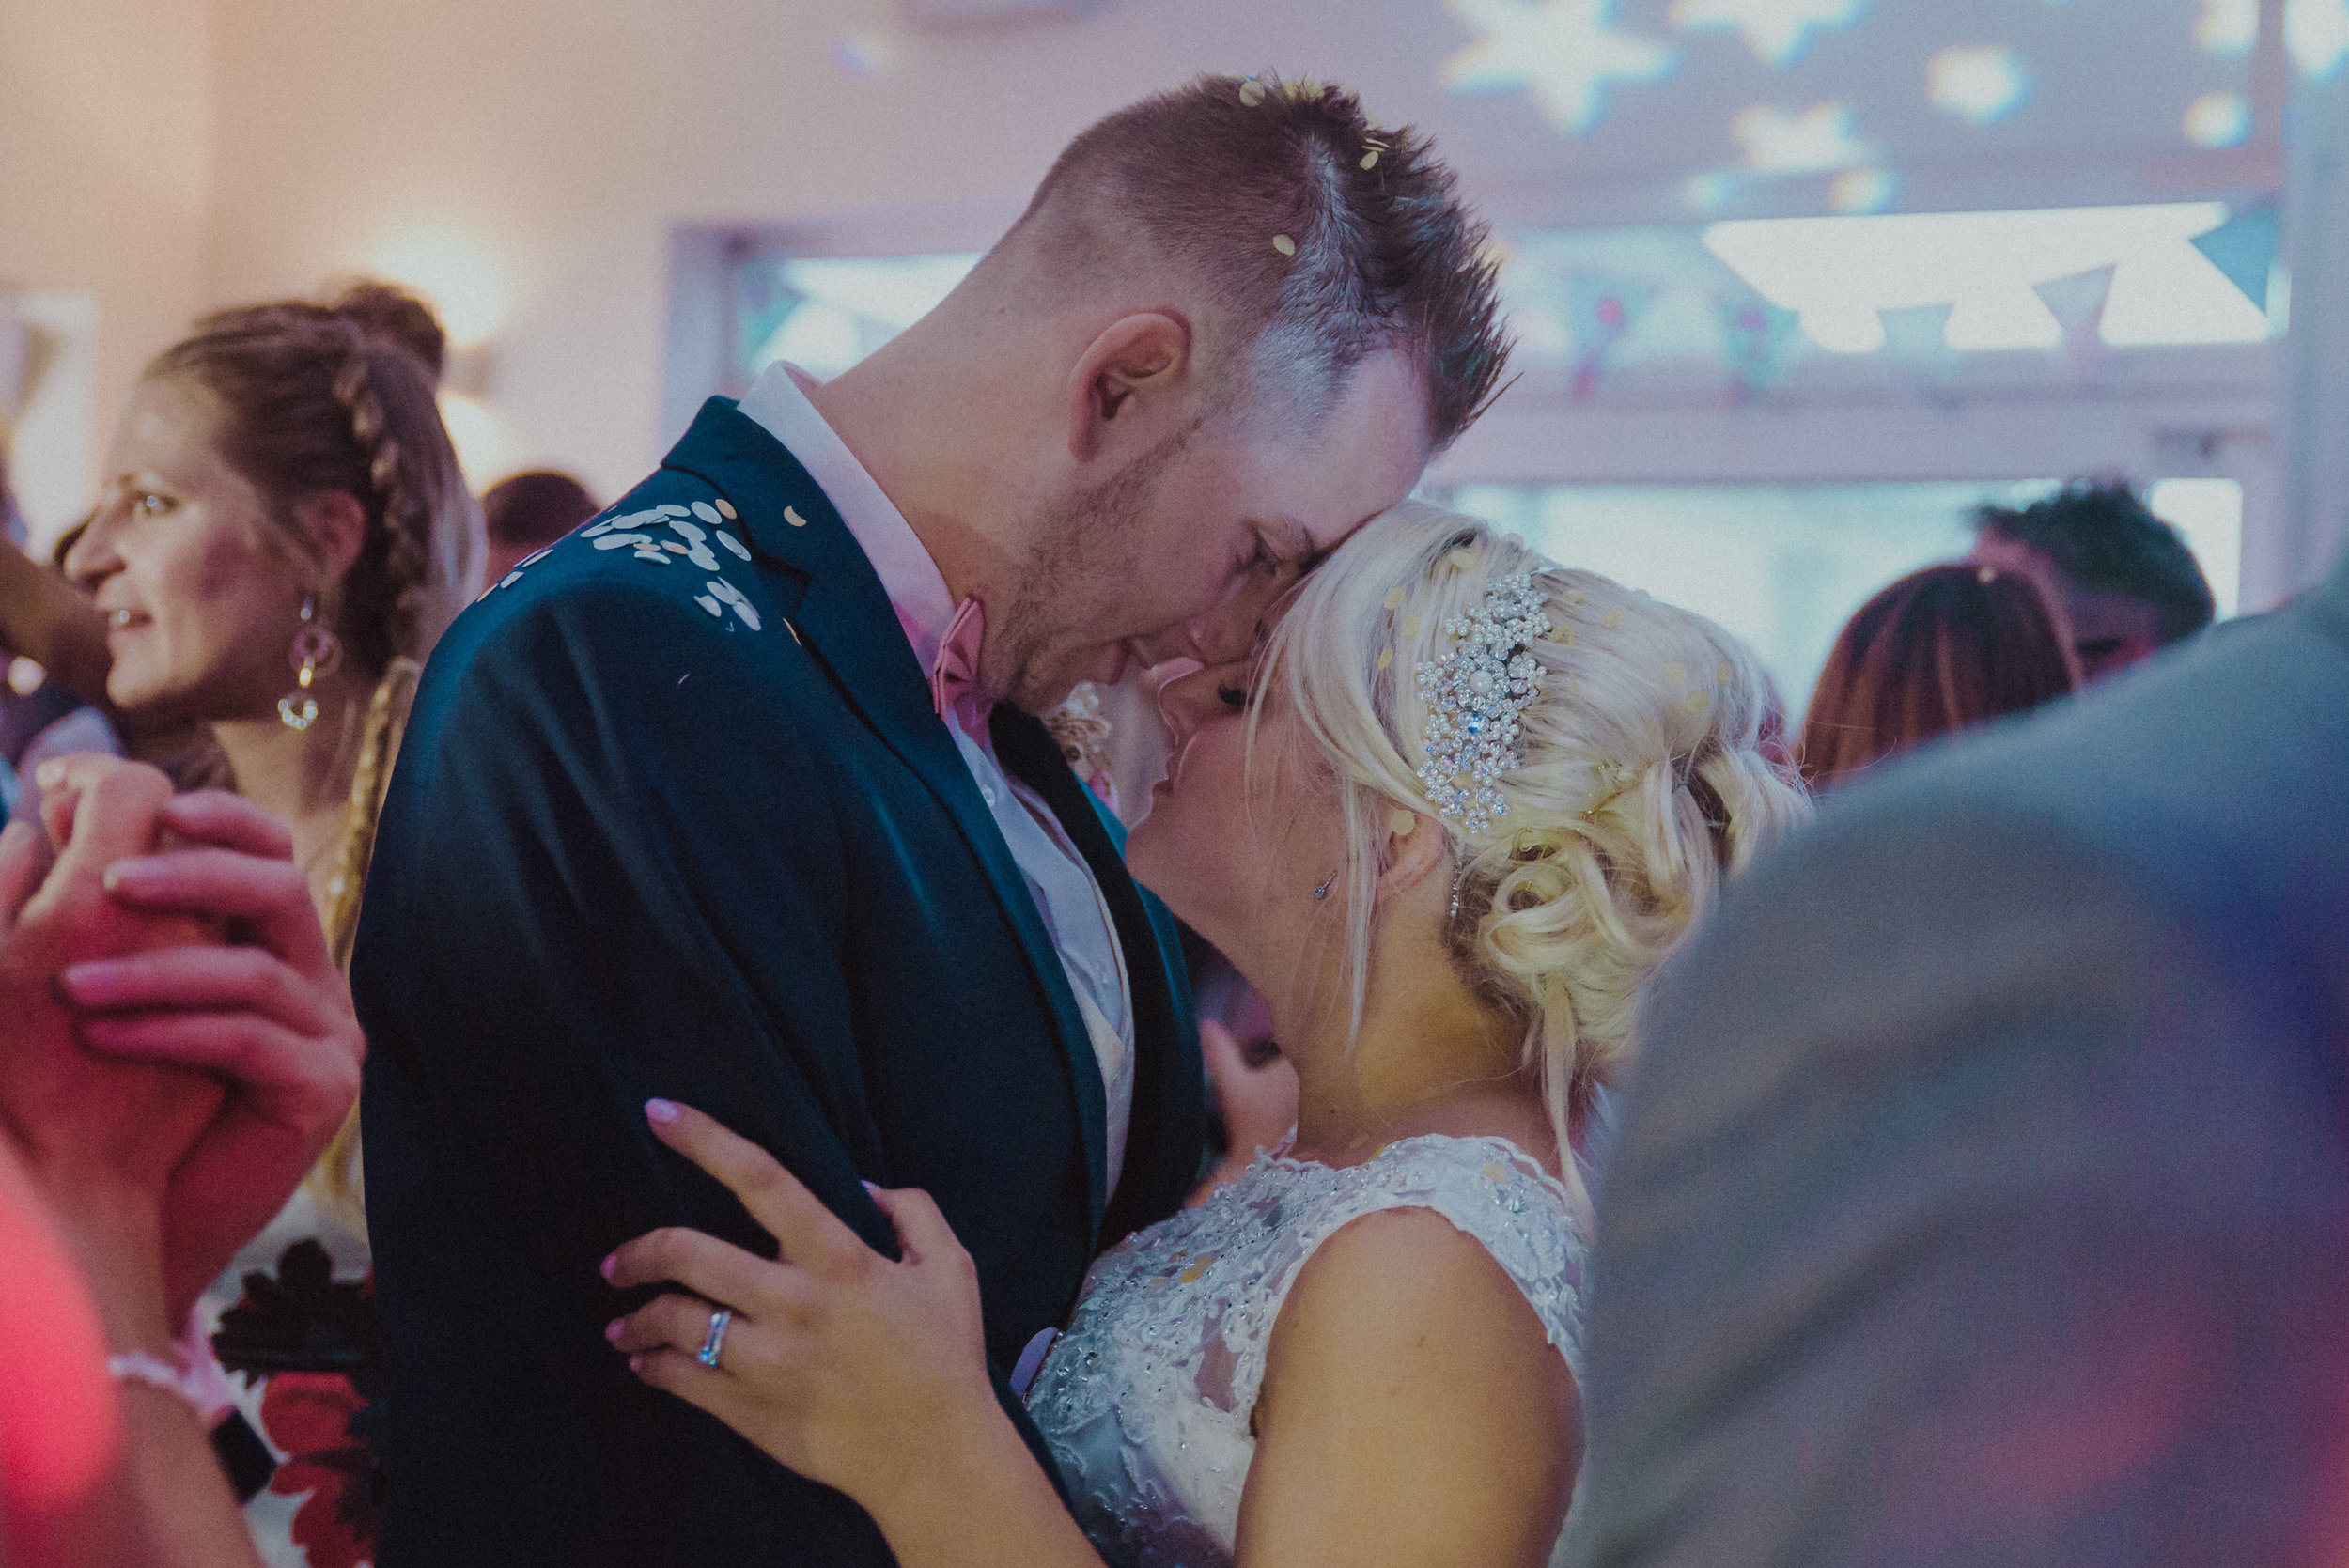
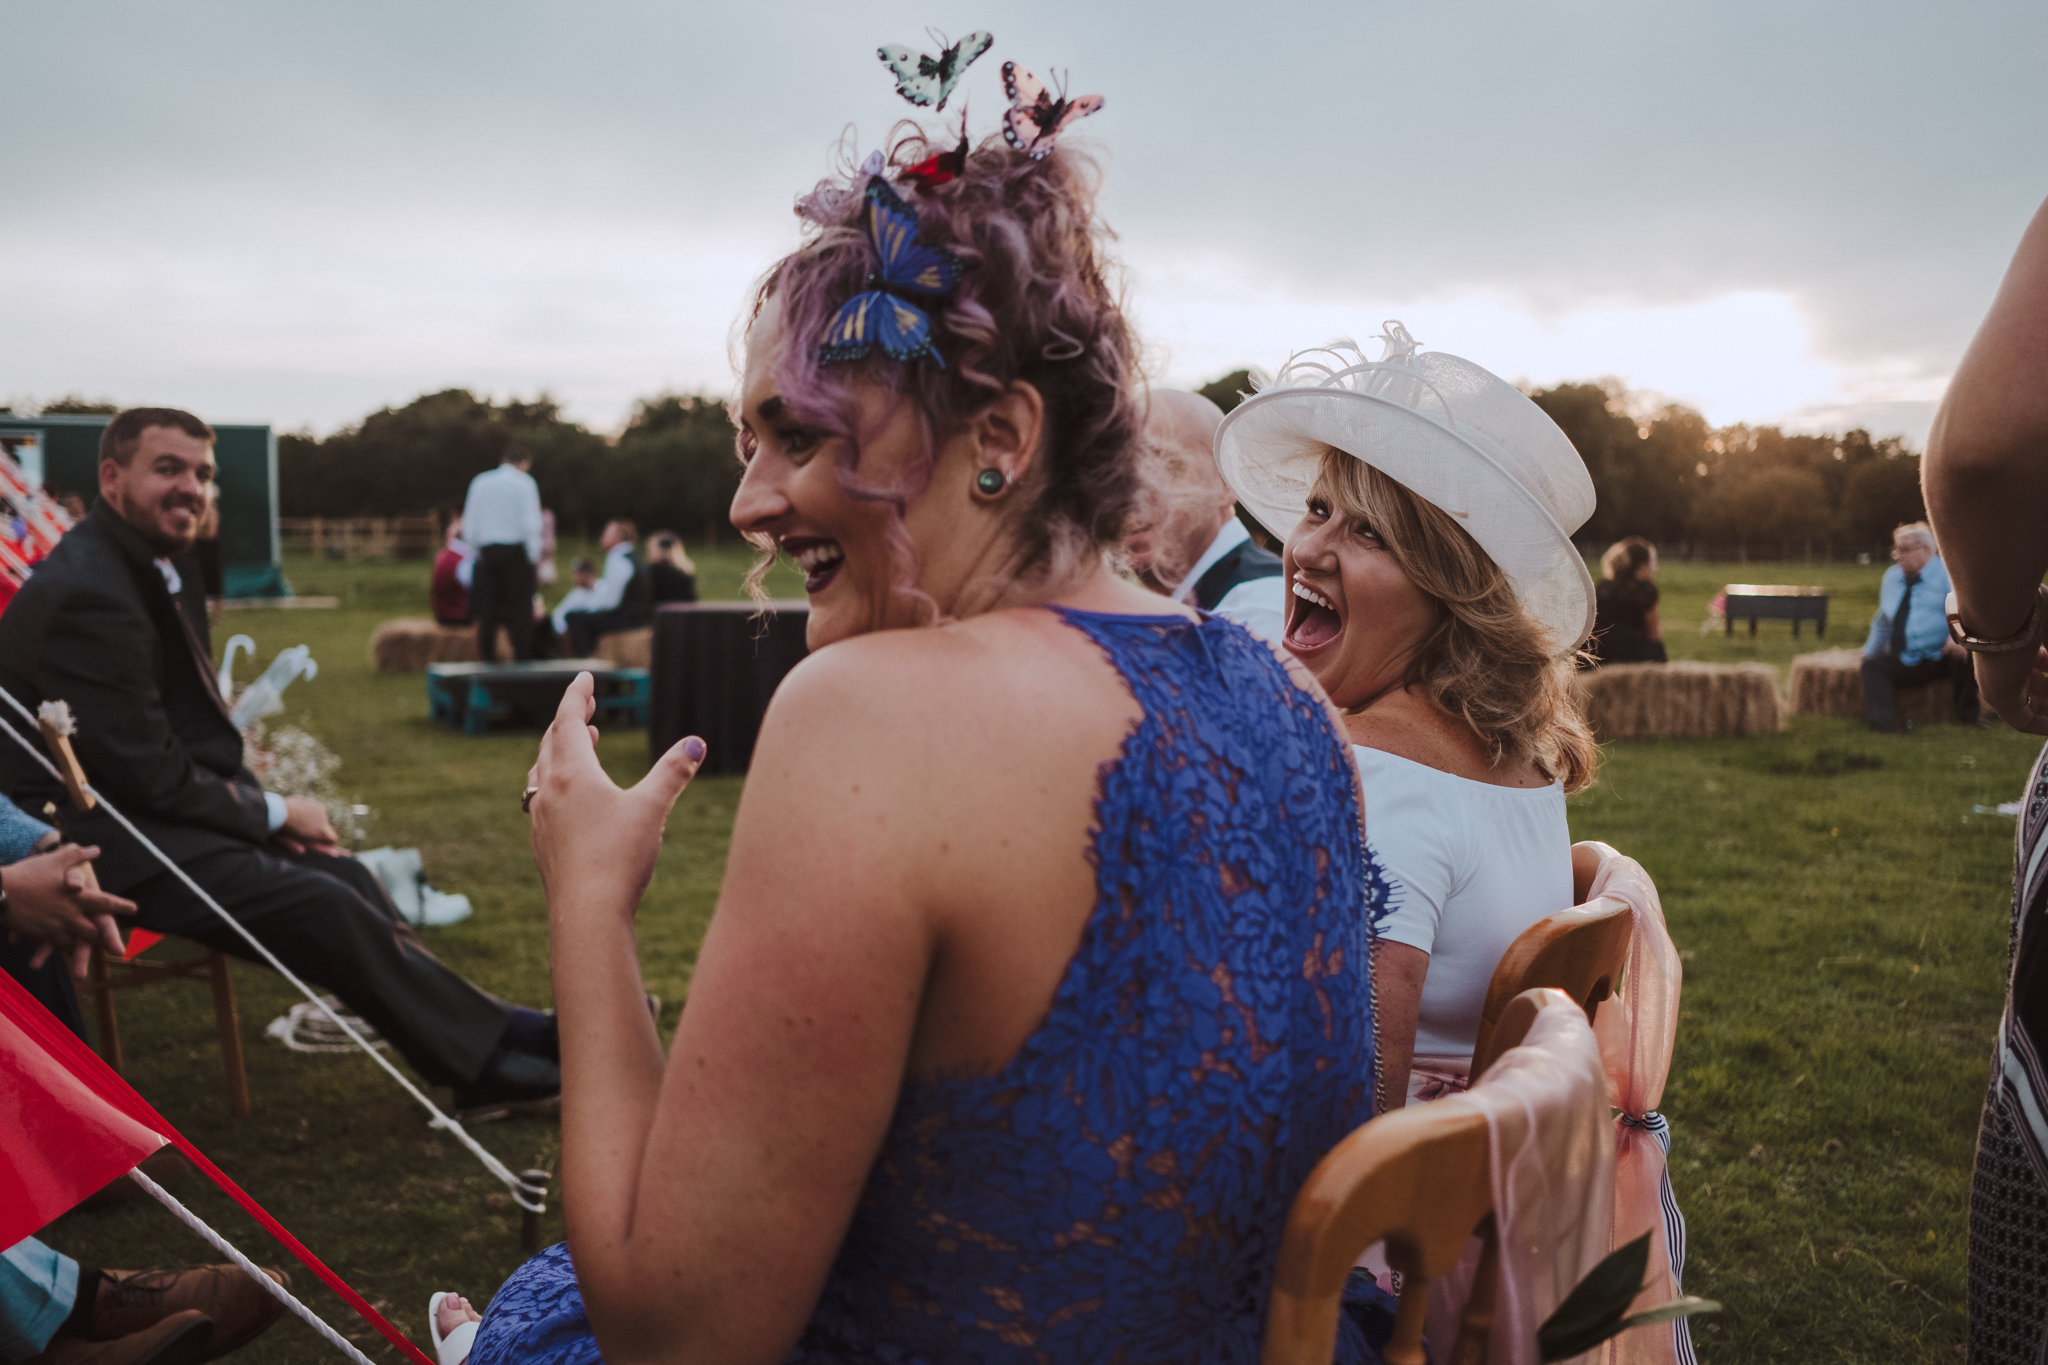
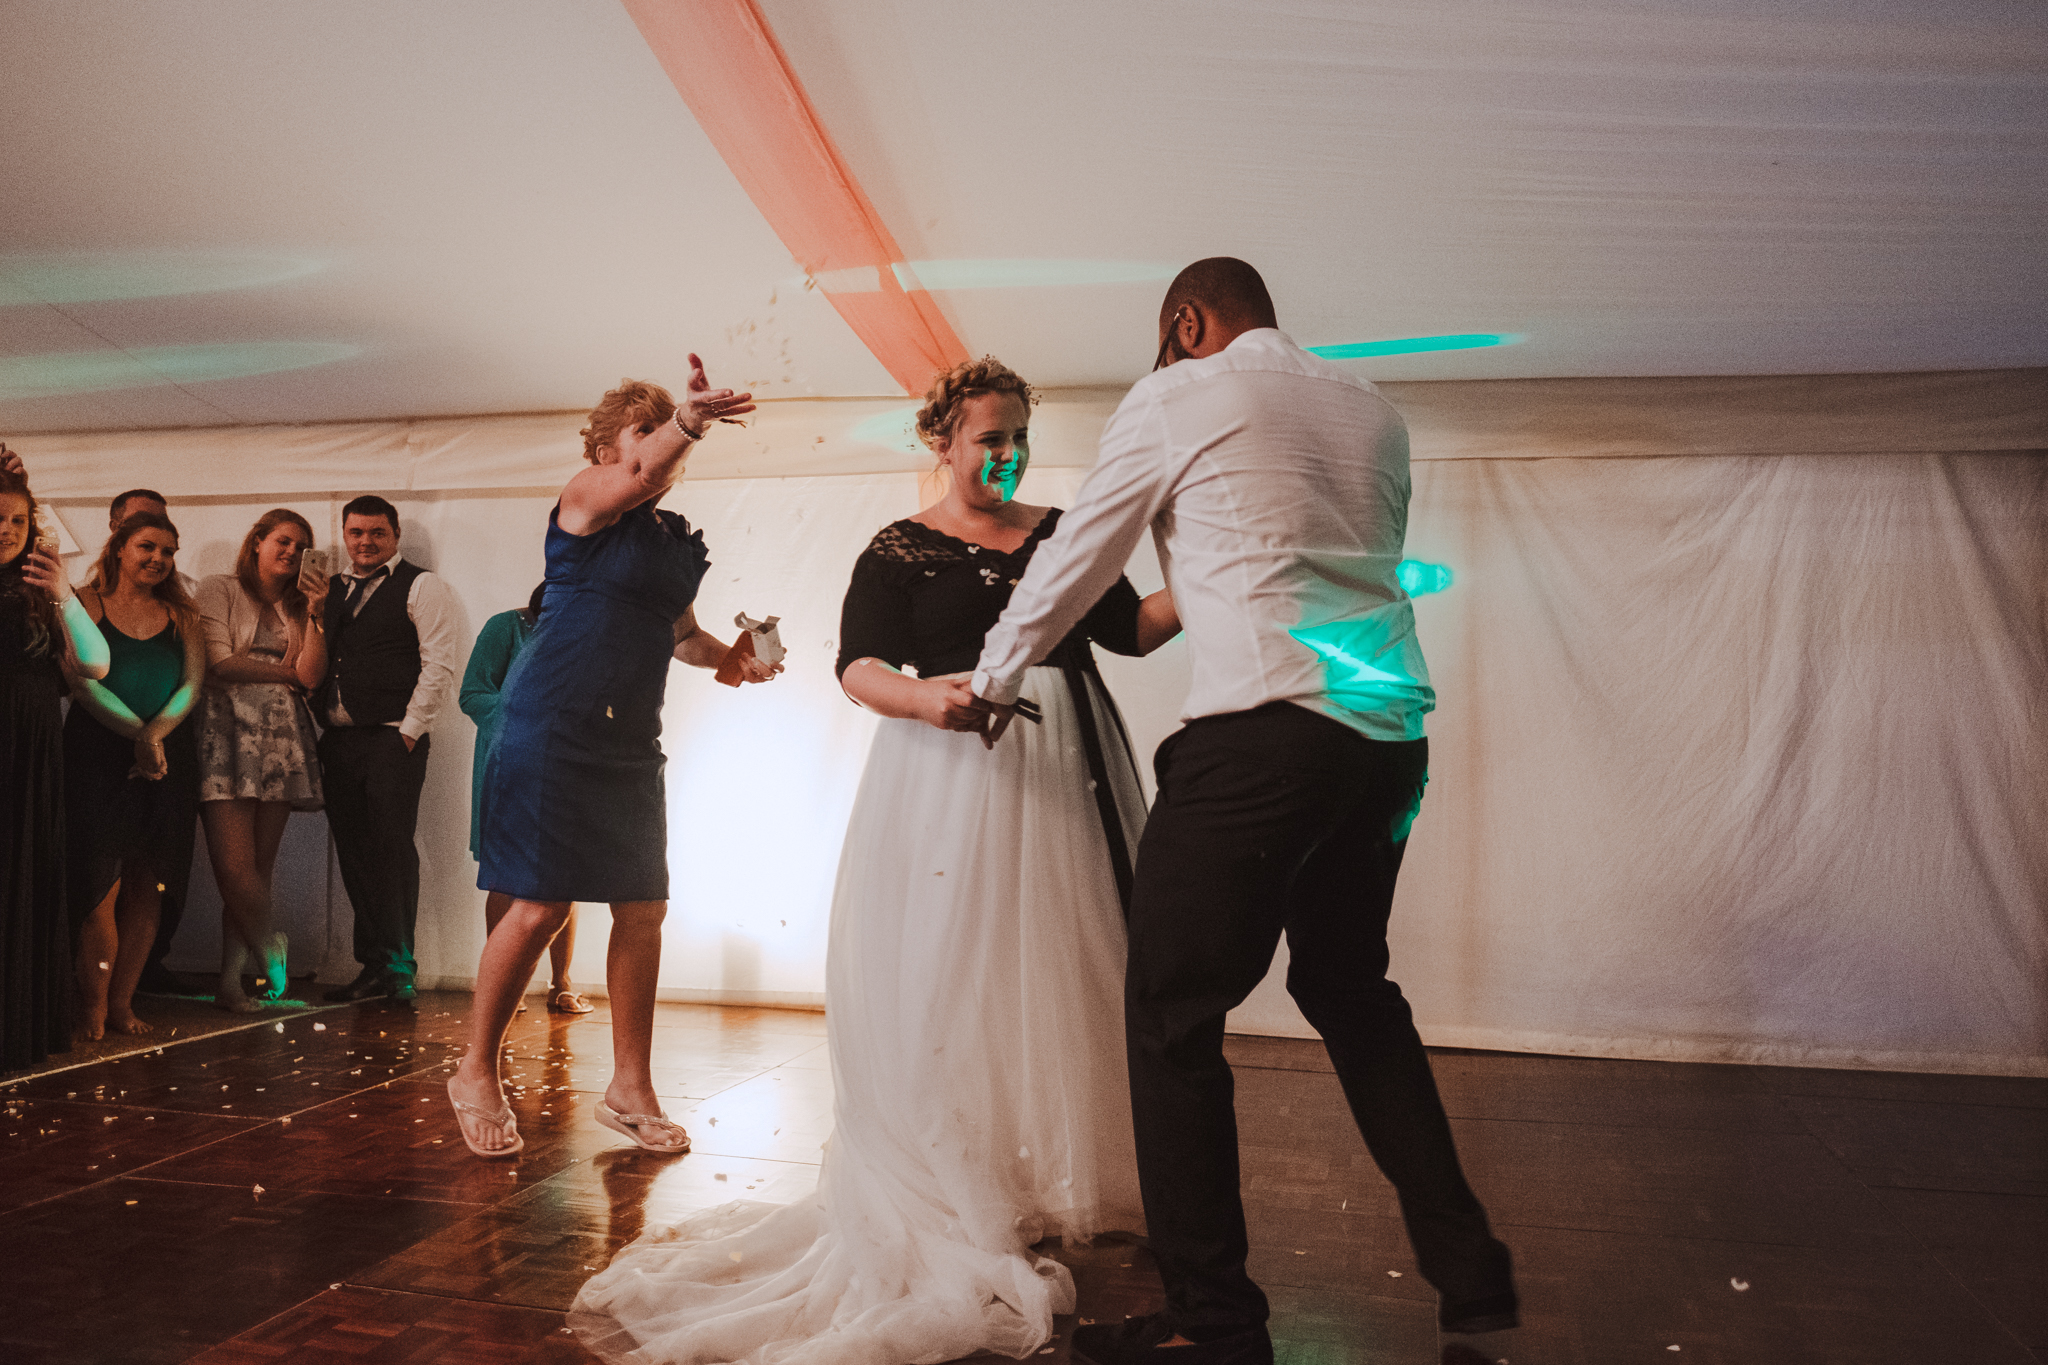
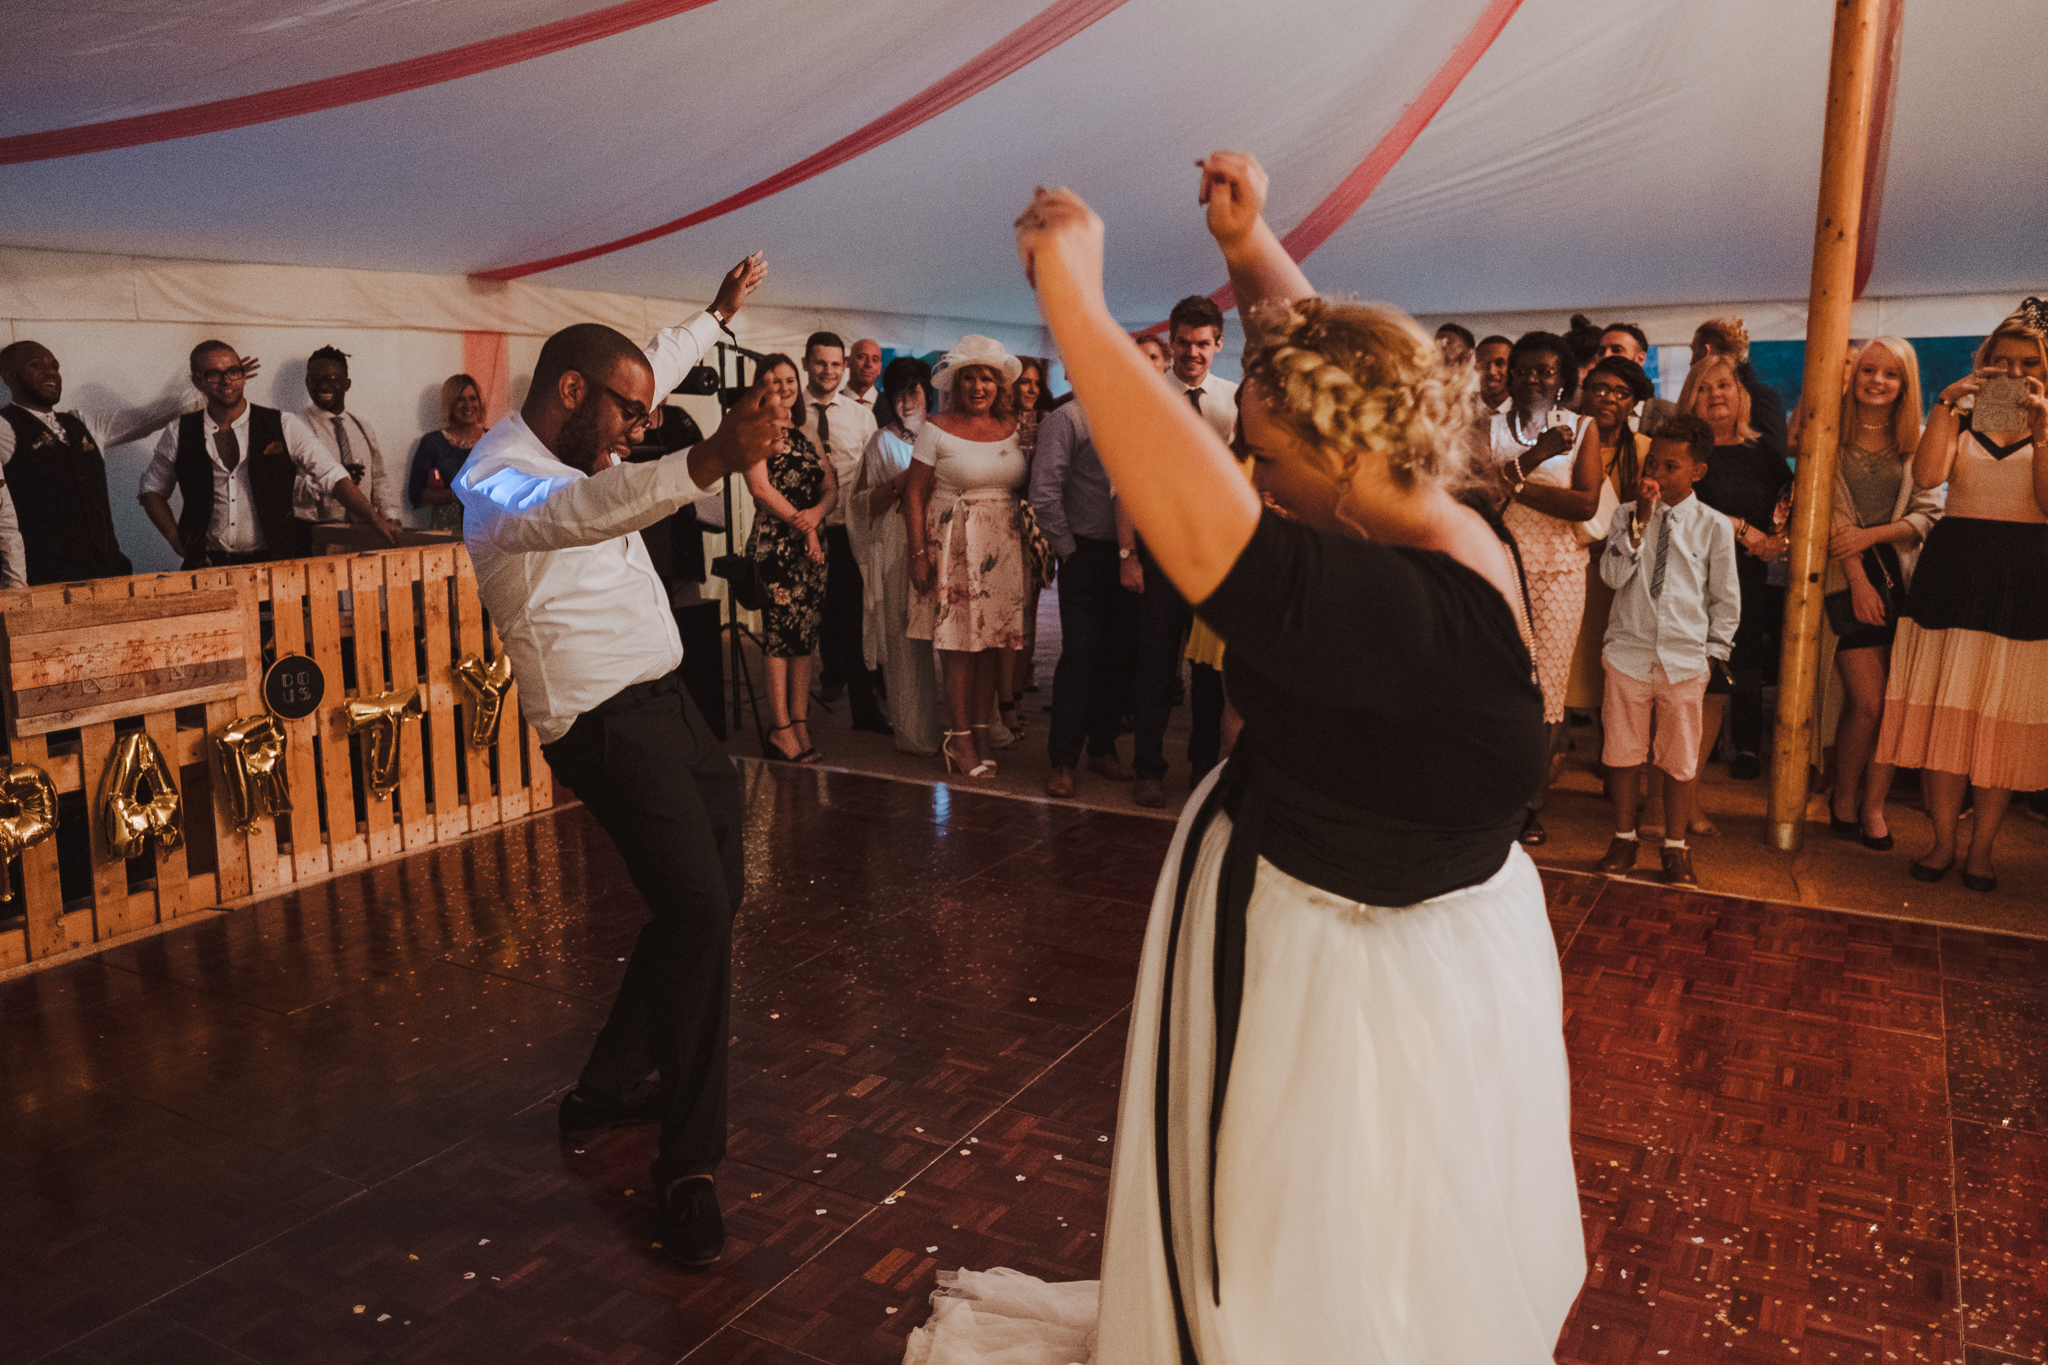
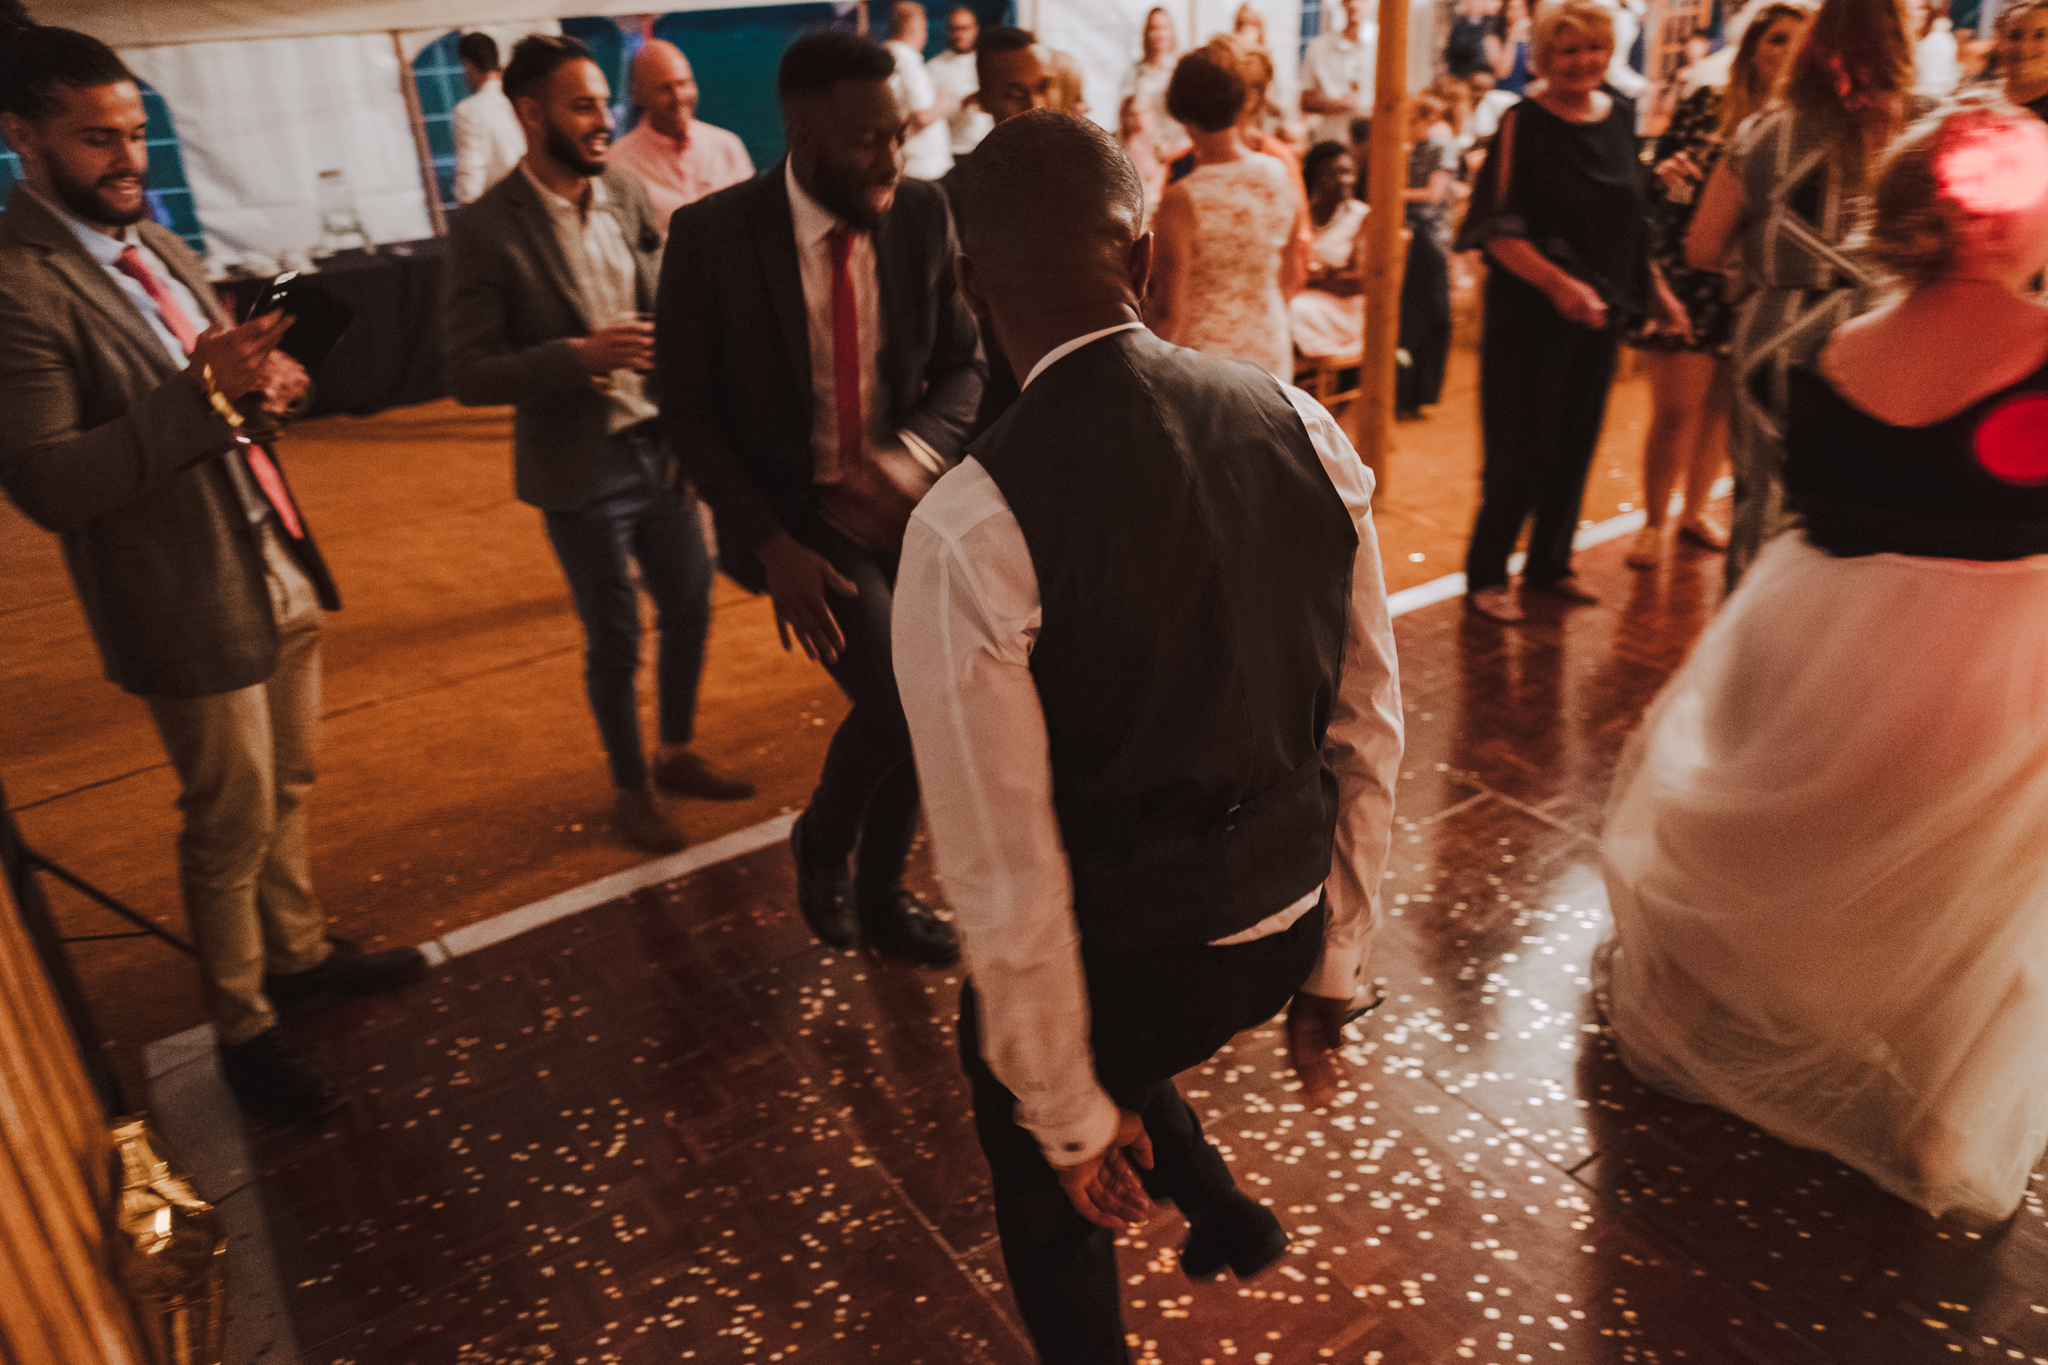
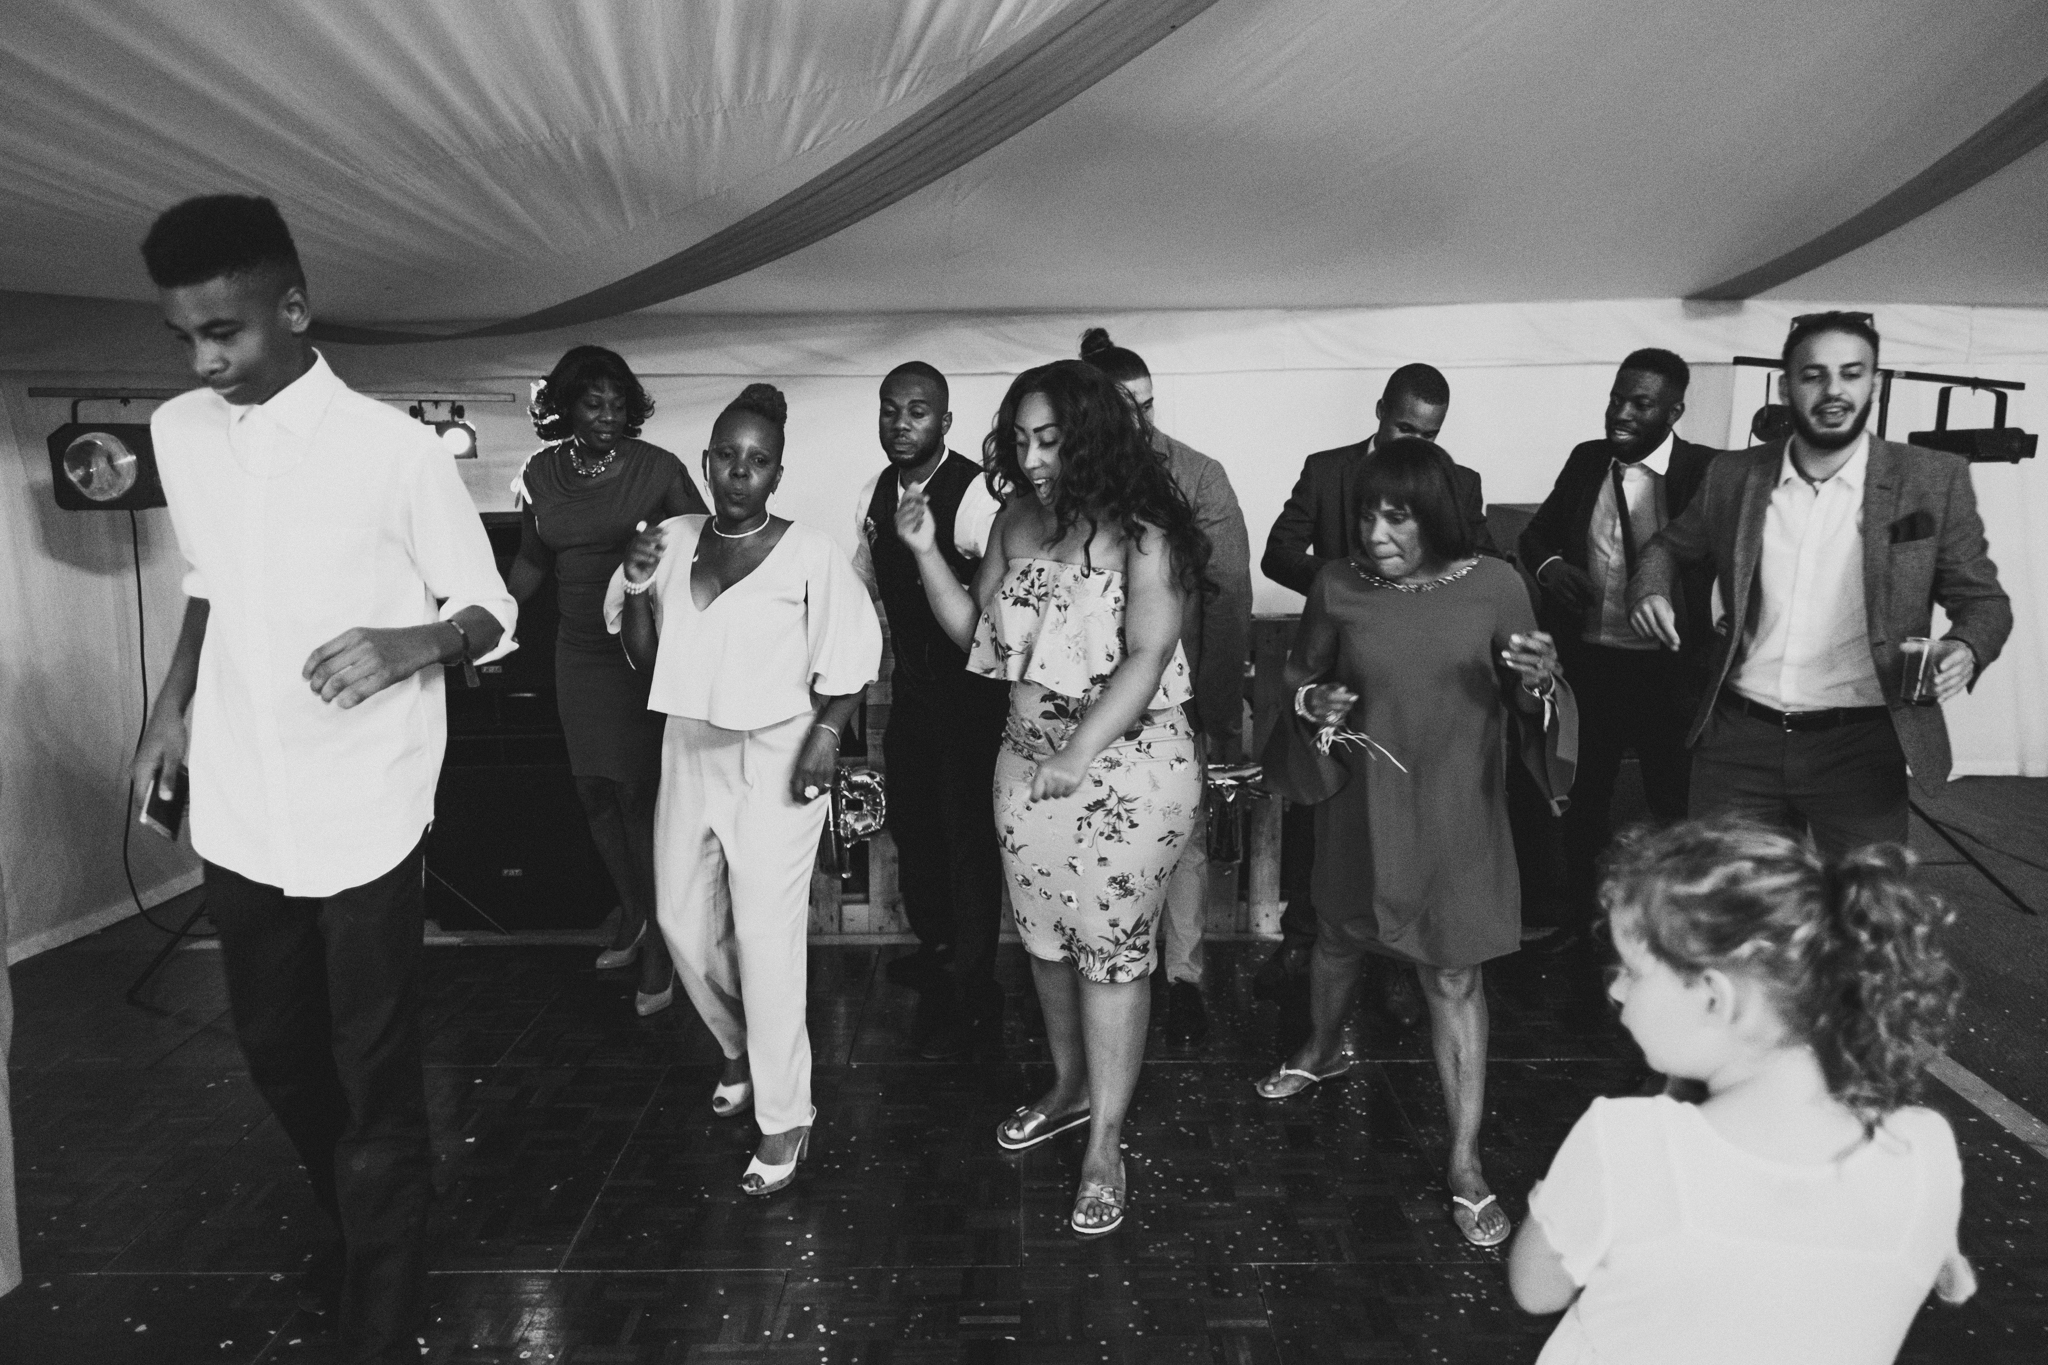
The rest of the day and leading into the night was filled with even more laughter and smiles, some tense games of Jenga, and a first dance that was one of the best I’ve ever seen. All this was accompanied by a backdrop of great music carefully curated by the groom himself.
Nick & Chelsea, thank you again for being some of the nicest people I’ve ever met, it was an honour and privilege to capture your day.